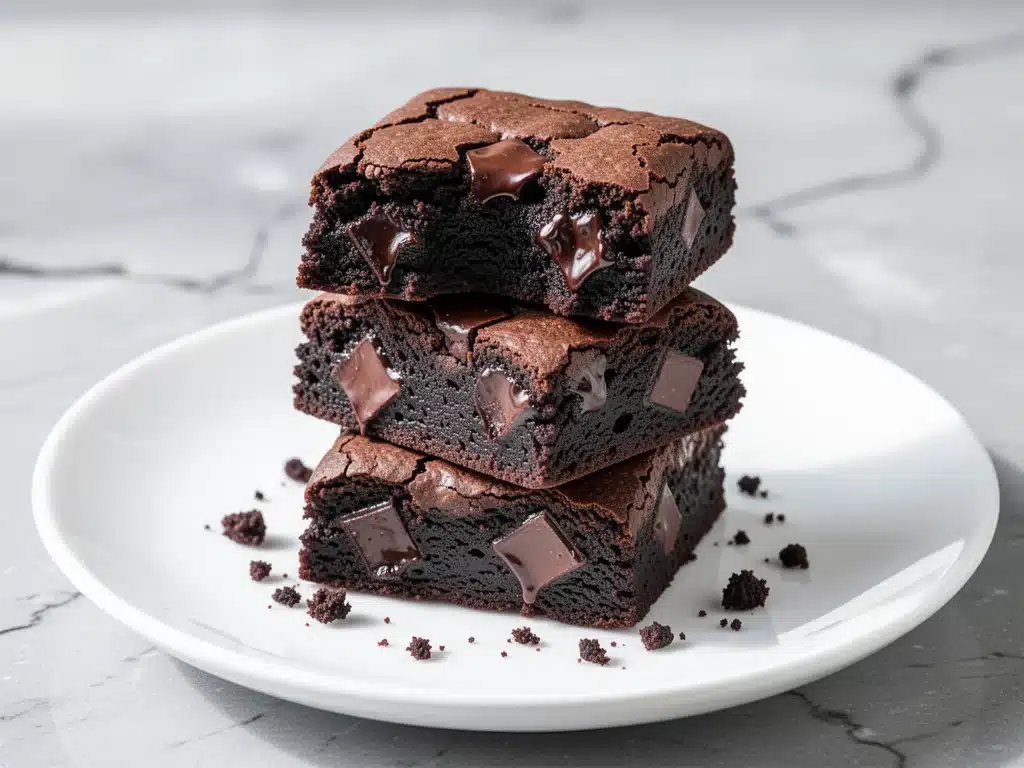
I still remember the exact moment I realized black beans were about to become my secret weapon. It was a rainy Saturday in November, and I was staring into my pantry with that specific brand of desperation that only comes when you want something sweet but absolutely refuse to buy a box of cake mix. I had a can of black beans sitting there, looking innocent enough, and a bag of dark chocolate chunks calling my name. I figured, what’s the worst that could happen? A weird, bean-y dessert? I threw them into the blender with some cocoa, eggs, and a little maple syrup, hoping for the best.
Thirty minutes later, my kitchen smelled like a fancy chocolate shop, and my kids were inhaling these brownies so fast I had to hide the rest in the freezer before they realized what was inside. I took a bite, expecting a grainy texture or a hint of “legume.” Instead? I got pure, unadulterated fudgy goodness. Dense, moist, and incredibly rich. I’ve made these ultra-fudgy black bean brownies probably fifty times since that rainy November day. They’ve become my go-to when I need a healthy-ish treat that actually tastes indulgent, my answer to “what’s for dessert” when I’m tired, and my secret way of sneaking fiber into my family’s diet without them even noticing.
People always ask me how I get brownies this moist without using half a cup of butter. The answer is simple: the beans. They add moisture and structure without the heaviness. Plus, these black bean brownies with dark chocolate chunks are naturally gluten-free, which is a huge bonus for my gluten-sensitive friends. I’ve tweaked the recipe over the years—adjusting the sweetness, testing different chocolate types, and figuring out the perfect bake time so they stay fudgy, not cakey. This is the version that finally made my husband stop asking if there were really beans in there. Spoiler: there are. But he doesn’t care because they taste like heaven.
Why You’ll Love This Recipe
There are about ten reasons I keep making these brownies, but let’s be real—you’re here because you want dessert that doesn’t leave you feeling sluggish. Here’s why this recipe has earned a permanent spot in my rotation, right next to my small batch fudgy brownies and my brown butter chocolate chip cookies.
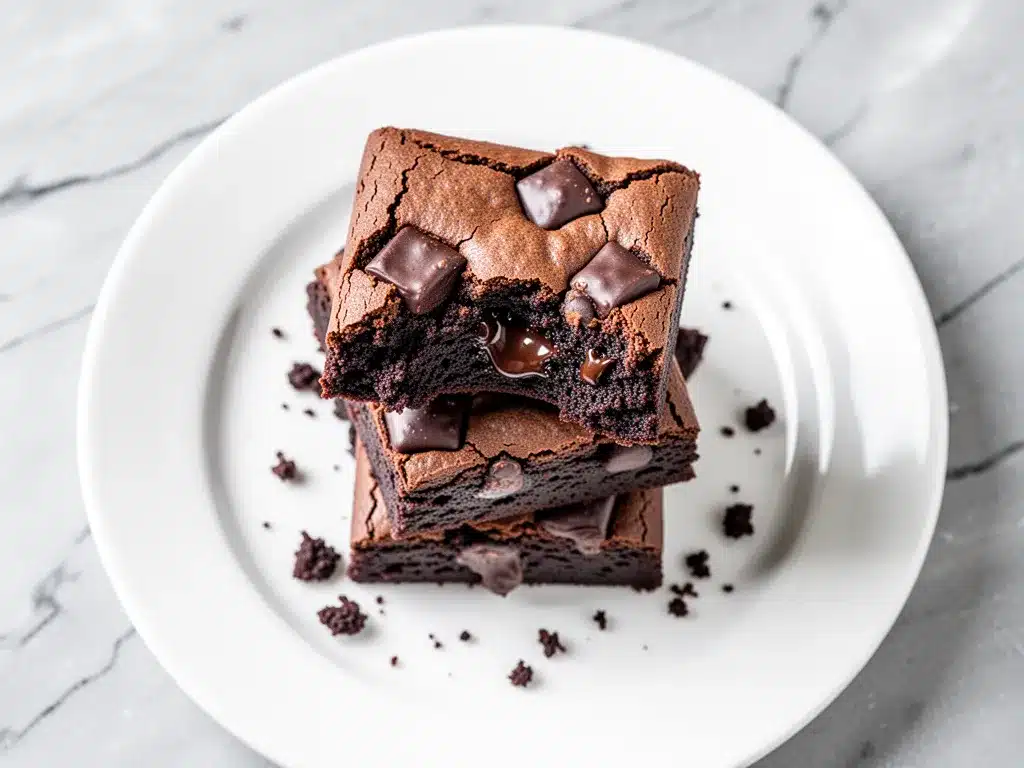
- Actually Fudgy, Not Cakey — Most bean brownies turn out dry or crumbly. Not this one. The ratio of wet to dry ingredients is dialed in to create that dense, chewy texture you crave. I tested this at least ten times to get the moisture level just right.
- Hidden Nutrition — One serving packs about 4 grams of fiber and 5 grams of protein. That’s huge for a brownie. It’s not a salad, but it’s definitely healthier than a standard grocery store brownie. My kids get their veggies, I get my chocolate fix. Win-win.
- Gluten-Free Friendly — Naturally gluten-free without needing fancy flours. I use just cocoa powder and a touch of almond flour for structure, but honestly, even without the almond flour, they hold together beautifully. Perfect for anyone avoiding gluten.
- One-Bowl Wonder — Seriously, one bowl. No standing over a stove melting chocolate, no creaming butter and sugar. Just dump everything in the blender (or food processor), blend until smooth, pour into the pan, and bake. I make this while helping my daughter with her math homework. It’s that easy.
- Rich Chocolate Flavor — Because we’re using dark chocolate chunks *and* cocoa powder, the chocolate flavor is intense. It doesn’t taste “diet.” It tastes like a high-end bakery brownie. My friends can’t believe these are healthy until I tell them the secret ingredient.
This is my go-to when I need a dessert that feels special but comes together in minutes. No complicated techniques, no weird ingredients you have to hunt for, just reliable, delicious food that makes everyone happy.
Ingredients You’ll Need
Here’s the best part: you probably have most of this already. I’m particular about three ingredients here, and I’ll tell you exactly why. This looks like a short list, but each one plays a specific role in creating that ultra-fudgy texture.
For the Base
Canned black beans (1 can, 15 oz / 425g, drained and rinsed) — Yes, canned is fine. I use low-sodium so I can control the sweetness. Drain them well, but don’t dry them out. The moisture is important. If you’re using dried beans, cook them until very soft and drain thoroughly. I prefer canned for speed, but both work.
Dark chocolate chunks (1 cup / 170g) — I use 70% cocoa chocolate. It’s bitter enough to balance the sweetness but sweet enough to be delicious. Chop a chocolate bar yourself if you can’t find chunks. Pre-chopped chips work, but chunks create those gooey pockets that make these brownies special. Don’t use baking chips meant for cookies; they have stabilizers that won’t melt the same way.
Cocoa powder (½ cup / 50g, unsweetened) — Use good quality cocoa. Hershey’s is fine, but if you have Guittard or Valrhona, use it. This gives the deep chocolate flavor. Dutch-processed cocoa makes them darker and less bitter; natural cocoa is more acidic and fruity. I usually just use whatever is on sale.
For the Sweetness and Binding
Maple syrup (¾ cup / 240ml) — I prefer maple syrup over honey or sugar because it adds moisture and a subtle flavor that complements chocolate. Liquid sweeteners keep the brownies moist. If you use granulated sugar, you’ll need to adjust the liquid elsewhere, and I find maple syrup just works better for this texture.
Coconut oil (¼ cup / 60ml, melted) — Or use melted butter if you prefer dairy. Coconut oil adds richness without a coconut flavor (if you use refined). Melted butter works too, but the brownies might be slightly cakier. I stick with coconut oil for that dense, fudgy bite.
Eggs (2 large) — Room temperature eggs blend better. They provide structure and richness. Don’t skip them; they’re the glue holding everything together.
Vanilla extract (2 teaspoons) — Real vanilla makes a difference. I use pure vanilla extract, not imitation. It enhances the chocolate flavor.
For Structure and Flavor
Almond flour (¼ cup / 25g) — This adds a little nuttiness and helps bind the brownies. It’s optional if you want them strictly gluten-free, but I recommend it for texture. If you don’t have almond flour, you can use oat flour (blended oats) or just skip it, but they might be slightly more fragile.
Almond butter (2 tablespoons) — This adds creaminess and healthy fats. It helps emulsify the batter so it’s super smooth. Use natural almond butter (just almonds and salt) if possible.
Salt (½ teaspoon) — Essential. Salt makes chocolate taste more like chocolate. Don’t skip it.
Baking powder (½ teaspoon) — Just a little. We don’t want these to rise much. We want them dense.
Dark chocolate chunks (extra, for topping) — I sprinkle a few more on top before baking for that professional look. It’s optional, but it looks amazing in photos.
Equipment Needed
You don’t need fancy equipment for this. Here’s what I actually use.
Food processor or high-speed blender — This is crucial. You need to puree the black beans until they are completely smooth. If you have lumps, you’ll taste them. A food processor works best because it can handle the thick bean paste. A blender works too, but you might need to stop and scrape down the sides more often.
8×8 inch baking pan — Line it with parchment paper, leaving an overhang on the sides. This makes lifting the brownies out super easy. Grease the parchment lightly with coconut oil or butter.
Spatula — For scraping the batter into the pan and smoothing it out.
Measuring cups and spoons — Standard stuff. Dollar store versions work fine.
Wire cooling rack — For cooling the brownies. They need to cool completely to set properly.
Microplane or box grater — If you’re chopping your own chocolate bars, a grater works, but a sharp knife is better for chunks.
Optional but nice:
- Parchment paper — Non-negotiable for easy cleanup.
- Kitchen scale — For precise measuring, especially if you’re using almond flour.
How to Make It: Step-by-Step
Alright, let’s make this! I’m walking you through exactly how I do it, including the little tricks I’ve picked up to ensure maximum fudginess.
Step 1: Prep Your Pan and Oven (5 minutes)
Preheat your oven to 350°F (175°C). Line an 8×8 inch baking pan with parchment paper. Leave a few inches of overhang on the long sides so you can lift the brownies out later. Lightly grease the parchment with coconut oil or butter. This ensures nothing sticks.
Step 2: Puree the Black Beans (2 minutes)
Drain and rinse the black beans thoroughly. Shake off excess water. Add them to your food processor or blender. Pulse a few times to break them down, then blend on high until completely smooth. It should look like a thick, dark paste. If you see any white bits, keep blending. This step is non-negotiable for a smooth texture. I usually blend for about 1-2 minutes.
Step 3: Add Wet Ingredients (1 minute)
Add the maple syrup, melted coconut oil, eggs, vanilla extract, and almond butter to the food processor with the beans. Blend again until the mixture is smooth and glossy. Scrape down the sides of the bowl with a spatula to make sure everything is incorporated. The batter should look like a thick, dark chocolate pudding.
Step 4: Mix in Dry Ingredients (2 minutes)
Add the cocoa powder, almond flour, salt, and baking powder to the wet mixture. Pulse just until combined. Do not overmix. You want the cocoa to be evenly distributed, but if you blend too long, you might develop gluten (if using almond flour) or make the batter too dense. Just a few pulses is enough.
Step 5: Fold in Chocolate Chunks (1 minute)
Transfer the batter to a mixing bowl. Fold in 1 cup of dark chocolate chunks using a spatula. Save a few extra chunks for the top. The batter will be thick. If it’s too thick to fold, add a teaspoon of milk or water to loosen it slightly.
Step 6: Bake (25-30 minutes)
Pour the batter into the prepared pan. Spread it evenly with a spatula. Sprinkle the remaining chocolate chunks on top. Bake for 25-30 minutes. The brownies are done when a toothpick inserted into the center comes out with moist crumbs attached, not wet batter. If it comes out clean, they might be overbaked. I aim for moist crumbs.
Step 7: Cool Completely (1 hour)
This is the hardest part. Let the brownies cool in the pan on a wire rack for at least 1 hour. They need to set. If you cut them while hot, they will be mushy. Patience pays off. Once cooled, lift them out using the parchment paper overhang and slice into squares.
Total Time: About 45 minutes (10 minutes prep, 30 minutes bake, 1 hour cool).
Expert Tips & Tricks
Here’s everything I’ve learned from making these dozens of times. These tips will save you from my mistakes.
Drain the Beans Well — Excess water from the beans can make the brownies gummy. After rinsing, let them sit in a colander for a few minutes, or pat them dry with a paper towel. I’ve made this mistake before, and the texture was off.
Blend Until Smooth — I cannot stress this enough. If you taste a bean, you failed. Blend until the mixture is completely smooth and creamy. It should look like chocolate mousse.
Don’t Overbake — These brownies continue to cook in the pan after you take them out of the oven. Pull them when the toothpick has moist crumbs. Overbaking is the number one reason these brownies turn out dry.
Use Quality Chocolate — The chocolate chunks are the star. Use good quality dark chocolate. If you use cheap chips, the brownies will taste cheap. I buy Lindt or Ghirardelli bars and chop them myself.
Room Temperature Eggs — Cold eggs can seize the batter when mixed with cold ingredients. Let your eggs sit on the counter for 15 minutes before using.
Cool Completely — I know you want to eat them now. Don’t. Let them cool. They need time to set and develop that fudgy texture.
Variations & Substitutions
Once you’ve nailed the basic version, here’s how you can mix it up. I’ve tried all of these.
Nut-Free Version — Skip the almond flour and almond butter. Use oat flour (blended oats) instead of almond flour. Use sunflower seed butter instead of almond butter. These black bean brownies are naturally nut-free if you make these swaps.
Dairy-Free — Use coconut oil instead of butter (if using) and ensure your chocolate chunks are dairy-free. Most dark chocolate is naturally dairy-free, but check the label.
Refined Sugar-Free — The maple syrup is already refined sugar-free. Just ensure your chocolate chunks are sugar-free or low-sugar.
Flavor Add-ins — Add 1 teaspoon of espresso powder to the dry ingredients to enhance the chocolate flavor. Or fold in ½ cup of walnuts or pecans for crunch. I love adding a pinch of sea salt on top after baking.
Gluten-Free — Already gluten-free! Just ensure your oats (if using) are certified gluten-free.
Vegan — Use flax eggs (2 tablespoons ground flaxseed mixed with 5 tablespoons water, rested for 5 minutes) instead of regular eggs. Ensure your chocolate is vegan.
Serving & Storage
How to Serve: I usually serve these plain, but they’re amazing with a scoop of vanilla ice cream or a dollop of whipped cream. I also love them with a glass of cold milk. They’re dense, so a little goes a long way.
Side Dishes: These are a dessert, so pair them with a light tea or coffee. I often serve them at dinner parties with a fall honey roasted pear custard tart for a more elaborate spread, but these stand alone beautifully.
Storage Instructions:
- Refrigerator: Store in an airtight container for up to 5 days. They actually taste better chilled, like a chocolate truffle.
- Freezer: These freeze beautifully. Wrap individual squares in plastic wrap and store in a freezer bag for up to 3 months. Thaw at room temperature for 15 minutes.
Reheating: Microwave for 10-15 seconds to soften. Or let them come to room temperature. Don’t bake them again.
Nutrition Information
I’m not a nutritionist, but here’s the breakdown if you’re tracking. These are estimates based on 16 brownies.
- Calories: 180
- Protein: 4g
- Carbs: 24g
- Fiber: 4g
- Sugar: 14g
- Fat: 9g
- Saturated Fat: 4g
- Cholesterol: 25mg
- Sodium: 80mg
Look, this is a healthier brownie, but it still has sugar and fat. It’s not a diet food, but it’s way better than a grocery store brownie. When I want to make it lighter, I use less chocolate chunks and more cocoa powder. But usually? I just eat a reasonable portion and enjoy it.
Final Thoughts
So that’s my ultra-fudgy black bean brownies! I’ve probably talked your ear off at this point, but when you make a recipe this often, you have a lot to say about it. These brownies have saved my dessert game more times than I can count. They’re my answer to “what’s for dessert” when I’m tired, don’t want to bake from scratch, and still want something that tastes really good. My kids are happy, my husband’s happy, and I’m happy because I’m not stressed about cooking.
Make it yours! Try different chocolate chunks, add nuts, or swap the almond butter for peanut butter. The best recipes are the ones you adapt to your family’s tastes. If you make this, drop a comment and let me know what you think! I love hearing how recipes turn out in your kitchen. And if something doesn’t work, tell me that too—I’m here to help troubleshoot.
Happy baking! And I hope your kitchen smells half as good as mine does right now.
Frequently Asked Questions
Can I use dried black beans instead of canned?
Yes, but you need to cook them first. Soak 1 cup of dried beans overnight, then boil them until very soft (about 1-2 hours). Drain well and use the equivalent of one 15oz can of cooked beans. Canned is just easier.
Why are my brownies dry?
Overbaking is the most common cause. Pull them out when the toothpick has moist crumbs. Also, ensure you’re not draining the beans too dry. They should still have some moisture.
Do these taste like beans?
No. When blended properly, the beans are completely undetectable. They add moisture and fiber, but the flavor is all chocolate. My kids have no idea they’re eating beans.
Can I make these ahead of time?
Yes! They actually taste better the next day. Make them up to 2 days ahead and store in the fridge. Or freeze them for up to 3 months.
Can I use sugar instead of maple syrup?
You can, but the texture will be different. Granulated sugar will make them cakier. If you use sugar, you may need to add a little extra liquid (like milk or applesauce) to keep them moist. Maple syrup is just better for this recipe.
Can I double this recipe?
Yes, but use a 9×13 inch pan. The baking time will be similar, but check them a few minutes early. Don’t double the recipe in an 8×8 pan; it will overflow.
Are these gluten-free?
Yes, naturally. Just ensure your oats (if using) and chocolate are certified gluten-free.
Pin This Recipe!
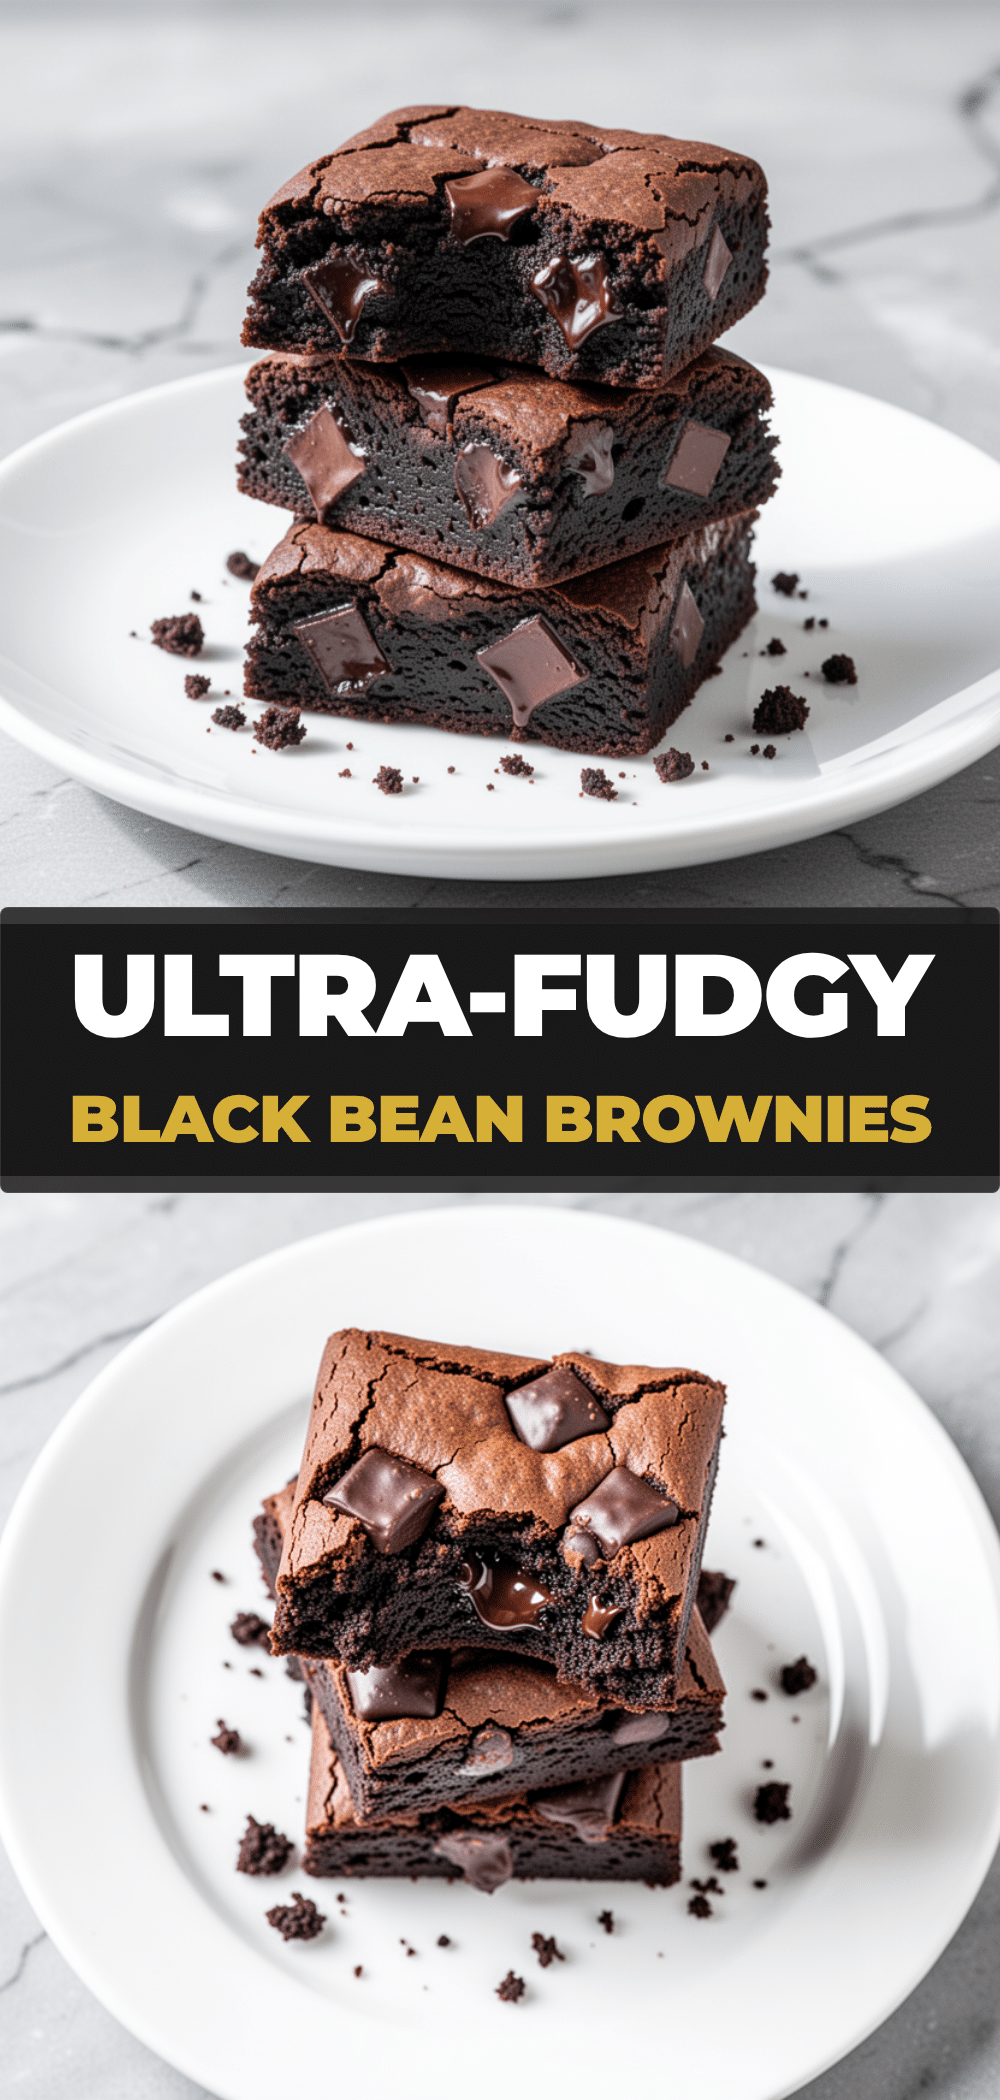
Ultra-Fudgy Black Bean Brownies
- Total Time: 45 minutes
- Yield: 16 servings 1x
Description
These ultra-fudgy black bean brownies are a healthy, gluten-free dessert that hides fiber and protein in a dense, moist, and rich chocolate treat. Made in one bowl with simple ingredients, they taste like indulgent bakery brownies without the heavy texture.
Ingredients
- 1 can (15 oz / 425g) black beans, drained and rinsed
- 1 cup (170g) dark chocolate chunks (70% cocoa)
- ½ cup (50g) unsweetened cocoa powder
- ¾ cup (240ml) maple syrup
- ¼ cup (60ml) melted coconut oil
- 2 large eggs, room temperature
- 2 teaspoons vanilla extract
- ¼ cup (25g) almond flour
- 2 tablespoons almond butter
- ½ teaspoon salt
- ½ teaspoon baking powder
- Extra dark chocolate chunks for topping
Instructions
- Preheat oven to 350°F (175°C). Line an 8×8 inch baking pan with parchment paper, leaving an overhang on the sides, and lightly grease with coconut oil or butter.
- Add the drained and rinsed black beans to a food processor or high-speed blender. Pulse and then blend on high until completely smooth and creamy, resembling a thick dark paste.
- Add the maple syrup, melted coconut oil, eggs, vanilla extract, and almond butter to the food processor. Blend again until the mixture is smooth and glossy, scraping down the sides as needed.
- Add the cocoa powder, almond flour, salt, and baking powder. Pulse just until combined; do not overmix.
- Transfer the batter to a mixing bowl and fold in 1 cup of dark chocolate chunks using a spatula. If the batter is too thick, add a teaspoon of milk or water to loosen it.
- Pour the batter into the prepared pan and spread evenly. Sprinkle the remaining chocolate chunks on top.
- Bake for 25-30 minutes. The brownies are done when a toothpick inserted into the center comes out with moist crumbs attached, not wet batter.
- Let the brownies cool completely in the pan on a wire rack for at least 1 hour to set properly before lifting them out and slicing into squares.
Notes
Drain beans well to avoid gummy texture. Blend beans until completely smooth to avoid tasting them. Do not overbake; pull when toothpick has moist crumbs. Cool completely before cutting to ensure they set. Can be stored in the fridge for 5 days or frozen for 3 months.
- Prep Time: 10 minutes
- Cook Time: 30 minutes
- Category: Dessert
- Cuisine: American
Nutrition
- Serving Size: 1 brownie square
- Calories: 180
- Sugar: 14
- Sodium: 80
- Fat: 9
- Saturated Fat: 4
- Carbohydrates: 24
- Fiber: 4
- Protein: 4
Keywords: black bean brownies, healthy brownies, gluten-free dessert, fudgy brownies, high fiber dessert, one bowl brownies, dairy-free dessert


