I’ll be honest with you. Last November, I had a serious case of dessert fatigue. My neighbors had just brought over their annual pumpkin pie (delicious, but predictable), and I was staring at a pantry full of autumn leftovers wondering what else I could make with my stash of Bosc pears. I didn’t want to bake another cake. I didn’t want to stir-fry anything. I wanted something that felt fancy enough for a dinner party but simple enough that I wouldn’t stress over it if my in-laws showed up unexpectedly.
So, I threw together what I thought would be a mediocre pear crisp. I tossed sliced pears in brown sugar, threw them in the oven, and waited. Ten minutes later, I realized I had some leftover custard ingredients from making brown butter chocolate chip cookies the day before—eggs, cream, and a little vanilla. On a whim, I poured that custard over the hot, caramelizing pears and popped the whole thing back in the oven.
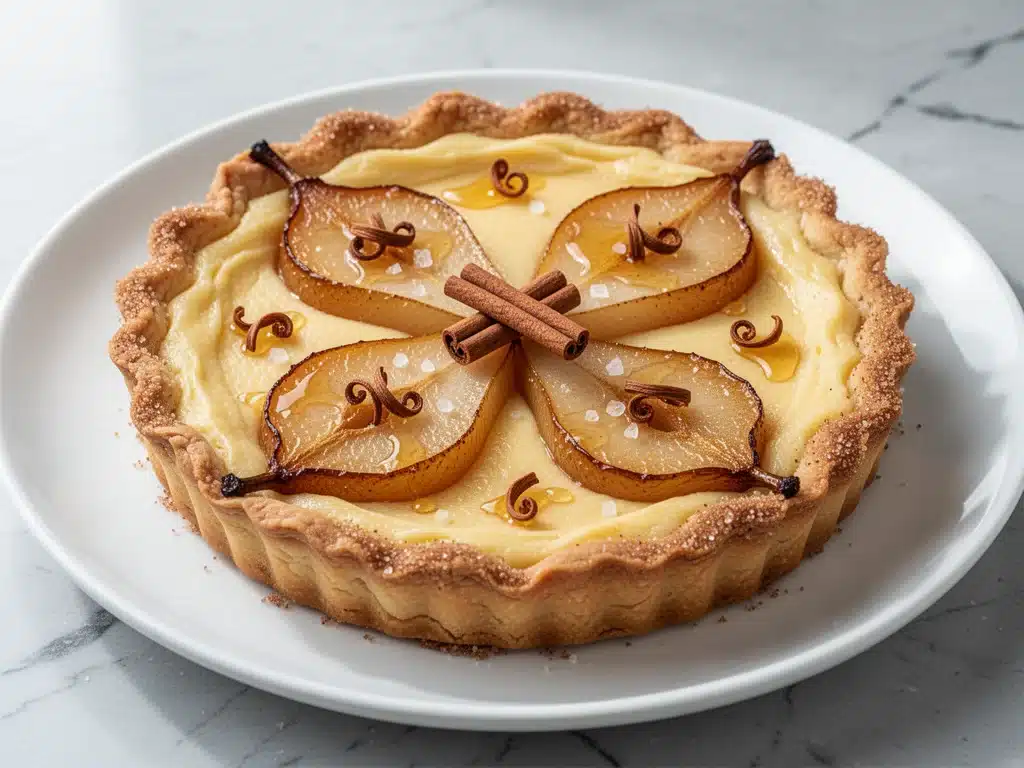
What came out wasn’t a crisp. It wasn’t a crumble. It was this incredible, jiggly, golden-brown custard tart with a cinnamon-spiced crust that tasted like it belonged in a Parisian bakery, not my slightly messy kitchen. The pears had softened into sweet, honeyed jewels, and the custard had set into a silky, rich layer that cut perfectly through the spice. My husband took one bite, looked at me, and said, “Order no takeout tonight. We’re eating this.”
I’ve made this Fall Honey Roasted Pear Custard Tart with Cinnamon Crust probably a dozen times since that random Tuesday. I’ve tweaked the sweetness, played with different crusts, and tested various pear varieties. This version? It’s the winner. It’s got that buttery, crumbly cinnamon crust, a custard that’s creamy without being heavy, and roasted pears that are deeply flavored and tender. It’s elegant, it’s seasonal, and it’s genuinely better than anything you’ll get from a bakery counter. Plus, it uses ingredients you probably already have.
Why You’ll Love This Pear Custard Tart
There are about ten reasons I keep making this tart, but here are the big ones. This isn’t just another fruit dessert; it’s a texture dream.
It’s Surprisingly Simple — Seriously, if you can slice a pear and whisk eggs, you can make this. I’ve walked my teenage daughter through it over FaceTime while she was studying abroad. No special techniques, no tempering chocolate, no complicated pastry work. Just simple assembly.
The Cinnamon Crust Is the Star — Most tart recipes rely on a plain butter crust. This one? It’s a cinnamon-sugar shortbread that tastes like cookie dough. It provides this amazing contrast to the soft, wet custard. You get the crunch, then the creaminess. It’s addictive.
Perfectly Seasonal — Pears are at their peak in the fall, and this tart highlights them without overpowering. The honey and cinnamon bring out that natural floral sweetness. It’s not cloying; it’s warm and comforting.
Better Than Takeout — I know, I said that earlier, but hear me out. A similar tart at a high-end cafe will run you $9 for a single slice. This costs about $6 to make for a whole tart, feeds eight people, and tastes fresher. Plus, you control the sugar level.
Makes Amazing Leftovers — Honestly, it tastes even better the next day. The flavors meld, the crust softens just a tiny bit (which I love), and the custard sets further. I deliberately make this on Sunday for Monday brunch or Tuesday dinner guests.
Gluten-Free Option — I’ve tested this with almond flour, and it works beautifully. If you have gluten-free friends coming over, you can make this without any special effort. It’s naturally dairy-free if you swap the butter for coconut oil, though the texture changes slightly.
This is my go-to when I need a dessert that looks impressive but doesn’t require a degree in pastry arts. It’s reliable, delicious, and makes everyone happy.
Ingredients You’ll Need
Here’s the best part: you probably have most of this already in your kitchen. I’m particular about three ingredients here, and I’ll tell you exactly why.
For the Cinnamon Crust
All-purpose flour (1 ½ cups / 190g) — The base of your crust. I use regular all-purpose because it gives a tender, cookie-like texture. If you’re going gluten-free, swap this for a 1:1 gluten-free flour blend or almond flour.
Unsalted butter (½ cup / 113g, cold and cubed) — Cold butter is non-negotiable for a flaky crust. I keep it in the fridge until the last second. Salted butter works, but you’ll need to reduce the added salt in the recipe.
Granulated sugar (¼ cup / 50g) — Adds sweetness and helps the crust brown. You can use brown sugar for a deeper, molasses flavor, but white sugar keeps that classic cinnamon-roll vibe.
Cinnamon (1 ½ teaspoons) — Use good quality cinnamon. If your jar is old, it’s probably lost its punch. I use McCormick or a local spice shop blend. It needs to smell fragrant.
Salt (¼ teaspoon) — Just a pinch to balance the sweetness.
Egg yolk (1 large) — This acts as the binder. It helps the crust hold together without making it tough. Don’t skip it.
For the Honey Pear Filling
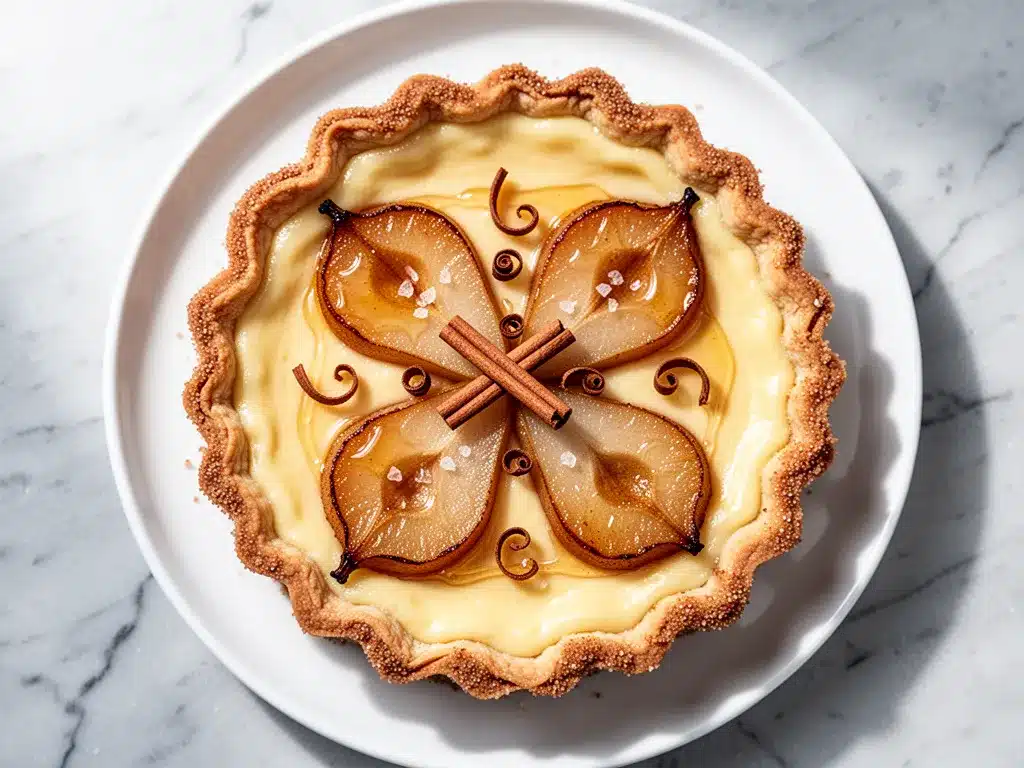
Ripe pears (3 large Bosc or Anjou pears) — Bosc pears hold their shape best during baking. Anjou are softer and sweeter. Avoid Bartlett if you want a firmer tart, as they can get mushy. Look for pears that yield slightly to pressure but aren’t soft.
Honey (3 tablespoons) — This is where the magic happens. I use local wildflower honey for that floral note. Maple syrup works too, but honey gives a nicer sheen.
Vanilla extract (1 teaspoon) — Pure vanilla, please. Imitation will taste artificial in this delicate custard.
For the Custard
Heavy cream (1 ½ cups / 360ml) — Full-fat only. Half-and-half will make it too thin. Trust me on this.
Whole milk (½ cup / 120ml) — Dilutes the cream just enough so the custard isn’t too dense. You can use all cream, but it’s richer and heavier.
Granulated sugar (½ cup / 100g) — Adjust based on how sweet your pears are. If your pears are super sweet, cut this to ⅓ cup.
Eggs (3 large + 1 yolk) — The eggs set the custard. The extra yolk adds richness and a smoother texture.
Cornstarch (1 tablespoon) — This stabilizes the custard so it doesn’t weep or separate. It’s the secret to that perfect slice.
Pinch of nutmeg — Optional, but it adds that classic autumn warmth. I always add a tiny pinch.
Optional Toppings
Whipped cream — For serving. I like it lightly sweetened.
Toasted pecans — Adds crunch. I toast them in a dry pan for 2 minutes before chopping.
Equipment Needed
You don’t need fancy equipment for this. Here’s what I actually use.
9-inch tart pan with removable bottom — This is crucial. A regular pie dish works, but a tart pan gives you those beautiful high edges and makes slicing much cleaner. If you don’t have one, a 9-inch springform pan works in a pinch.
Food processor — I use this for the crust because it’s fast and keeps the butter cold. You can do it by hand with a pastry cutter, but it takes longer and warms the butter.
Whisk — For the custard. You need to whisk vigorously to incorporate the cornstarch and eggs without creating too many bubbles.
Baking sheet — Place your tart pan on a baking sheet. This catches any potential drips if the custard bubbles over (it happens!).
Microplane or fine grater — For the nutmeg, if you use it. Or just pinch it in.
Knife and peeler — For prepping the pears. A Y-peeler is easier than a straight peeler for pears.
Pastry brush — For brushing the crust with egg wash, if you want a shiny top.
How to Make It: Step-by-Step
Alright, let’s make this! I’m walking you through exactly how I do it, including the little tricks I’ve picked up over the years.
Step 1: Make the Cinnamon Crust (10 minutes)
Preheat your oven to 350°F (175°C). In a food processor, pulse the flour, sugar, cinnamon, and salt until combined. Add the cold, cubed butter and pulse until the mixture looks like coarse crumbs with some pea-sized butter pieces remaining. Don’t over-process!
Add the egg yolk and pulse just until the dough starts to clump together. It should hold together when you press it with your fingers. If it’s too dry, add a teaspoon of cold water. If it’s too wet, add a sprinkle of flour.
Press the dough firmly and evenly into the bottom and up the sides of your tart pan. Use your fingers or the bottom of a measuring cup to pack it down. Don’t worry about perfection; rustic looks good here. Chill the crust in the fridge for 15 minutes while you prep the pears. This helps it hold its shape.
Step 2: Prep the Pears (10 minutes)
Peel the pears. I prefer peeled pears for a tart because the skin can be tough and chewy. Cut them in half, remove the core, and slice them into thin, even wedges. About ¼-inch thick is ideal. Too thick, and they won’t cook through; too thin, and they’ll disappear into the custard.
In a large bowl, toss the pear slices with the honey and vanilla extract. Make sure every slice is coated. Let them sit for 5 minutes. This draws out some moisture and starts the caramelization process.
Step 3: Assemble the Tart (5 minutes)
Remove the crust from the fridge. Arrange the pear slices in a single layer over the crust. You can overlap them slightly for a pretty, shingled look. Don’t crowd them too much; they’ll shrink a bit. Pour any remaining honey mixture from the bowl over the pears.
Step 4: Make the Custard (5 minutes)
In a medium bowl, whisk the heavy cream, milk, sugar, and cornstarch until smooth. No lumps! Then, whisk in the eggs and extra yolk one at a time, whisking gently to avoid creating too many air bubbles. Whisk in the vanilla and nutmeg.
Slowly pour the custard over the pears. Use a spoon to guide it so you don’t dislodge the fruit. Pour until the custard comes about halfway up the pears. Don’t overfill; it will bubble up.
Step 5: Bake (45-50 minutes)
Place the tart pan on a baking sheet and put it in the oven. Bake for 45-50 minutes. The custard should be set around the edges but still have a slight jiggle in the center. The top should be golden brown, and the pears should be tender.
If the crust edges start to brown too quickly, cover them with a strip of aluminum foil.
Step 6: Cool Completely (1-2 hours)
This is the hardest part. Remove the tart from the oven and let it cool on a wire rack for at least 1 hour. Ideally, let it cool completely before slicing. The custard needs time to set. If you cut it too soon, it will be soupy.
Once cooled, remove the tart from the pan if you’re using a removable bottom. Serve at room temperature or slightly warm. It’s delicious with a dollop of whipped cream.
Expert Tips & Tricks
Here’s everything I’ve learned from making this dozens of times. These tips will save you from my mistakes.
Keep the Butter Cold
This is the #1 tip for the crust. If the butter melts before it hits the oven, you lose the flaky texture. Cube the butter and keep it in the fridge until the last second. If your kitchen is warm, put the bowl in the fridge for 10 minutes before pressing it into the pan.
Don’t Skip the Cornstarch
I know it sounds like a thickener, but it’s what keeps the custard from separating. Eggs alone can sometimes result in a weepy custard. The cornstarch binds the liquid and gives it that silky, pudding-like texture. Don’t skip it.
Use Ripe but Firm Pears
Overripe pears will turn to mush. Underripe pears will be hard and sour. Look for pears that give slightly to pressure but aren’t soft. Bosc pears are the best for baking because they hold their shape.
Cool Completely
I know you want to eat it now. Resist the urge. The custard continues to set as it cools. If you cut it warm, it will be runny. Let it cool for at least an hour, preferably two.
Toast Your Pecans
If you’re adding nuts, toast them first. Raw nuts can taste bland. Toasting brings out their natural oils and adds a crunch that contrasts with the soft tart.
Variations & Substitutions
Once you’ve nailed the basic version, here’s how you can mix it up. I’ve tried all of these.
Apple Cinnamon Version
Swap pears for thinly sliced apples. Granny Smith apples work best for tartness. The method is exactly the same. This is my go-to for Thanksgiving.
Gluten-Free
Use a 1:1 gluten-free flour blend or almond flour for the crust. Almond flour gives a richer, nuttier flavor. The custard is naturally gluten-free.
Dairy-Free
Use coconut oil instead of butter for the crust. Use full-fat coconut milk instead of heavy cream and milk. The flavor will be slightly coconutty, but it’s still delicious.
Maple Instead of Honey
Use pure maple syrup instead of honey. It adds a deeper, woodsy flavor that pairs well with cinnamon. Use the same amount.
Add Liqueur
Add 1 tablespoon of Calvados (apple brandy) or Amaretto to the custard for an adult twist. It’s amazing with the pear flavor.
Serving & Storage
How to Serve:
I usually serve this straight from the counter at room temperature. It’s elegant and easy. But here are other ways I’ve enjoyed it:
Side Dishes:
- Whipped cream (lightly sweetened)
- Toasted pecans or walnuts
- A drizzle of caramel sauce
- A scoop of vanilla ice cream
Storage Instructions:
Refrigerator: Store covered in the fridge for up to 3 days. The crust may soften slightly, but the custard stays firm.
Reheating: Warm slices in the microwave for 30 seconds or in a 300°F oven for 10 minutes. Don’t overheat, or the custard will separate.
Freezing: This doesn’t freeze well. The custard becomes grainy when thawed. Make it fresh or store in the fridge.
Nutrition Information
I’m not a nutritionist, but here’s the breakdown if you’re tracking.
Per Serving (based on 8 servings):
- Calories: 380
- Protein: 6g
- Carbs: 42g
- Fiber: 3g
- Sugar: 28g
- Fat: 22g
- Saturated Fat: 13g
What’s Good:
- Pears provide fiber and vitamins
- Relatively low in protein (it’s a dessert!)
What to Know:
- Higher in calories from cream and butter
- Contains dairy and gluten
- Moderate sugar content
Look, this is dessert with cream and honey. It’s not a diet recipe. But it’s way better than store-bought, and you know exactly what’s in it. When I want to make it lighter, I use less sugar and add more pears. But usually? I just eat a reasonable slice and enjoy it.
Final Thoughts
So that’s my go-to Fall Honey Roasted Pear Custard Tart with Cinnamon Crust! I’ve probably talked your ear off at this point, but when you make a recipe this often, you have a lot to say about it.
This has saved holiday dinners more times than I can count. It’s my answer to “what’s for dessert” when I’m tired, don’t want takeout, and still want something that tastes really good. My kids are happy, my guests are impressed, and I’m happy because I’m not stressed about cooking.
Make it yours! Try different nuts, swap the honey for maple, or add a splash of liqueur. The best recipes are the ones you adapt to your family’s tastes.
If you make this, drop a comment and let me know what you think! I love hearing how recipes turn out in your kitchen. And if something doesn’t work, tell me that too—I’m here to help troubleshoot.
Happy cooking! And I hope your kitchen smells half as good as mine does right now.
Frequently Asked Questions
Q: Can I use frozen pears?
A: You can, but they’ll be softer. Thaw them completely and drain off excess liquid before using. The texture will be softer, but the flavor is still good. I prefer fresh for the best texture.
Q: Why did my custard separate?
A: This usually happens if the oven was too hot or if you overmixed the eggs. Whisk gently to avoid air bubbles. Also, let it cool completely before slicing. If it’s already separated, it’s still edible, just not pretty.
Q: Can I make this ahead?
A: Yes! Make the crust and custard separately. Store the crust in the fridge and the custard in the fridge. Assemble and bake the day of. Or, bake the whole tart the day before and serve cold or at room temperature.
Q: Why is my crust soggy?
A: This can happen if the filling is too wet. Make sure to drain excess liquid from the pears before assembling. Also, pre-bake the crust for 10 minutes before adding the filling for a crisper base.
Q: Can I use a pie dish instead of a tart pan?
A: Yes, but the cooking time may vary slightly. A pie dish is deeper, so it might take a few minutes longer. Keep an eye on it.
Q: How do I know when the custard is done?
A: The edges should be set, and the center should have a slight jiggle. It will continue to set as it cools. If it’s liquid in the center, it needs more time.
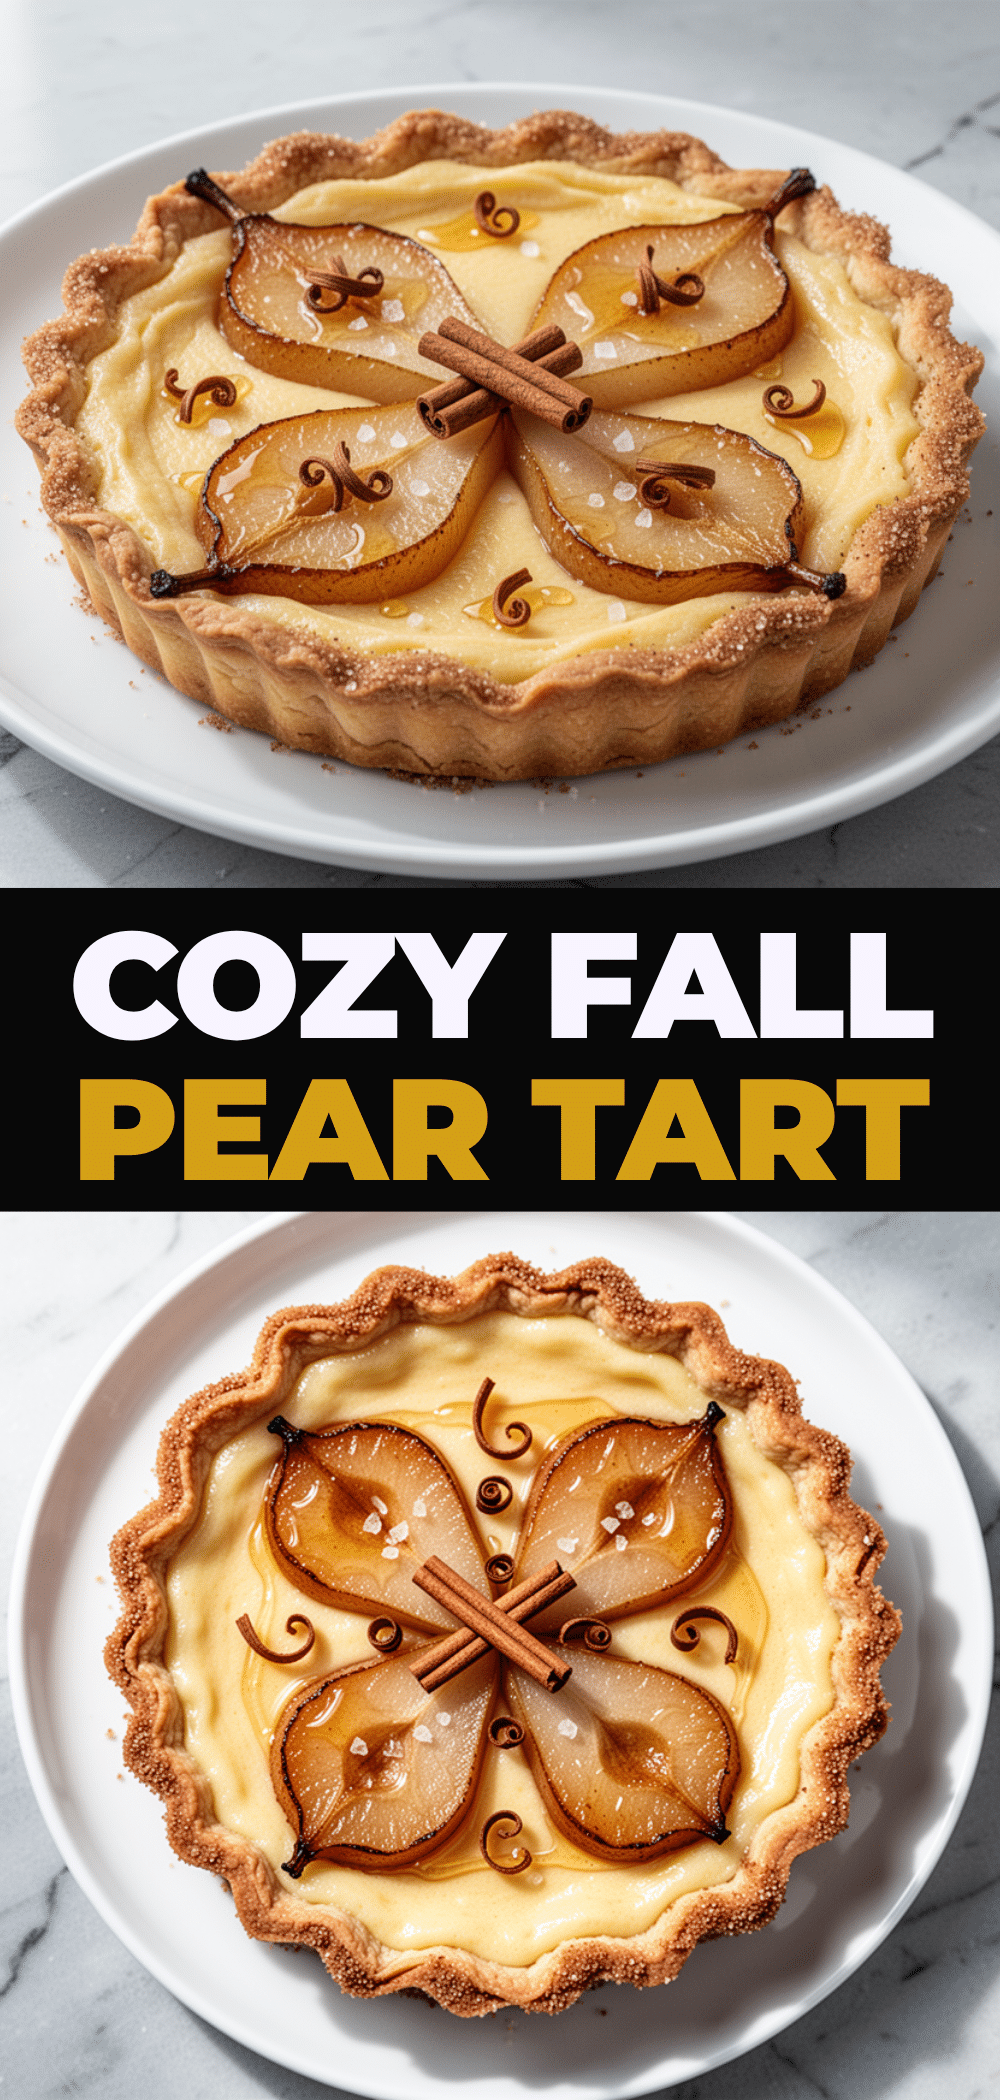
Pin This Recipe!
Fall Honey Roasted Pear Custard Tart with Cinnamon Crust
- Total Time: 1 hour 15 minutes
- Yield: 8 servings 1x
Description
An elegant yet simple homemade dessert featuring a buttery cinnamon-sugar shortbread crust, roasted honey-glazed pears, and a silky, rich custard filling. This seasonal tart is perfect for dinner parties or cozy autumn evenings.
Ingredients
- 1 ½ cups all-purpose flour
- ½ cup unsalted butter, cold and cubed
- ¼ cup granulated sugar
- 1 ½ teaspoons cinnamon
- ¼ teaspoon salt
- 1 large egg yolk
- 3 large Bosc or Anjou pears, peeled, cored, and sliced into ¼-inch wedges
- 3 tablespoons honey
- 1 teaspoon vanilla extract
- 1 ½ cups heavy cream
- ½ cup whole milk
- ½ cup granulated sugar
- 3 large eggs + 1 large egg yolk
- 1 tablespoon cornstarch
- Pinch of nutmeg
Instructions
- Preheat oven to 350°F (175°C).
- In a food processor, pulse flour, ¼ cup sugar, cinnamon, and salt until combined.
- Add cold cubed butter and pulse until mixture resembles coarse crumbs with pea-sized butter pieces.
- Add egg yolk and pulse just until dough clumps together. Press firmly into the bottom and up the sides of a 9-inch tart pan with a removable bottom.
- Chill crust in the fridge for 15 minutes.
- Toss pear slices with honey and vanilla extract. Let sit for 5 minutes.
- Arrange pear slices in a single layer over the chilled crust. Pour remaining honey mixture over pears.
- In a medium bowl, whisk heavy cream, milk, ½ cup sugar, and cornstarch until smooth.
- Whisk in eggs, extra yolk, vanilla, and nutmeg gently to avoid air bubbles.
- Slowly pour custard over pears until it comes halfway up the fruit.
- Place tart pan on a baking sheet and bake for 45-50 minutes until edges are set and center has a slight jiggle.
- If crust edges brown too quickly, cover with aluminum foil.
- Cool completely on a wire rack for at least 1-2 hours before slicing.
Notes
Keep butter cold for a flaky crust. Do not skip cornstarch as it stabilizes the custard. Cool completely before slicing to prevent a soupy texture. Can be made gluten-free by using almond flour or a 1:1 gluten-free flour blend. Can be made dairy-free by swapping butter for coconut oil and cream/milk for full-fat coconut milk.
- Prep Time: 25 minutes
- Cook Time: 45-50 minutes
- Category: Dessert
- Cuisine: American
Nutrition
- Serving Size: 1 slice
- Calories: 380
- Sugar: 28
- Fat: 22
- Saturated Fat: 13
- Carbohydrates: 42
- Fiber: 3
- Protein: 6
Keywords: pear tart, custard tart, cinnamon crust, fall dessert, honey roasted pears, homemade dessert, gluten-free option


