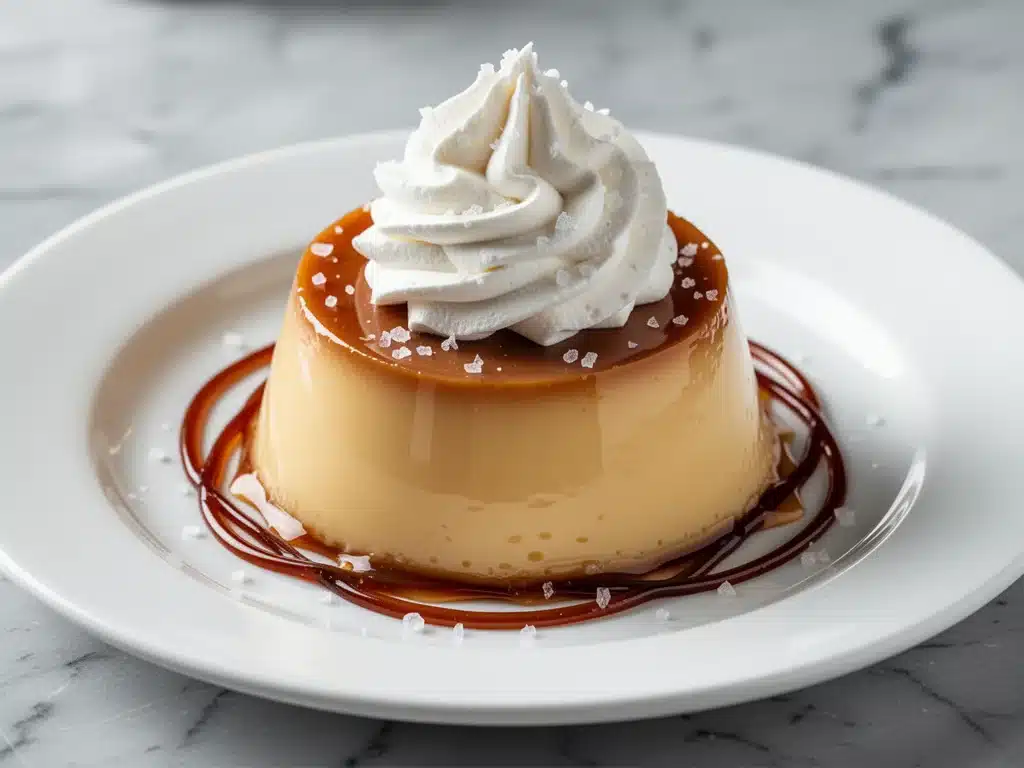
I still remember the exact moment I realized I had finally cracked the code on dessert. It was a Tuesday in November, the kind of evening where the wind is howling outside and the house feels cold no matter how high I crank the thermostat. I had just hosted a small dinner party—nothing fancy, just close friends and too much wine—and as the plates were being cleared, one of them asked, almost casually, “What was that? The little cups? They were incredible.”
I smiled, but inside, I was doing a little victory dance. Those were my first attempts at silky salted caramel budino, and for years, I had been terrified of making anything with caramel. My first attempt? A hard, glass-like mess that shattered my spatula. The second? A grainy, sweet disaster that tasted like burnt sugar and regret. But this third time? This was different. It was smooth. It was rich. It had that perfect balance of sweet and salty that makes you close your eyes and sigh.
Here’s the thing about this dessert: it’s technically called a “budino,” which sounds fancy and intimidating, like something you’d order at a Michelin-star restaurant in Florence. But in reality? It’s just a fancy word for a creamy, custard-like pudding. And the best part? You don’t need an oven. You don’t need a water bath. You don’t need to stand over a double boiler sweating while your eggs scramble. It’s a no-bake dessert that comes together in about five minutes of active work, then just needs time to chill in the fridge.
I’ve made this silky salted caramel budino at least a dozen times since that November night. I’ve served it to picky eaters who claim they “don’t like dessert,” to food critics who judge everything, and to my own family who thinks I’m a genius chef (shh, don’t tell them it’s five minutes of work). It’s the kind of dessert that looks like you spent hours laboring over it, but it’s actually the easiest thing on your menu. If you’ve ever wanted to impress guests without spending your whole evening in the kitchen, this is your answer.
Why You’ll Love This Recipe
There are about ten reasons I keep making this silky salted caramel budino, but if I’m being honest, they all boil down to one simple truth: it just works. Every. Single. Time. No fail. No grainy texture. No burnt edges. Here’s why this recipe has earned a permanent spot in my rotation.
Zero Baking Required — Seriously. If you can whisk cream and stir caramel, you can make this. I’ve made this while my kids were doing homework at the table. No oven means no preheating, no timing the bake, and no risk of overcooking. It’s pure ease.
Make-Ahead Friendly — This is my secret weapon for hosting. I can make these cups two days in advance. In fact, I prefer it that way. The flavors meld overnight, and the texture gets even silkier as it chills. When guests arrive, I just pull them out of the fridge. No last-minute stress.
Restaurant-Quality Finish — Don’t let the simplicity fool you. This dessert looks stunning in little ramekins or glasses. The glossy caramel layer, the creamy white custard, the dollop of fresh whipped cream—it’s visually gorgeous. My friends always ask if I bought it from a bakery. (I didn’t.)
Perfect Sweet-Salty Balance — Most homemade caramel is just sugar. This recipe uses quality salted caramel sauce (or a quick homemade version) that hits that perfect sweet-and-salty note. It’s not cloying. It’s not too salty. It’s just right. If you like my salted caramel popcorn clusters, you’re going to love this dessert version.
Minimal Cleanup — Two bowls. One whisk. A few ramekins. That’s it. While I love baking, I also love not having a sink full of dirty dishes. This recipe respects your time and your cleanup routine.
This is my go-to when I need a dessert that feels special but requires zero effort. It’s reliable, it’s delicious, and it makes everyone happy. No complicated techniques, no weird ingredients, just pure, creamy comfort in a cup.
Ingredients You’ll Need
Here’s the best part: you probably have most of this already in your kitchen. This silky salted caramel budino relies on just a handful of high-quality ingredients. Because there’s so little of it, the quality matters more than usual. Don’t buy the cheapest cream you can find. Trust me on this.
Heavy Whipping Cream (2 cups / 480ml) — This is the base of your budino. You need full-fat, high-quality heavy cream. Light cream won’t whip properly and won’t give you that rich, pudding-like texture. I use organic heavy cream when I can find it on sale—it tastes cleaner and richer.
Salted Caramel Sauce (1 cup / 240ml) — This is the star. You can buy high-quality jarred caramel sauce (I like Toffee-Taffy or local brand names), or you can make a quick batch. If you make your own, keep it slightly warm so it mixes easily. For a deeper flavor, look for a caramel with a hint of butter and sea salt. If you’re a fan of fall honey-roasted pear custard tart, you’ll appreciate this same creamy, custard-like richness.
Unsweetened Cocoa Powder (2 tablespoons / 10g) — Wait, cocoa? Yes! A small amount of cocoa powder adds depth and richness without turning it into a chocolate dessert. It enhances the caramel flavor. Use natural, unsweetened cocoa powder—not Dutch-processed, unless you know what you’re doing. Hershey’s is my go-to brand for everyday baking.
Vanilla Extract (1 teaspoon / 5ml) — Pure vanilla extract. Not imitation. The flavor of vanilla is huge in a dessert this simple, so cheap stuff will taste artificial. I keep a bottle of Nielsen-Massey in my pantry—it’s worth the extra few dollars.
Fine Sea Salt (½ teaspoon / 3g) — Even though your caramel is salted, a pinch of fine sea salt in the custard base balances the sweetness and makes the caramel flavor pop. Use Maldon or any fine-grain sea salt. Kosher salt works too, but adjust slightly as it’s less dense.
Sugar (2 tablespoons / 25g) — Optional, depending on how sweet your caramel sauce is. Taste your caramel first. If it’s very sweet, skip this. If it’s tart or tangy, add the sugar to balance it out.
For Topping:
Heavy Cream (1 cup / 240ml) — For whipping. Use the same high-quality cream as above.
Powdered Sugar (2 tablespoons / 15g) — Sweetens the whipped cream without adding graininess.
Vanilla Extract (½ teaspoon / 2.5ml) — For flavor.
Flaky Sea Salt — For garnish. Maldon is perfect here. It looks beautiful and adds a crunch.
Optional Garnish: Caramel drizzle, chocolate shavings, or fresh berries. I usually keep it simple with just a drizzle and a pinch of salt, but feel free to get fancy.
Equipment Needed
You don’t need fancy equipment for this. Here’s what I actually use.
Mixing Bowls (2) — One medium bowl for the custard base, one large bowl for whipping the cream. I use stainless steel bowls because they’re durable and easy to clean. Glass works too, but don’t use plastic if you can help it—it retains odors.
Whisk — A standard balloon whisk is perfect. You need to incorporate air into the cream and whisk the cocoa powder smoothly into the caramel. I have a cheap whisk from the dollar store that works just as well as my expensive ones.
Hand Mixer or Stand Mixer — Optional, but helpful for whipping the cream. I use a hand mixer because it’s quick and easy to clean. If you prefer a stand mixer, use the whisk attachment on medium speed.
Ramekins or Dessert Glasses — 6-8 small ramekins (about 4-6 oz each) or clear dessert glasses. I love using small glass coupes for this because you can see the layers. But any heatproof ramekin works. If you’re serving a crowd, you can also make one large 9-inch dish, but the individual portions feel more special.
Spatula — A silicone spatula is essential for folding the whipped cream into the custard without deflating it. Get one with a flexible edge—it makes scraping the bowl easier.
Measuring Cups and Spoons — Standard stuff. I prefer metal measuring spoons for accuracy.
Refrigerator — Yes, really. This recipe needs at least 4 hours to set. Make sure you have space in your fridge for the ramekins.
Optional but nice: A piping bag for the whipped cream. It makes the presentation look professional. But a spoon works fine if you’re being lazy.
How to Make It: Step-by-Step
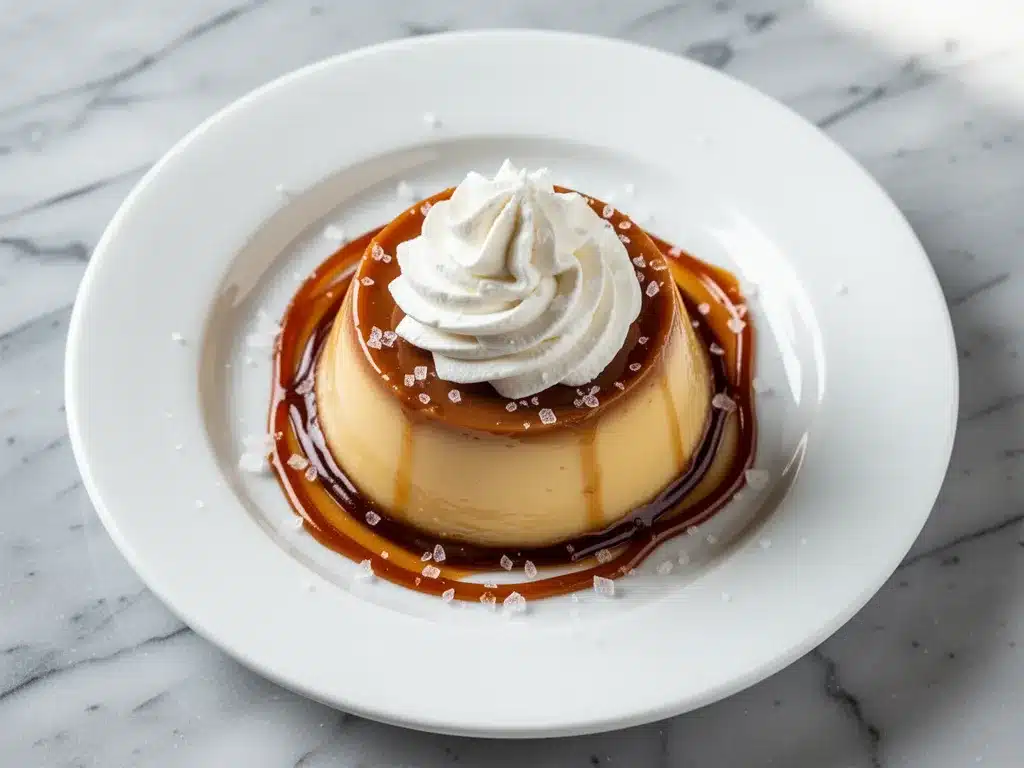
Alright, let’s make this! I’m walking you through exactly how I do it, including the little tricks I’ve picked up. This silky salted caramel budino comes together fast, so let’s get started.
Step 1: Prepare Your Caramel Base (5 minutes)
Start by warming your salted caramel sauce slightly if it’s thick. You can microwave it for 15-20 seconds or warm it in a small saucepan over low heat. It should be pourable but not hot. In a medium mixing bowl, whisk together the warmed caramel sauce, heavy cream (the 2 cups for the base), unsweetened cocoa powder, vanilla extract, fine sea salt, and sugar (if using). Whisk vigorously until the cocoa powder is completely dissolved and the mixture is smooth. There should be no lumps. Taste it. Does it need more salt? More sugar? Adjust now.
Step 2: Whip the Cream (3-5 minutes)
In a large, cold mixing bowl, pour the 1 cup of heavy cream for whipping. Add the powdered sugar and vanilla extract. Using a hand mixer or stand mixer, beat on medium-high speed until stiff peaks form. This means when you lift the beaters, the cream stands up straight and doesn’t droop. Don’t over-whip it into butter! Stop as soon as you see stiff peaks. This takes about 2-3 minutes with a hand mixer. If the cream is too warm, it won’t whip. Keep your bowl and beaters cold for best results.
Step 3: Fold the Cream into the Caramel (2 minutes)
This is the most important step for texture. Add about one-third of the whipped cream to the caramel mixture and whisk it in gently to lighten the base. Then, add the remaining whipped cream. Using a silicone spatula, gently fold the cream into the caramel. Use a figure-eight motion, cutting down through the center and folding over the top. You want to keep as much air in the cream as possible. Stop folding when there are just a few streaks of white left. It’s okay if it’s not perfectly uniform—it’ll look silky once it sets.
Step 4: Portion into Ramekins
Divide the mixture evenly among your 6-8 ramekins or dessert glasses. Use a spatula to smooth the tops. If you’re using glasses, you can create a little layer effect by spooning a bit of extra caramel sauce into the bottom of the glass before adding the mixture. Tap the ramekins gently on the counter to release any air bubbles.
Step 5: Chill and Set (4+ hours)
Place the ramekins in the refrigerator. They need at least 4 hours to set, but overnight is best. The longer they chill, the firmer and silkier they become. Do not skip this step! If you try to eat them immediately, they’ll be too loose and runny.
Step 6: Whip and Garnish (Just before serving)
When ready to serve, whip a small batch of fresh cream (if you didn’t use all of it) or simply top with a dollop of the whipped cream you made earlier. Add a generous dollop on top of each budino. Drizzle with a little extra salted caramel sauce. Sprinkle with flaky sea salt. That’s it. Serve immediately.
Total Time: About 15 minutes active, plus 4+ hours chilling.
Expert Tips & Tricks
Here’s everything I’ve learned from making this dozens of times. These tips will save you from my mistakes.
Keep Everything Cold
The secret to fluffy whipped cream is temperature. If your kitchen is hot, put your mixing bowl and beaters in the freezer for 10 minutes before whipping. Cold cream whips faster and holds its shape better. Warm cream = soup.
Don’t Over-Fold
It’s tempting to mix it until it’s perfect, but over-folding deflates the cream and makes your budino dense. Stop when there are just a few streaks left. The residual mixing in the bowl will finish the job.
Use Good Caramel
Since caramel is the main flavor, don’t skimp. Cheap caramel sauce can be overly sweet and artificial-tasting. Look for brands that list real butter and cream as ingredients. If you want to make your own, check out my salted caramel popcorn clusters recipe for a simple caramel base you can adapt.
Room Temperature Ingredients
Except for the whipping cream, keep your caramel and base cream at room temperature. Cold cream mixed with cold caramel can seize or separate. Let your caramel sit out for 15 minutes before mixing.
Common Mistakes (and how to avoid them):
Mistake: Budino is too runny
Fix: You didn’t chill it long enough. Or you over-whipped the cream and it collapsed. Next time, chill for at least 6 hours and fold gently.
Mistake: Grainy texture
Fix: The cocoa powder wasn’t fully dissolved. Whisk it into the warm caramel first before adding the cold cream. Or, sift the cocoa powder before adding it.
Mistake: Too sweet
Fix: Your caramel was very sweet. Reduce the added sugar or use a tart, homemade caramel. A pinch more salt helps balance it.
Pro Tricks I’ve Learned:
For Extra Gloss
Brush the inside of your ramekins with a thin layer of melted chocolate or caramel before pouring in the mixture. It adds a beautiful shine and extra flavor.
For Better Flavor
Add a splash of bourbon or rum to the caramel base. It doesn’t make it alcoholic, but it deepens the caramel flavor. I do this when I’m feeling fancy.
For Meal Prep
Make these 2 days ahead. They actually taste better on day 2. The flavors meld, and the texture sets perfectly. Store them covered in the fridge.
Variations & Substitutions
Once you’ve nailed the basic version, here’s how you can mix it up. I’ve tried all of these.
Chocolate Budino
Double the cocoa powder to 4 tablespoons. Add ½ cup of melted dark chocolate to the caramel base. Richer, more chocolate-forward.
Pumpkin Spice Budino
Add 1 teaspoon pumpkin pie spice and 2 tablespoons of pumpkin puree to the base. Top with spiced whipped cream. Perfect for fall. If you love fall pumpkin tiramisu, this is a great no-bake alternative.
Espresso Budino
Add 1 tablespoon of instant espresso powder to the caramel base. The coffee flavor pairs amazingly with caramel and chocolate. Great for coffee lovers.
Coconut Budino
Replace the heavy cream with full-fat coconut cream. Use coconut caramel sauce. Top with toasted coconut flakes. Dairy-free and tropical.
Strawberry Budino
Swap the caramel for strawberry sauce. Layer strawberry puree and vanilla cream. Bright and fruity.
Dietary Modifications:
Dairy-Free
Use coconut cream for both the base and the whipped topping. Use dairy-free caramel sauce. It’s rich and creamy, though slightly different in flavor.
Gluten-Free
This recipe is naturally gluten-free. Just ensure your caramel sauce is certified gluten-free (some thickeners contain wheat).
Lower Sugar
Use a sugar-free caramel sauce and substitute powdered sugar with erythritol or monk fruit sweetener. It won’t be as sweet, but it’s still delicious.
Serving & Storage
How to Serve:
I usually serve these straight from the fridge in the ramekins. They look rustic and elegant. But here are other ways I’ve enjoyed them:
Side Dishes:
These are desserts, so they don’t need sides. But if you’re having a dinner party, serve with crispy honey garlic cauliflower bites as a savory starter, or a simple green salad to balance the richness.
Toppings Bar:
When I have guests, I put out: extra caramel sauce, chocolate shavings, flaky sea salt, fresh berries, and crushed nuts. Everyone customizes their cup.
Wine Pairing:
Not a wine expert, but my wine-snob friend says a sweet dessert wine like Moscato or a Port works great with this. Or just a glass of red wine.
Storage Instructions:
Refrigerator:
Store in an airtight container or covered with plastic wrap for up to 3 days. The texture remains silky.
Freezing:
Honestly, this doesn’t freeze well. The cream separates when thawed, and the texture becomes grainy. Make it fresh or store in the fridge for up to 3 days.
Reheating:
Do not reheat. Serve chilled.
Pro tip: If the whipped cream deflates over time, whip a fresh batch and add it right before serving. Don’t try to rescue old whipped cream.
Nutrition Information
I’m not a nutritionist, but here’s the breakdown if you’re tracking. This is a rich, indulgent dessert, so portions matter.
Per Serving (based on 8 servings):
- Calories: 380
- Protein: 4g
- Carbs: 28g
- Fiber: 1g
- Sugar: 24g
- Fat: 28g
- Saturated Fat: 17g
- Cholesterol: 75mg
- Sodium: 120mg
What’s Good:
– High in calcium from the cream and cheese (if added)
– Small portion size helps control calories
– No refined flour or gluten
What to Know:
– High in sugar and saturated fat
– Contains dairy
– Moderate sodium (depends on caramel sauce)
My Take:
Look, this is a dessert. It’s meant to be indulgent. It’s not a health food. But it’s way better than store-bought, and you control the ingredients. When I want to make it lighter, I use half-and-half instead of heavy cream and reduce the sugar. But usually? I just eat one small cup and enjoy it.
Final Thoughts
So that’s my go-to silky salted caramel budino! I’ve probably talked your ear off at this point, but when you make a recipe this often, you have a lot to say about it.
This has saved dinner parties more times than I can count. It’s my answer to “what’s for dessert” when I’m tired, don’t want to bake, and still want something that tastes really good. My friends are impressed, my family is happy, and I’m happy because I’m not stressed about cooking.
Make it yours! Try different garnishes, swap in your favorite caramel brand, or add a splash of liqueur. The best recipes are the ones you adapt to your tastes.
If you make this, drop a comment and let me know what you think! I love hearing how recipes turn out in your kitchen. And if something doesn’t work, tell me that too—I’m here to help troubleshoot.
Happy cooking! And I hope your kitchen smells half as good as mine does right now.
Frequently Asked Questions
Q: Can I make this ahead for a dinner party?
A: Absolutely! This is actually better made ahead. Make the budino 1-2 days in advance and store it in the fridge. Whip the cream and garnish right before serving. It saves you so much stress on party day.
Q: Why did my budino turn out runny?
A: Usually, this means you didn’t chill it long enough. It needs at least 4 hours to set. If it’s still runny after 6 hours, you may have over-whipped the cream, which deflates it. Next time, whip to soft peaks and fold gently.
Q: Can I use light cream instead of heavy cream?
A: No. Light cream won’t whip properly and won’t give you the rich, pudding-like texture. You need full-fat heavy cream for both the base and the topping. It’s non-negotiable for this recipe.
Q: Can I make this in one large dish instead of ramekins?
A: Yes! Use a 9-inch square baking dish or a large glass trifle bowl. The chilling time will be the same. Just adjust the serving size. It’s easier to scoop out of a large dish, but individual portions feel more special.
Q: Can I use homemade caramel sauce?
A: Yes! In fact, homemade caramel tastes amazing. Just make sure it’s warm and pourable when you mix it. If it’s too thick, warm it slightly. My salted caramel popcorn clusters recipe uses a similar caramel base you can adapt.
Q: How do I store leftovers?
A: Store in an airtight container in the fridge for up to 3 days. Do not freeze. The texture will suffer. If the whipped cream deflates, whip a fresh batch and add it before serving.
Q: Can I add alcohol to this?
A: Yes! Add 1-2 tablespoons of bourbon, rum, or amaretto to the caramel base. It doesn’t make it alcoholic, but it adds a nice depth of flavor. Just be aware it might thin the mixture slightly, so chill longer.
Pin This Recipe!
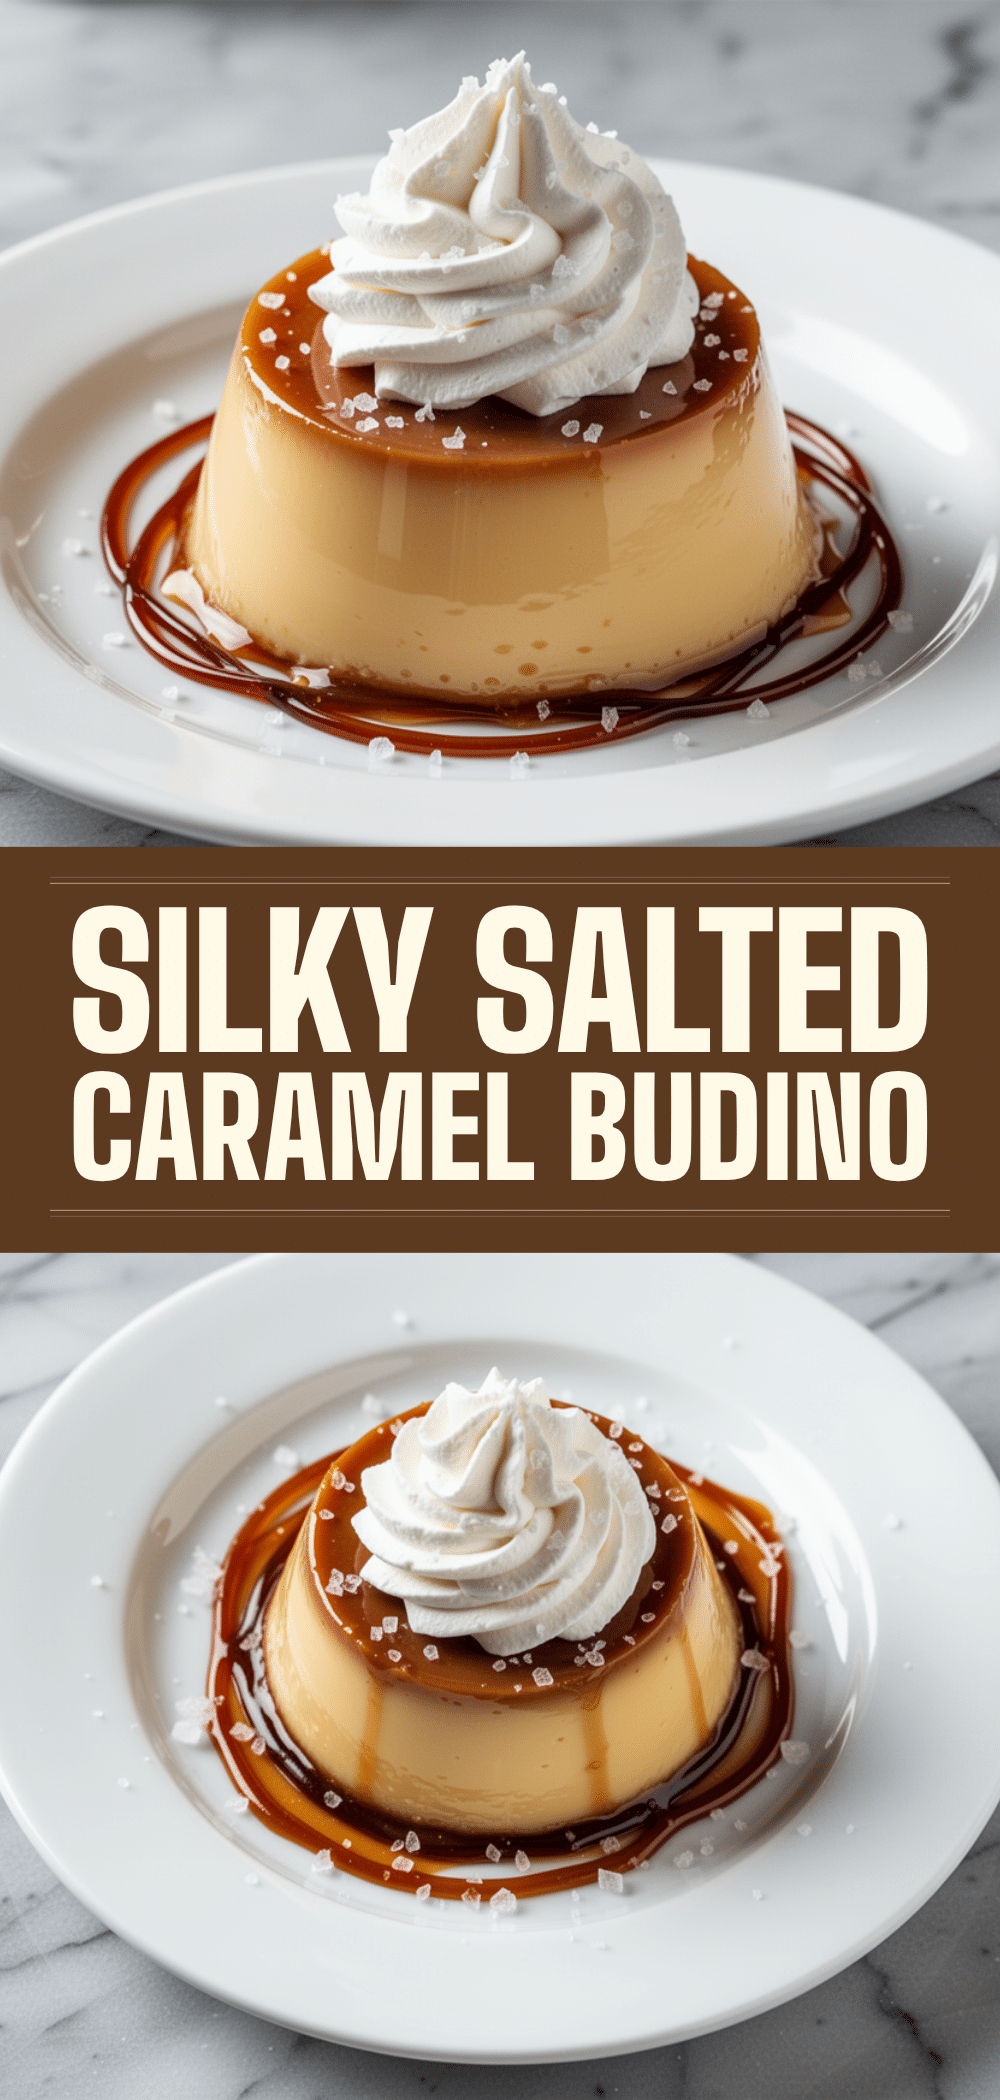
Silky Salted Caramel Budino: 5-Min Perfect No-Bake Dessert
- Total Time: 4 hours 15 minutes
- Yield: 8 servings 1x
Description
A rich, creamy, no-bake dessert featuring a silky salted caramel and cocoa custard base topped with fresh whipped cream. It requires only 5 minutes of active prep time and sets in the fridge for a restaurant-quality finish.
Ingredients
- 2 cups heavy whipping cream (divided)
- 1 cup salted caramel sauce
- 2 tablespoons unsweetened cocoa powder
- 1 teaspoon vanilla extract (divided)
- 1/2 teaspoon fine sea salt
- 2 tablespoons sugar (optional, depending on caramel sweetness)
- 2 tablespoons powdered sugar
- Flaky sea salt (for garnish)
- Optional garnishes: caramel drizzle, chocolate shavings, fresh berries
Instructions
- Warm the salted caramel sauce slightly until pourable but not hot.
- In a medium mixing bowl, whisk together the warmed caramel, 2 cups heavy cream, cocoa powder, 1/2 teaspoon vanilla, fine sea salt, and sugar (if using) until smooth and lump-free.
- In a large, cold mixing bowl, combine the remaining 1 cup heavy cream, powdered sugar, and 1/2 teaspoon vanilla.
- Using a hand mixer or stand mixer, beat the cream mixture on medium-high speed until stiff peaks form.
- Add one-third of the whipped cream to the caramel mixture and whisk gently to lighten the base.
- Add the remaining whipped cream and gently fold it into the caramel base using a silicone spatula with a figure-eight motion until just combined.
- Divide the mixture evenly among 6-8 ramekins or dessert glasses.
- Refrigerate for at least 4 hours, or overnight, until set.
- Before serving, top with additional whipped cream, a drizzle of caramel sauce, and a sprinkle of flaky sea salt.
Notes
Keep all equipment cold for best whipping results. Do not over-fold the cream to maintain airiness. The dessert can be made 1-2 days in advance. It does not freeze well as the texture may become grainy upon thawing.
- Prep Time: 15 minutes
- Cook Time: 0 minutes
- Category: Dessert
- Cuisine: Italian
Nutrition
- Serving Size: 1 ramekin
- Calories: 380
- Sugar: 24
- Sodium: 120
- Fat: 28
- Saturated Fat: 17
- Carbohydrates: 28
- Fiber: 1
- Protein: 4
Keywords: no-bake dessert, salted caramel, budino, pudding, easy dessert, make-ahead dessert, creamy dessert, chocolate caramel


