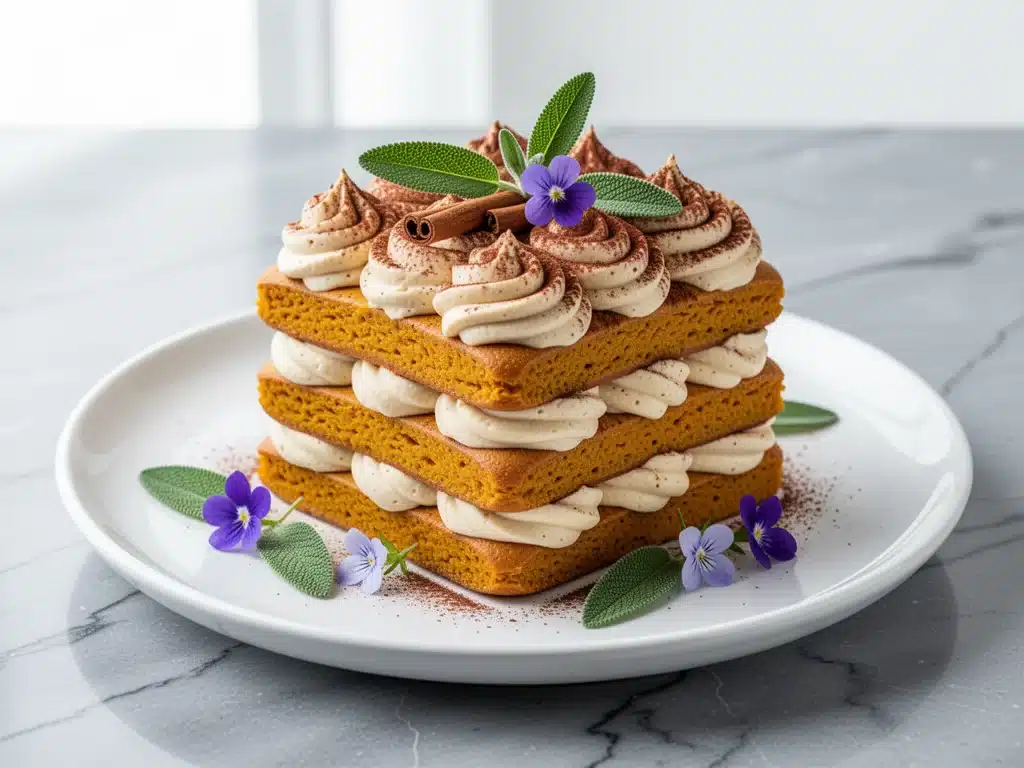
It was supposed to be a quick Tuesday. You know the type. I had a meeting at 6:00, the kids were home from school, and the fridge was looking at me with that specific, judgmental emptiness that only happens on weeknights. I didn’t want to order takeout. I didn’t want to cook a complicated dinner that required chopping six different vegetables. And I definitely didn’t have the energy to bake something that needed a 30-minute chill time before I could even take a bite.
But then I remembered the can of pumpkin puree in the back of my pantry and the half-empty box of ladyfingers I’d bought for a brunch three months ago. I thought, “Why not? It’s just a no-bake dessert. How hard can it be?”
I was wrong. It wasn’t hard, but it also wasn’t just “okay.” When I tasted that first spoonful of creamy, spiced mascarpone layered with pumpkin-soaked ladyfingers, I realized I had accidentally created my new favorite fall tradition. This fall pumpkin tiramisu with spiced mascarpone cream is the kind of dessert that feels like it came from a high-end Italian bakery, but it’s actually stupid simple to throw together. It’s rich, it’s aromatic with cinnamon and nutmeg, and it’s perfect for those nights when you want to feel fancy without actually doing any work.
I’ve made this pumpkin tiramisu at least eight times since September. Sometimes for a quick weeknight treat, sometimes for last-minute guests who show up unannounced (a classic move by my in-laws), and sometimes just because I needed something sweet to get me through a long day. The best part? You don’t need an oven. You don’t need to temper eggs. And you definitely don’t need to panic if you’re running late. It’s the ultimate low-stress, high-reward dessert for busy weeknights.
Why You’ll Love This Recipe
Look, I’m not going to lie to you. Traditional tiramisu requires mascarpone, eggs, sugar, coffee, and ladyfingers. It’s delicious, but it can be a pain. You have to whisk egg whites to stiff peaks (scary if you’re not experienced), you need strong espresso that actually cools down, and you need to wait hours for it to set. This fall pumpkin tiramisu changes the game entirely. It’s my go-to when I want that sophisticated dessert vibe but zero drama.
Here’s why this recipe has completely taken over my kitchen:
- Zero Baking Required — Seriously. If you can mix a bowl and layer a dish, you can make this. No oven, no stove, no melted chocolate. It’s a pure assembly job. I’ve made this while the kids were watching TV in the next room, and it turned out perfectly every time.
- Uses What You Already Have — Most of these ingredients are pantry staples or common fridge items. Pumpkin puree (not pie filling), mascarpone, heavy cream, spices, and ladyfingers. If you’re already buying ingredients for small batch fudgy brownies, you’re probably halfway to making this dessert.
- Make-Ahead Friendly — This is actually better the next day. The flavors meld together, the spices get warmer and deeper, and the texture becomes incredibly smooth. I often make this the morning of a dinner party or the night before a busy weeknight, so when guests arrive, the dessert is ready to go.
- Fall Flavors in Every Bite — We’re talking cinnamon, nutmeg, ginger, and a hint of clove. It tastes like autumn in a bowl. It’s cozy without being heavy, and it’s sweet but not cloying. My husband says it tastes like pumpkin pie had a baby with tiramisu, and honestly? That’s the best compliment I’ve ever received.
- Gluten-Free Option — If you have gluten-sensitive friends or family, you can easily swap the ladyfingers for gluten-free ones. I’ve tested this with several brands, and they hold up surprisingly well. It’s inclusive dessert making at its finest.
This recipe has saved me more times than I can count. It’s my answer to “What’s for dessert?” when I’m tired, broke, and don’t want to order Uber Eats. It’s reliable, it’s delicious, and it makes you look like a culinary genius.
Ingredients You’ll Need
Here’s the best part: you probably have most of this already. This isn’t a recipe that requires a special trip to a specialty store. It’s built on simple, accessible ingredients that come together to create something magical.
For the Spiced Mascarpone Cream
Mascarpone cheese (16 oz / 450g) — This is the star. Don’t substitute with cream cheese unless you have to. Mascarpone is richer, creamier, and less tangy. Let it come to room temperature before you start, or you’ll get lumps. I learned this the hard way when I tried to whip cold mascarpone and ended up with a grainy mess.
Heavy cream (1 cup / 240ml) — You need the full-fat stuff. Half-and-half won’t whip up properly, and skim milk is a no-go. Cold heavy cream whips up light and fluffy, which gives this dessert its airy texture.
Powdered sugar (½ cup / 60g) — I prefer powdered sugar over granulated here because it dissolves instantly into the cream. No gritty bits. If you don’t have powdered sugar, you can blend granulated sugar in a blender for 30 seconds, but why make extra work?
Vanilla extract (1 teaspoon) — Use real vanilla. The artificial stuff tastes harsh in a delicate cream like this. A good quality vanilla makes a noticeable difference.
Pumpkin puree (½ cup / 120g) — Make sure this is 100% pure pumpkin, not pumpkin pie filling. Pie filling has sugar and spices already added, which will mess up the balance. Look for a can labeled “100% Pure Pumpkin.”
Pumpkin pie spice (1 tablespoon) — This is a blend of cinnamon, ginger, nutmeg, and cloves. If you don’t have pumpkin pie spice, you can make your own: 1 tsp cinnamon, ½ tsp ginger, ¼ tsp nutmeg, and a pinch of cloves. But honestly, buying the pre-mixed blend saves time and is pretty reliable.
For the Assembly
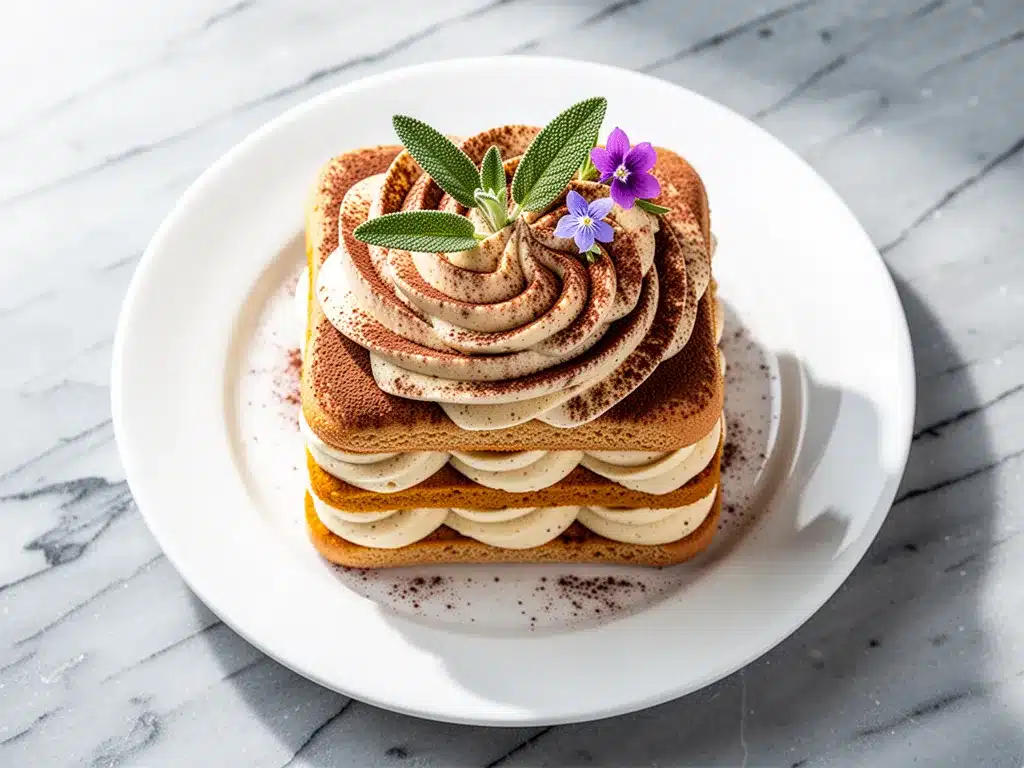
Ladyfingers (1 package / about 24-30 pieces) — These are the sponge-like biscuits that soak up the flavors. Don’t use regular cookies. They need to be dry and crisp so they absorb the cream without turning into mush immediately. If you can’t find ladyfingers, savoiardi biscuits work too.
Strong brewed coffee (1 cup / 240ml) — You don’t need fancy espresso if you don’t want to. Strong brewed coffee from a drip machine works fine. Let it cool to room temperature before dipping the ladyfingers, or they’ll get soggy instantly. I usually brew it in the morning and let it sit on the counter.
Optional: Dark chocolate shavings — For garnish. It adds a nice bitter contrast to the sweet cream and pumpkin. I use a vegetable peeler to shave a bar of dark chocolate over the top before serving.
Equipment Needed
You don’t need fancy equipment for this. Here’s what I actually use:
Two mixing bowls — One for whipping the heavy cream, one for mixing the mascarpone and pumpkin. I use large stainless steel bowls because they’re easy to clean and sturdy.
Hand mixer or stand mixer — I prefer a hand mixer because it’s quick and easy to clean. A stand mixer works too, but you’ll need to switch attachments. Either way, you need something that can whip cream to stiff peaks.
9×13 inch baking dish — This is the standard size for tiramisu. It holds the layers nicely. You can use a smaller dish if you’re making a smaller batch, but adjust the layering accordingly.
Whisk — For mixing the mascarpone and pumpkin. A simple wire whisk works perfectly.
Measuring cups and spoons — Standard stuff. I keep a set from the dollar store that works fine.
Pastry brush or spoon — For brushing the coffee onto the ladyfingers. I use a spoon because it’s easier to control the amount. Don’t soak them too much, or they’ll fall apart.
How to Make It: Step-by-Step
Alright, let’s make this! I’m walking you through exactly how I do it, including the little tricks I’ve picked up. It’s simple, but there are a few key moments that make or break the texture.
Step 1: Prep Your Ingredients (5 minutes)
Before you start mixing, make sure everything is at the right temperature. Take the mascarpone out of the fridge and let it sit on the counter for about 15 minutes. It shouldn’t be melted, just soft. Cold mascarpone is impossible to mix smoothly. Also, brew your coffee and let it cool completely. If it’s hot, it’ll cook the cream or make the ladyfingers disintegrate. I usually brew it the night before, but if you’re in a rush, you can speed it up by pouring it into a shallow dish and putting it in the fridge for 10 minutes.
Step 2: Whip the Heavy Cream (3 minutes)
In a large, cold bowl, pour the heavy cream. Using a hand mixer or stand mixer, beat on medium-high speed until you see soft peaks. This means when you lift the beaters, the cream forms a soft peak that droops over slightly. Don’t over-whip it into butter! Stop as soon as you see those soft peaks. Set this aside. We’ll fold it in later to keep it light and airy.
Step 3: Mix the Mascarpone Base (3 minutes)
In a separate medium bowl, combine the softened mascarpone, powdered sugar, vanilla extract, pumpkin puree, and pumpkin pie spice. Whisk this together until it’s smooth and creamy. It might take a minute or two if the mascarpone is still a bit stiff. You want a uniform, lump-free mixture. Taste it now—it should be sweet and spiced. If you want it sweeter, add a little more powdered sugar. If you want more spice, add a pinch more pumpkin pie spice.
Step 4: Fold the Cream Together (2 minutes)
Gently fold the whipped heavy cream into the mascarpone mixture. Use a spatula and fold from the bottom up, turning the bowl as you go. Be gentle here. You’re trying to keep the air in the cream so the final texture is light, not dense. Stop when you see no more streaks of white cream, but don’t over-mix. It should look fluffy and uniform.
Step 5: Dip and Layer (10 minutes)
This is the fun part. Take a ladyfinger and dip it quickly into the cooled coffee. I mean *quickly*—like 1-2 seconds per side. You want it coated, not swimming. If you soak it too long, it’ll fall apart in the dish. Place the dipped ladyfinger in a single layer at the bottom of your 9×13 dish. Repeat until you’ve covered the bottom. It’s okay if they overlap slightly; they’ll soften and merge.
Spread half of the spiced mascarpone cream over the ladyfingers. Use a spatula to smooth it out evenly. Then, repeat the process: dip another layer of ladyfingers in coffee, place them on top of the cream, and spread the remaining cream over them. Finish with a smooth layer of cream on top.
Step 6: Chill and Set (At least 4 hours, preferably overnight)
Cover the dish with plastic wrap and refrigerate. This is where the magic happens. The ladyfingers absorb the cream and coffee, softening into a cake-like texture. The flavors meld together. I usually make this the night before, but if you’re in a hurry, 4 hours is the minimum. After 4 hours, it will be set enough to slice, but overnight is better for that authentic tiramisu texture.
Step 7: Garnish and Serve
Before serving, I like to dust the top with a little extra pumpkin pie spice or sprinkle dark chocolate shavings over it. It adds a nice visual contrast and a hint of bitterness to balance the sweetness. Slice it with a sharp knife for clean cuts. Serve cold. It’s best enjoyed with a cup of coffee or tea.
Expert Tips & Tricks
Here’s everything I’ve learned from making this dozens of times. These tips will save you from my mistakes.
Don’t Over-Soak the Ladyfingers — This is the #1 mistake people make. Ladyfingers are porous and absorb liquid like a sponge. If you dip them for more than 2 seconds, they’ll turn to mush. Quick dip, place, repeat. If you’re worried they’ll be dry, you can brush them lightly with coffee instead of dipping, but dipping is faster.
Use Room Temperature Mascarpone — I can’t stress this enough. Cold mascarpone creates lumps that are impossible to whisk out. If you forget to take it out, cut it into cubes and let it sit for 10 minutes. It’ll soften up fast.
Cold Cream Whips Better — Make sure your heavy cream and mixing bowl are cold. If you’re in a warm kitchen, put your bowl in the fridge for 10 minutes before whipping. Cold cream holds its structure better and whips up faster.
Strong Coffee is Key — Since you’re only using 1 cup of coffee, make sure it’s strong. Weak coffee will taste watery. If you’re using a drip machine, use less water for the same amount of grounds. Or, if you have an espresso machine, use a shot or two. The coffee flavor needs to punch through the sweet cream.
Chill Longer for Better Texture — While 4 hours is enough to eat it, 8-12 hours (overnight) is where it truly shines. The ladyfingers fully soften, and the spices become more aromatic. I always make this the night before. It’s less stressful and tastes better.
Common Mistakes (and how to avoid them):
- Mistake: Cream is grainy Fix: Your mascarpone was too cold. Let it soften more before mixing.
- Mistake: Dessert is too runny Fix: You didn’t chill it long enough. Or you over-whipped the cream and it broke. Next time, whip to soft peaks and chill longer.
- Mistake: Ladyfingers are soggy Fix: You soaked them too long. Dip and place quickly. Or use less coffee.
Variations & Substitutions
Once you’ve nailed the basic version, here’s how you can mix it up. I’ve tried all of these.
Almond Tiramisu — Add 1 teaspoon of almond extract to the mascarpone cream. Swap the pumpkin spice for cinnamon and cardamom. It’s a classic flavor combo that pairs beautifully with the coffee.
Chocolate Pumpkin Tiramisu — Add ¼ cup of cocoa powder to the mascarpone mixture. It makes it richer and more like a chocolate mousse. Garnish with chocolate shavings.
Gluten-Free — Use gluten-free ladyfingers. They’re widely available now and work just as well. Just be extra careful not to over-soak them, as gluten-free biscuits can be more fragile.
Coffee-Free — If you’re serving kids or people who don’t drink coffee, skip the coffee step. Dip the ladyfingers in milk or a mixture of milk and vanilla extract. It’s sweeter, but still delicious.
Lighter Version — Use Greek yogurt instead of half the mascarpone. It’s tangier and lighter, but still creamy. I make this when I’m trying to be a little healthier, though I’ll admit the full-fat version is worth the indulgence.
Dietary Modifications:
- Dairy-Free — Use coconut cream instead of heavy cream and dairy-free mascarpone (or cashew cream). It’s different but still works.
- Lower Sugar — Reduce the powdered sugar to ¼ cup and use sugar-free pumpkin puree. It’s less sweet but still flavorful.
Serving & Storage
How to Serve:
I usually serve this straight from the dish, scooping it with a spoon. It looks rustic and stays cold. But here are other ways I’ve enjoyed it:
- Side Dishes: It’s a dessert, so it doesn’t need sides. But if you’re serving it after a meal, pair it with a simple green salad or honey roasted glazed carrots for a balanced plate.
- Toppings: Extra pumpkin pie spice, dark chocolate shavings, or crushed gingersnap cookies for crunch.
- Wine Pairing: A dessert wine like Moscato or a sweet Riesling works great. Or just stick with coffee.
Storage Instructions:
Refrigerator: Store in an airtight container or covered with plastic wrap for up to 5 days. It actually gets better after day 2. The flavors deepen and the texture softens further.
Freezing: You can freeze this, but the texture changes. The mascarpone may separate slightly when thawed. If you must freeze it, wrap it tightly in plastic and foil for up to 1 month. Thaw in the fridge overnight. It’s not perfect, but it’s still good.
Meal Prep: Make it the night before. It’s the ultimate make-ahead dessert. Just keep it covered in the fridge until you’re ready to serve.
Nutrition Information
I’m not a nutritionist, but here’s the breakdown if you’re tracking. This is a rich dessert, so portion control is key.
Per Serving (based on 12 servings):
- Calories: 320
- Protein: 4g
- Carbs: 35g
- Fiber: 1g
- Sugar: 22g
- Fat: 18g
- Saturated Fat: 11g
- Cholesterol: 50mg
- Sodium: 120mg
What’s Good:
- It’s a smaller portion size, so it’s satisfying without being overwhelming.
- Pumpkin adds a bit of vitamin A.
- No artificial flavors or preservatives.
What to Know:
- Higher in calories and fat from the mascarpone and cream.
- Contains dairy and gluten (unless substituted).
- Moderate sugar content.
My Take:
Look, this is a dessert. It’s sweet, rich, and indulgent. It’s not a health food. But it’s way better than store-bought cakes, and it’s made with real ingredients. When I want to make it lighter, I use less sugar and Greek yogurt. But usually? I just enjoy a small slice and savor it.
Final Thoughts
So that’s my go-to fall pumpkin tiramisu! I’ve probably talked your ear off at this point, but when you make a recipe this often, you have a lot to say about it.
This has saved weeknight desserts more times than I can count. It’s my answer to “What’s for dessert?” when I’m tired, don’t want to bake, and still want something that tastes really good. My kids are happy, my husband’s happy, and I’m happy because I’m not stressed about cooking.
Make it yours! Try different add-ins, swap in your favorite spices, or adjust the sweetness. The best recipes are the ones you adapt to your family’s tastes.
If you make this, drop a comment and let me know what you think! I love hearing how recipes turn out in your kitchen. And if something doesn’t work, tell me that too—I’m here to help troubleshoot.
Happy cooking! And I hope your kitchen smells half as good as mine does right now.
Frequently Asked Questions
Q: Can I use coffee instead of espresso?
A: Absolutely. Strong brewed coffee works just fine. In fact, I usually use drip coffee because it’s easier to make in large quantities. Just make sure it’s strong and cooled down. Espresso is more concentrated, but it’s not necessary.
Q: Can I make this ahead of time?
A: Yes! This is actually better when made ahead. You can make it up to 2 days in advance. Just keep it covered in the fridge. The flavors meld together and the texture improves overnight.
Q: Why did my tiramisu turn out runny?
A: Usually means you didn’t chill it long enough, or you over-whipped the cream and it broke. Make sure you whip the cream to soft peaks, not stiff peaks. And chill for at least 4 hours, preferably overnight.
Q: Can I use pumpkin pie filling instead of puree?
A: No. Pumpkin pie filling has sugar and spices already added, which will throw off the balance. Use 100% pure pumpkin puree from a can. It’s unsweetened and unspiced, so you control the flavor.
Q: How do I store leftovers?
A: Cover the dish with plastic wrap or transfer to an airtight container. It will last in the fridge for up to 5 days. Don’t freeze it if you can avoid it, as the texture changes.
Q: Can I use gluten-free ladyfingers?
A: Yes. They work well, but be extra careful not to over-soak them, as they can be more fragile. Dip them quickly and place them gently.
Q: Can I add alcohol?
A: Yes! A tablespoon of rum or bourbon in the coffee adds a nice kick. It’s optional, but it enhances the flavor. Just be mindful if serving to children.
Pin This Recipe!
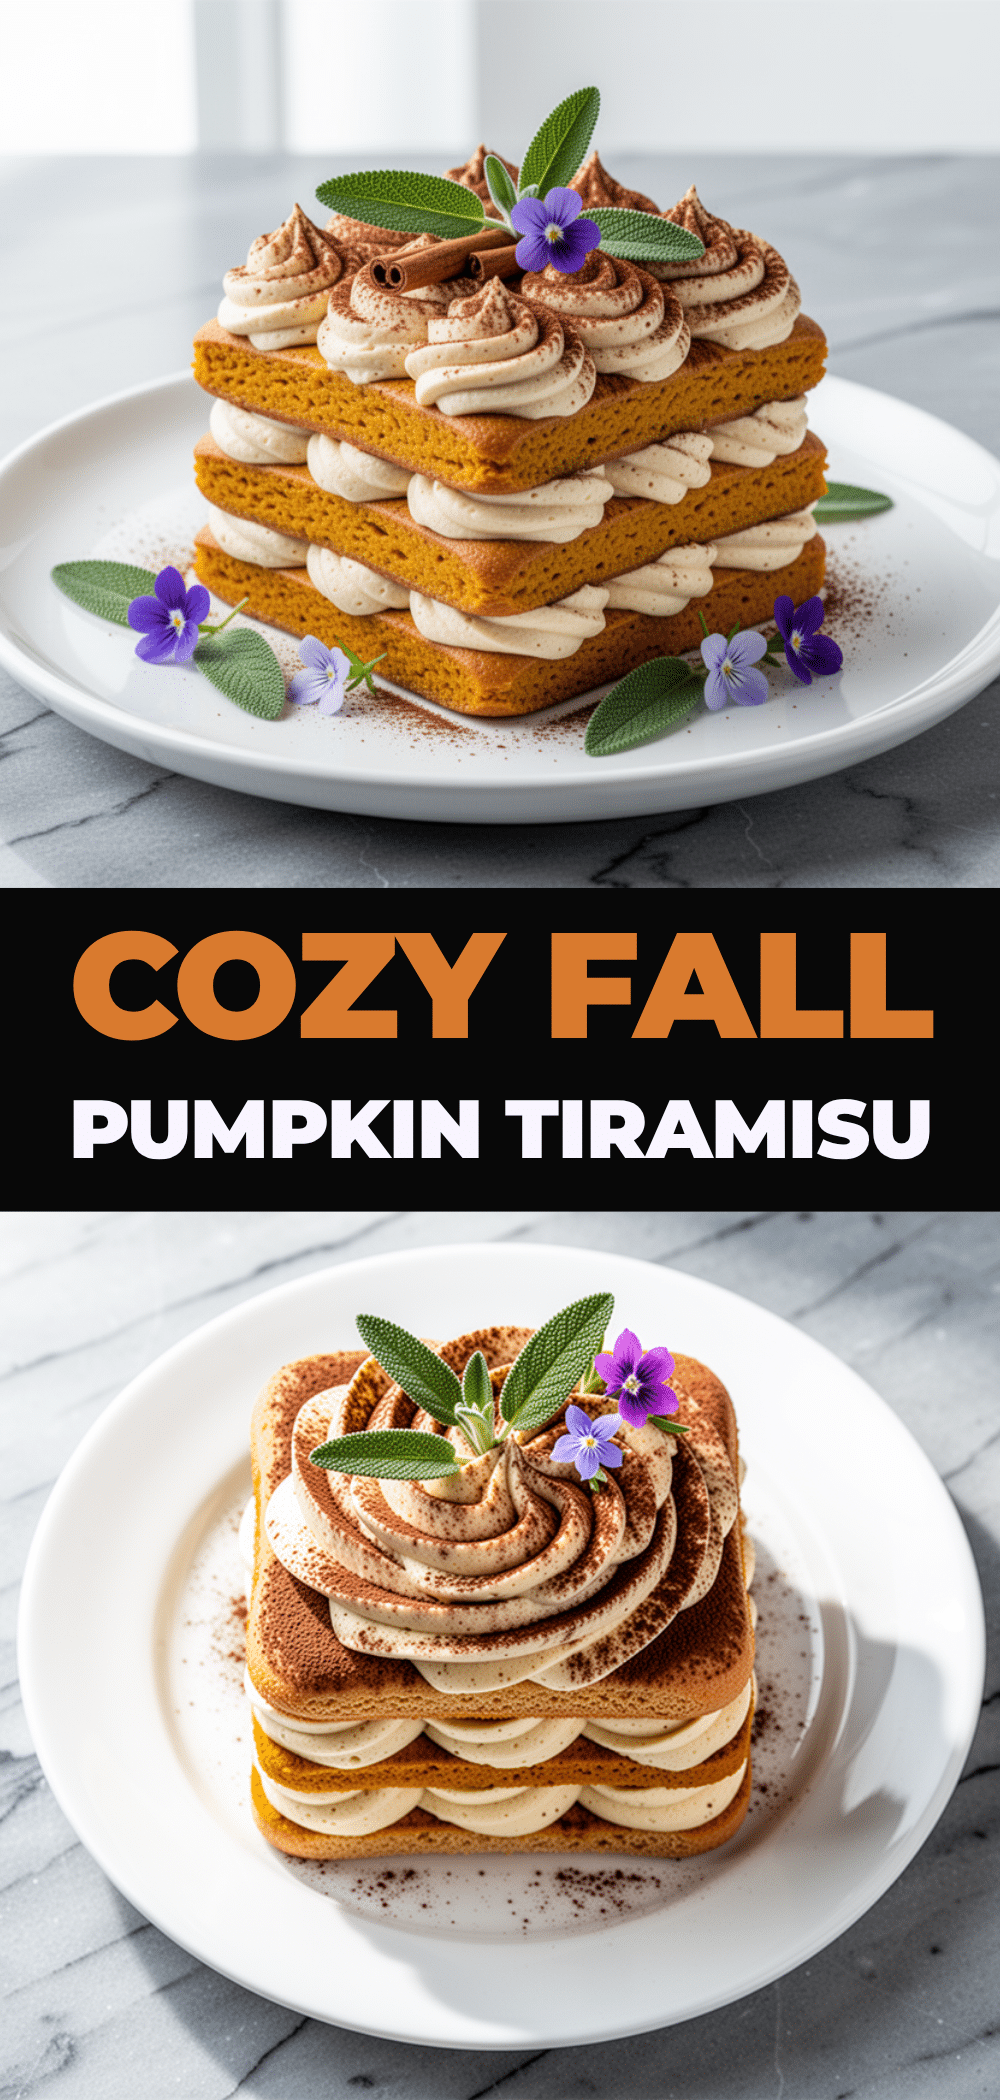

Fall Pumpkin Tiramisu: 5-Step No-Bake Dessert
- Total Time: 4 hours 20 minutes
- Yield: 12 servings 1x
Description
A rich, aromatic no-bake dessert featuring spiced mascarpone cream layered with pumpkin-soaked ladyfingers. This fall-inspired tiramisu is easy to make, requires no oven, and tastes like autumn in a bowl.
Ingredients
- 16 oz (450g) mascarpone cheese, room temperature
- 1 cup (240ml) heavy cream, cold
- ½ cup (60g) powdered sugar
- 1 teaspoon vanilla extract
- ½ cup (120g) 100% pure pumpkin puree
- 1 tablespoon pumpkin pie spice
- 1 package (24-30 pieces) ladyfingers
- 1 cup (240ml) strong brewed coffee, cooled to room temperature
- Dark chocolate shavings, optional for garnish
Instructions
- Prep ingredients: Let mascarpone sit at room temperature for 15 minutes to soften. Brew coffee and let it cool completely.
- Whip the heavy cream: In a large, cold bowl, beat heavy cream on medium-high speed until soft peaks form. Set aside.
- Mix the mascarpone base: In a separate medium bowl, whisk together softened mascarpone, powdered sugar, vanilla extract, pumpkin puree, and pumpkin pie spice until smooth and lump-free.
- Fold the cream together: Gently fold the whipped heavy cream into the mascarpone mixture using a spatula until uniform and fluffy. Do not over-mix.
- Dip and layer: Quickly dip each ladyfinger into the cooled coffee (1-2 seconds per side) and place in a single layer at the bottom of a 9×13 inch dish. Spread half of the mascarpone cream over the ladyfingers. Repeat with a second layer of dipped ladyfingers and the remaining cream.
- Chill and set: Cover the dish with plastic wrap and refrigerate for at least 4 hours, preferably overnight, to allow flavors to meld and texture to set.
- Garnish and serve: Dust with extra pumpkin pie spice or sprinkle dark chocolate shavings over the top before serving cold.
Notes
Ensure mascarpone is at room temperature to avoid lumps. Do not over-soak ladyfingers in coffee or they will become mushy. The dessert improves in flavor and texture when chilled overnight. For a gluten-free version, use gluten-free ladyfingers. For a dairy-free version, substitute with coconut cream and dairy-free mascarpone.
- Prep Time: 20 minutes
- Cook Time: 0 minutes
- Category: Dessert
- Cuisine: Italian
Nutrition
- Serving Size: 1 slice
- Calories: 320
- Sugar: 22
- Sodium: 120
- Fat: 18
- Saturated Fat: 11
- Carbohydrates: 35
- Fiber: 1
- Protein: 4
Keywords: pumpkin tiramisu, no-bake dessert, fall dessert, mascarpone cream, pumpkin pie spice, gluten-free option, make-ahead dessert


