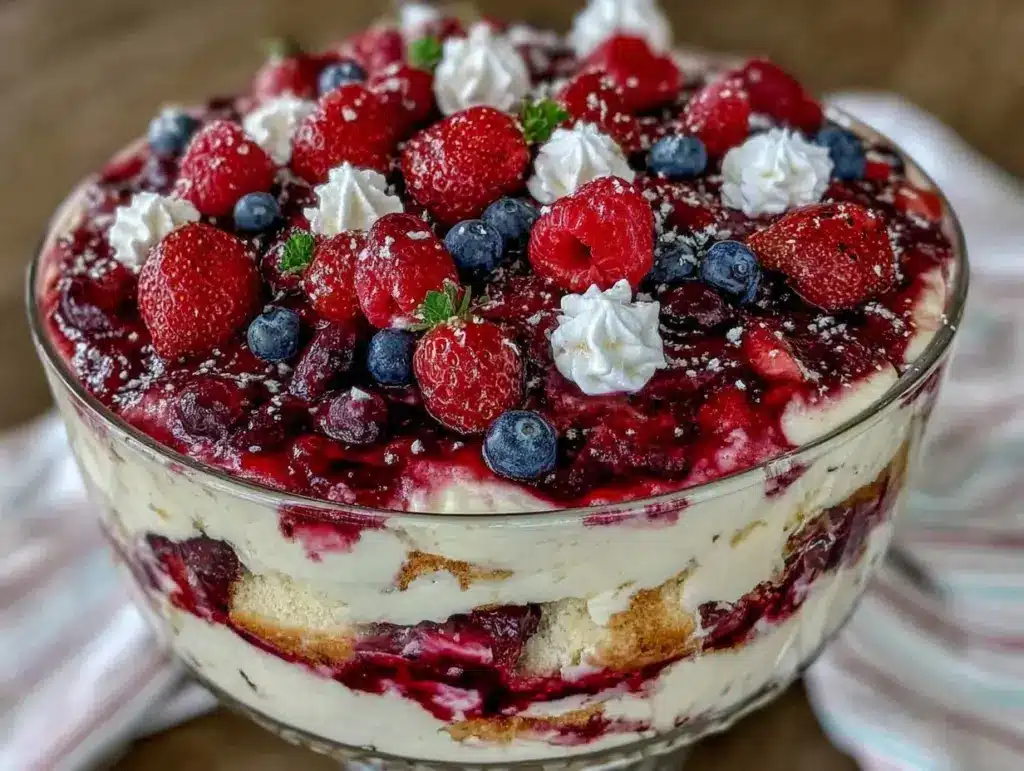
There is a specific kind of panic that hits around 3 PM on Labor Day. You’re staring at a half-empty fridge, the grill is already covered in foil-wrapped potato wedges, and your in-laws are asking, “What’s for dessert?” If you’re anything like me, your first instinct is to panic-bake. You want something impressive. Something that says, “I put thought into this,” without actually requiring you to stand over a hot oven for two hours while everyone else is relaxing.
Last year, I tried to make a complicated layered cake. It sank. It looked sad. It tasted like disappointment and burnt sugar. This year, I made a Labor Day Red White and Blue Berry Trifle. I threw it together in 20 minutes. I didn’t turn on the oven. And my uncle, who complains about everything, asked me for the recipe three separate times.
Here’s the thing about trifles: they are the ultimate cheat code for entertaining. You don’t need to be a pastry chef. You don’t need to worry about cake layers being level or frosting cracking. You just need good ingredients and a pretty glass bowl. This Red White and Blue Berry Trifle is basically impossible to mess up. It’s colorful, it’s refreshing, and it tastes like summer is hanging on by a thread.
I’ve tested this recipe about six times now—mostly because my family keeps eating it before I can photograph it properly. Each time, I tweaked the ratios until I found the sweet spot (literally). The result is a dessert that’s light enough to finish after a heavy BBQ meal but rich enough to feel like a treat. If you can only make one dessert this Labor Day weekend, make this one. Seriously. You really can’t mess it up.
Why You’ll Love This Red White and Blue Berry Trifle
There are about ten reasons I keep making this for every holiday, but let’s be real. You don’t need ten reasons. You need to know that this dessert actually works. Here’s why this Red White and Blue Berry Trifle has earned a permanent spot in my holiday rotation.
- Zero Baking Required — I’m serious. No oven, no timer anxiety, no burnt edges. This is a no-bake dessert that feels fancy because of the presentation, not the technique. I’ve made this while helping my kids with homework. It’s that easy.
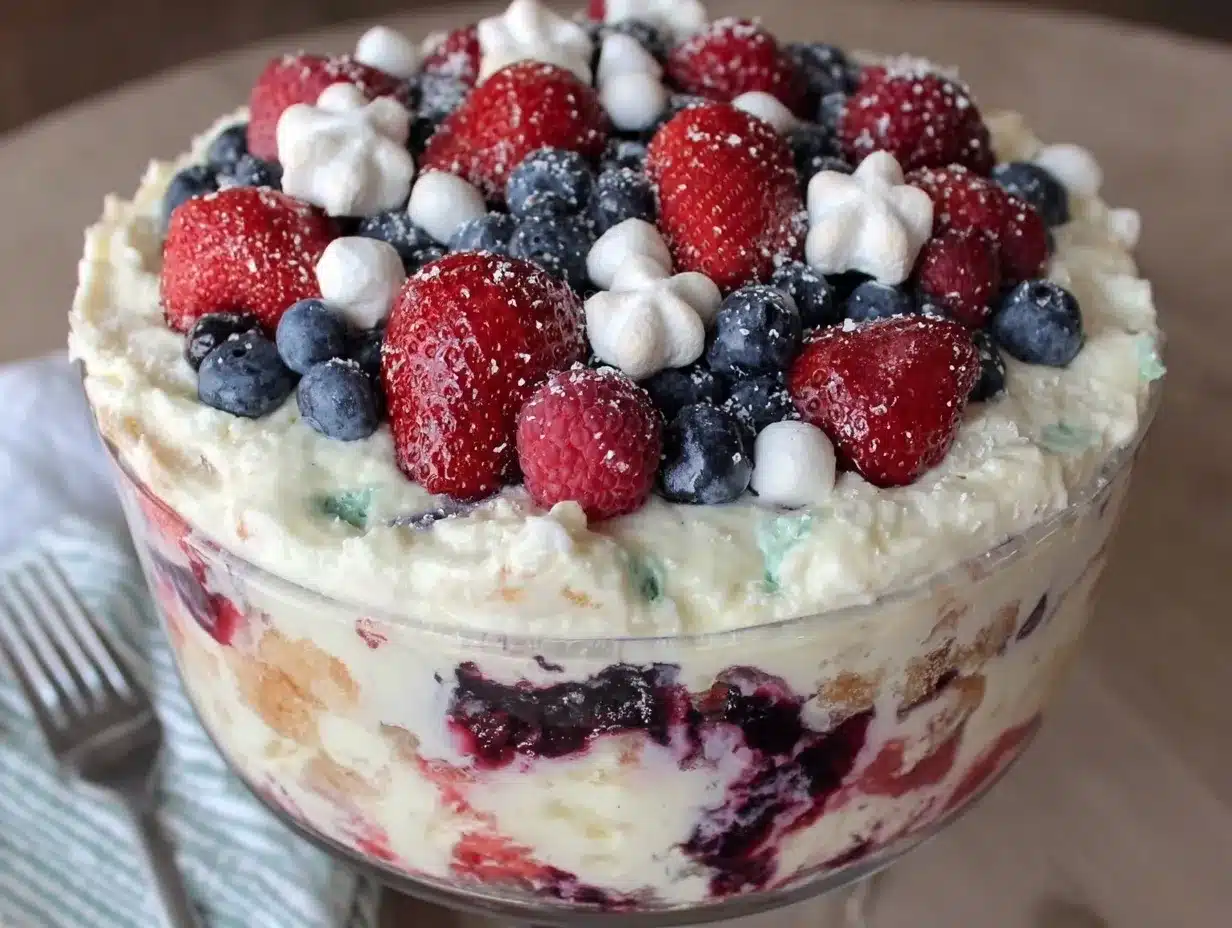
- Stunning Visuals — The red strawberries, white cream, and blue blueberries layer beautifully in a clear trifle bowl or even a large mason jar. It looks like something from a boutique patisserie, but it’s just whipped cream and fruit. People assume you spent hours on it. (Shhh.)
- Make-Ahead Friendly — This is the best part. You can assemble this the night before. In fact, I prefer it assembled 4-6 hours ahead. The flavors meld together, the berries release a little juice, and the cake soaks up the cream just enough to be perfect. It saves you from being stuck in the kitchen while guests are arriving.
- Light and Refreshing — Labor Day is right on the edge of fall. People are still thinking about BBQ and potato salad. They don’t want a heavy chocolate cake. This trifle is airy, fruity, and not overly sweet. It’s the perfect palate cleanser after a heavy meal.
- Forgiving Recipe — Did you buy slightly smaller strawberries? No problem. Did you run out of blueberries and use blackberries? It still looks beautiful. The layers are rustic by design. You can’t “ruin” a trifle. It’s inherently imperfect and charming.
This is my go-to when I want to impress without stressing. It’s the “if you can only make one thing, make this” dessert. Simple, beautiful, delicious. Hard to mess up.
Ingredients You’ll Need
Here’s the best part: you probably have most of this already, or it’s a quick stop at the store. I’m particular about three things here, but otherwise, keep it simple.
For the Cake Base
Yellow cake mix (1 box / 15.25 oz) — Don’t feel bad about using a mix. It’s consistent, it’s moist, and it holds up well in layers. I use the standard yellow cake. If you want to be fancy, you can bake a scratch cake, but this works perfectly. Just follow the box instructions for baking.
Vanilla pudding mix (1 box / 3.4 oz) — This is the secret weapon. You’ll mix this with milk to create a quick pudding layer. It adds creaminess and sweetness that pairs perfectly with the fruit. Instant pudding is fine; no cooking required.
Milk (2 cups / 480ml) — Whole milk works best for richness, but 2% is fine too. Just don’t use skim if you can help it; you want that creamy texture.
For the Cream Layer
Heavy whipping cream (2 cups / 480ml) — Cold heavy cream is non-negotiable for stiff peaks. If you use warm cream, it won’t whip. Take it straight out of the fridge.
Confectioners’ sugar (½ cup / 60g) — This sweetens the whipped cream. You can reduce to ¼ cup if you prefer less sweetness, but the berries are tart, so the sugar helps balance it.
Vanilla extract (1 teaspoon) — Pure vanilla makes a huge difference. I use the brown bottle stuff, not the imitation. It adds that classic “dessert” flavor.
For the Fruit Layers
Strawberries (1 pint / 12 oz) — Wash, hull, and slice them thinly. Red strawberries are traditional, but any ripe red berry works. Look for berries that are fragrant and deep red.
Blueberries (2 cups / 250g) — Fresh blueberries are best. They hold their shape and don’t get mushy. If you only have frozen, thaw them and drain well—excess water is the enemy here.
Raspberries (1 cup / 125g) — Optional, but I love the pop of red they add. They’re delicate, so handle with care. If you can’t find raspberries, just double the strawberries.
Lemon juice (1 tablespoon) — A little squeeze of lemon over the berries prevents them from browning and adds a bright note that cuts through the sweet cream.
Equipment Needed
You don’t need fancy equipment for this. Here’s what I actually use.
- Trifle bowl or large glass punch bowl — I use a 6-quart trifle bowl. It has to be clear so you can see those beautiful layers. If you don’t have one, a large glass mixing bowl or even individual mason jars work great.
- Electric mixer — Hand mixer or stand mixer. Whipping cream by hand is possible but exhausting. Just don’t over-whip it.
- Serrated knife — For slicing the cake into cubes. A serrated knife makes clean cuts without crushing the cake.
- Large mixing bowls — One for the pudding, one for the whipped cream, and one for tossing the berries.
- Measuring cups and spoons — Standard stuff.
Pro tip: If you’re serving individual portions, use clear glasses or jars. It looks gorgeous on Pinterest and makes serving easier. But for a party, a big trifle bowl is the way to go.
How to Make It: Step-by-Step
Alright, let’s make this! I’m walking you through exactly how I do it. It’s basically just layering, so don’t overthink it.
Step 1: Bake and Cool the Cake (30 minutes)
Preheat your oven to 350°F (175°C). Prepare two 9-inch round cake pans with non-stick spray and a dusting of flour (or just spray). Mix the cake batter according to the box instructions. Divide it evenly between the pans and bake for 25-30 minutes, or until a toothpick comes out clean. Let the cakes cool completely in the pans for 10 minutes, then remove to a wire rack to cool completely. This is crucial—if the cake is warm, it will melt the cream and make a mess.
Step 2: Make the Pudding Layer (5 minutes)
While the cake cools, whisk the instant vanilla pudding mix with 2 cups of cold milk for 2 minutes. It thickens quickly. Let it sit for 5 minutes to fully set. This creates a creamy, custard-like layer that’s lighter than frosting but richer than just cream.
Step 3: Whip the Cream (5 minutes)
In a large bowl, whip the heavy cream, confectioners’ sugar, and vanilla extract on medium-high speed until stiff peaks form. This means when you lift the beaters, the cream stands up straight. Don’t over-whip it into butter, but don’t under-whip it either. You want it firm enough to hold the layers.
Step 4: Prep the Fruit (10 minutes)
Wash and slice the strawberries. Toss them gently with the lemon juice. Wash the blueberries and raspberries. Set aside. The lemon juice keeps the strawberries bright red and adds a nice tang.
Step 5: Cube the Cake
Once the cakes are completely cool, slice them in half horizontally to create four thin layers. Then, cube the cake into 1-inch pieces. You want small cubes so they fit easily in the bowl and don’t dominate the layers.
Step 6: Assemble the Trifle
This is the fun part. In your trifle bowl, start with a layer of cake cubes at the bottom. Spread half of the pudding mixture over the cake. Then, add a layer of strawberries, then a layer of blueberries. Top with a generous layer of whipped cream. Repeat the layers: cake, pudding, mixed berries, whipped cream. Finish with a final layer of whipped cream on top.
Step 7: Garnish and Chill
Garnish the top with whole strawberries, a sprinkle of blueberries, and maybe a few mint leaves if you want to look fancy. Cover with plastic wrap and refrigerate for at least 4 hours, or overnight. This lets the flavors meld and the cake soften slightly.
Total Time: About 45 minutes active, plus chilling time.
Expert Tips & Tricks
Here’s everything I’ve learned from making this dozens of times. These tips will save you from my mistakes.
Cool the Cake Completely
I cannot stress this enough. Warm cake + whipped cream = soup. If you’re in a rush, put the cake layers in the freezer for 15 minutes to speed up the cooling process. But don’t skip this step.
Don’t Skimp on the Pudding
Some recipes just use cake and cream. I tried that once, and it was too dry. The pudding layer adds moisture and richness. It’s the glue that holds the trifle together. Use the instant pudding mix—it’s foolproof.
Keep the Layers Distinct
When assembling, try to keep the colors separate. Don’t mix all the berries together in one pile. Red here, white there, blue there. It looks better and tastes more interesting. But if you’re tired, just toss them together. It still tastes great.
Use Cold Bowls
If your whipped cream isn’t whipping up stiffly, chill your mixing bowl and beaters in the freezer for 10 minutes before starting. Cold equipment helps cream whip faster and hold its shape.
Make It Ahead
This trifle actually gets better the next day. The cake absorbs the moisture from the pudding and berries, becoming tender and cake-like. Assemble it the night before your party. It saves you so much stress.
Variations & Substitutions
Once you’ve nailed the basic version, here’s how you can mix it up. I’ve tried all of these.
Chocolate Lover’s
Swap the yellow cake for chocolate cake. Use chocolate pudding instead of vanilla. It’s basically a chocolate trifle. My kids prefer this version, though it loses the red, white, and blue theme.
Strawberry Shortcake Style
Skip the pudding layer. Use angel food cake instead of yellow cake. It’s lighter and airier. Top with fresh strawberries and whipped cream. It tastes like a classic strawberry shortcake but in trifle form.
Seasonal Berry Swap
Not summer? No problem. Use peaches and blackberries in the summer, or cranberries and apples in the fall. The structure stays the same. Just adjust the sweetness of the berries if needed.
Gluten-Free
Use a gluten-free yellow cake mix and gluten-free pudding. Everything else is naturally gluten-free. I’ve used several GF cake mixes, and they work well in trifles because the cake gets soft anyway.
Dairy-Free
Use coconut milk pudding (chilled) and whip coconut cream (chilled heavy coconut milk). It’s richer and heavier, but still delicious. Add a little maple syrup to the coconut cream for sweetness.
Serving & Storage
How to Serve
I usually serve this straight from the bowl with a large serving spoon. It’s rustic and inviting. But here are other ways I’ve enjoyed it:
- Individual Glasses — Layer it in mason jars or dessert glasses for a fancy touch. Great for parties where people can grab their own.
- With a Drizzle — Add a drizzle of strawberry sauce or chocolate syrup on top before serving for extra flair.
- With Mint — Fresh mint leaves on top add a pop of green and a fresh aroma.
Storage Instructions
Refrigerator:
Store covered in the fridge for up to 3 days. The cake will continue to soften, and the flavors will meld. It’s still good on day 3, but best on day 1 or 2.
Freezing:
Honestly, this doesn’t freeze well. The whipped cream separates and becomes grainy when thawed. The berries also get mushy. Make it fresh or store in the fridge. If you must freeze, freeze the cake layers separately, but I don’t recommend it.
Meal Prep:
This is a perfect make-ahead dessert. Assemble it the night before. Let it chill overnight. In the morning, it’s ready to go. Just add the garnish right before serving.
Nutrition Information
I’m not a nutritionist, but here’s the breakdown if you’re tracking. This is a sweet treat, so enjoy in moderation.
Per Serving (based on 12 servings):
- Calories: 320
- Protein: 4g
- Carbs: 42g
- Fiber: 2g
- Sugar: 24g
- Fat: 16g
- Saturated Fat: 10g
- Cholesterol: 45mg
- Sodium: 280mg
What’s Good:
Contains fruit (vitamins and antioxidants). It’s lighter than a heavy chocolate cake.
What to Know:
Higher in sugar from the cake mix, pudding, and whipped cream. Contains dairy and gluten.
My Take:
Look, this is a dessert. It’s sweet and creamy. It’s not a health food. But it’s better than store-bought cake, and you control the ingredients. When I want to make it lighter, I use less sugar in the whipped cream and more fruit. But usually? I just eat a reasonable portion and enjoy it.
Final Thoughts
So that’s my Labor Day Red White and Blue Berry Trifle! I’ve probably talked your ear off at this point, but when you make a recipe this often, you have a lot to say about it.
This has saved me from so many holiday dinner disasters. It’s my answer to “what’s for dessert” when I’m tired, don’t want to bake, and still want something that looks amazing. My family is happy, my guests are impressed, and I’m happy because I’m not stressed about cooking.
Make it yours! Try different berries, swap the cake flavor, adjust the sweetness. The best recipes are the ones you adapt to your family’s tastes. And if you’re looking for other easy desserts, check out my no-bake chocolate peanut butter bars or my creamy strawberry cheesecake ice cream for more crowd-pleasers.
If you make this, drop a comment and let me know what you think! I love hearing how recipes turn out in your kitchen. And if something doesn’t work, tell me that too—I’m here to help troubleshoot.
Happy cooking! And I hope your kitchen smells half as good as mine does right now.
Frequently Asked Questions
Can I use a store-bought cake instead of baking?
Yes! You can use a store-bought yellow cake from the bakery. Just cube it and use it in the layers. It saves even more time. Just make sure it’s not frosted, or remove the frosting first.
Why did my trifle turn out watery?
Usually, this happens if the berries release too much juice or if the cake is too wet. Make sure your cake is completely cool before assembling. Also, don’t add extra liquid to the berries. The natural juice from the berries is enough. If it’s too watery, chill it longer to let the pudding absorb some moisture.
Can I make this ahead for a dinner party?
Absolutely. This trifle is actually better made ahead. Assemble it 4-6 hours before serving, or even the night before. It saves you from being stuck in the kitchen while guests are arriving. Just add the garnish right before serving.
Can I use frozen berries?
You can, but they need to be thawed and drained well. Excess water from frozen berries can make the trifle soggy. Pat them dry with a paper towel before using. Fresh berries are best for the cleanest layers, but frozen works in a pinch.
What kind of cake works best?
Yellow cake is traditional and pairs well with berries. Angel food cake is lighter and airier. Vanilla sponge cake is also good. Avoid dense cakes like pound cake or banana bread, as they can get too heavy in the trifle.
How long does this trifle last?
It lasts up to 3 days in the refrigerator. After that, the cake may become too soggy, and the whipped cream may start to separate. It’s best eaten within 2 days for optimal texture.
Can I add alcohol to this trifle?
Yes! You can brush the cake layers with a little Chambord (raspberry liqueur) or Kahlua for an adult version. Or mix a splash of vodka into the whipped cream. It adds a nice depth of flavor. But keep it optional for kids.
Pin This Recipe!
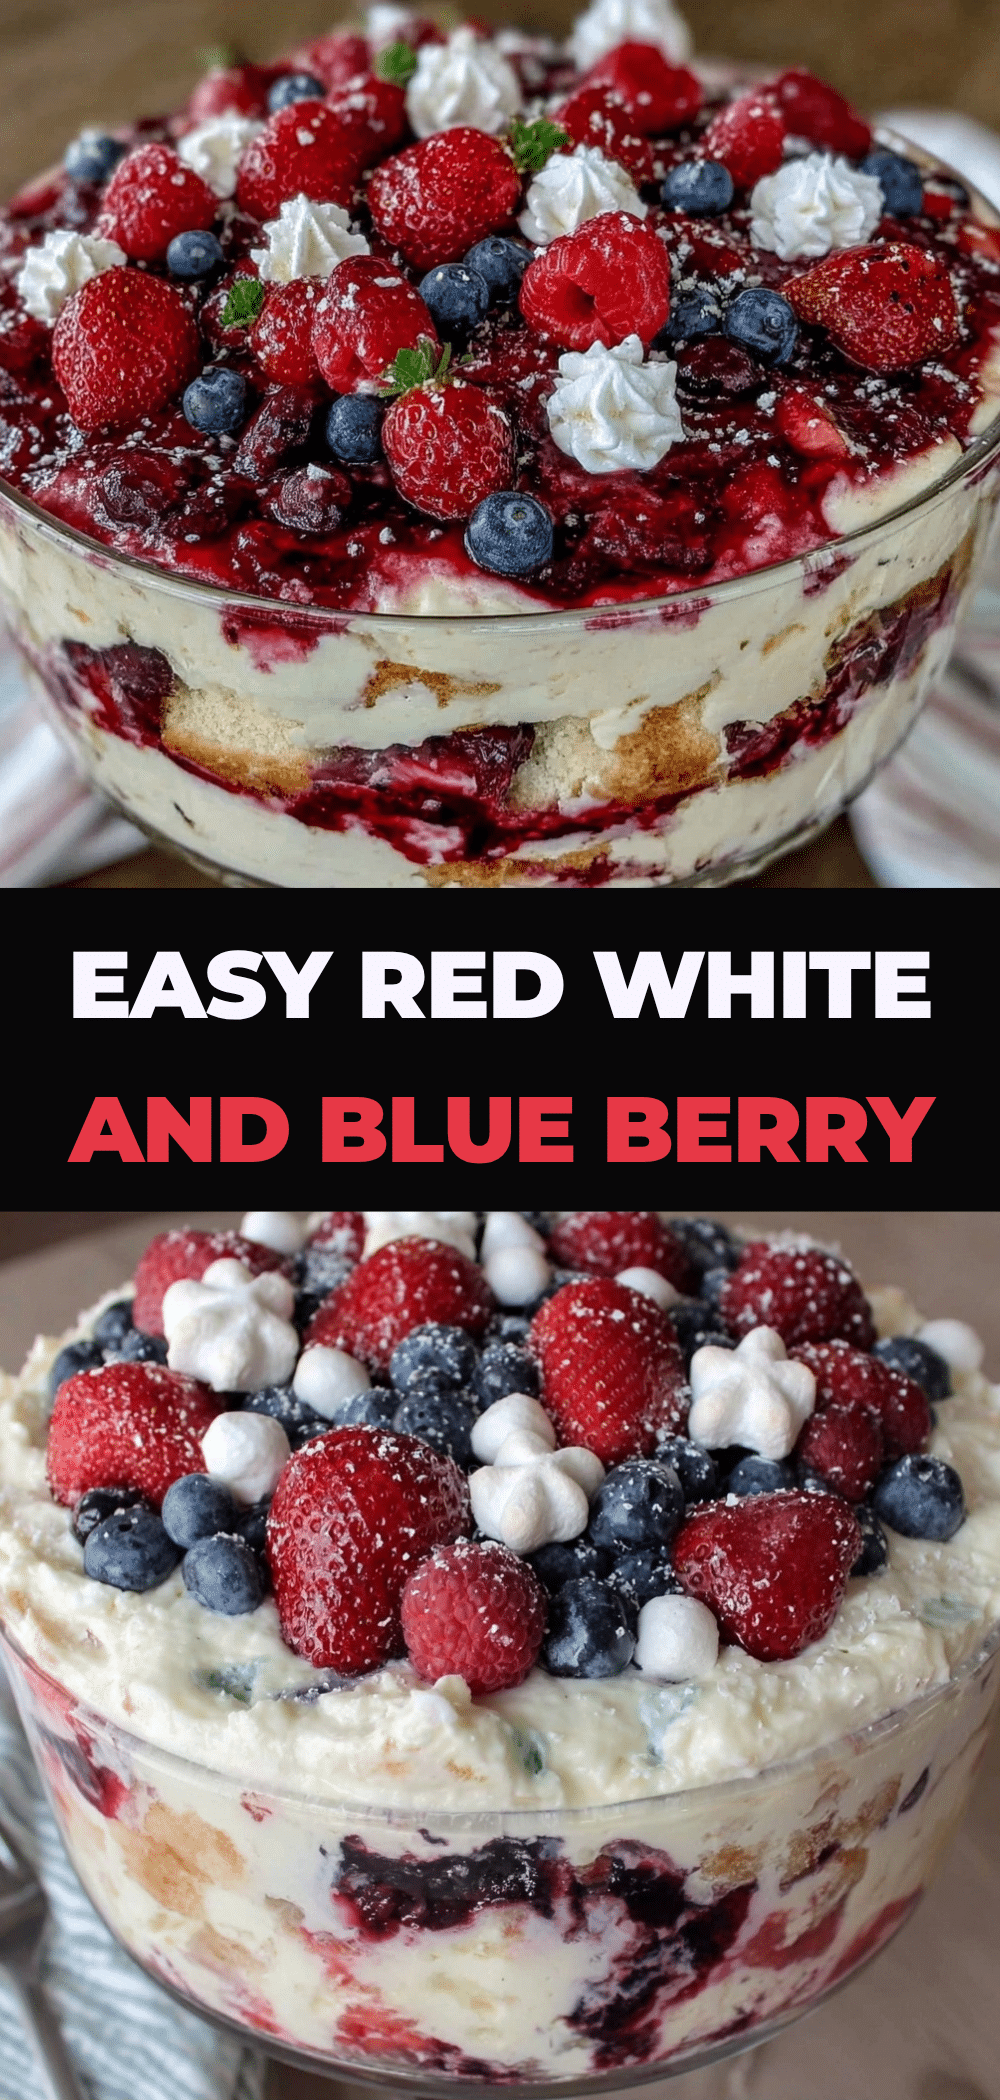
Labor Day Red White and Blue Berry Trifle
- Total Time: 45 minutes
- Yield: 12 servings 1x
Description
A stunning, no-bake dessert featuring layers of yellow cake, vanilla pudding, whipped cream, and fresh red, white, and blue berries. Perfect for holidays and easy to make ahead.
Ingredients
- 1 box (15.25 oz) yellow cake mix
- 1 box (3.4 oz) instant vanilla pudding mix
- 2 cups cold whole milk
- 2 cups cold heavy whipping cream
- ½ cup confectioners’ sugar
- 1 teaspoon pure vanilla extract
- 1 pint (12 oz) strawberries, washed, hulled, and sliced
- 2 cups (250g) fresh blueberries
- 1 cup (125g) fresh raspberries
- 1 tablespoon lemon juice
Instructions
- Preheat oven to 350°F (175°C). Grease and flour two 9-inch round cake pans.
- Prepare cake batter according to box instructions. Divide evenly between pans and bake for 25-30 minutes until a toothpick comes out clean.
- Cool cakes in pans for 10 minutes, then remove to a wire rack to cool completely.
- While cake cools, whisk instant pudding mix with 2 cups cold milk for 2 minutes. Let sit for 5 minutes to set.
- In a large bowl, whip heavy cream, confectioners’ sugar, and vanilla extract on medium-high speed until stiff peaks form.
- Wash and slice strawberries; toss gently with lemon juice. Wash blueberries and raspberries.
- Once cakes are completely cool, slice horizontally into thin layers, then cube into 1-inch pieces.
- In a trifle bowl, layer cake cubes, half the pudding, strawberries, blueberries, and whipped cream.
- Repeat layers: cake, remaining pudding, mixed berries, and whipped cream.
- Finish with a final layer of whipped cream on top.
- Garnish with whole strawberries, blueberries, and mint leaves if desired.
- Cover and refrigerate for at least 4 hours or overnight before serving.
Notes
Ensure the cake is completely cool before assembling to prevent the whipped cream from melting. For best results, assemble 4-6 hours ahead or overnight to allow flavors to meld. Do not freeze, as whipped cream and berries do not thaw well. Can be made gluten-free by using GF cake and pudding mixes, or dairy-free using coconut milk and cream.
- Prep Time: 20 minutes
- Cook Time: 30 minutes
- Category: Dessert
- Cuisine: American
Nutrition
- Serving Size: 1 slice
- Calories: 320
- Sugar: 24
- Sodium: 280
- Fat: 16
- Saturated Fat: 10
- Carbohydrates: 42
- Fiber: 2
- Protein: 4
Keywords: Labor Day dessert, no-bake trifle, berry trifle, red white and blue dessert, easy holiday dessert, make-ahead dessert, summer dessert


