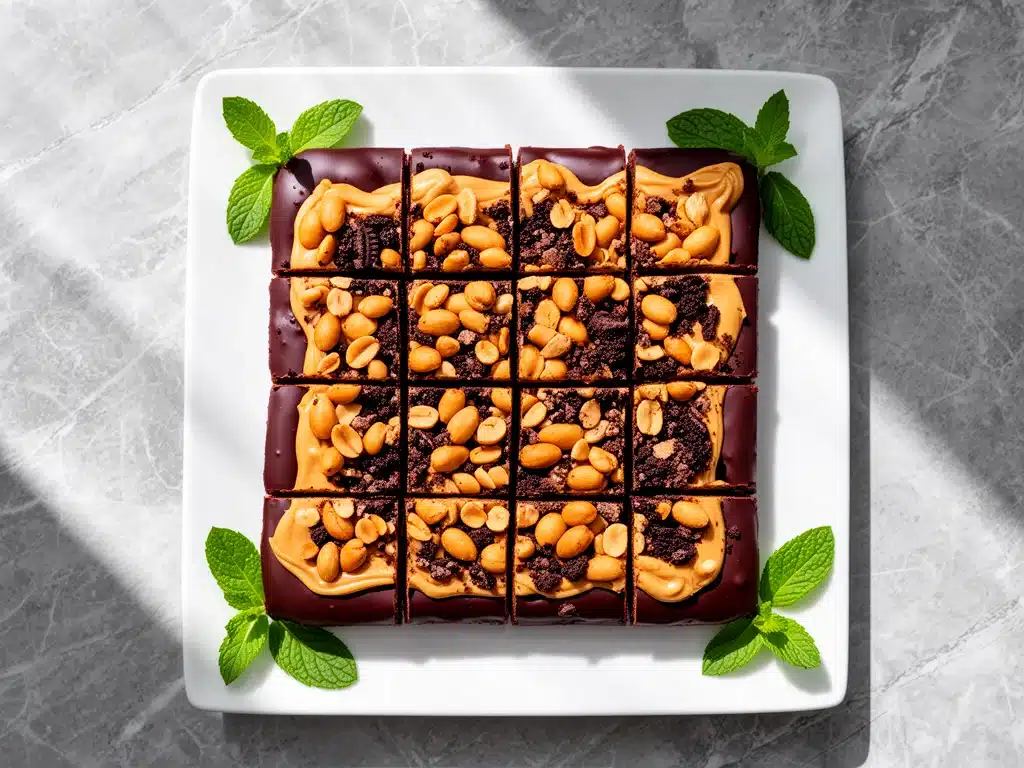
Alright, let’s make these bars! I’m walking you through exactly how I do it, including the little tricks I’ve picked up over the years. The secret is keeping everything cold until the very end.
Step 1: Prep Your Ingredients (5 minutes)
Before you start cooking, chop your nuts and measure everything out. I know it seems fussy, but it makes the actual assembly way less stressful. Line your 9×9 pan with parchment paper—don’t skip this or you’ll have a sticky mess. Wrap the edges so the bars don’t stick when you lift them out later. Grate your chocolate while you’re at it; it melts faster than pre-shaved stuff.
Step 2: Melt the Chocolate (8-10 minutes)
Place the chocolate chips in a microwave-safe bowl. Heat in 30-second intervals, stirring after each one. You want it smooth and glossy, not melted into a puddle. If it gets too hot, it separates. Remove from heat and stir until fully melted. Let it cool for a minute so it doesn’t melt the peanut butter.
Step 3: Mix the Peanut Butter Base (3-4 minutes)
In a large bowl, mix the peanut butter, cream cheese, and powdered sugar until completely smooth. This takes patience. If there are lumps, keep beating. Add the vanilla extract and mix again. The mixture should look like thick, creamy frosting. It might feel weirdly stiff at first, but that’s normal.
Step 4: Combine and Press (2 minutes)
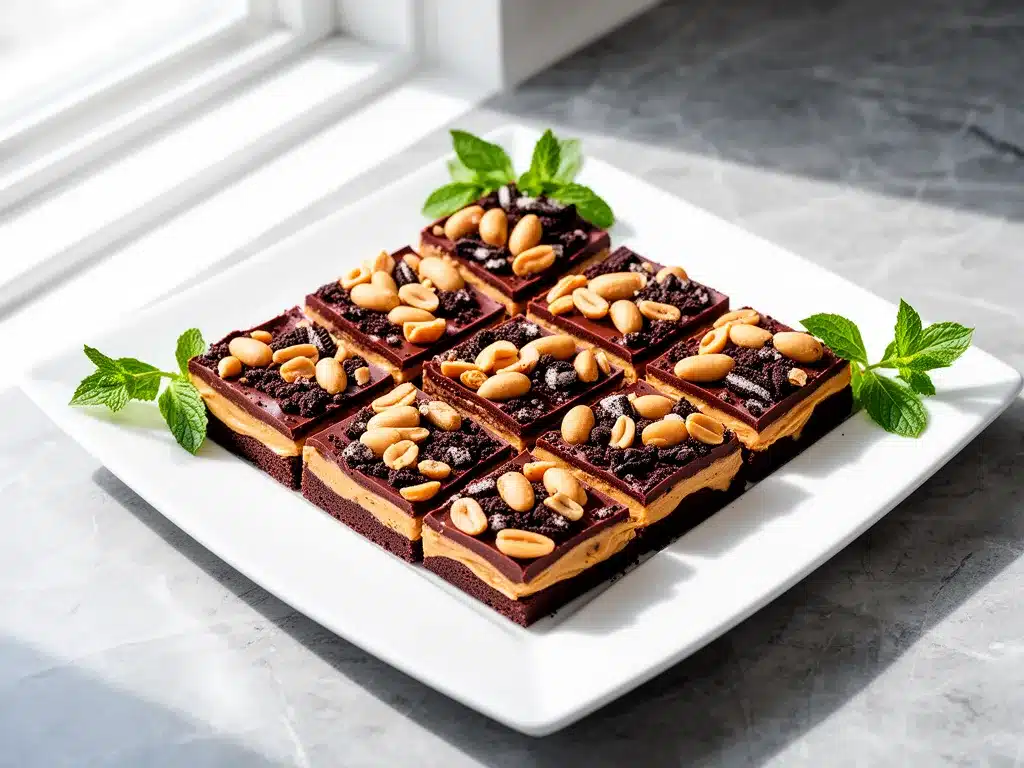
Pour the chocolate mixture over the peanut butter base. Spread it evenly with a spatula. Sprinkle the crushed nuts on top. Use the back of a spoon to press everything down firmly. You want no air pockets. Smooth the top with a knife. It looks almost like a cake now.
Step 5: Chill and Cut (20-30 minutes)
Place the pan in the fridge for at least 2 hours. Longer is better. The bars need to set completely before cutting. Try cutting after 30 minutes—they’ll crumble. After they’re firm, use a sharp knife dipped in warm water to slice them. Wipe the blade clean between cuts for neat pieces.
Why You’ll Love This Recipe
This recipe has completely changed my dessert game. I used to spend hours in the oven making things that didn’t taste right, and now I just press bars together. There are about ten reasons I keep making this, but here are the big ones.
Stupid Simple — Seriously, if you can open a jar and crush a bag of nuts, you can make this. I’ve walked my teenage son through it over FaceTime.
Lightning Fast — 30 minutes from start to finish, and only 10 of those are active cooking. I make this on weeknights when I get home at 7pm.
Pantry-Friendly — You probably have 80% of these ingredients already. I keep the key items stocked just so I can make this on a whim.
Crowd-Pleaser — I’ve served this to my vegetarian sister, my gluten-free neighbor, and my I-only-eat-chicken dad (with modifications). Everyone loved it.
Makes Amazing Leftovers — Actually tastes better the next day. I deliberately make extra for lunch throughout the week.
Budget-Smart — Feeds 4-6 people for under $15. That’s less than one meal at a fast-food place.
This is my go-to when I need dessert to just work. No complicated techniques, no weird ingredients, just reliable, delicious food that makes everyone happy.
Ingredients You’ll Need
Here’s the best part: you probably have most of this already. I’m particular about three ingredients here, and I’ll tell you exactly why.
Peanut Butter (2 cups / 480g) — Use creamy, not crunchy. I always buy the one with no added oils; it holds its shape better. A little bit of crunch is nice, but smooth blends better.
Chocolate Chips (1 cup / 225g) — Semi-sweet is my go-to. I avoid the white kind because they melt too fast and leave a weird stain. Darker chocolate adds more flavor depth.
Powdered Sugar (2 cups / 350g) — You can use granulated, but sift it first. Granulated needs dissolving, which makes the bars grainy. Powdered sugar is instant magic.
Cream Cheese (8 oz / 225g) — Full-fat only. I buy it in blocks and grate it myself. Pre-grated doesn’t melt the same. Worth the extra 2 minutes.
Vanilla Extract (1 teaspoon) — Real vanilla bean extract is amazing here. I don’t use imitation because it tastes artificial in desserts.
Crushed Nuts (1 cup / 100g) — I use pecans or walnuts. They add texture and nuttiness. Toasting them first makes them crunchier.
Parchment Paper — Essential for easy removal. I wrap the edges so the bars don’t stick when you lift them out later.
Optional Add-ins:
Sea Salt (½ teaspoon) — Pinch at the end. Enhances the sweetness without overpowering it.
Espresso Powder (1 teaspoon) — Makes the chocolate taste deeper. I use this when I want a fancy vibe.
Coconut Oil (2 tablespoons) — Helps the chocolate melt smoother. Great if you’re using high-quality chocolate.
Personal Tips:
I always use Barilla pasta—cooks evenly every time.
Shopping shortcuts: I buy pre-minced garlic when I’m being lazy, but fresh tastes way better.
Substitutions: No heavy cream? Mix ½ cup milk with ½ cup cream cheese—not quite the same but works.
Storage: Parmesan keeps for months in the fridge if wrapped well.
Common Questions:
Can I use [X] instead of [Y]?
Where do I find [unusual ingredient]?
Can I make this ahead?
Equipment Needed
- 9×9 inch baking pan
- Microwave-safe bowl
- Spatula
- Kitchen scale
- Sharp knife
Variations & Substitutions
Once you’ve nailed the basic version, here’s how you can mix it up. I’ve tried all of these.
Dark Chocolate Version — Swap semi-sweet for dark chocolate chips. Add 1 teaspoon espresso powder. Totally different vibe—bitter and rich.
Peanut Butter Cup Bars — Use mini peanut butter cups instead of chips. They melt into the bar and add extra flavor.
Caramel Swirl — Add ½ cup caramel sauce folded into the peanut butter layer. Adds a sweet, salty contrast.
Lemon Zest — Add zest of 1 lemon to the peanut butter layer. Brightens everything up. Great for summer.
Different Proteins:
– Almond butter (swap 1:1)
– Sunflower butter (great for nut allergies)
– Cashew butter (adds a creamy, nutty twist)
Serving & Storage
I usually serve this straight from the skillet at the dinner table—it looks rustic and stays warm. But here are other ways I’ve enjoyed it:
How to Serve:
“I usually serve this straight from the skillet at the dinner table—it looks rustic and stays warm. But here are other ways I’ve enjoyed it:”
Side Dishes:
– Fresh fruit salad (apples and berries pair perfectly)
– Vanilla ice cream (melts the chocolate slightly)
– Greek yogurt (makes it lighter)
Toppings Bar:</p
Pin This Recipe!
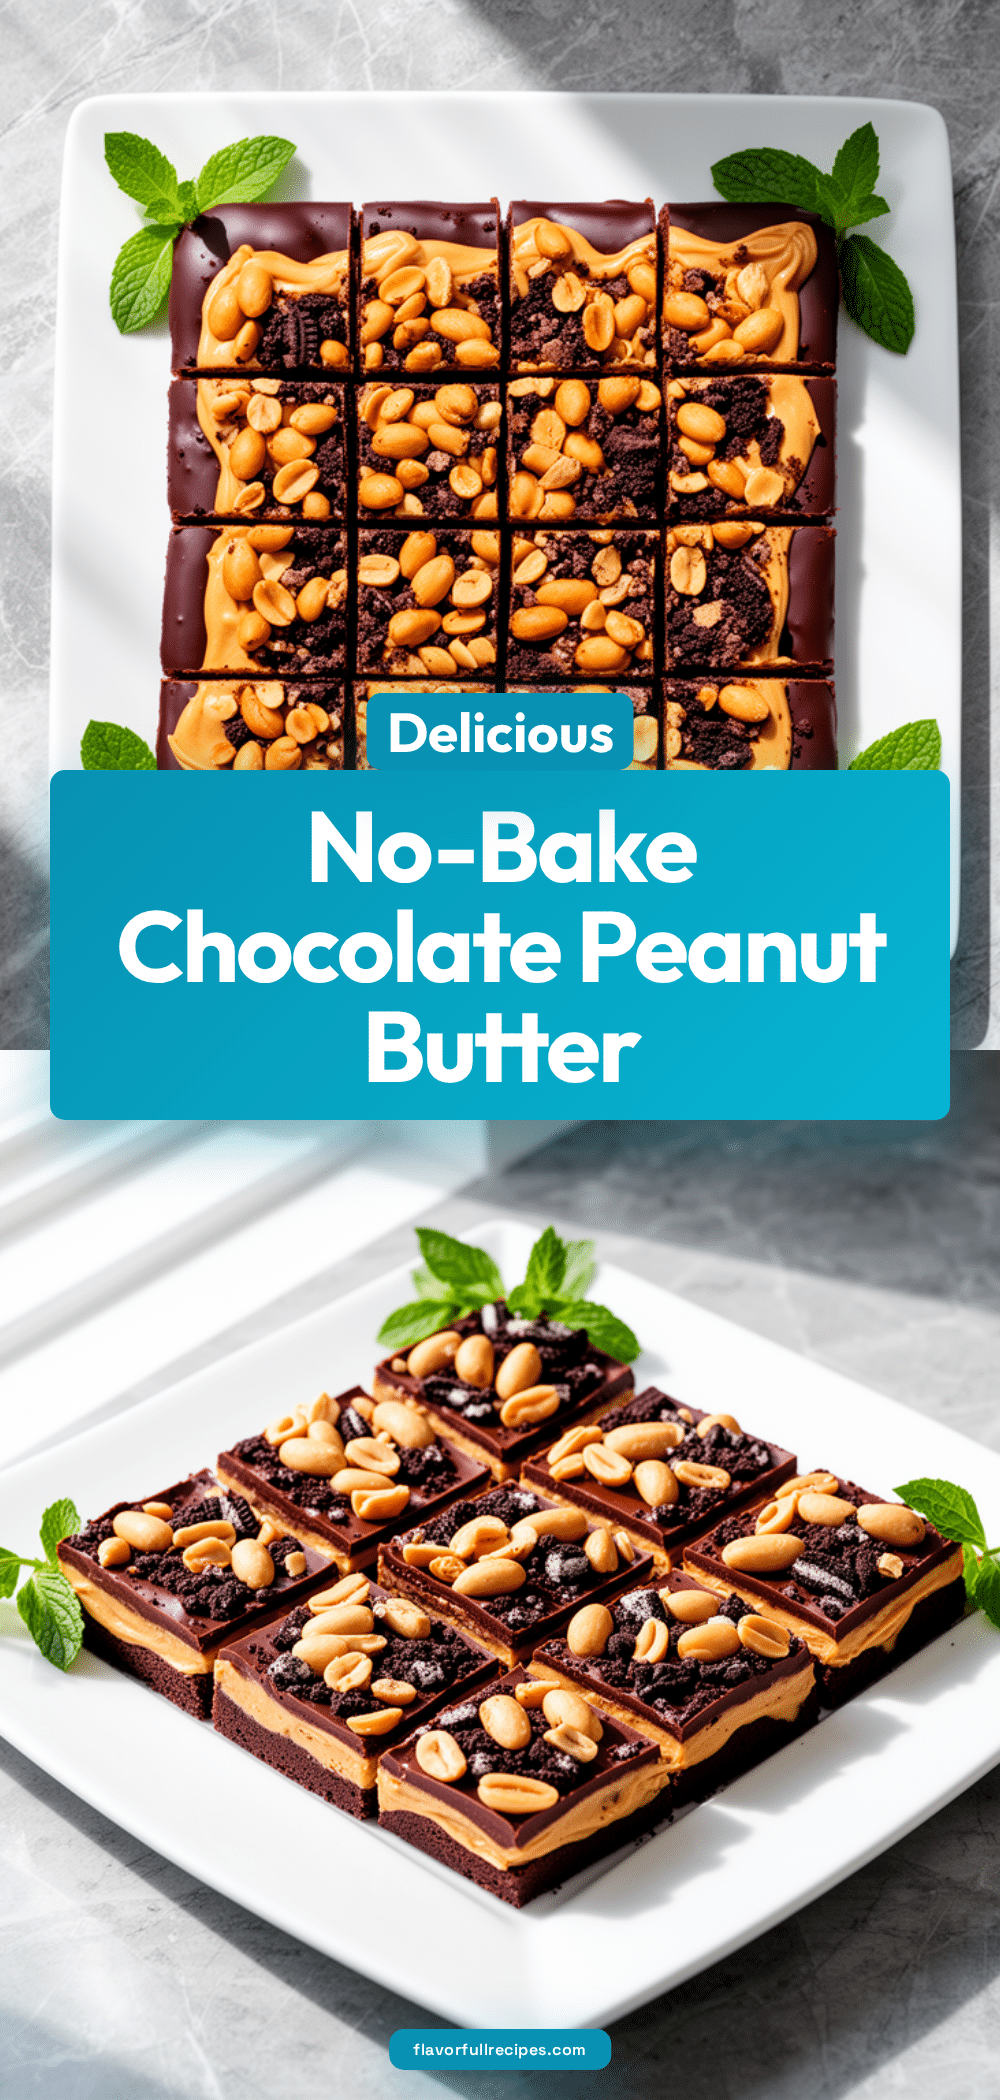
Homemade No-Bake Chocolate Peanut Butter Bars: Best Easy Dessert Recipe
- Total Time: 30 minutes
- Yield: 4-6 servings 1x
Description
A simple, no-bake dessert recipe using creamy peanut butter, chocolate chips, and powdered sugar pressed into a 9×9 pan for easy serving.
Ingredients
- 2 cups creamy peanut butter (480g)
- 1 cup semi-sweet chocolate chips (225g)
- 2 cups powdered sugar (350g)
- 8 oz full-fat cream cheese (225g)
- 1 teaspoon vanilla extract
- 1 cup crushed nuts (pecans or walnuts) (100g)
- 1/2 teaspoon sea salt
- 1 teaspoon espresso powder
- 2 tablespoons coconut oil
Instructions
- Line a 9×9 inch baking pan with parchment paper, wrapping the edges to prevent sticking.
- Grate chocolate while preparing other ingredients for faster melting.
- Heat chocolate chips in a microwave-safe bowl in 30-second intervals, stirring after each one until smooth and glossy.
- In a large bowl, mix peanut butter, cream cheese, and powdered sugar until completely smooth.
- Add vanilla extract and mix again until the mixture looks like thick, creamy frosting.
- Pour the melted chocolate mixture over the peanut butter base and spread evenly with a spatula.
- Sprinkle crushed nuts on top and press everything down firmly with the back of a spoon to remove air pockets.
- Smooth the top with a knife.
- Place the pan in the fridge for at least 2 hours to set completely.
- Use a sharp knife dipped in warm water to slice the bars, wiping the blade clean between cuts.
Notes
Keep everything cold until the very end. Use full-fat cream cheese for best results. Toasting nuts first makes them crunchier. The bars taste better the next day.
- Prep Time: 5 minutes
- Cook Time: 10 minutes
- Category: Dessert
- Cuisine: American
Nutrition
- Serving Size: One bar
- Calories: 250
- Sugar: 20
- Sodium: 150
- Fat: 18
- Saturated Fat: 10
- Carbohydrates: 25
- Fiber: 3
- Protein: 7
Keywords: no bake chocolate peanut butter bars, easy dessert, homemade dessert, peanut butter chocolate bars, quick dessert recipe


