I was standing in my kitchen at 7 AM on a Saturday, staring at a pan that looked like a disaster zone. I had just tried to flip a pancake that was supposed to be as tall as my thumb, and instead of a beautiful flip, it slid off the spatula and landed on the counter with a sad, squishy thud. It looked less like a Japanese soufflé pancake and more like a sad, flat omelet. I was ready to throw in the towel. I was ready to go back to my trusty, flat, boring butternut squash pancakes and accept defeat.
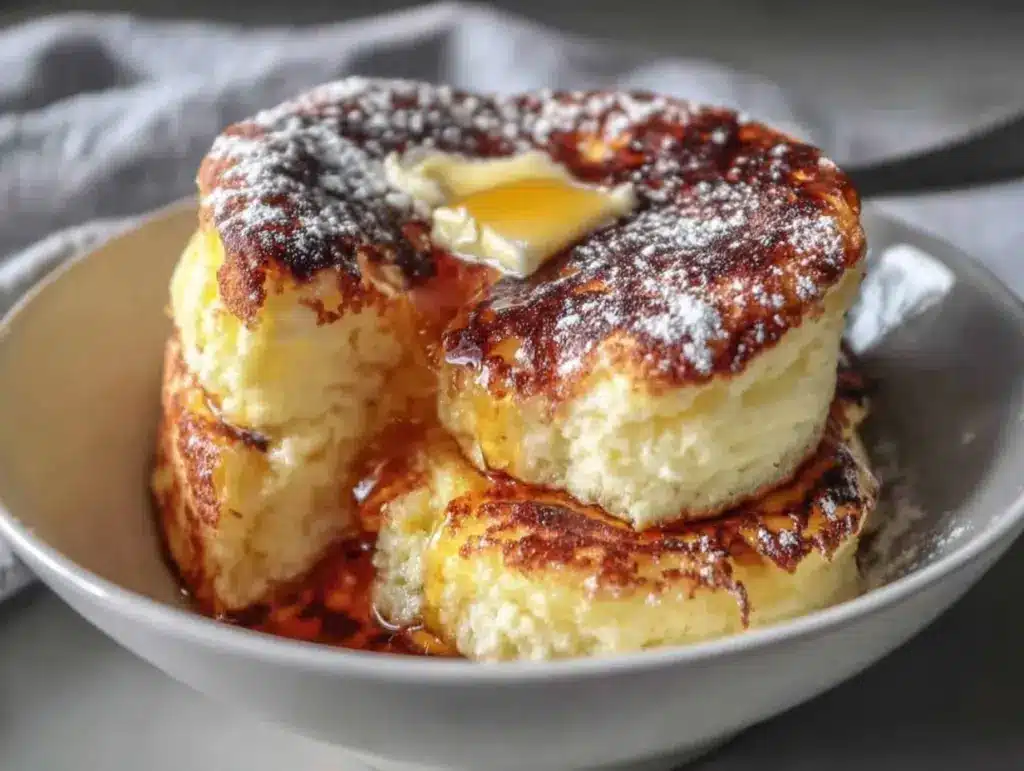
But then I remembered something a friend told me years ago: “These pancakes aren’t about flipping. They’re about patience.” So, I didn’t flip it. I just covered the pan, turned the heat down to a whisper, and waited. Ten minutes later, I lifted the lid. There it was. A golden, jiggly, cloud-like masterpiece that wobbled like Jell-O but smelled like heaven. I poked it, and it bounced back. That was the moment I knew I had cracked the code.
This is the Japanese Soufflé Pancake recipe that finally made me stop buying those frozen ones from the grocery store. It’s not magic. It’s not difficult chemistry. It’s just a few simple ingredients and a technique that feels counterintuitive but works every single time. If you’ve ever been intimidated by meringues or thought you needed a stand mixer to make something fluffy, this recipe is your welcome mat. It’s the kind of breakfast that makes you feel like you’re in a Tokyo café, but you’re wearing your pajamas and eating straight from the pan.
I’ve made these probably fifty times since that first sad pancake incident. I’ve tested different flours, different milks, and different pan sizes. And I’ve settled on the one method that is truly foolproof for beginners. You don’t need to be a pastry chef. You just need to be willing to wait a few extra minutes. And trust me, the result is worth every second of that waiting.
Why You’ll Love This Foolproof Recipe
There are a dozen reasons I keep making these, but let’s be real—they’re mostly because they make me feel like a genius. Here’s the truth about why these pancakes have taken over my morning routine:
- They’re Actually Light — Regular pancakes are dense. These are airy. It’s like eating a cloud that has been toasted. My kids think they’re eating a dessert, and I don’t have the heart to tell them it’s technically breakfast.
- Minimal Ingredients — You probably have everything in your fridge right now. Eggs, milk, flour, sugar, butter. That’s it. No weird extracts or expensive specialty items. It’s basic baking, but the technique makes it special.
- Zero Special Equipment — You don’t need a stand mixer. A hand whisk and a large bowl are all you need. I even use my cheap, dented mixing bowl for this. It doesn’t matter. The whisking is what matters.
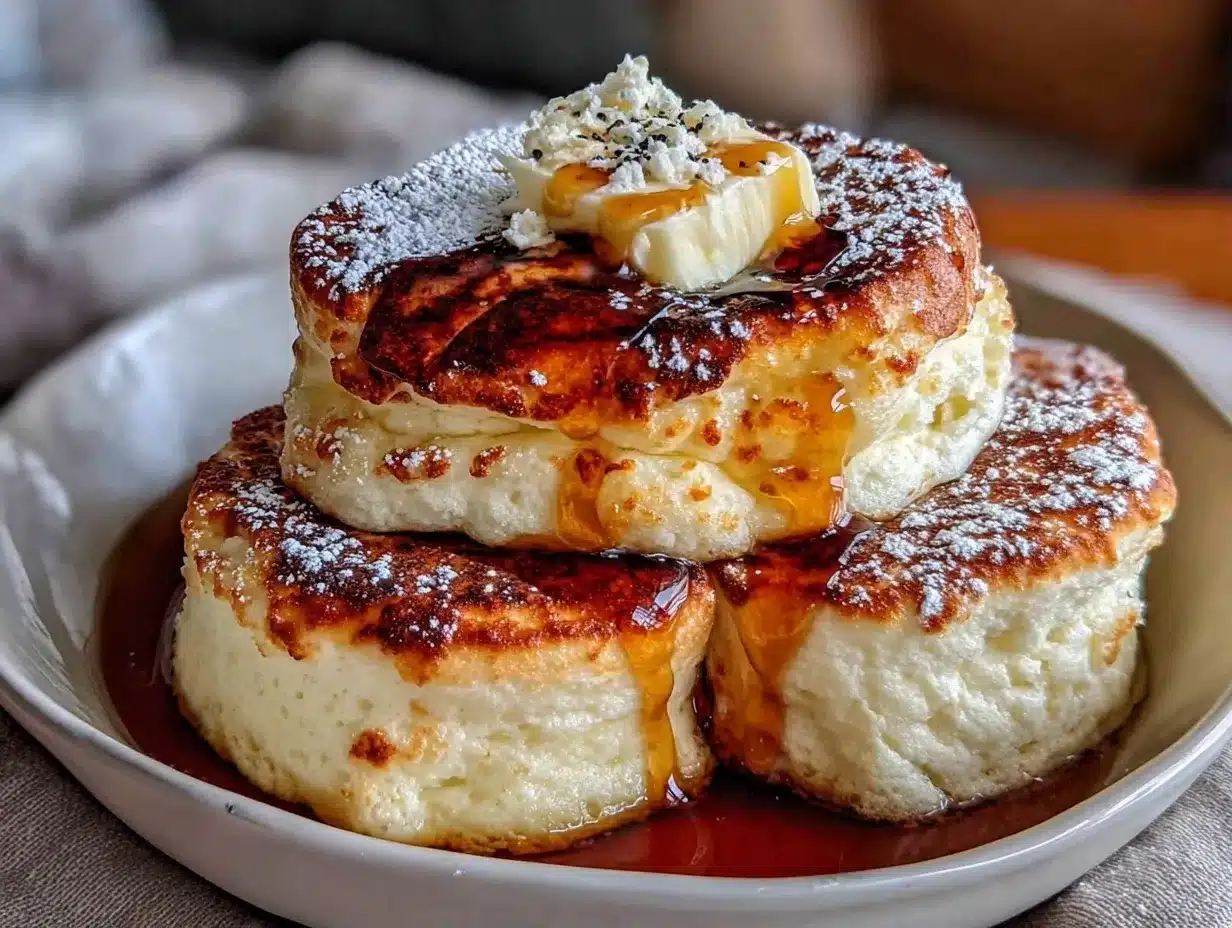
- Visual Wow Factor — When you slide these onto a plate, they wobble. They jiggle. People stop what they’re doing to watch. It’s the perfect way to impress guests without actually having to cook a complicated meal. It’s the culinary equivalent of a magic trick.
- Forgiving for Beginners — I know, I know, soufflés have a reputation for collapsing. But these are different. They’re stabilized by a proper meringue and cooked gently. If you follow the steps, they won’t fall. I’ve had them survive a 15-minute delay while I finished getting the kids ready for school.
This is my go-to weekend treat. It’s not something I rush on a Tuesday morning. It’s something I do when I want to slow down and enjoy the process. And honestly, the smell of butter and vanilla filling the kitchen while they cook? That’s the best part.
Ingredients You’ll Need
Here’s the best part: you don’t need a trip to a specialty store. I’m particular about three things here, but they’re all easy to find at any grocery store.
For the Batter
Egg yolks (3 large) — These give the pancakes their rich color and structure. Separate them carefully. If even a tiny bit of yolk gets into the whites, your meringue won’t whip up. I use the egg white separator tool because my fingers aren’t steady enough yet.
Milk (3 tablespoons / 45ml) — Whole milk is best for richness, but 2% works fine. Don’t use skim; you want that creaminess.
Vegetable oil (1 tablespoon / 15ml) — Neutral oil keeps the texture light. I use canola or sunflower oil. Olive oil will make them taste too savory.
Vanilla extract (1 teaspoon) — Pure vanilla is key. I use the brown bottle, not the imitation stuff. It adds that warm, cozy flavor that makes these feel like a treat.
All-purpose flour (2 tablespoons / 15g) — Sifted. I know, it’s annoying, but it prevents lumps. Lumps are the enemy of fluffy.
Cornstarch (2 tablespoons / 15g) — This is the secret weapon. It lowers the protein content of the flour, making the pancakes tender and delicate. Don’t skip it.
Baking powder (½ teaspoon) — Just a little bit for lift. Make sure it’s fresh; old baking powder means flat pancakes.
For the Meringue (The Magic Part)
Egg whites (3 large) — Must be room temperature. Cold whites don’t whip up as high. I take them out of the fridge while I prep the yolks.
Cream of tartar (¼ teaspoon) — This stabilizes the egg whites. It helps them hold their shape so the pancakes don’t collapse. You can buy it in the spice aisle for like $3.
Granulated sugar (3 tablespoons / 40g) — I divide this: half goes into the meringue, half stays in the dry mix (optional, but I like the sweetness). For the meringue, sugar is what gives it that glossy, stiff peak.
Salt (a pinch) — Just a tiny pinch to balance the sweetness.
For Cooking
Unsalted butter (1 tablespoon) — For greasing the pan. I use a paper towel to wipe it around.
Water (2 tablespoons) — For the steam bath. This is crucial for the fluffy texture.
Maple syrup — For serving. Obviously. Maybe some whipped cream if you’re feeling fancy.
Equipment Needed
You don’t need fancy gadgets. Here’s what I actually use.
Two large mixing bowls — One for yolks, one for whites. Make sure the white bowl is completely clean and dry. Any grease will kill your meringue.
Hand whisk or balloon whisk — I use a medium-sized whisk. It’s easier to control than a spoon.
Non-stick skillet — 8-inch is perfect. I have a well-seasoned non-stick pan that I use exclusively for pancakes. It releases easily, which is good because you’re not flipping these.
Lid that fits the skillet — This is non-negotiable. You need to trap the steam. If your lid is loose, get a different one or use foil.
Spatula — A flexible silicone spatula for folding the meringue into the yolk batter. Gentle hands only.
Pastry brush or paper towel — For greasing the pan with butter.
How to Make It: Step-by-Step
Alright, let’s make this! I’m walking you through exactly how I do it, including the little tricks I’ve picked up so you don’t end up with flat pancakes.
Step 1: Prep Your Yolks (5 minutes)
Separate your eggs. Put the yolks in one bowl and the whites in another. Check the whites one more time—no yolk allowed. To the yolks, add the milk, oil, and vanilla extract. Whisk them together until smooth. It should look like a pale yellow liquid.
Step 2: Mix the Dry Ingredients
Into the yolk mixture, sift in the flour, cornstarch, baking powder, and half of the sugar (if using). Whisk gently until there are no lumps. The batter should be smooth and thick. Set it aside. Don’t overmix; just get it combined.
Step 3: Whip the Meringue (The Most Important Step)
Add the cream of tartar and the remaining sugar to the egg whites. Using your whisk, beat the whites on medium-high speed. This takes about 3-4 minutes by hand, or 2 minutes with a hand mixer. You’re looking for stiff, glossy peaks. When you lift the whisk, the peak should stand straight up without drooping. If it droops, keep whipping. If it looks crumbly, you’ve gone too far. Stop at glossy and stiff.
Pro Tip: If you’re nervous about stiff peaks, do the “finger test.” Dip your finger in the meringue and hold it up. If it stays on your finger without sliding off, you’re good.
Step 4: Fold the Batter Together
This is where you need to be gentle. Take about one-third of the meringue and stir it vigorously into the yolk batter. This lightens the dense yolk mixture. Then, add the rest of the meringua. Use a spatula to gently fold it in. Cut down through the middle, scoop from the bottom, and flip over. Rotate the bowl. Do this until just combined. There should still be a few streaks of white. Don’t overmix, or you’ll deflate the air you just worked so hard to create.
Step 5: Prep the Pan
Heat your non-stick skillet over low heat. Add the butter and swirl it around to coat the bottom. Use a paper towel to wipe out any excess butter; you just want a thin film. If the pan is too hot, the pancakes will burn before they cook through.
Step 6: Cook the Pancakes
Spoon the batter into the pan. I use a ¼ cup measure for each pancake. Leave space between them because they spread. Immediately sprinkle a tablespoon of water around the edge of the pan (not on the pancakes!) and cover with the lid. The water creates steam, which helps them puff up.
Cook on low heat for 7-8 minutes. Do not lift the lid! I know it’s tempting, but steam is your friend. You’ll see them rise and turn golden on top.
Step 7: The Flip (Optional but Recommended)
After 7-8 minutes, carefully lift the lid. The tops should look set. Now, gently slide your spatula under the pancake and flip it. It should be golden brown on the bottom. Cover again and cook for another 2-3 minutes. Flip again if needed, but usually, one flip is enough. Total cook time is about 10-12 minutes.
Troubleshooting: If the tops are browning too fast but the centers are still wet, turn the heat down even lower. Patience is key.
Expert Tips & Tricks
Here’s everything I’ve learned from making these dozens of times. These tips will save you from my early mistakes.
- Room Temperature Eggs — I can’t stress this enough. Cold egg whites will never reach the same volume as room temperature ones. Take them out 30 minutes before you start.
- Clean Bowls — Any trace of yolk or grease in the white bowl will prevent the whites from whipping. I wash my bowls with hot soapy water and dry them thoroughly before starting.
- Low Heat is Law — These pancakes cook slowly. If the heat is too high, the outside burns and the inside stays raw. Keep it on the lowest setting your stove allows.
- Don’t Peek — Lifting the lid releases the steam that helps them rise. Trust the process. If you open it too early, they might deflate.
- Serve Immediately — These pancakes are best eaten right off the plate. They start to deflate as they cool, which is normal. Don’t stress if they shrink a bit; they still taste amazing.
Variations & Substitutions
Once you’ve nailed the basic version, here’s how you can mix it up. I’ve tried all of these.
Berry Stuffed — Add a few fresh blueberries or strawberries to the batter before cooking. The steam cooks them inside, making them juicy and sweet. I love this with lemon zest in the batter.
Matcha Green Tea — Swap 1 tablespoon of flour for matcha powder. It adds a beautiful green color and a subtle, earthy flavor. Pairs well with white chocolate chips.
Chocolate Chip — Fold in a handful of mini chocolate chips during the folding step. Sweet, gooey, and indulgent.
Gluten-Free — Use a 1:1 gluten-free flour blend instead of all-purpose flour. The cornstarch is already gluten-free, so this works well. I’ve used Bob’s Red Mill and it turns out great.
Dairy-Free — Swap the milk for almond or oat milk, and the butter for coconut oil. The texture is slightly different but still fluffy.
Serving & Storage
How to Serve: I usually serve these straight from the pan, stacked high. Top with whipped cream, fresh berries, and a generous drizzle of maple syrup. They’re also amazing with a dusting of powdered sugar and a slice of fresh mango.
Leftovers: Honestly, these are best fresh. If you have leftovers, store them in an airtight container in the fridge for up to 2 days. Reheat them in a toaster oven or skillet over low heat to restore some fluffiness. They won’t be as tall, but they’re still delicious.
Freezing: You can freeze them, but the texture changes. They become a bit dense when thawed. If you must freeze, wrap them individually in plastic wrap and freeze for up to a month. Thaw in the fridge and reheat gently.
Nutrition Information
I’m not a nutritionist, but here’s the breakdown if you’re tracking. This is per pancake, based on 4 servings.
- Calories: 180
- Protein: 6g
- Carbs: 22g
- Fat: 8g
- Sugar: 10g
Look, this is a treat. It’s sweet and fluffy. But it’s also made with simple ingredients. If you want to make it lighter, use less sugar and skip the whipped cream. But usually? I just enjoy it and move on.
Final Thoughts
So that’s my foolproof Japanese Soufflé Pancake recipe! I know it seems like a lot of steps, but once you do it once, it becomes muscle memory. The key is just to be gentle with the batter and patient with the pan.
These pancakes have turned my weekend mornings into something special. They’re the kind of dish that makes you feel like you’re treating yourself, even if you’re just eating alone on the couch. And if you mess up the first time? That’s okay. I did. Just try again with fresh eggs and a clean bowl.
If you make these, drop a comment and let me know how they turned out! I love hearing from beginners who’ve conquered the soufflé pancake challenge. Happy cooking!
Frequently Asked Questions
Why did my pancakes collapse?
Usually, this means the meringue wasn’t stiff enough, or you overmixed the batter after folding in the meringue. Make sure your peaks are stiff and glossy, and fold gently. Also, don’t open the lid too early while cooking.
Can I use a stainless steel pan?
It’s harder. Non-stick is best because these pancakes are sticky and delicate. If you use stainless steel, you’ll need to grease it very well and keep the heat extremely low. But for beginners, non-stick is the way to go.
Can I make these ahead of time?
Not really. They’re best fresh. You can prep the batter ahead, but don’t whip the whites until you’re ready to cook. If you whip them too early, they’ll deflate.
Why are my pancakes too dense?
This usually happens if the meringue is under-whipped or if you pressed down on the pancakes while cooking. Let them rise naturally. Also, make sure you’re using fresh baking powder.
Can I double the recipe?
Yes, but you’ll need a larger pan or cook them in batches. Don’t overcrowd the pan, or they won’t cook evenly. I usually cook them one at a time for best results.
What if I don’t have cream of tartar?
You can use ½ teaspoon of lemon juice or white vinegar instead. It helps stabilize the egg whites, though cream of tartar is more effective. It’s a small price to pay for success.
How do I know when they’re done?
They should be golden brown on the bottom and puffed up on top. If you press the center gently, it should spring back. If it feels wet or jiggly, cook them a minute longer.
Pin This Recipe!
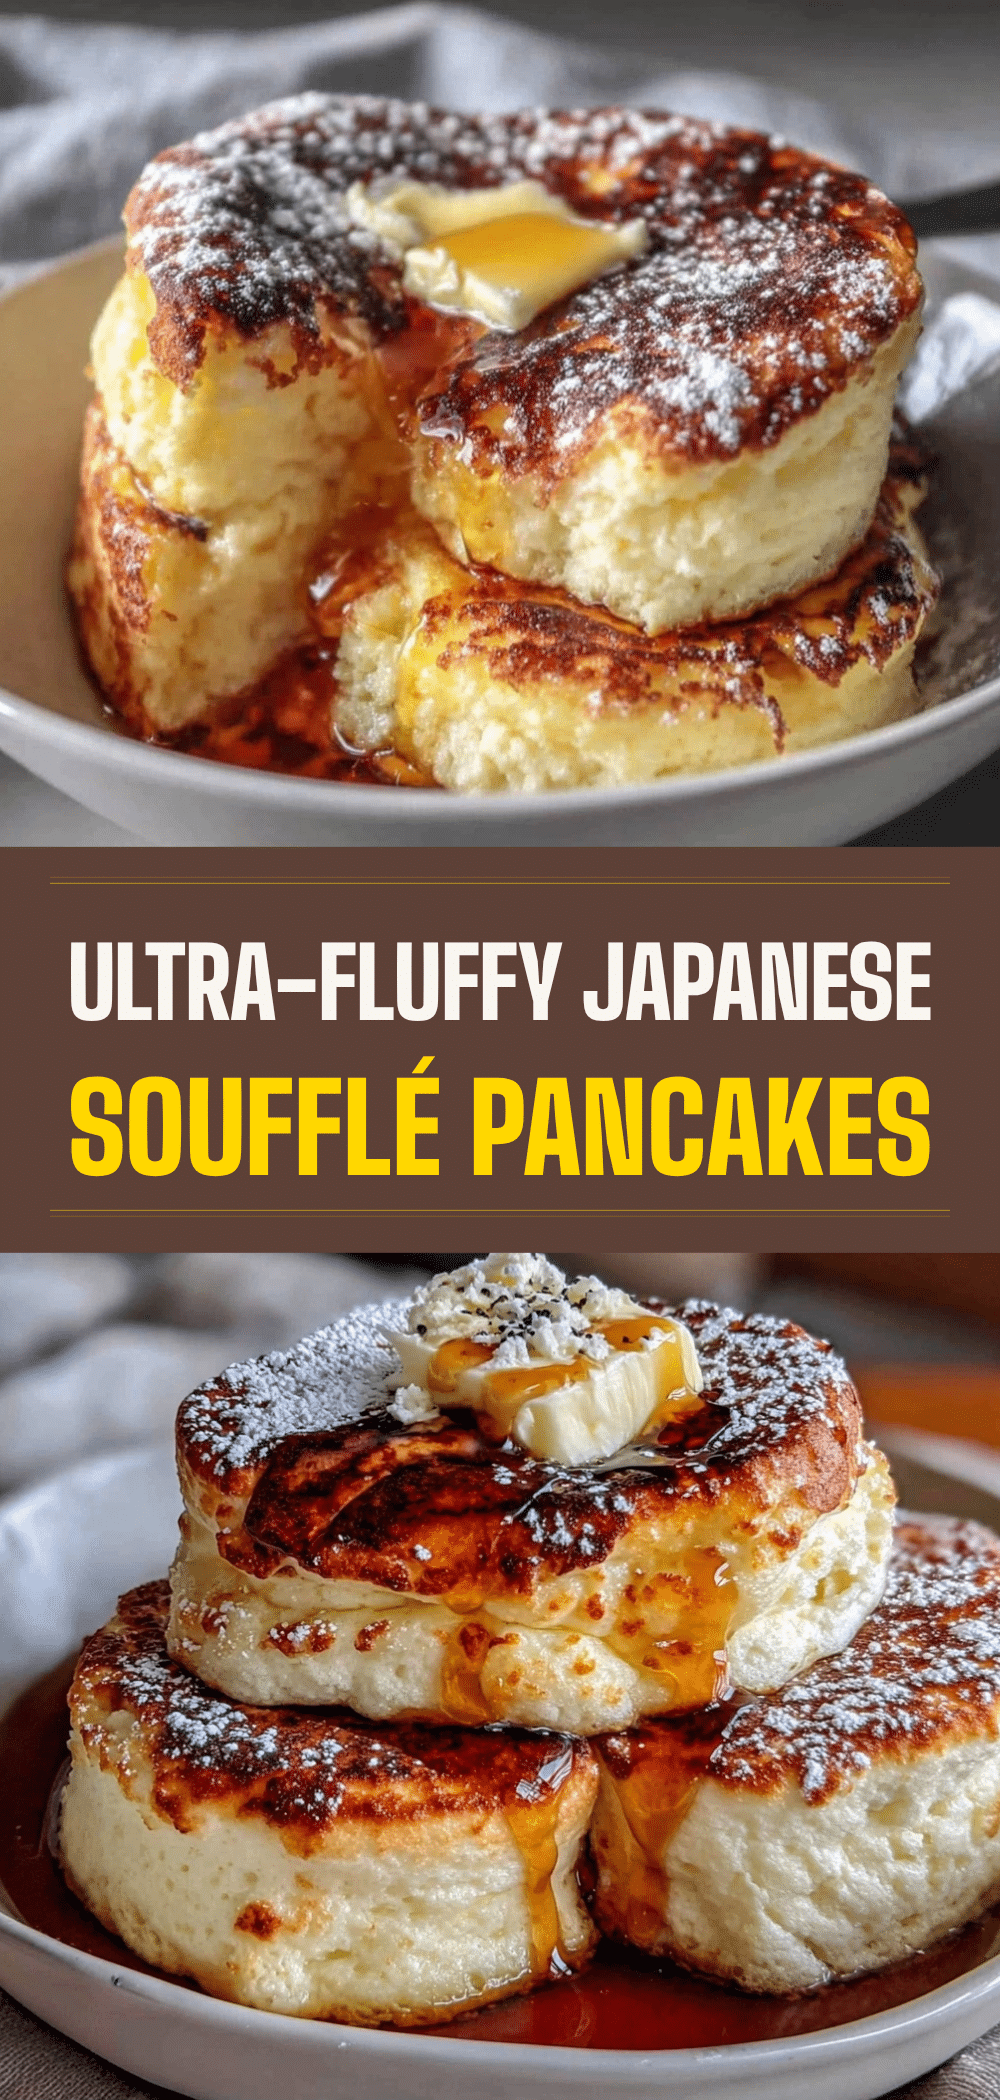
Japanese Soufflé Pancakes: Foolproof Easy Recipe
- Total Time: 27 minutes
- Yield: 4 servings 1x
Description
Light, airy, and cloud-like Japanese soufflé pancakes that are stabilized by a proper meringue and cooked gently. This foolproof recipe requires patience and low heat but delivers a fluffy, jiggly breakfast treat without needing special equipment.
Ingredients
- 3 large egg yolks
- 3 tablespoons (45ml) whole milk
- 1 tablespoon (15ml) vegetable oil
- 1 teaspoon vanilla extract
- 2 tablespoons (15g) all-purpose flour, sifted
- 2 tablespoons (15g) cornstarch
- ½ teaspoon baking powder
- 3 large egg whites, room temperature
- ¼ teaspoon cream of tartar
- 3 tablespoons (40g) granulated sugar, divided
- a pinch of salt
- 1 tablespoon unsalted butter
- 2 tablespoons water
Instructions
- Separate eggs, ensuring no yolk gets into the whites. Whisk egg yolks with milk, oil, and vanilla extract until smooth.
- Sift flour, cornstarch, baking powder, and half of the sugar into the yolk mixture. Whisk gently until smooth and lump-free. Set aside.
- Add cream of tartar and remaining sugar to egg whites. Beat with a hand whisk or mixer on medium-high speed for 3-4 minutes until stiff, glossy peaks form.
- Stir one-third of the meringue vigorously into the yolk batter to lighten it. Gently fold in the rest of the meringue using a spatula until just combined, leaving a few streaks.
- Heat a non-stick skillet over low heat. Add butter and swirl to coat, wiping away excess with a paper towel.
- Spoon batter into the pan using a ¼ cup measure, leaving space between pancakes. Sprinkle water around the edge of the pan (not on pancakes) and cover immediately with a lid.
- Cook on low heat for 7-8 minutes without lifting the lid.
- Carefully lift the lid and gently flip the pancakes. Cover again and cook for another 2-3 minutes until golden brown and set.
- Serve immediately with maple syrup, whipped cream, or fresh berries.
Notes
Ensure egg whites are room temperature and bowls are completely clean and dry to ensure the meringue whips properly. Cook on low heat to prevent burning before the inside is cooked. Do not lift the lid during the initial cooking phase to trap steam. These pancakes are best served immediately as they deflate as they cool.
- Prep Time: 15 minutes
- Cook Time: 12 minutes
- Category: Breakfast
- Cuisine: Japanese
Nutrition
- Serving Size: 1 pancake
- Calories: 180
- Sugar: 10
- Sodium: 50
- Fat: 8
- Saturated Fat: 2
- Carbohydrates: 22
- Fiber: 1
- Protein: 6
Keywords: Japanese soufflé pancakes, fluffy pancakes, easy breakfast recipe, meringue pancakes, gluten-free option, dairy-free option


