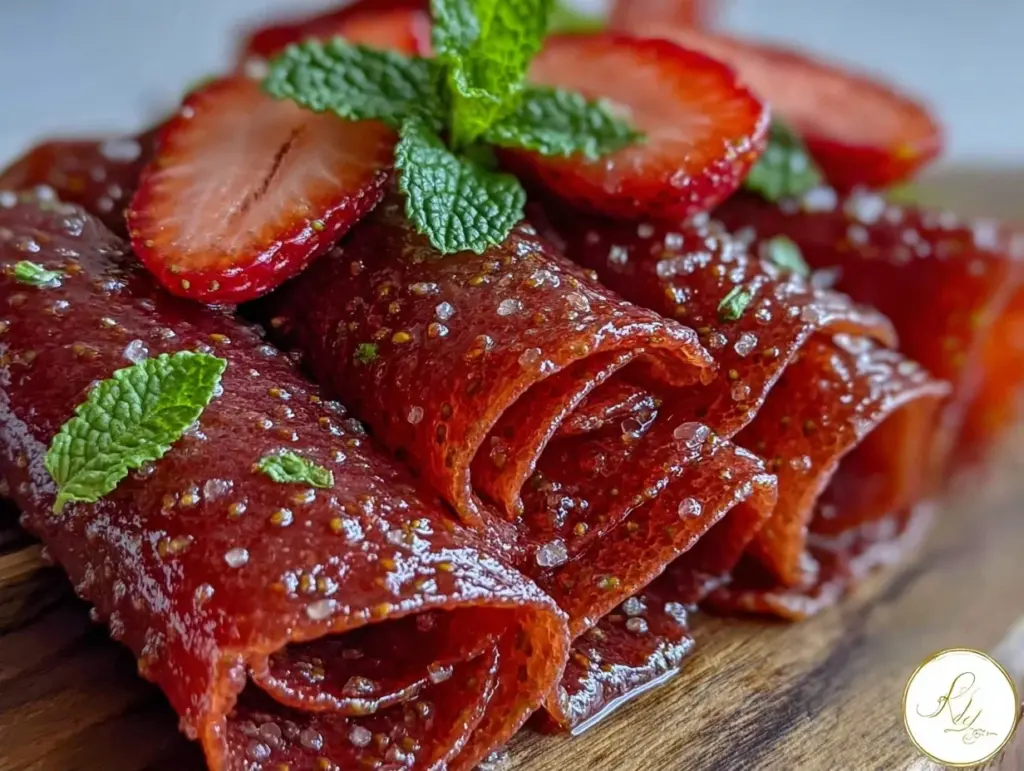
Let’s be honest for a second. The last time I bought those bright red, neon-colored fruit roll-ups from the gas station, I felt like I was feeding my kids a small battery. I knew it was mostly sugar and mystery powder, but it was convenient. And when you’re trying to get out the door with clean shoes and matching socks, convenient wins every time.
But then my daughter, who is basically a professional taster, held up one of those store-bought rolls and wrinkled her nose. “It tastes like plastic, Mom,” she said. And she was right. So, I decided to fix it. I wanted something that looked just as fun, tasted like actual strawberries, and didn’t make me feel guilty every time I handed it to her. That was three summers ago. Today, homemade strawberry fruit roll-ups are the one snack we make on repeat. And honestly? They are so stupidly simple that I’m convinced you really can’t mess this up.
This isn’t some complicated dehydrator project that requires hours of babysitting. It’s four ingredients. One pot. A sheet pan. If you can mash strawberries and stir a pot, you can make this. I’ve made these for school lunches, for park trips, and just as a treat on rainy days. The best part? They taste like summer, they stick together perfectly (no more sticky fingers), and they’re sweetened with real fruit juice, not high-fructose corn syrup. I’ve tested this method with frozen berries, fresh berries, and even strawberry jam when I’m being lazy. All versions work. All versions are delicious. But the fresh berry version? That’s the gold standard. Once you try these, I promise you’ll never go back to the gas station candy aisle again.
Why You’ll Love This Recipe
There are a million snack ideas floating around the internet, but homemade strawberry fruit roll-ups have earned their spot in our rotation for one simple reason: they just work. No fuss, no fail. Here is why this is the one snack you actually want to make:
- Zero Tech Required — You don’t need a dehydrator. You don’t need a fancy food processor. You just need a saucepan and a baking sheet. If you have a stove and an oven, you have everything you need. I’ve made these with my toddler helping me stir (mostly stirring, occasionally tasting). It’s safe and simple.
- Actually Tastes Like Fruit — Store-bought versions taste like artificial strawberry candy. These taste like strawberries. Real, vibrant, tangy-sweet strawberry flavor. My kids think they are getting away with eating “candy,” but they are really just eating fruit puree and a little bit of honey. It’s a win-win.
- Portable and Mess-Free — These roll up tightly. They don’t crumble. They don’t leak juice into lunchboxes. I wrap them in parchment paper and toss them in a container. They stay fresh for days. I’ve dropped one in the dirt (don’t judge me) and it was easy to wipe off, unlike a banana or an apple slice.
- Customizable Sweetness — Some kids like it sweet, some like it tart. Because you’re making it, you control the sugar. I use a little honey to balance the natural tartness of the berries, but if your kids prefer sweeter, just add more. If they like it tart, skip the honey. It’s your call.
- Beginner-Proof — I’m a firm believer that if a recipe requires three different bowls and a thermometer, it’s not worth it for a simple snack. This is one bowl. You mash, you heat, you spread, you dry. That’s it. It’s forgiving. If it’s a little thick, add a splash of water. If it’s too thin, cook it longer. You can’t break it.
This is the kind of recipe that makes you feel like a parenting hero without actually doing any heavy lifting. It’s healthy, it’s fun, and it uses ingredients you probably already have in your pantry or freezer.
Ingredients You’ll Need
I love this recipe because the ingredient list is shorter than most grocery lists. You don’t need exotic items or special dietary substitutes. Just real food. Here is exactly what you need and why I pick what I pick.
The Fruit Base
Strawberries (2 cups, fresh or frozen) — This is the star. I use fresh berries when they are in season because the flavor is unbeatable. But frozen strawberries? They work perfectly fine too. In fact, because frozen berries are picked at peak ripeness and flash-frozen, they sometimes make a more intense puree. Just thaw them completely before you start. I buy the big tubs of frozen strawberries because they are always on hand for smoothies and this recipe.
Lemon Juice (1 tablespoon) — This is non-negotiable. The acid from the lemon brightens up the strawberry flavor and cuts through the sweetness. Without it, the roll-ups taste flat and one-dimensional. It’s like the difference between a song with and without a bass line. You’ll taste the difference immediately.
Honey (2-3 tablespoons) — I use honey instead of sugar because it dissolves easily and adds a nice floral note. Maple syrup works too if you want to keep it vegan, but honey gives a slightly better texture. Adjust the amount based on how sweet your berries are. If you have super sweet strawberries, start with 2 tablespoons. If they are tart, go for 3.
The Binding Agent
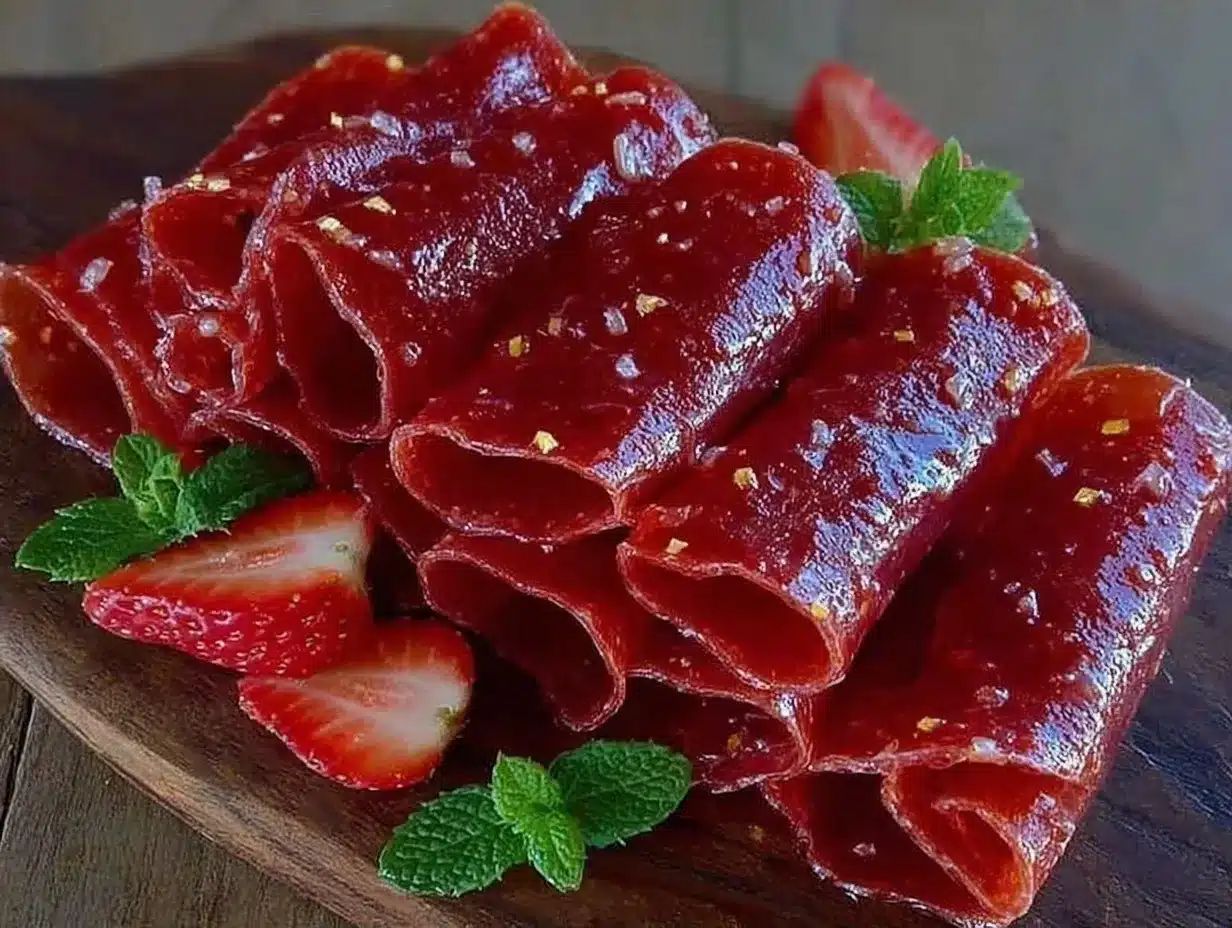
Applesauce (2 tablespoons, unsweetened) — This is the secret ingredient that makes the roll-ups flexible. Without applesauce, the puree dries into a brittle sheet that shatters when you try to roll it. The pectin in the applesauce keeps it pliable. Don’t skip this. I use unsweetened applesauce so it doesn’t add extra sugar. You won’t taste the apple; it just does the heavy lifting.
For Dusting
Extra Powdered Sugar or Coconut Flour (for dusting) — You need something to dust your parchment paper so the roll-ups don’t stick. Powdered sugar is traditional and adds a tiny bit of sweetness. Coconut flour is a great low-carb alternative. I usually keep a small bowl of powdered sugar ready to go.
Equipment Needed
You don’t need fancy gear for this. Here is what I actually use in my kitchen:
Medium Saucepan — I use a 3-quart saucepan. It needs to be wide enough to spread the puree, but deep enough to handle the bubbles without splattering. Non-stick is nice here because the sugar can get sticky.
Blender or Immersion Blender — I prefer an immersion blender because I can blend the fruit right in the pot. It saves dishes. But a standard blender works great too. Just be careful blending hot liquid—let it cool slightly first or vent the lid.
Baking Sheet — A standard half-sheet pan (13×18 inches) is perfect. I use one with a rim so the puree doesn’t run over the edge if it gets too thin.
Parchment Paper — Do not use wax paper. Wax paper melts in the oven. Parchment paper is heat-safe and non-stick. I line the baking sheet generously. You want enough overhang to help you lift the sheet out later.
Offset Spatula — This is my favorite tool for spreading the puree evenly. A regular spatula works too, but an offset spatula makes it easier to get those thin, even edges. If you don’t have one, just use the back of a spoon.
Ruler (Optional) — I like to measure my spread to about 1/8 inch thick. It helps with consistency, but it’s not strictly necessary. Just eyeball it if you’re feeling spontaneous.
How to Make It: Step-by-Step
Alright, let’s make these! I’m walking you through exactly how I do it. It’s a simple process, but there are a few tricks to get that perfect texture.
Step 1: Prep the Fruit
If you are using frozen strawberries, thaw them completely. Drain off any excess water— you want the puree thick, not watery. If using fresh berries, rinse them and hull them (remove the green tops). I usually chop them roughly before blending to make it easier.
Step 2: Make the Puree
Put the strawberries, lemon juice, and honey into your saucepan. Heat over medium-low heat. Let it simmer for about 5-7 minutes, stirring occasionally, until the berries break down and release their juices. This helps concentrate the flavor. Once they are soft and bubbly, remove from heat and let it cool for 5 minutes.
Pro Tip: If you are using a blender, transfer the hot mixture to the blender in batches. Blend until completely smooth. If using an immersion blender, just blend right in the pot. You want zero chunks. If you see any seeds, you can strain it through a fine-mesh sieve, but honestly? I leave the seeds in. They add texture and they’re healthy. My kids don’t even notice them.
Step 3: Add the Applesauce
Stir in the unsweetened applesauce. Mix it well. The mixture will look a bit thin at this point—that’s okay. It will thicken as it dries.
Step 4: Line the Pan
Line your baking sheet with parchment paper. Lightly dust the parchment with powdered sugar or coconut flour. Tap off the excess. You want a thin, even layer so the roll-ups don’t stick.
Step 5: Spread the Puree
Pour the puree onto the center of the parchment. Using an offset spatula or the back of a spoon, spread it out to the edges. Aim for an even layer, about 1/8 inch thick. Get it as close to the edges as you can without letting it drip over. A thin, even layer is key to rolling them up easily later.
Visual Cue: The surface should look glossy and smooth. If you see bubbles, pop them with your spatula. You want a smooth finish.
Step 6: Dry the Roll-Ups
Place the baking sheet in the oven. Turn the oven to its lowest setting—usually 170°F to 200°F (75°C to 95°C). If your oven doesn’t go that low, prop the door open slightly with a wooden spoon to let moisture escape. Dry for 3-4 hours. Check them at the 3-hour mark.
How to Tell They’re Done: The edges should lift easily from the parchment. The surface should be matte (not shiny) and tacky, but not sticky. If you touch it lightly, it shouldn’t stick to your finger. If it still sticks, give it another 30 minutes.
Step 7: Roll and Store
Once dried, carefully lift the parchment paper off the baking sheet. Using a pizza cutter or sharp knife, cut the sheet into strips about 3 inches wide. Starting from one long edge, roll them up tightly. As you roll, dust the inside with a little more powdered sugar if they seem sticky.
Store them in an airtight container, separated by layers of parchment paper, at room temperature for up to 5 days. Or freeze them for up to 3 months.
Expert Tips & Tricks
Here’s everything I’ve learned from making these dozens of times. These tips will save you from my mistakes.
Don’t Rush the Drying
The biggest mistake people make is taking them out too early. If they are even slightly sticky, they will unravel when you try to roll them. It’s better to over-dry slightly than under-dry. Over-dried roll-ups can be softened by wrapping them in a damp paper towel for a few minutes, but you can’t fix under-dried ones.
Thick vs. Thin Spreads
If you spread the puree too thick, it will take forever to dry and might stay gummy in the center. If you spread it too thin, it might become brittle. Aim for that 1/8 inch mark. Consistency is key.
Humidity is the Enemy
If you live in a humid climate, drying time will increase. You might need an extra hour or two. Make sure your kitchen is dry, or run a fan near the oven (if safe) to help circulate air. On rainy days, I sometimes use my dehydrator instead of the oven—it’s set and forget.
Flavor Variations
You can swap the strawberries for blueberries, raspberries, or even mango. Just adjust the sugar accordingly. Berries like blueberries have less natural sugar, so you might need a bit more honey. Mango is naturally sweeter, so you might skip the honey entirely.
Cutting Shapes
If you are making these for kids, use cookie cutters to cut shapes out of the dried sheet before rolling. It’s fun and makes them look fancy. Or just roll them into snakes and cut into bite-sized pieces.
Variations & Substitutions
Once you’ve nailed the basic strawberry version, here’s how you can mix it up. I’ve tried all of these.
Banana Roll-Ups
Use ripe bananas instead of strawberries. Mash them well and add a teaspoon of cinnamon. They are naturally sweet, so you likely won’t need any honey. These are great for breakfast snacks.
Apple Cinnamon
Simmer chopped apples with cinnamon and a little lemon juice until soft. Blend smooth and follow the same drying process. These taste like apple pie filling.
Yogurt Swirl
After spreading the fruit puree, dollop a little Greek yogurt on top and swirl it with a knife before drying. It adds protein and a tangy contrast. Just make sure the yogurt layer is thin so it dries properly.
Gluten-Free & Vegan
This recipe is naturally gluten-free and can be vegan if you use maple syrup or agave instead of honey. The applesauce and fruit are naturally vegan. Just double-check your powdered sugar if you’re strict about veganism (some is processed with bone char).
No-Sugar Version
If your berries are very sweet, you can skip the honey entirely. The natural fruit sugars are enough. The roll-ups will be tarter, but still delicious. I’ve made these with zero added sugar and my kids still love them.
Serving & Storage
These are perfect for lunchboxes, backpacks, and park trips. They don’t melt in the heat like chocolate, and they don’t get squished like chips. I wrap each roll in a small piece of parchment paper or wax paper before putting them in the container. It keeps them from sticking together and makes them easy to grab.
Storage
Store in an airtight container at room temperature for up to 5 days. If your house is hot or humid, keep them in the fridge. They will last up to 2 weeks in the fridge. They also freeze beautifully for up to 3 months. Just thaw them in the fridge overnight before eating.
Rehydrating
If they get a bit too dry after a few days, you can soften them by wrapping them in a damp paper towel and microwaving for 10 seconds. Or just eat them as a crunchy fruit leather chip—they’re still good!
Nutrition Information
I’m not a nutritionist, but here’s the breakdown if you’re tracking. These are significantly better than store-bought versions because they have no artificial colors or preservatives.
Per Serving (based on 8 rolls):
- Calories: 45
- Protein: 0g
- Carbs: 11g
- Fiber: 1g
- Sugar: 9g (from fruit and honey)
- Fat: 0g
What’s Good:
Low calorie, no artificial ingredients, and contains real fruit. They are a great way to get extra fruit into kids who are picky eaters.
What to Know:
They are still high in natural sugars, so they are a treat, not a vegetable. But compared to a granola bar or fruit snack, they are a much better choice. I usually limit my kids to 2-3 rolls per day.
Final Thoughts
So that’s my go-to homemade strawberry fruit roll-ups! I know I’ve talked a lot about how simple they are, but when you make a snack this often, you realize that simplicity is the ultimate luxury. These have saved me from the gas station candy aisle more times than I can count. They are my answer to “what’s a healthy snack that my kids will actually eat?”
Make them your own! Try different fruits, adjust the sweetness, or add a dash of spice. The best recipes are the ones you adapt to your family’s tastes. And if you mess up the spreading? No big deal. Just roll them anyway. They’ll still taste good.
If you make these, drop a comment and let me know what you think! I love hearing how recipes turn out in your kitchen. And if something doesn’t work, tell me that too—I’m here to help troubleshoot. Happy rolling!
Frequently Asked Questions
Can I use a dehydrator instead of an oven?
Yes! This is actually my preferred method. Line the dehydrator trays with parchment paper (cut to size) and spread the puree on them. Dehydrate at 135°F (57°C) for 6-8 hours. The lower temperature preserves more nutrients and gives a chewier texture. Just make sure the parchment paper is safe for dehydrator use (some plastic-lined papers are not).
Why are my roll-ups sticky?
They likely need more drying time. Check them every 30 minutes until the surface is matte and doesn’t stick to your finger. If they are still sticky after 4-5 hours, try propping the oven door open wider to let more moisture escape. Humidity can also play a role—if it’s a rainy day, give them extra time.
Can I freeze the puree before drying?
You can, but it’s not necessary. The puree is best used fresh because freezing and thawing can change the texture slightly. If you do freeze it, thaw it completely and drain any excess liquid before spreading. But honestly, it’s easier to just make it fresh.
Do I have to use strawberries?
No! You can use any fruit. Blueberries, raspberries, blackberries, mango, peach, or apple all work great. Just adjust the sugar based on the fruit’s natural sweetness. Acidic fruits like raspberries might need a bit more honey to balance the tartness.
How do I prevent them from sticking to the parchment paper?
Make sure you dust the parchment paper with powdered sugar or coconut flour before spreading. Also, ensure the roll-ups are fully dry before trying to peel them off. If they stick, try sliding a thin spatula under them gently. If they are still stuck, it probably means they need more drying time.
Can I make these ahead for a party?
Absolutely. You can make them up to a week in advance. Store them in an airtight container at room temperature. They actually hold their shape better after a day or two as they settle. Just keep them away from direct sunlight and heat.
Are these safe for young toddlers?
Yes, they are a great snack for toddlers. Just make sure they are rolled tightly to prevent choking. Supervise your child while they eat. The texture is soft and chewy, which is easier for little ones to manage than hard candies. I usually cut them into smaller pieces for my toddler.
Pin This Recipe!
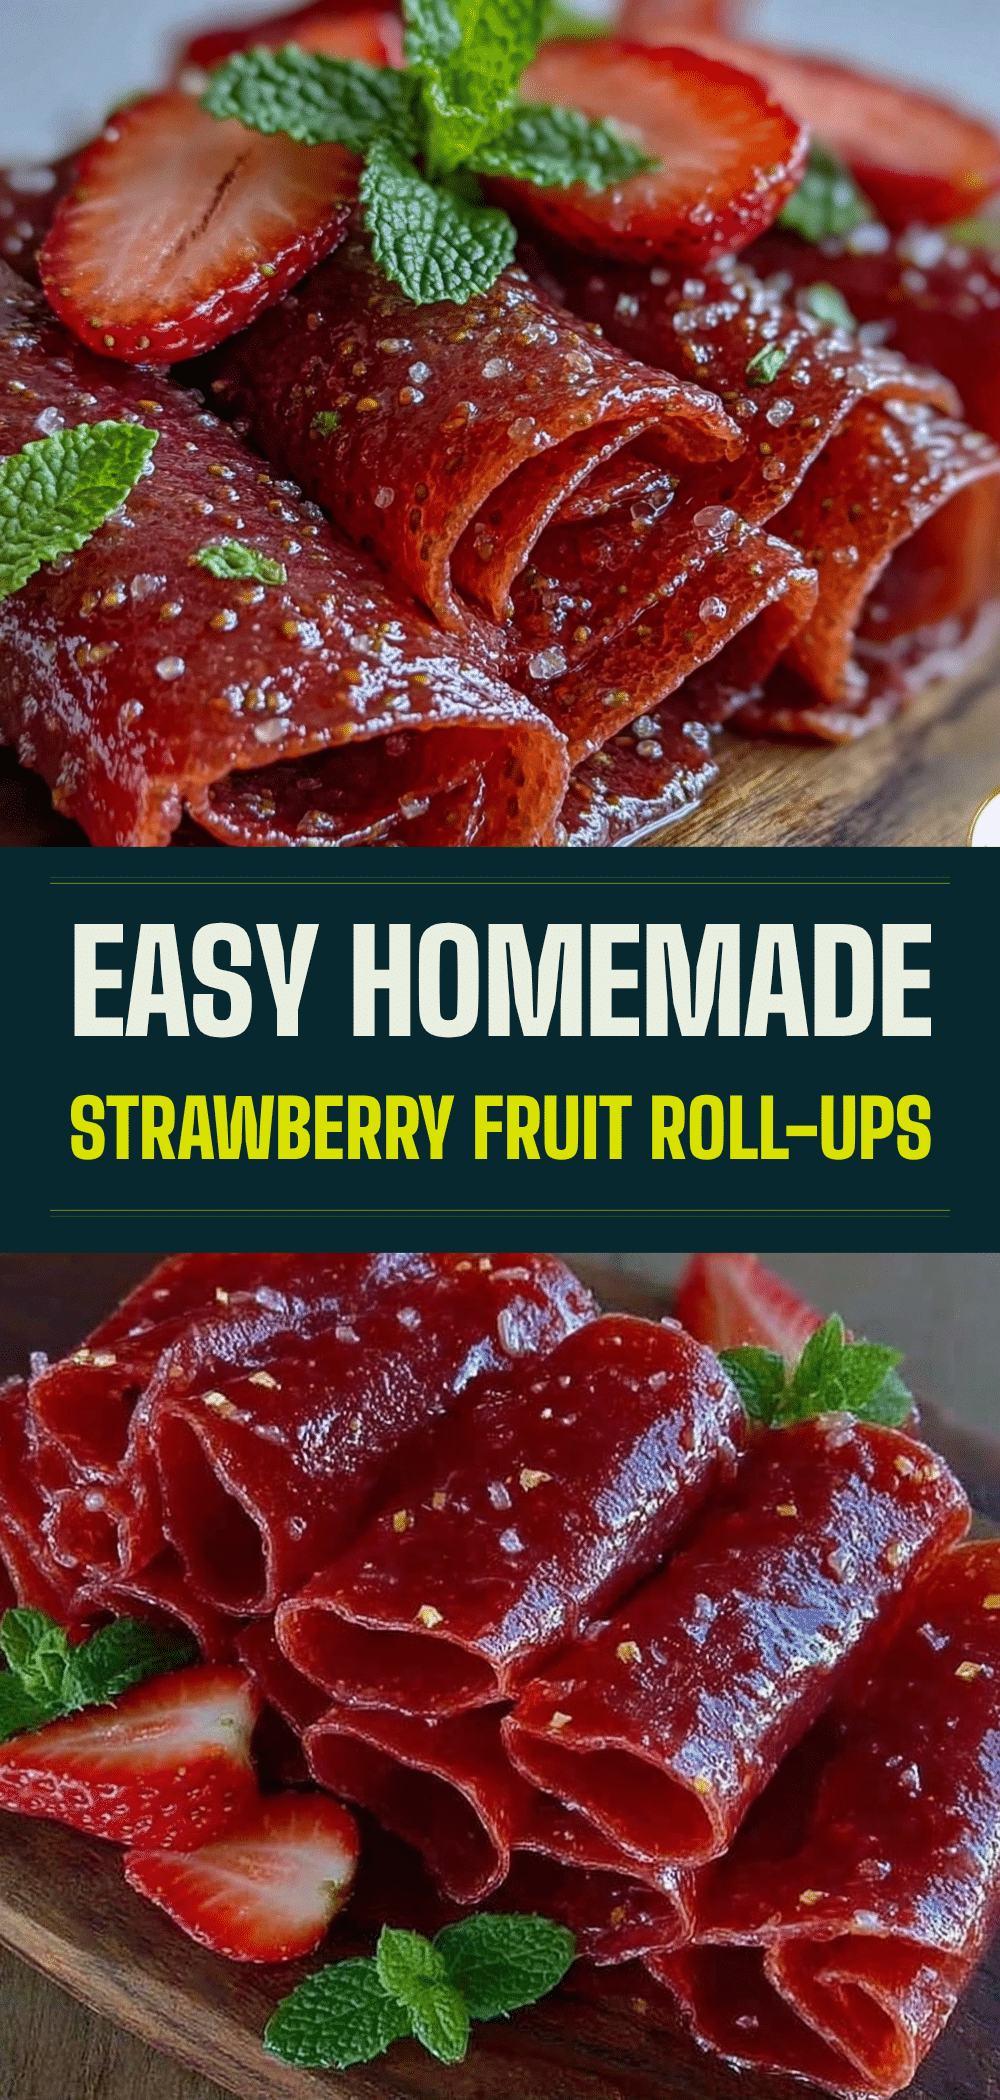

Homemade Strawberry Fruit Roll-Ups
- Total Time: 3 hours 15 minutes
- Yield: 8 servings 1x
Description
Simple, healthy homemade fruit roll-ups made with just four ingredients. These snackable treats are sweetened with real fruit and honey, require no dehydrator, and are perfect for kids and adults alike.
Ingredients
- 2 cups strawberries (fresh or frozen)
- 1 tablespoon lemon juice
- 2–3 tablespoons honey (adjust based on berry sweetness)
- 2 tablespoons unsweetened applesauce
- Powdered sugar or coconut flour (for dusting)
Instructions
- If using frozen strawberries, thaw them completely and drain off excess water. If using fresh, rinse, hull, and roughly chop.
- Combine strawberries, lemon juice, and honey in a medium saucepan. Heat over medium-low heat and simmer for 5-7 minutes until berries break down and release juices.
- Remove from heat and let cool for 5 minutes.
- Blend the mixture until completely smooth using an immersion blender or standard blender.
- Stir in the unsweetened applesauce until well combined.
- Line a baking sheet with parchment paper and lightly dust with powdered sugar or coconut flour.
- Pour the puree onto the parchment and spread evenly to about 1/8 inch thickness using an offset spatula or spoon.
- Place in the oven at the lowest setting (170°F to 200°F). If the oven doesn’t go this low, prop the door open slightly with a wooden spoon.
- Dry for 3-4 hours, checking at the 3-hour mark. The roll-ups are done when the surface is matte, tacky but not sticky, and edges lift easily.
- Remove from oven and let cool slightly. Cut into 3-inch wide strips.
- Roll up tightly, dusting the inside with more powdered sugar if needed to prevent sticking.
- Store in an airtight container separated by parchment paper.
Notes
Ensure the roll-ups are fully dry before rolling to prevent unraveling. If the puree is too thick, add a splash of water; if too thin, cook longer. Humidity can increase drying time. These can be stored at room temperature for 5 days, in the fridge for 2 weeks, or frozen for 3 months.
- Prep Time: 15 minutes
- Cook Time: 3-4 hours
- Category: Snack
- Cuisine: American
Nutrition
- Serving Size: 1 roll-up
- Calories: 45
- Sugar: 9
- Carbohydrates: 11
- Fiber: 1
Keywords: homemade fruit roll-ups, strawberry snacks, healthy kids snacks, fruit leather, gluten-free snacks, vegan snacks, easy recipes


