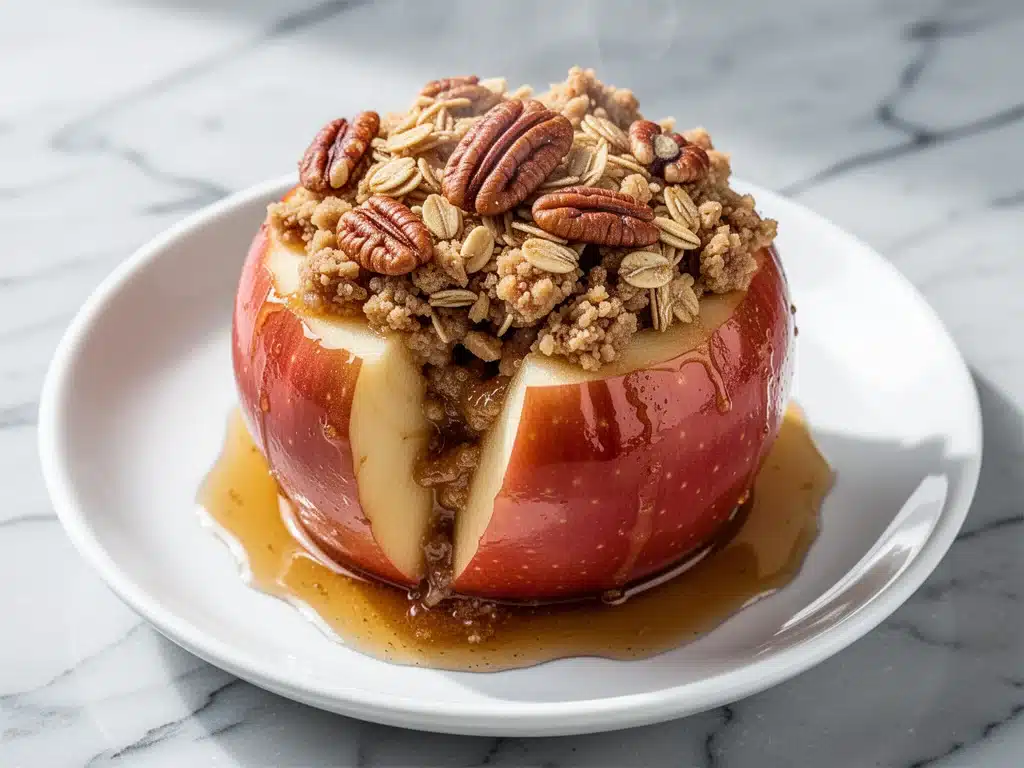
There’s a specific kind of magic that happens in my kitchen during October. It’s not just the smell of woodsmoke drifting in from the neighbors or the way the light hits the table at 4 PM looking like liquid gold. It’s the smell of cinnamon, brown sugar, and warm apples baking slowly in the oven. I remember the first time I made these fall brown sugar baked apples with oat pecan filling, it was a total accident born out of laziness. I had bought six Honeycrisp apples for a pie that I never got around to making. They were sitting on my counter, looking judgmental. I didn’t feel like peeling, slicing, and dealing with a soggy bottom crust. So, I cored them, stuffed them with whatever I had in the pantry, and threw them in the oven.
I walked away to fold laundry. When I came back ten minutes later, my dog was sitting by the oven door, staring up at me like I was feeding him truffles. I took one bite and nearly dropped my phone. The apple was tender but held its shape, the center was gooey and warm, and the crunch from the pecans and oats was absolutely perfect. It wasn’t just a side dish. It was a dessert. It was breakfast. It was comfort in a bowl.
I’ve made these baked apples at least twenty times since that lazy Tuesday afternoon. I’ve tweaked the filling, swapped the apples, and even tried them in my fall cinnamon apple cider bundt cake for a different vibe, but this recipe? This is the one I keep coming back to. It’s simple, it’s seasonal, and it makes your entire house smell like a bakery. If you’re looking for a way to use up those fall apples without the hassle of pie crusts, this is it. It’s the kind of recipe that feels fancy enough for a dinner party but easy enough for a Tuesday night craving.
Why You’ll Love This Recipe
Look, I get it. You have a million things on your plate. You don’t need another complicated dessert that requires seven different bowls and an hour of prep. This fall brown sugar baked apples with oat pecan filling recipe is different. It’s forgiving. It’s fast. And honestly? It’s better for you than a slice of cake (mostly because there’s fruit involved, so we can call it a veggie, right?). Here’s why this recipe has earned a permanent spot in my weekly rotation:
- Zero Pie Crust Stress — Let’s be real. Making pie crust is a love-hate relationship for most of us. With these baked apples, you skip the dough entirely. No rolling, no chilling, no tears. Just whole apples stuffed with goodness. It’s the easiest way to get that fall flavor without the technical difficulty.
- One Dish (Technically) — You only need a baking dish and a small bowl to mix the filling. Cleanup is a breeze. I can handle it while the apples are baking, which means I’m not stuck in the kitchen all evening. My husband can handle the cleanup, but honestly, I don’t make him. It’s too good.
- Make-Ahead Friendly — This is huge for holiday hosting. I can prep these the night before, pop them in the fridge, and just throw them in the oven when I get home. They reheat beautifully too, so leftovers aren’t a problem—they’re just an excuse to have dessert for breakfast the next morning.
- Customizable for Everyone — Picky eaters? Skip the pecans if you want. Gluten-free? Swap the oats. Vegan? Use coconut oil instead of butter. This recipe bends to your needs without losing its soul. I’ve made a version with autumn kale salad with cranberries and pecans vibes by adding extra cranberries, and it was a hit.
- Perfect Texture Contrast — The best part? The filling. That mix of soft, spiced oats, crunchy pecans, and sticky brown sugar creates a texture that’s addictive. It’s not mushy. It’s not dry. It’s that perfect sweet-salty crunch that makes you close your eyes and sigh.
So basically, if you want something warm, cozy, and incredibly easy that tastes like autumn in a bite, this is your recipe. It’s the kind of food that makes you feel like you’re being taken care of, even if you’re making it for yourself.
Ingredients You’ll Need
Here’s the best part: you probably have most of this already. This isn’t a recipe that requires a trip to three different specialty stores. It’s pantry-friendly and seasonal. I’m particular about three things here, so pay attention to those, but the rest is pretty flexible.
For the Apples
Honeycrisp Apples (4 large, cored) — I swear by Honeycrisp for this. They hold their shape beautifully in the oven without turning into applesauce. Fuji or Gala work too, but avoid Red Delicious—they get mealy and weird. You want about 4 apples that fit nicely in your baking dish. Make sure they’re cored, but leave the bottom intact so the filling doesn’t leak out.
Butter (2 tablespoons, melted) — Just a little bit to help the filling brown. I use salted butter because it adds a nice depth, but unsalted works if you’re watching sodium.
For the Oat Pecan Filling
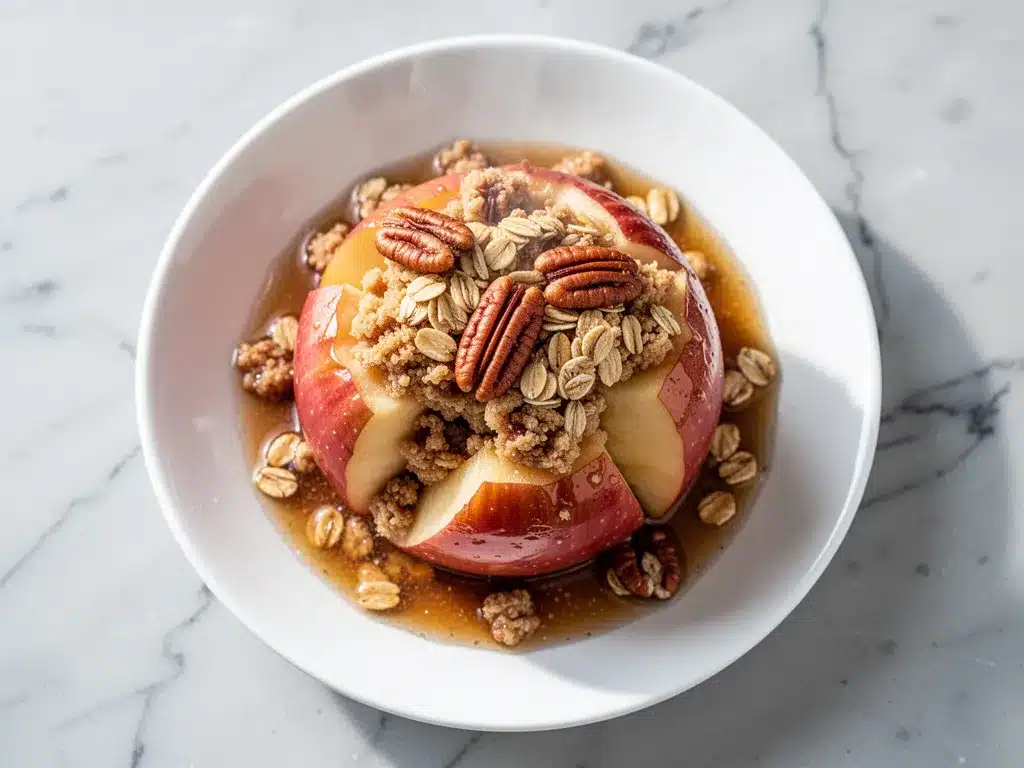
Old-Fashioned Rolled Oats (½ cup) — Do not use instant oats. They’ll turn to mush. You want the chewy texture of rolled oats. Gluten-free? Use certified GF oats. They work exactly the same.
Pecan Pieces (½ cup, chopped) — Toasting them first is a pro move, but raw is fine if you’re in a rush. I usually chop them roughly. Some people like them fine, some like chunks. I like big chunks because they give you those crunchy bites.
Brown Sugar (⅓ cup, packed) — Light or dark brown sugar both work. Dark brown has a deeper molasses flavor, which I love in fall. If you don’t have brown sugar, you can use coconut sugar, but it changes the flavor slightly.
Ground Cinnamon (1 teaspoon) — The star of the show. Don’t skimp. If your cinnamon is old and dusty, toss it. You want it fragrant. I keep my spices in a drawer away from the stove to keep them fresh.
Ground Nutmeg (¼ teaspoon) — Just a pinch. It adds warmth. If you don’t like nutmeg, skip it, but I think it completes the flavor profile.
Pinch of Salt — Seriously, don’t skip this. Salt makes the sweet taste sweeter and the spices pop. It’s non-negotiable.
Maple Syrup (1 tablespoon) — This adds a nice liquid element to help the oats bind together slightly. It also adds a subtle woodsy flavor that pairs perfectly with the apples.
Optional Toppings
Vanilla Ice Cream — I know, it’s cliché. But warm apple and cold vanilla ice cream? It’s a classic for a reason. I also love a dollop of pumpkin tiramisu if I’m feeling fancy, but ice cream is the standard.
Whipped Cream — For the people who want extra decadence. I keep a canister in the fridge for guests.
Chopped Cranberries — I like adding a handful of dried cranberries to the filling for a tart burst. It cuts through the sweetness. You can also use this idea from my crunchy apple walnut harvest salad and add some fresh cranberries for color.
Equipment Needed
You don’t need fancy gadgets for this. Here’s what I actually use in my kitchen:
Baking Dish — I use a 9×13 inch glass or ceramic baking dish. It needs to be deep enough to catch any juices that might bubble over. Pyrex is my go-to because I can see the bottom, but stoneware works great too.
Apple Corer — This is optional but highly recommended. I have a cheap metal one from the dollar store. It makes quick work of removing the seeds and core. If you don’t have one, a sharp paring knife works, but it takes more patience. Be careful not to cut all the way through the bottom!
Small Mixing Bowl — Just a standard bowl for tossing the oats, pecans, sugar, and spices together.
Spoon or Small Spatula — For packing the filling into the apples. A teaspoon works too if you have small hands or small apples.
Aluminum Foil — Optional, but I usually cover the dish for the first half of baking to keep the tops from burning, then uncover to crisp up.
How to Make It: Step-by-Step
Alright, let’s make this! I’m walking you through exactly how I do it, including the little tricks I’ve picked up over the years.
Step 1: Prep Your Oven and Apples
Preheat your oven to 375°F (190°C). While it heats, wash your apples thoroughly. Use an apple corer to remove the core and seeds. If you’re using a knife, cut a circle around the stem and carefully scoop out the core. Make sure the bottom of the apple is still intact. If it has a hole in the bottom, your filling will leak out, and that’s a mess I don’t want. Set the apples in your baking dish. They should fit snugly but not be crushed.
Step 2: Mix the Filling
In a small bowl, combine the rolled oats, chopped pecans, brown sugar, cinnamon, nutmeg, and salt. Drizzle in the melted butter and maple syrup. Stir everything together until the oats are evenly coated. It should look like wet sand. If it seems too dry, add another teaspoon of butter or maple syrup. You want it to clump slightly when you squeeze it.
Step 3: Stuff the Apples
Take a generous scoop of the filling and pack it firmly into the center of each apple. Don’t be shy—fill them up! You want a nice mound on top. Press it down gently so it stays in place. If you have extra filling, you can sprinkle it over the top of the apples. I usually have a little left over, and I just scatter it around the apples in the dish.
Step 4: Bake
Pour about ½ cup of water into the bottom of the baking dish. This creates steam and keeps the apples from drying out. Cover the dish loosely with aluminum foil. Bake for 25 minutes. Then, remove the foil and bake for another 15-20 minutes. The apples are done when they are tender when pierced with a fork but still hold their shape. The filling should be golden brown and fragrant.
Step 5: Cool and Serve
Let the apples cool for about 5-10 minutes before serving. This lets the filling set slightly so it doesn’t slide out when you scoop. Serve warm, topped with a scoop of vanilla ice cream or a dollop of whipped cream. Drizzle any juices from the bottom of the pan over the top. It’s liquid gold.
Expert Tips & Tricks
Here’s everything I’ve learned from making this dozens of times. These tips will save you from my mistakes.
Choose the Right Apple
This is the most important step. If you use a soft apple, it will disintegrate. Honeycrisp, Fuji, Gala, and Pink Lady are all great choices. Avoid Red Delicious or McIntosh if you want them to hold their shape. I once used a Gala that was too ripe, and it turned into applesauce soup. Lesson learned.
Toast the Pecans
If you have an extra 5 minutes, toast the pecans in a dry pan over medium heat for 3-4 minutes until they smell nutty. It adds an incredible layer of flavor. I do this every time now. It’s worth the effort.
Don’t Skip the Water
Adding water to the bottom of the dish creates steam. This helps the apples cook evenly and stay juicy. Without it, the tops can dry out and become leathery. It’s a small step that makes a big difference.
Adjust for Sweetness
Apples vary in sweetness. Taste your apple first. If it’s tart, add a bit more brown sugar. If it’s sweet, reduce the sugar slightly. I usually stick to the recipe, but I’ve tweaked it when I had really tart Granny Smiths (which I also love, by the way).
Make Ahead Strategy
You can prep these the night before. Stuff the apples, cover them, and refrigerate. In the morning, just pop them in the oven. You might need to add 5 minutes to the baking time if they’re cold from the fridge.
Variations & Substitutions
Once you’ve nailed the basic version, here’s how you can mix it up. I’ve tried all of these.
Gluten-Free Version
Simply use certified gluten-free rolled oats. Everything else is naturally gluten-free. The texture is identical. I’ve made this for my gluten-free sister, and she couldn’t tell the difference.
Vegan Version
Swap the butter for coconut oil or vegan butter. Use maple syrup as usual. The filling will be slightly less rich, but still delicious. Serve with vegan ice cream.
Spice It Up
Add a pinch of cardamom or allspice to the filling for a more complex flavor. I like adding a tiny bit of ginger for a kick. It pairs beautifully with the cinnamon.
Chocolate Lover’s
Add a few chocolate chips to the filling. It melts into the oats and creates a gooey center. I sometimes add this to my fall brown butter apple blondies for a similar vibe.
Stuffed with Stuffing
For a savory twist, replace the sweet filling with a small amount of sage and onion stuffing. It’s a great side dish for Thanksgiving.
Serving & Storage
How to Serve:
I usually serve these straight from the baking dish. They look rustic and inviting. Top with vanilla ice cream, whipped cream, or a drizzle of caramel sauce. They pair wonderfully with a cup of spiced cider or a glass of creamy garlic mashed potatoes if you’re making a savory meal.
Storage:
Store leftovers in an airtight container in the refrigerator for up to 4 days. The apples will continue to soften, which is fine. The filling might get a bit soggy, but it’s still tasty.
Reheating:
Reheat in the microwave for 1-2 minutes, or in the oven at 350°F for 10-15 minutes. If you microwave it, cover it with a damp paper towel to keep it moist. If you reheat in the oven, it will crisp up the topping again.
Freezing:
I don’t recommend freezing these. The texture of the baked apple changes when thawed—it can become mushy. It’s best enjoyed fresh.
Nutrition Information
I’m not a nutritionist, but here’s the breakdown if you’re tracking. Keep in mind, this is an estimate and can vary based on the size of your apples and brands used.
Per Serving (1 apple with filling):
- Calories: 280
- Protein: 3g
- Carbs: 45g
- Fiber: 5g
- Sugar: 25g
- Fat: 10g
- Saturated Fat: 4g
- Cholesterol: 10mg
- Sodium: 150mg
What’s Good: High in fiber from the apples and oats. Good source of vitamins from the fruit. Lower in fat than many desserts.
What to Know: Higher in sugar due to the brown sugar and maple syrup. If you’re watching sugar, reduce the sweetener by half and use a tart apple.
Final Thoughts
So that’s my go-to fall brown sugar baked apples with oat pecan filling! I’ve probably talked your ear off at this point, but when you make a recipe this often, you have a lot to say about it. This has saved holiday dinners more times than I can count. It’s my answer to “what’s for dessert” when I want something warm and comforting without the work.
Make it yours! Try different apples, swap the nuts, add extra spices. The best recipes are the ones you adapt to your family’s tastes. If you make this, drop a comment and let me know what you think! I love hearing how recipes turn out in your kitchen. And if something doesn’t work, tell me that too—I’m here to help troubleshoot.
Happy baking! And I hope your kitchen smells half as good as mine does right now.
Frequently Asked Questions
Can I use Granny Smith apples?
Yes! Granny Smith apples are actually a great choice because they’re tart and hold their shape well. Just keep in mind they’re less sweet than Honeycrisp, so you might want to add a little extra brown sugar to the filling or drizzle a bit of honey over the top before baking.
Why did my apples leak filling?
This usually happens if the bottom of the apple gets pierced when coring. Make sure you only remove the core and seeds, leaving the bottom skin intact. If you accidentally poke a hole, you can patch it with a small piece of apple or just expect some leakage. It still tastes good, but it’s messier.
Can I make these in a slow cooker?
You can, but the texture will be different. Place the stuffed apples in the slow cooker and cook on low for 4-5 hours. The apples will be very soft, almost like applesauce. The topping won’t get as crispy. I prefer the oven method for the texture contrast, but slow cooker works if you’re short on time.
How do I know when the apples are done?
Insert a fork or skewer into the thickest part of the apple. It should go in easily with little resistance, like butter. The apple should be tender but not falling apart. The filling should be golden brown and bubbling slightly.
Can I use walnuts instead of pecans?
Absolutely. Walnuts work just as well and add a slightly more bitter, earthy flavor. I like pecans for their sweetness, but walnuts are a great alternative. You can even use a mix of both.
What if I don’t have rolled oats?
You can use quick oats, but they will make the filling softer and less chewy. You might need to use slightly less liquid (butter/maple syrup) to compensate. Crumbled graham crackers or crushed cookies can also work in a pinch for a different texture.
Can I freeze the filling mixture?
Yes, you can mix the filling ingredients and store them in the fridge for up to 3 days. Just stuff the apples fresh before baking. This can save you time on the day you plan to cook them.
Pin This Recipe!
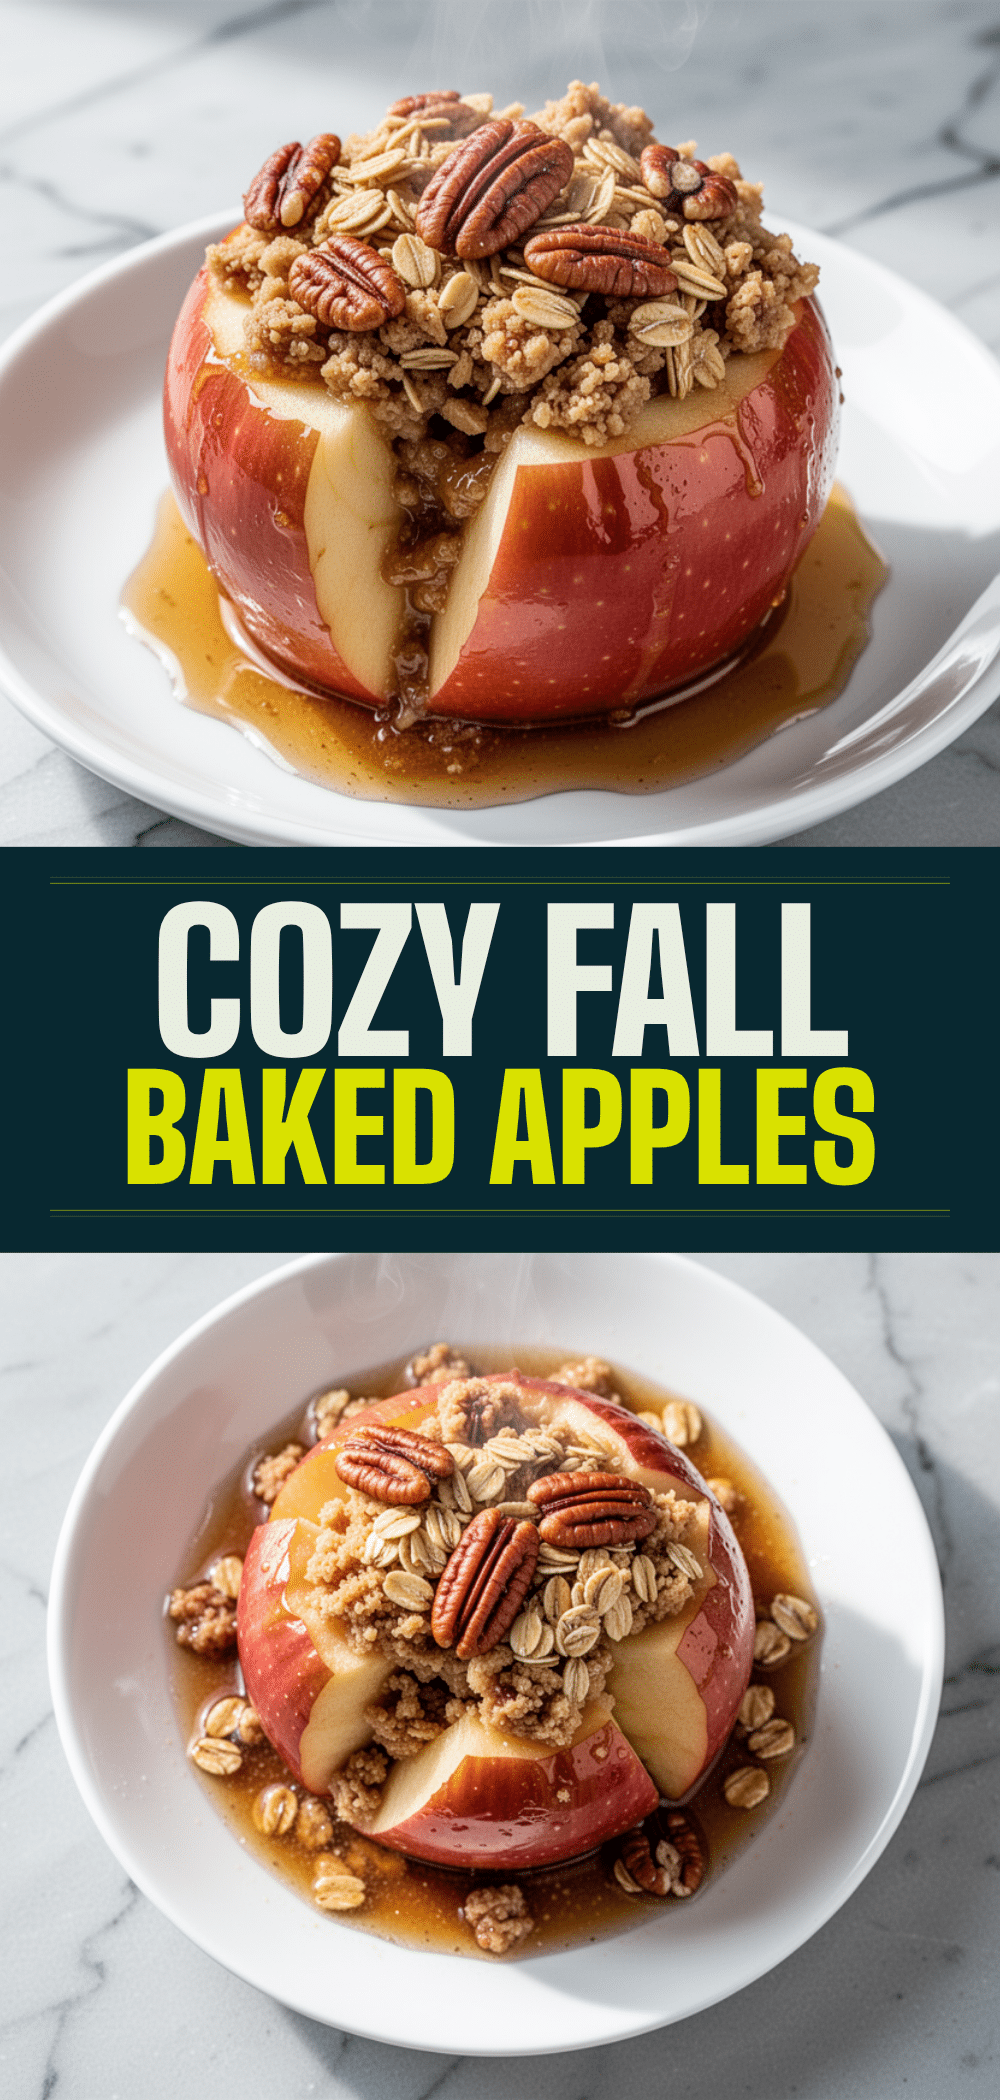
Fall Brown Sugar Baked Apples with Oat Pecan Filling
- Total Time: 60 minutes
- Yield: 4 servings 1x
Description
A cozy, easy-to-make dessert featuring whole Honeycrisp apples cored and stuffed with a sweet, crunchy filling of rolled oats, pecans, brown sugar, and spices, baked until tender.
Ingredients
- 4 large Honeycrisp apples, cored (bottom intact)
- 2 tablespoons butter, melted
- ½ cup old-fashioned rolled oats
- ½ cup pecan pieces, chopped
- ⅓ cup packed brown sugar
- 1 teaspoon ground cinnamon
- ¼ teaspoon ground nutmeg
- 1 pinch salt
- 1 tablespoon maple syrup
- ½ cup water (for baking dish)
Instructions
- Preheat oven to 375°F (190°C).
- Wash apples thoroughly. Use an apple corer or knife to remove the core and seeds, ensuring the bottom of the apple remains intact to prevent leaking.
- Place the cored apples snugly in a 9×13 inch baking dish.
- In a small bowl, combine rolled oats, chopped pecans, brown sugar, cinnamon, nutmeg, and salt.
- Drizzle in the melted butter and maple syrup. Stir until the mixture resembles wet sand and clumps slightly when squeezed.
- Pack the filling firmly into the center of each apple, creating a nice mound on top. Sprinkle any remaining filling around the apples in the dish.
- Pour ½ cup of water into the bottom of the baking dish to create steam.
- Cover the dish loosely with aluminum foil and bake for 25 minutes.
- Remove the foil and bake for another 15-20 minutes, or until apples are tender when pierced with a fork but still hold their shape and the filling is golden brown.
- Let cool for 5-10 minutes before serving to allow the filling to set.
- Serve warm with vanilla ice cream or whipped cream, drizzling pan juices over the top.
Notes
Choose firm apples like Honeycrisp, Fuji, or Gala that hold their shape. Avoid Red Delicious or McIntosh as they can become mushy. Toasting pecans beforehand enhances flavor. Adding water to the dish prevents drying out. Can be prepped the night before and refrigerated; add 5 minutes to baking time if cold.
- Prep Time: 15 minutes
- Cook Time: 45 minutes
- Category: Dessert
- Cuisine: American
Nutrition
- Serving Size: 1 stuffed apple
- Calories: 280
- Sugar: 25
- Sodium: 150
- Fat: 10
- Saturated Fat: 4
- Carbohydrates: 45
- Fiber: 5
- Protein: 3
Keywords: fall dessert, baked apples, oat pecan filling, easy dessert, gluten-free option, vegan option, autumn recipes, comfort food


