Last Thanksgiving, I made a mistake. A big one. I was stressed, the turkey was resting, and I decided to save time by using instant mashed potato flakes for my side dish. You know the kind—the ones that come in a box and taste like salty clouds?
My dad took one bite, put his fork down, and looked at me with this gentle disappointment that hurt worse than any yelling. “These are fine, honey,” he said. “But they’re not your potatoes.”
It stung. Because he was right. These weren’t my potatoes. These were lazy potatoes. And I knew, deep down, that my family deserved better than instant flakes when they sat down for the most important meal of the year.
That night, I went back to the kitchen while everyone else was watching football. I grabbed a bag of russet potatoes, a stick of butter that was way too expensive, and a lot of garlic. I spent an hour mashing, whisking, and tasting until I got it right. When I served them the next day, the silence was louder than usual. Then my mom said, “Okay, I’ll allow you to make these every holiday.”
That was five years ago. Since then, I’ve made this recipe for everything: Sunday suppers, potlucks, casual weeknight dinners when I want to treat myself, and yes, every holiday since. It’s become the gold standard in our house. And honestly? It’s the only way I know how to make mashed potatoes now.
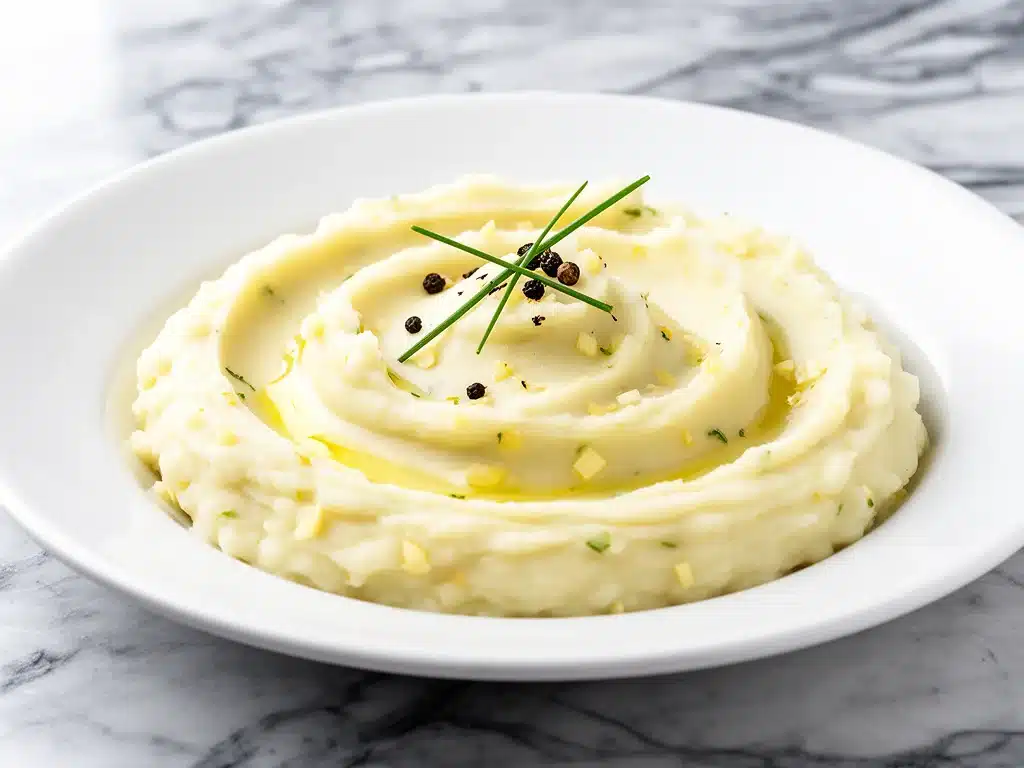
These creamy garlic mashed potatoes are rich, buttery, and packed with savory flavor. They’re not just a side dish; they’re the star. Whether you’re serving them alongside a roast or just eating them straight from the bowl (don’t judge me), they’re the kind of comfort food that makes people close their eyes and sigh. If you’ve ever been intimidated by the idea of perfectly smooth, restaurant-quality mash, trust me—you can do this. It’s simpler than you think, and the payoff is huge.
Why You’ll Love This Creamy Garlic Mashed Potatoes Recipe
I’ve said it before, but I’ll say it again: this recipe has completely changed how I view comfort food. There are plenty of reasons I keep making this, but here are the big ones that keep me coming back to the stove.
- Stupidly Simple — Seriously, if you can boil water and peel a potato, you can make this. I’ve walked my teenage son through it over FaceTime while he was at college, and he nailed it on the first try. No fancy techniques required.
- Lightning Fast — 30 minutes from start to finish, and only 15 of those are active cooking. I make this on weeknights when I get home at 7pm and just want to sit down. It’s faster than ordering takeout and tastes a million times better.
- Pantry-Friendly — You probably have 90% of these ingredients already. I keep russet potatoes, butter, milk, and garlic stocked just so I can make this on a whim when I need a hug in food form.
- Crowd-Pleaser — I’ve served this to my vegetarian sister, my gluten-free neighbor, and my I-only-eat-chicken dad (with modifications). Everyone loved it. It’s the ultimate safe bet that still feels special.
- Makes Amazing Leftovers — Actually tastes better the next day. I deliberately make extra for lunch throughout the week. Cold or reheated, they’re still creamy and delicious.
- Budget-Smart — Feeds 6-8 people for under $10. That’s less than one meal at a sit-down restaurant. It’s cheap, filling, and luxurious all at once.
This is my go-to when I need dinner to just work. No complicated techniques, no weird ingredients, just reliable, delicious food that makes everyone happy. And if you’re looking for other cozy comfort dishes, this pairs perfectly with a slow-cooker meal like slow-cooker apple cider pulled pork for a full fall feast.
Ingredients You’ll Need
Here’s the best part: you probably have most of this already. This looks like a standard list, but the quality of three specific ingredients makes all the difference. I’m particular about them, and I’ll tell you exactly why.
For the Base
Russet potatoes (3 pounds / about 1.4kg) — This is non-negotiable. Russets are high-starch and low-moisture, which means they break down into fluffy, light mash. Waxy potatoes like red or Yukon Gold will stay chunky and gummy. If you use the wrong potato, you’re fighting an uphill battle.
Unsalted butter (½ cup / 115g) — Use good quality here. I use European-style butter when I can find it because it has a higher fat content and richer flavor. Cut it into cubes before adding so it melts evenly. Don’t use margarine. Seriously.
Whole milk (1 cup / 240ml) — Full-fat only. Skim milk will make your mash watery and bland. Warm the milk before adding it (see tips below). Cold milk shocks the potatoes and makes them gluey. I learned this the hard way.
Heavy cream (¼ cup / 60ml) — Optional, but I highly recommend it. It adds that luxurious, restaurant-style richness. If you’re watching calories, skip it, but don’t say I didn’t warn you.
Garlic (4-5 cloves, minced / about 2 tablespoons) — Yes, four or five cloves. Don’t skimp. Fresh only—no jarred garlic in this recipe. Jarred garlic has a metallic taste that really shows up in delicate cream sauces. Mince it fine so you get little bursts of flavor in every bite.
For the Flavor
Chicken or vegetable broth (½ cup / 120ml) — I use low-sodium so I can control the salt. It adds depth that milk alone can’t provide. If you’re vegetarian, use vegetable broth. If you don’t have any, extra milk works too, but broth makes it taste more complex.
Garlic powder (1 teaspoon) — This isn’t a mistake. Fresh garlic gives flavor, but garlic powder gives *depth*. It infuses the mash evenly. I use it as a backup flavor bomb.
Sea salt (1 to 1.5 teaspoons, to taste) — Kosher salt is best because it’s easier to control. Taste as you go. Potatoes are bland until you hit them with enough salt.
Black pepper (½ teaspoon, freshly ground) — Adds a little heat and complexity. Don’t use the dusty stuff from the back of the cabinet. Freshly cracked is better.
Chives or green onions (2 tablespoons, chopped) — For garnish. Adds color and a fresh oniony bite that cuts through the richness. I grow chives in my window garden, so I use them whenever I can.
Optional Add-ins:
- Crispy bacon bits — ½ cup, crumbled. Turns it into loaded mash. My kids love this version.
- Roasted garlic — 1 head, squeezed out. Sweeter and mellower than raw garlic. Great for a fancy touch.
- Parmesan cheese — ¼ cup, grated. Adds a savory umami kick. Goes great with the garlic flavor.
Equipment Needed
You don’t need fancy equipment for this. Here’s what I actually use.
Large pot (8-quart) — I use a 8-quart stainless steel pot. Needs to fit three pounds of potatoes comfortably with room for water to boil around them. My ancient pot from college still works fine.
Colander — For draining potatoes. Or just use the lid to drain—I do this when I’m being lazy, but be careful, it’s hot.
Mashed potato masher — I prefer a heavy-duty wooden masher. It gives me control over the texture. A food processor will turn your potatoes into glue, so avoid it at all costs.
Hand mixer or stand mixer — Optional, but I love using my hand mixer for 30 seconds to make it extra fluffy. If you don’t have one, whisking vigorously works too.
Sharp knife — For peeling and chopping potatoes into even chunks. Dull knives make you cry more—learned this the hard way.
Measuring cups and spoons — Pretty standard stuff. Dollar store versions work fine.
Small saucepan — For warming the milk and cream. This step is crucial.
Garlic press — Saves time but not necessary. Mincing works fine if you’re in the mood.
How to Make It: Step-by-Step
Alright, let’s make this! I’m walking you through exactly how I do it, including the little tricks I’ve picked up over the years.
Step 1: Prep Your Potatoes (5 minutes)
Peel the russet potatoes and cut them into uniform 1.5-inch chunks. Uniformity is key here—if some pieces are huge and others are tiny, they’ll cook at different rates. I like to leave them a bit chunky so they cook faster, but you can go smaller if you want. Toss them in a bowl of cold water while you prep other things to prevent browning.
Step 2: Boil the Potatoes (15-20 minutes)
Place the potato chunks in a large pot and cover with cold water by about an inch. Add a generous pinch of salt (about 1 teaspoon). Bring to a boil over high heat, then reduce to a simmer. Cook for 15-20 minutes, or until a fork slides in and out with zero resistance. Do not overcook them until they’re falling apart, or they’ll absorb too much water. Drain well in a colander.
Step 3: Warm the Dairy (2 minutes)
While potatoes are boiling, pour milk, cream, and broth into a small saucepan. Heat over medium-low until warm but not boiling. This step is non-negotiable. Adding cold dairy to hot potatoes creates a gluey texture. Set aside.
Step 4: Sauté the Garlic (2 minutes)
In a large skillet or the same pot you boiled the potatoes in (if you cleaned it), melt half the butter over medium heat. Add minced garlic and cook for 1-2 minutes until fragrant. Don’t let it brown! Brown garlic tastes bitter. You want it golden and aromatic. Remove from heat.
Step 5: Mash the Potatoes (5 minutes)
Return the drained potatoes to the warm pot (dry heat helps evaporate excess moisture). Mash them thoroughly with a potato masher or wooden spoon until no large lumps remain. The texture should be rough and chunky at this stage.
Step 6: Combine and Whisk (3 minutes)
Gradually pour in the warm milk mixture while mashing or whisking. Add the sautéed garlic and remaining butter. Continue to mash or mix until smooth and creamy. If you want extra fluffy mash, switch to a hand mixer for 30 seconds. Do not overmix, or you’ll release too much starch and get gluey potatoes.
Step 7: Season and Serve (1 minute)
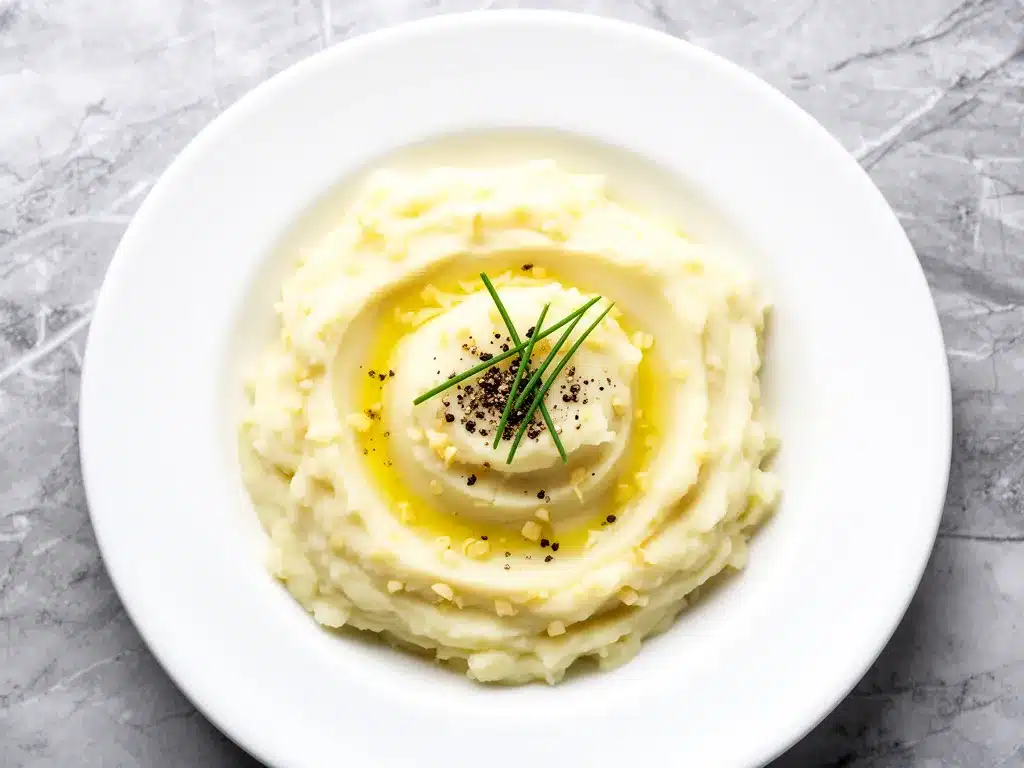
Taste and add salt and pepper as needed. Potatoes soak up salt, so you might need more than you think. Transfer to a serving bowl, make a little well in the center, and dot with a knob of butter for presentation. Sprinkle with chives or green onions.
Total Time: About 30 minutes (15 minutes active, 15 minutes hands-off boiling)
Expert Tips & Tricks
Here’s everything I’ve learned from making this dozens of times. These tips will save you from my mistakes.
Start with Cold Water
Always start potatoes in cold water. If you drop them into boiling water, the outside cooks way faster than the inside. You’ll end up with mushy outsides and raw centers. Cold water ensures even cooking.
Drain Thoroughly
After draining, let the potatoes sit in the colander for 2-3 minutes to steam off excess water. Or, return them to the hot pot on low heat for a minute to evaporate moisture. Wet potatoes = watery mash.
Keep It Warm
If you’re not serving immediately, keep the mash warm in a heat-proof bowl set over a pot of simmering water (double boiler method). Stir occasionally. This keeps them creamy without overcooking.
Don’t Skip the Garlic Sauté
Adding raw minced garlic directly to the mash can leave harsh, raw garlic bites. Sautéing it in butter mellows the flavor and distributes it evenly. It’s worth the extra minute.
Butter at Room Temp
If you’re adding chunks of butter, let them sit out for 10 minutes. Cold butter takes longer to melt and can create lumps in your smooth mash.
Common Mistakes (and how to avoid them):
- Mistake: Gluey, gummy potatoes. Fix: You overmixed them or used a food processor. Switch to a masher and stop as soon as it’s smooth.
- Mistake: Watery mash. Fix: You didn’t drain well enough or added cold milk. Drain thoroughly and warm your dairy.
- Mistake: Bland flavor. Fix: You didn’t salt the boiling water or the mash itself. Potatoes need salt at every stage.
Pro Tricks I’ve Learned:
- For Restaurant-Quality Finish — Add a tablespoon of cold butter at the very end and swirl it in. Makes the mash glossy and rich.
- For Extra Flavor — Toast the garlic powder in the butter for 30 seconds before adding potatoes. Releases more flavor.
- For Better Texture — Use a ricer if you have one. It’s the ultimate tool for lump-free, fluffy potatoes. But a masher works fine too.
Variations & Substitutions
Once you’ve nailed the basic version, here’s how you can mix it up. I’ve tried all of these.
Loaded Baked Potato Style
Add ½ cup sour cream, ½ cup shredded cheddar cheese, and ½ cup crispy bacon bits. Top with chives. This is my kids’ favorite version.
Herb Garden
Swap garlic for fresh rosemary and thyme. Sauté the herbs in butter instead of garlic. Adds a savory, earthy note. Great with roast chicken.
Cajun Style
Swap garlic for Cajun seasoning and add 1 teaspoon smoked paprika. Totally different vibe—spicy and smoky.
Lighter Version
Use half-and-half instead of heavy cream, and reduce butter to ¼ cup. It’s thinner but still good. I make this when I’m trying to be “healthy.”
Mashed Cauliflower Mix-In
Substitute half the potatoes with steamed cauliflower. Reduces carbs and adds nutrients. I won’t lie—it’s not the same, but it works if you’re watching calories.
Dietary Modifications:
- Gluten-Free — Naturally gluten-free. Just check your broth label.
- Dairy-Free — Replace butter with olive oil or vegan butter, and milk with unsweetened almond or oat milk. It’s different but still tasty. My lactose-intolerant friend requests this version.
- Vegan — Use olive oil, vegetable broth, and almond milk. Add nutritional yeast for cheese flavor.
If you’re serving this with other sides, it pairs beautifully with a rich pasta like creamy pumpkin alfredo pasta for a vegetarian feast, or even breakfast items like fluffy buttermilk pancakes if you’re doing a brunch spread.
Serving & Storage
How to Serve:
I usually serve this straight from the bowl at the dinner table—it looks rustic and stays warm. But here are other ways I’ve enjoyed it:
- Side Dishes: Roasted broccoli, green beans, or a simple green salad with balsamic vinaigrette.
- Toppings Bar: When I have guests, I put out extra chives, bacon bits, and black pepper. Everyone customizes their bowl.
- Wine Pairing: Not a wine expert, but my wine-snob friend says Pinot Grigio or Chardonnay works great with this.
Storage Instructions:
Refrigerator: Store in an airtight container for up to 4 days. The mash will thicken in the fridge—totally normal.
Reheating: Best method: Add to a saucepan with a splash of milk or cream over low heat. Stir until heated through and creamy again. Microwave method: Heat in 30-second intervals, stirring between. Add a splash of milk if it’s too thick. Never works: Trying to reheat in the pot you cooked it in. It always burns on the bottom. Ask me how I know.
Freezing: Honestly, this doesn’t freeze well because of the dairy. The texture changes and becomes grainy when thawed. Make it fresh or store in the fridge for up to 4 days.
Meal Prep: Make the mash on Sunday, store in the fridge. Reheat gently each night. Takes 5 minutes and tastes way better than fully reheated pasta.
Pro tip: If leftovers are drying out, stir in a tablespoon of butter and a splash of milk when reheating. Brings back that creamy texture.
Nutrition Information
I’m not a nutritionist, but here’s the breakdown if you’re tracking.
Per Serving (based on 8 servings):
- Calories: 280
- Protein: 4g
- Carbs: 35g
- Fiber: 3g
- Sugar: 2g
- Fat: 14g
- Saturated Fat: 8g
- Cholesterol: 35mg
- Sodium: 320mg
- Calcium: 40mg
What’s Good: Decent fiber from the potatoes. Can add vegetables to boost nutrition. More filling than it looks.
What to Know: Higher in calories from butter and cream. Contains dairy. Moderate sodium (use low-sodium broth to reduce).
My Take: Look, this is comfort food with butter and cream. It’s not a diet recipe. But it’s way better than takeout, costs less, and I know exactly what’s in it. When I want to make it lighter, I use the half-and-half version and load up on chives. But usually? I just eat a reasonable portion and enjoy it.
Final Thoughts
So that’s my go-to creamy garlic mashed potatoes! I’ve probably talked your ear off at this point, but when you make a recipe this often, you have a lot to say about it.
This has saved weeknight dinners more times than I can count. It’s my answer to “what’s for dinner” when I’m tired, don’t want takeout, and still want something that tastes really good. My kids are happy, my husband’s happy, and I’m happy because I’m not stressed about cooking.
Make it yours! Try different add-ins, swap in your favorite herbs, adjust the garlic (though more is always better in my opinion). The best recipes are the ones you adapt to your family’s tastes.
If you make this, drop a comment and let me know what you think! I love hearing how recipes turn out in your kitchen. And if something doesn’t work, tell me that too—I’m here to help troubleshoot.
Happy cooking! And I hope your kitchen smells half as good as mine does right now.
Frequently Asked Questions
Q: Can I use Yukon Gold potatoes instead of Russets?
A: You can, but the texture will be different. Yukon Golds are waxier and creamier, so they won’t be as fluffy. They’ll be denser and richer. If you prefer that texture, go for it. Just add a bit less liquid since they absorb less.
Q: My mash came out watery—what happened?
A: Usually means you didn’t drain well enough or added cold milk. Let the potatoes steam dry after draining. Also, warm your milk before adding. If it’s already watery, cook it over low heat for a few minutes to evaporate excess moisture.
Q: Can I make this ahead for a dinner party?
A: Sort of. Make the mash up to 2 hours ahead and keep it warm in a heat-proof bowl over simmering water. Stir occasionally. It won’t be quite as good as fresh, but it’s close and saves you stress during the party. I do this all the time.
Q: Why did my mash get gluey?
A: You overmixed it. Potatoes release starch when agitated. Use a masher, not a food processor or blender. Mix gently and stop as soon as it’s smooth.
Q: Can I use jarred garlic?
A: You can, but fresh tastes so much better in this recipe. Jarred garlic has a weird metallic taste that really shows up in cream sauces. If you must use it, use half the amount because it’s stronger. But honestly, mincing 4 cloves takes like 2 minutes.
Q: How do I reheat leftovers without it getting dry?
A: Add a splash of milk or cream to a saucepan, add your leftover mash, and heat gently over low heat, stirring frequently. The extra liquid brings back the creamy texture. Microwave sort of works but tends to dry it out.
Q: Can I double this recipe?
A: Absolutely! Double everything and use your biggest pot. The cooking times stay the same. I do this when I’m meal-prepping or feeding a crowd. Just make sure your pot is big enough for the potatoes.
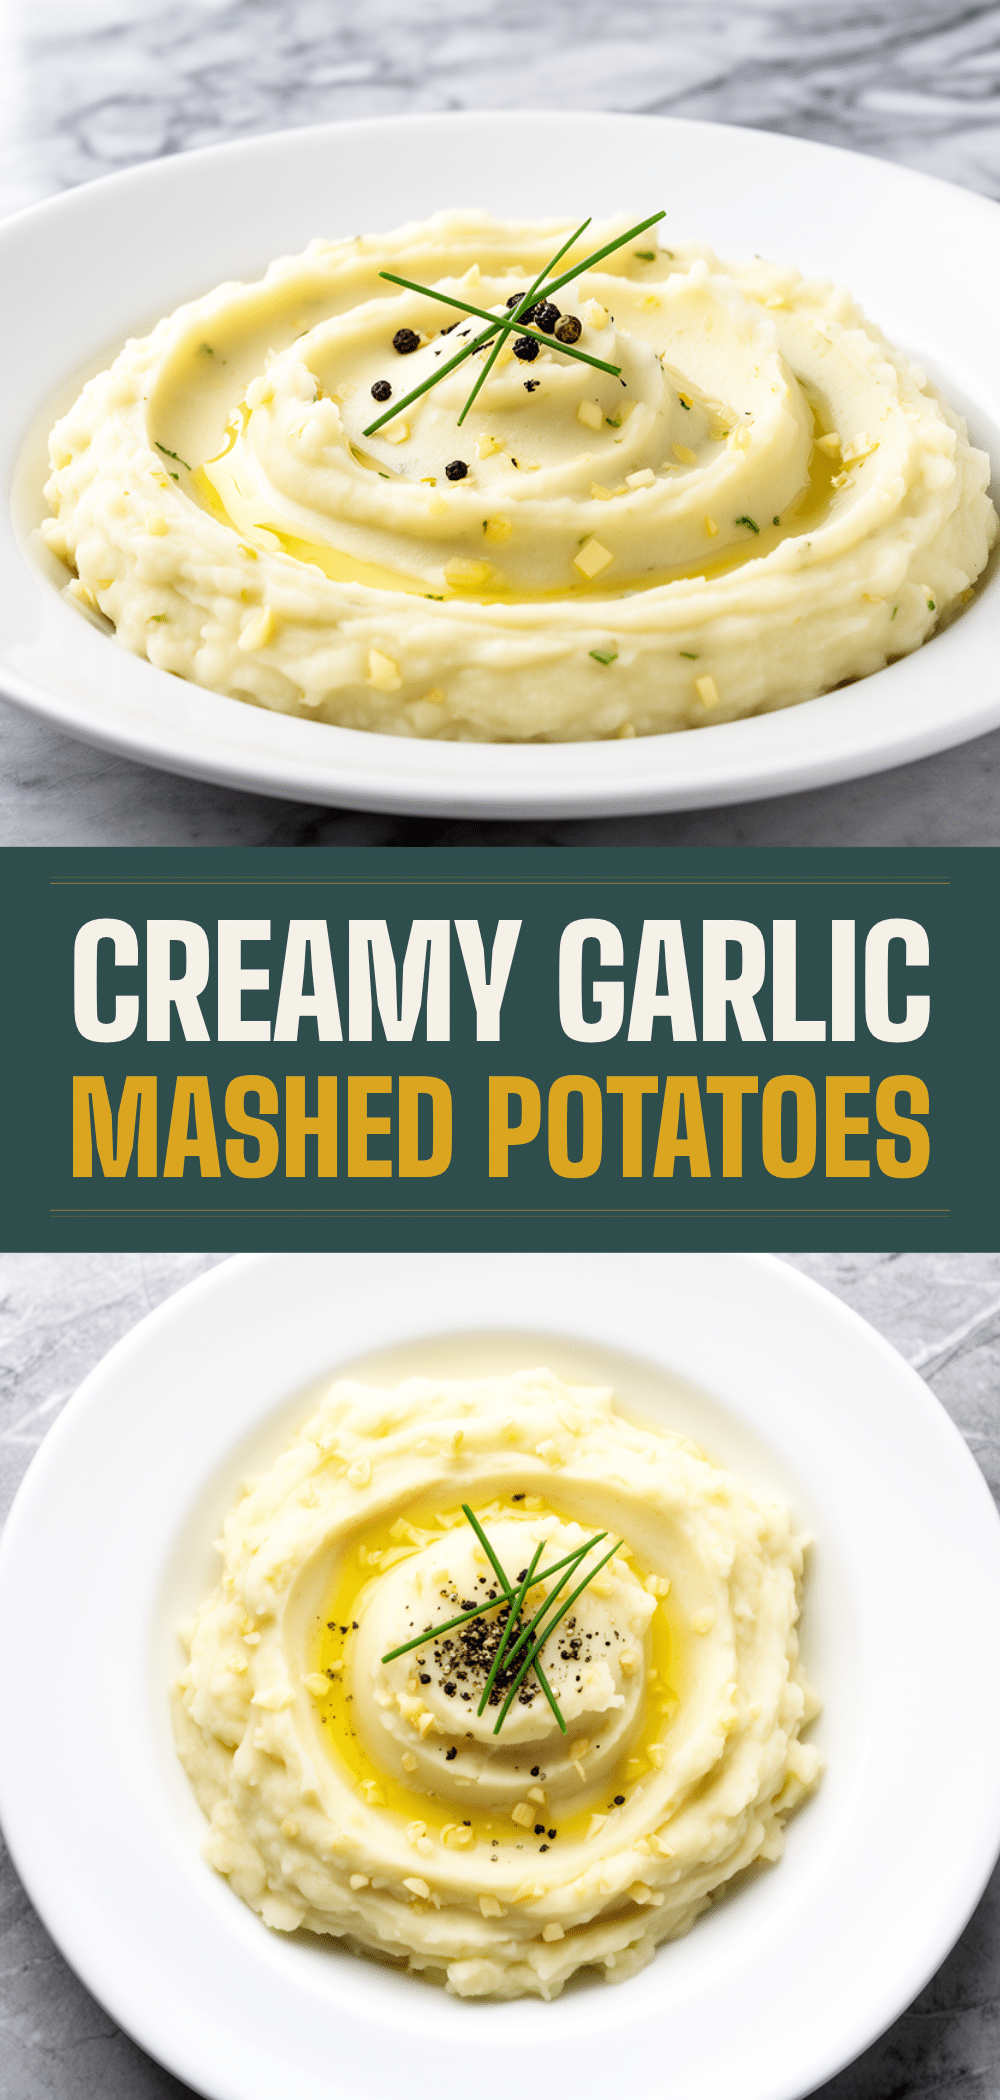
Pin This Recipe!
Creamy Garlic Mashed Potatoes: Easy Family Recipe
- Total Time: 30 minutes
- Yield: 8 servings 1x
Description
Rich, buttery, and packed with savory garlic flavor, these homemade mashed potatoes are the ultimate comfort food side dish. Simple to make and crowd-pleasing, they are perfect for holidays or weeknight dinners.
Ingredients
- 3 pounds russet potatoes, peeled and cut into 1.5-inch chunks
- 1/2 cup unsalted butter, cubed
- 1 cup whole milk, warmed
- 1/4 cup heavy cream, warmed
- 4–5 cloves garlic, minced
- 1/2 cup chicken or vegetable broth, low-sodium
- 1 teaspoon garlic powder
- 1 to 1.5 teaspoons sea salt, to taste
- 1/2 teaspoon black pepper, freshly ground
- 2 tablespoons chives or green onions, chopped (for garnish)
Instructions
- Peel the russet potatoes and cut them into uniform 1.5-inch chunks. Toss in a bowl of cold water to prevent browning.
- Place potato chunks in a large pot and cover with cold water by about an inch. Add 1 teaspoon salt. Bring to a boil, then reduce to a simmer. Cook for 15-20 minutes until fork-tender. Drain well in a colander.
- While potatoes boil, warm the milk, cream, and broth in a small saucepan over medium-low heat. Do not boil.
- In a large skillet or the same pot, melt half the butter over medium heat. Add minced garlic and cook for 1-2 minutes until fragrant but not browned. Remove from heat.
- Return drained potatoes to the warm pot. Mash thoroughly with a potato masher until no large lumps remain.
- Gradually pour in the warm milk mixture while mashing or whisking. Add the sautéed garlic and remaining butter. Continue to mix until smooth and creamy. Avoid overmixing to prevent a gluey texture.
- Taste and add salt and pepper as needed. Transfer to a serving bowl, dot with a knob of butter, and sprinkle with chives or green onions.
Notes
Start potatoes in cold water for even cooking. Drain potatoes thoroughly to avoid watery mash. Warm the dairy before adding to prevent a gluey texture. Do not use a food processor as it releases too much starch. For best results, use fresh garlic and high-quality butter.
- Prep Time: 15 minutes
- Cook Time: 15 minutes
- Category: Side Dish
- Cuisine: American
Nutrition
- Serving Size: 1/8 of the recipe
- Calories: 280
- Sugar: 2
- Sodium: 320
- Fat: 14
- Saturated Fat: 8
- Carbohydrates: 35
- Fiber: 3
- Protein: 4
Keywords: mashed potatoes, garlic mashed potatoes, creamy mashed potatoes, comfort food, side dish, holiday recipes, easy dinner, russet potatoes


