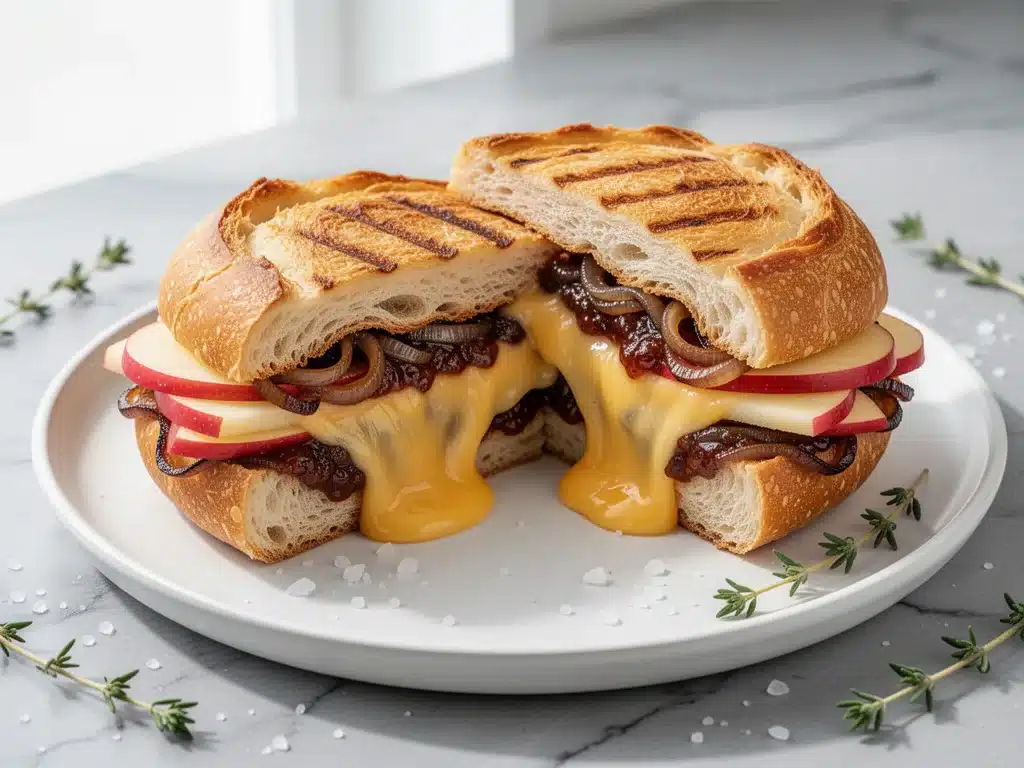
I have a confession to make. For years, I treated the grilled cheese sandwich like the lazy option. You know the type—the “I don’t feel like cooking so I’ll just melt some American cheese on white bread” kind of meal. It was fine, sure. But it wasn’t exciting. It wasn’t the kind of thing that made my husband look up from his phone and say, “Wait, can we have this every Tuesday?”
That changed last October. I was standing in my kitchen, feeling that specific kind of exhaustion that comes with a busy work week. The kids had soccer practice, I had emails to answer, and the grocery store was out of my favorite rotisserie chicken. I needed dinner fast, but I also wanted something that felt like a hug. I grabbed some sharp cheddar, a crisp apple, and a slice of sourdough (I keep a loaf of sourdough bread on hand because it toasts beautifully). I threw it together in about ten minutes, and the smell that filled the kitchen was unlike any grilled cheese I’d ever made. Sweet, savory, crispy, and gooey all at once.
That single sandwich sparked a new obsession. The Fall Apple Cheddar Grilled Cheese isn’t just a sandwich; it’s a flavor profile that captures the entire season in one bite. It’s the perfect balance of the sharp tang of aged cheddar and the natural sweetness of caramelized apples. And the best part? It proves that you don’t need hours in the kitchen to make something that feels gourmet.
I’ve tested this recipe at least a dozen times—sometimes with Gala apples, sometimes with Honeycrisp, sometimes with a mix of cheeses. Each time, the result is the same: crispy golden bread, melted cheese that stretches for days, and apple slices that turn soft and jammy in the heat. This is hands-down the easiest 10-minute dinner that actually tastes like you put in effort. If you’re tired of boring sandwiches or complicated weeknight meals, trust me on this one. Your taste buds will thank you.
Why You’ll Love This Recipe
There are about ten reasons I keep coming back to this sandwich, but here are the big ones that have made it a permanent fixture in our weekly rotation.
Stupid Simple — Seriously, if you can butter a slice of bread and slice an apple, you can make this. I’ve made this while helping my kids with homework. It’s that low-stress. No complicated techniques, no fancy equipment, just good food.
Lightning Fast — 10 minutes from start to finish. And only 5 of those are active cooking. I make this on weeknights when I get home at 6:30 pm and the house is chaotic. It’s ready before anyone realizes it’s dinner time.
Flavor Explosion — Most grilled cheeses are one-note: just salty and cheesy. This one has contrast. The sharp cheddar cuts through the sweetness of the apples, and the buttery toast adds crunch. It’s savory, sweet, salty, and crunchy all in one bite. It’s a complete flavor experience.
Perfectly Pairs with Soup — This sandwich is essentially a meal in itself, but it shines when paired with a warm soup. I love serving it alongside a perfect French onion soup or a creamy tomato basil soup. The apple and cheddar combo is classic for a reason—it works with almost any broth-based soup.
Uses Seasonal Ingredients — Fall is apple season, and this recipe lets you use those crisp, juicy apples at their peak. But honestly? It works with pears too if you want to switch it up. It’s a great way to use up that bag of apples before they go bad.
Budget-Friendly — You don’t need expensive ingredients. Good cheddar is affordable, apples are cheap in the fall, and bread is pantry-staple cheap. This feeds two adults easily for under $5. That’s less than a coffee and a pastry.
This is my go-to when I need dinner to just work. No stress, no mess, just reliable, delicious food that makes everyone happy. It’s comfort food that actually feels good to eat.
Ingredients You’ll Need
Here’s the best part: you probably have most of this already. The beauty of this sandwich is how simple the ingredient list is. I’m particular about three things here—bread, cheese, and apples—and I’ll tell you exactly why they matter.
For the Bread & Base
Sourdough bread (4 slices / 200g) — I use thick-cut sourdough. The tangy flavor of the bread complements the sweet apples perfectly. If you don’t have sourdough, a sturdy whole wheat or even a thick-cut white bread works, but sourdough gives it that bakery-quality crunch. Avoid thin sandwich bread—it gets soggy too fast.
Butter (3 tablespoons / 45g) — Softened unsalted butter is key. I use unsalted because I like to control the saltiness, but salted works too. Soften it on the counter for 10 minutes so it spreads easily without tearing the bread. Don’t skip this step; hard butter tears the bread and doesn’t create that even golden crust.
Mayonnaise (1 tablespoon / 15g) — Hear me out. I mix a little mayo into the butter. It has a higher smoke point than butter, so the bread gets crispier and browner without burning. It’s a trick I learned from a food blogger years ago, and it’s a game-changer for grilled cheese.
For the Filling
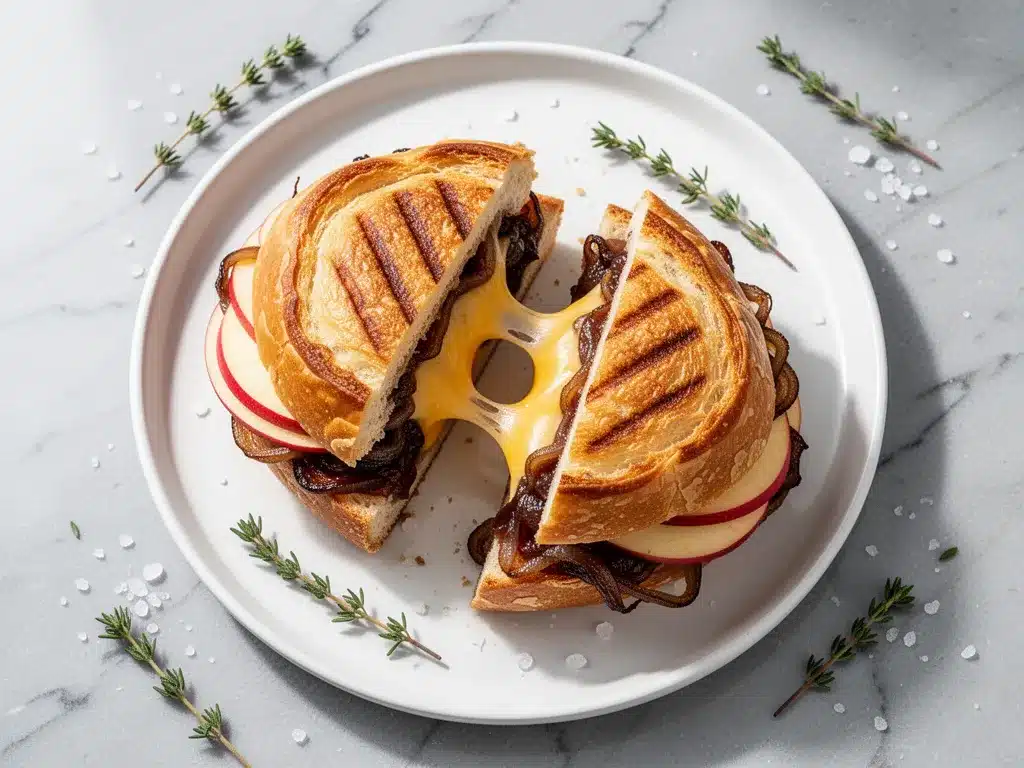
Sharp Cheddar Cheese (2 cups / 200g, grated) — This is the star. Use a block of sharp cheddar and grate it yourself. Pre-grated cheese has anti-caking agents that prevent it from melting smoothly. You want that gooey, stretchy melt. Sharp cheddar has a strong flavor that stands up to the apples. Mild cheddar will get lost.
Apples (1 large Honeycrisp or Fuji, about 150g) — I prefer Honeycrisp for their crisp texture and balanced sweetness. Fuji works too. Avoid Red Delicious—they’re mealy and don’t cook down well. Peel them? Your call. I leave the skin on for color and fiber, but peel if you prefer a softer texture.
Brown Sugar (1 teaspoon / 5g) — Just a sprinkle. It helps caramelize the apples slightly in the pan and enhances their natural sweetness. Don’t overdo it; you want a hint of caramel, not a candy bar.
Optional Add-ins — I love adding a few slices of crispy bacon or a thin layer of Dijon mustard. The mustard adds a nice tangy kick that cuts the richness. If you’re feeling fancy, a few walnuts add crunch.
Shopping Tips
Cheese Block — I always buy a block of cheddar from the deli counter. It’s cheaper and melts better than the bagged stuff. Apples — Look for firm apples that don’t have soft spots. Bread — If your sourdough is a day old, it’s actually better for grilling. It’s slightly drier and toasts up crispier.
Equipment Needed
You don’t need fancy equipment for this. Here’s what I actually use.
Non-stick skillet or Cast Iron — A 10-inch skillet is perfect. I prefer cast iron for the even heat, but a good non-stick pan works too. Just make sure it’s large enough to fit both sandwiches side-by-side if you’re making two at once.
Spatula — A thin, flexible spatula is essential for flipping without breaking the sandwich. I use a metal one for durability.
Sharp Knife — For slicing the apples evenly. Dull knives make you cry more—learned this the hard way. A serrated bread knife is good for slicing the apples if they’re very firm.
Grater — Box grater or microplane. I use the large holes for the cheddar. It melts faster and more evenly than chunks.
Butter Knife — For spreading the butter-mayo mix. A regular butter knife works fine.
Plate — For holding the finished sandwiches. I keep a warm plate in the oven (on low) if I’m making a batch.
How to Make It: Step-by-Step
Alright, let’s make this! I’m walking you through exactly how I do it, including the little tricks I’ve picked up.
Step 1: Prep Your Ingredients (3 minutes)
Before you heat the pan, get everything ready. Slice the apples into thin rounds—about 1/8 inch thick. Too thick, and they won’t cook through before the bread burns. Too thin, and they turn to mush. Grate the cheddar cheese. Mix the softened butter with the mayo in a small bowl until smooth. This makes spreading easier.
Step 2: Assemble the Sandwiches (2 minutes)
Take two slices of bread. On one side of each slice, spread the butter-mayo mixture evenly to the edges. This is the outside of the sandwich. Flip them over. On the buttered side (now facing up), layer half the cheese on one slice, then the apple slices, then a sprinkle of brown sugar, then the rest of the cheese. Top with the second slice of bread, buttered side up. The cheese on the bottom and top helps hold the apples in place as they melt.
Step 3: Cook the First Side (3-4 minutes)
Heat your skillet over medium-low heat. Medium-low is crucial. High heat burns the bread before the cheese melts. Once the pan is warm (test with a drop of water—it should sizzle gently), place the sandwich in the pan. Cook for 3-4 minutes until the bottom is golden brown and crisp. Don’t rush this. Use a spatula to press down gently.
Step 4: Flip and Cook the Second Side (3-4 minutes)
Flip the sandwich carefully. Cook the other side for another 3-4 minutes. As the bottom cooks, the cheese starts to melt. If you see the cheese leaking out the sides, that’s good—it means it’s melting. Press down gently to ensure even contact with the pan.
Step 5: Check and Serve (1 minute)
When both sides are golden brown and the cheese is fully melted, remove from the pan. Let it rest for 1 minute. This allows the cheese to set slightly so it doesn’t slide out when you cut. Slice diagonally (because it tastes better that way, trust me) and serve immediately.
Total Time: About 10 minutes (5 minutes active, 5 minutes cooking)
Expert Tips & Tricks
Here’s everything I’ve learned from making this dozens of times. These tips will save you from my mistakes.
Low and Slow — This is the golden rule. Medium-low heat. If your pan is too hot, the bread will burn and the cheese will stay cold. Be patient. Good things take a few minutes.
Grate Your Own Cheese — I cannot stress this enough. Pre-grated cheese has cornstarch to prevent clumping. That cornstarch stops it from melting smoothly. You’ll end up with stringy, greasy cheese instead of a creamy melt. It takes 2 minutes to grate a block. Do it.
Thin Apple Slices — Use a mandoline if you have one. It ensures even thickness. Even slices cook evenly. If you slice by hand, just be careful and consistent.
Don’t Overfill — It’s tempting to pile on the apples, but if the sandwich is too thick, the middle won’t heat through. Stick to about 1/4 inch of apple filling. You want every bite to have bread, cheese, and apple.
Rest Before Cutting — Hot cheese is liquid. If you cut immediately, it runs out. Let it sit for 60 seconds. The cheese will thicken slightly and hold the sandwich together.
Common Mistakes:
- Bread burning: Heat was too high. Next time, lower it.
- Cheese not melting: Pan was too cool, or sandwich was too thick. Adjust accordingly.
- Sandwich falling apart: Not enough cheese on the edges to act as glue. Layer cheese on the bottom and top.
Variations & Substitutions
Once you’ve nailed the basic version, here’s how you can mix it up. I’ve tried all of these.
Apple & Brie — Swap cheddar for brie. It’s richer and creamier. Add a drizzle of honey after cooking. This is the fancy version.
Apple & Gouda — Smoked gouda adds a delicious smoky flavor. Pairs well with the apples. Great with bacon.
Spicy Apple Cheddar — Add a few slices of jalapeño or a sprinkle of cayenne pepper. The heat contrasts nicely with the sweet apples.
Vegetarian Protein — Add a thin layer of hummus or mashed avocado for extra creaminess and protein.
Dietary Modifications:
- Gluten-Free: Use gluten-free sourdough or bread. Most brands toast well.
- Dairy-Free: Use dairy-free butter and a dairy-free cheddar alternative. It won’t melt the same, but it works in a pinch.
- Lower Carb: Use low-carb bread or even large lettuce leaves for a wrap style. Not traditional, but functional.
Serving & Storage
How to Serve: I serve this straight from the skillet. It looks rustic and stays warm. But here are other ways I’ve enjoyed it:
- With Soup: Creamy garlic mashed potatoes are a great side, but a tomato soup or French onion soup is the classic pairing.
- With Salad: A simple crisp autumn kale salad with cranberries and pecans balances the richness of the sandwich.
- With Pickles: A few dill pickles on the side cut the richness. It’s a weird combo, but it works.
Storage: Grilled cheese doesn’t store well. The bread gets soggy, and the cheese separates. Eat it fresh. If you have leftovers (unlikely), store in an airtight container in the fridge for 1 day. Reheat in a skillet over low heat to restore crispness. Never microwave—it makes the bread rubbery.
Nutrition Information
I’m not a nutritionist, but here’s the breakdown if you’re tracking.
| Per Serving (1 Sandwich) | Amount |
|---|---|
| Calories | 480 |
| Protein | 22g |
| Carbs | 45g |
| Fiber | 3g |
| Sugar | 8g |
| Fat | 24g |
| Saturated Fat | 12g |
| Cholesterol | 50mg |
| Sodium | 620mg |
What’s Good: Good source of protein from cheese. Calcium from the cheddar. Fiber from the apple and bread.
What to Know: Higher in calories and fat due to butter and cheese. Contains gluten and dairy. Moderate sodium.
My Take: Look, this is comfort food. It’s not a diet recipe. But it’s way better than takeout, costs less, and I know exactly what’s in it. When I want to make it lighter, I use less butter and a lighter cheese. But usually? I just enjoy it.
Final Thoughts
So that’s my Fall Apple Cheddar Grilled Cheese! I’ve probably talked your ear off at this point, but when you make a recipe this often, you have a lot to say about it. This has saved weeknight dinners more times than I can count. It’s my answer to “what’s for dinner” when I’m tired, don’t want takeout, and still want something that tastes really good.
Make it yours! Try different apples, swap the cheese, add some bacon or mustard. The best recipes are the ones you adapt to your family’s tastes. If you make this, drop a comment and let me know what you think! I love hearing how recipes turn out in your kitchen. And if something doesn’t work, tell me that too—I’m here to help troubleshoot.
Happy cooking! And I hope your kitchen smells half as good as mine does right now.
Frequently Asked Questions
Can I use pre-grated cheese?
You can, but I don’t recommend it. Pre-grated cheese has anti-caking agents that prevent it from melting smoothly. You’ll get a greasy, separated mess instead of a creamy melt. Grate your own from a block—it takes 2 minutes and makes a huge difference.
Why did my bread burn before the cheese melted?
The heat was too high. Grilled cheese needs medium-low heat. Be patient. If the bread is browning too fast, lower the heat and cover the pan with a lid for the last minute to help the cheese melt without burning the bread.
Can I use other types of apples?
Yes! Honeycrisp and Fuji are my favorites for their balance of sweet and tart. Gala works too. Avoid Red Delicious—they’re too mealy. Granny Smith apples are tart and hold their shape well, but they’re less sweet. You might want to add a bit more brown sugar if you use Granny Smith.
How do I reheat leftovers without it getting soggy?
Never microwave grilled cheese. It makes the bread rubbery. Reheat in a skillet over low heat, or in a toaster oven at 350°F for 5 minutes. This restores the crispness. If you must microwave, do it for 15 seconds max, but expect a softer texture.
Can I make this ahead for a party?
Not really. Grilled cheese is best fresh. You can prep the ingredients ahead (slice apples, grate cheese, mix butter) and assemble/cook them just before serving. This ensures the best texture and flavor.
Does this work with other fruits?
Try pears! They pair beautifully with cheddar and gouda. You can also use thinly sliced peaches in the summer, though they’re sweeter and cook faster. Be careful not to overcook them.
Pin This Recipe!
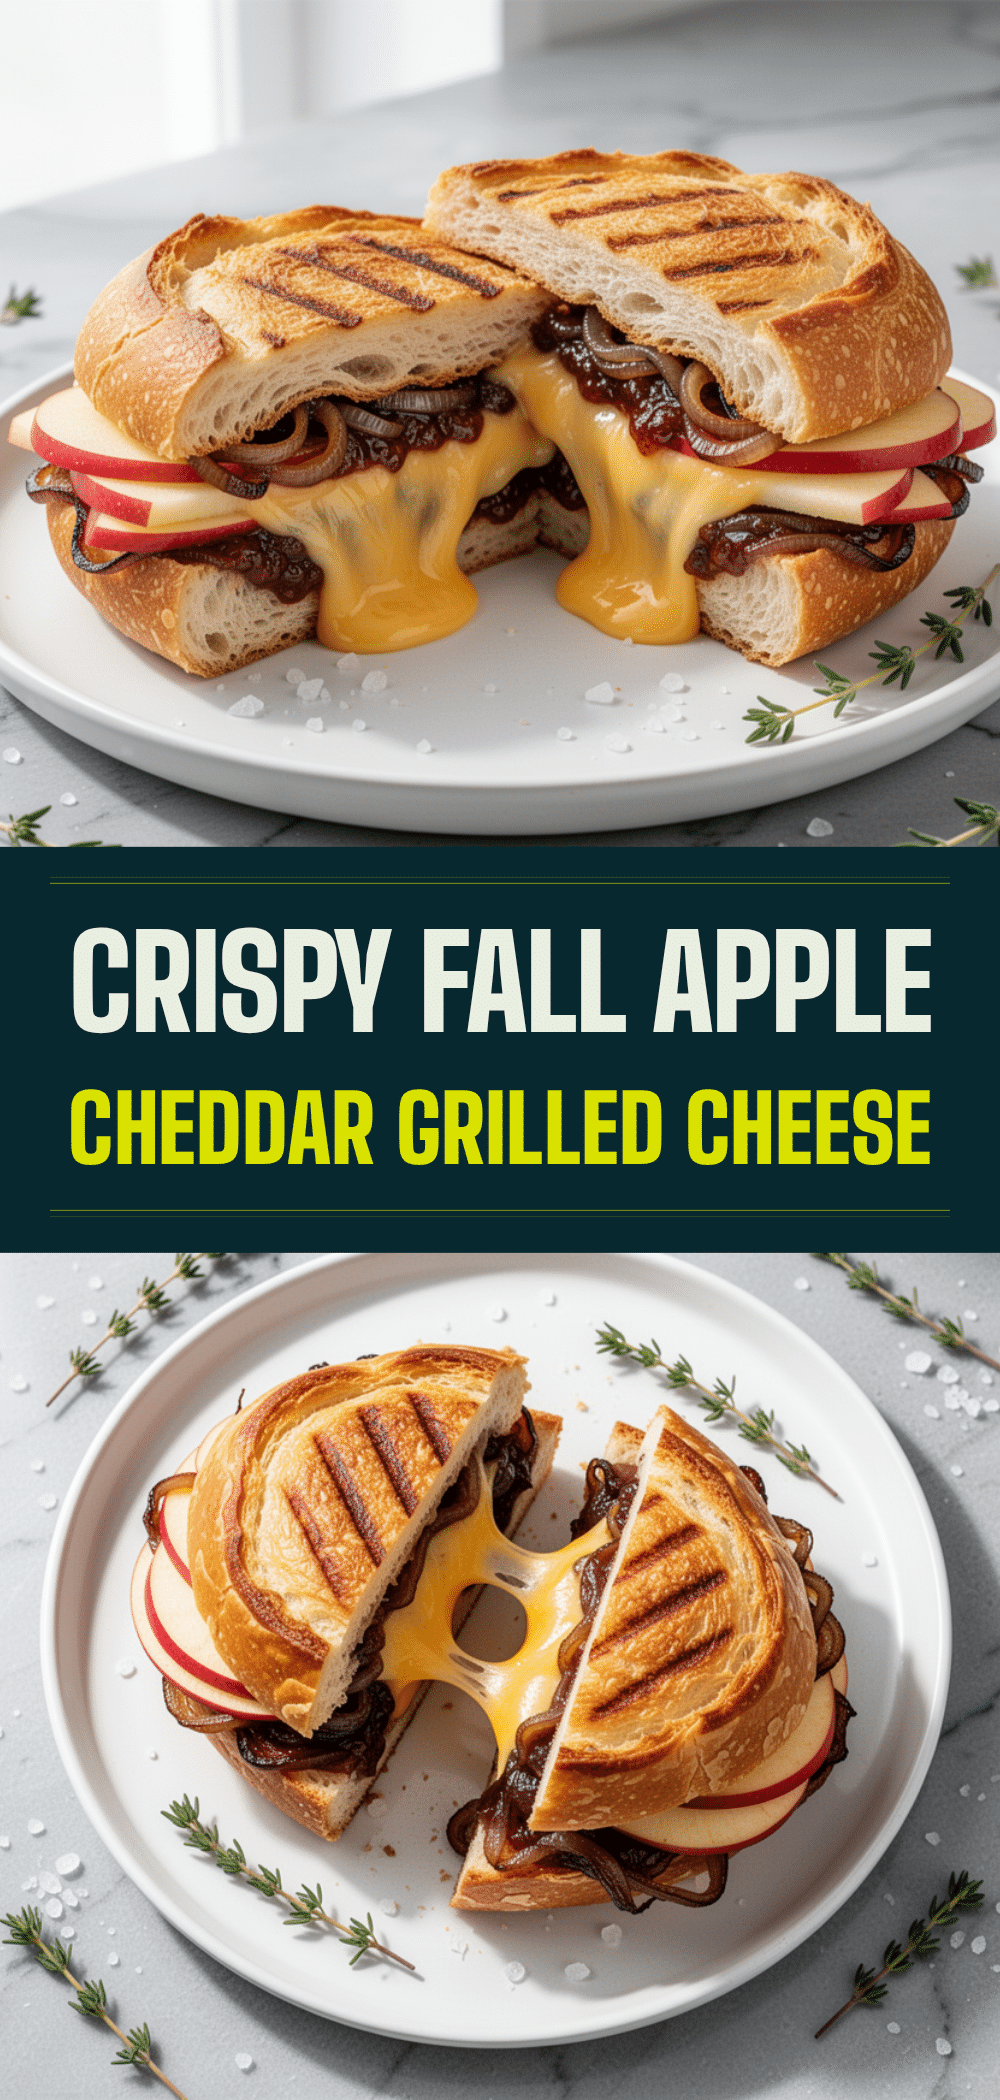

Fall Apple Cheddar Grilled Cheese: Easy 10-Min Dinner
- Total Time: 10 minutes
- Yield: 2 servings 1x
Description
A quick and gourmet-tasting 10-minute dinner featuring crispy sourdough bread, sharp cheddar cheese, and caramelized apples. This savory-sweet sandwich is perfect for busy weeknights and pairs beautifully with soup.
Ingredients
- 4 slices thick-cut sourdough bread (200g)
- 3 tablespoons softened unsalted butter (45g)
- 1 tablespoon mayonnaise (15g)
- 2 cups sharp cheddar cheese, grated (200g)
- 1 large Honeycrisp or Fuji apple, sliced thin (150g)
- 1 teaspoon brown sugar (5g)
- Optional: Crispy bacon slices, Dijon mustard, walnuts
Instructions
- Slice apples into thin rounds (about 1/8 inch thick) and grate the cheddar cheese.
- Mix the softened butter and mayonnaise in a small bowl until smooth.
- Spread the butter-mayo mixture evenly on one side of each bread slice.
- Flip bread slices over. On the unbuttered side, layer half the cheese, apple slices, brown sugar, and remaining cheese.
- Top with the second slice of bread, buttered side up.
- Heat a non-stick or cast iron skillet over medium-low heat.
- Place sandwich in the pan and cook for 3-4 minutes until the bottom is golden brown and crisp.
- Carefully flip the sandwich and cook the other side for another 3-4 minutes until golden and cheese is melted.
- Remove from pan and let rest for 1 minute before slicing diagonally and serving.
Notes
Use medium-low heat to prevent burning the bread before the cheese melts. Grate your own cheese for better melting. Let the sandwich rest for 1 minute before cutting to allow the cheese to set. Avoid microwaving leftovers as it makes the bread rubbery; reheat in a skillet or toaster oven instead.
- Prep Time: 5 minutes
- Cook Time: 5 minutes
- Category: Main Course
- Cuisine: American
Nutrition
- Serving Size: 1 Sandwich
- Calories: 480
- Sugar: 8
- Sodium: 620
- Fat: 24
- Saturated Fat: 12
- Carbohydrates: 45
- Fiber: 3
- Protein: 22
Keywords: grilled cheese, apple cheddar sandwich, quick dinner, 10 minute meals, sourdough grilled cheese, fall recipes, comfort food, weeknight dinner


