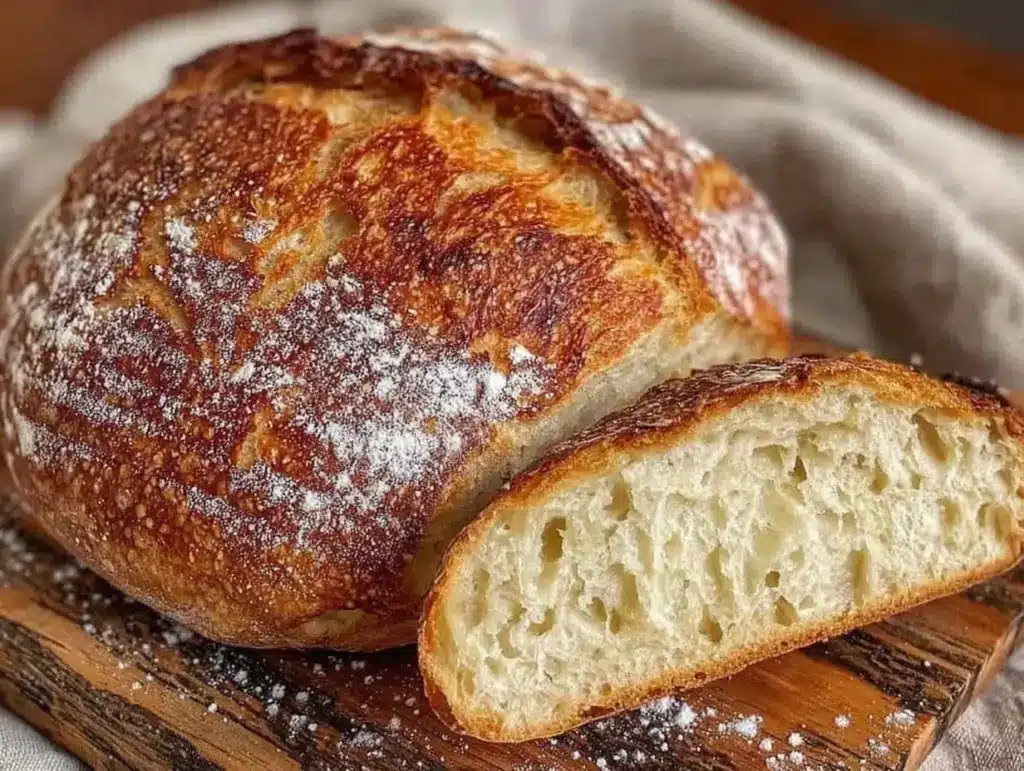
Let’s get one thing straight right now: you do not need a jar of bubbly, sour-smelling sludge in your fridge to make bread that tastes like it came from a fancy Parisian bakery.
For years, I fell into the same trap as everyone else. I bought a $40 starter kit. I watched YouTube videos about “feeding” my dough every six hours. I had a container labeled “Starter” that I felt guilty about ignoring if I went to the grocery store. And when I finally baked? The bread was dense, the crust was hard as a rock, and it tasted like old socks. I was ready to give up on bread entirely.
Then I discovered the “no-starter” method. It’s basically sourdough’s cooler, more chill cousin. Instead of waiting weeks to build a culture, you use a combination of yogurt, milk, and baking powder to create that signature tang and chew. It’s fast. It’s forgiving. And honestly? It’s better for beginners because there’s almost zero margin for error.
I’ve tested this Beginner-Friendly Homemade Sourdough Bread with No Starter recipe at least a dozen times. Sometimes with whole wheat flour, sometimes with all-purpose. Sometimes when I’m tired, sometimes when I’m trying to impress neighbors. It works every single time. If you’ve been intimidated by the idea of sourdough, this is your gateway drug. You really can’t mess this up.
Why You’ll Love This No-Starter Sourdough
There are a lot of bread recipes out there, but this one stands out because it removes the biggest stressor: the waiting game. Here’s why this loaf has become my weekend staple.
- Zero Maintenance — No feeding schedule. No wild yeast hunting. You open the fridge, grab the yogurt, and you’re good to go. It’s perfect for people who want bread without the commitment of a pet dough.
- Ready in Hours, Not Days — Traditional sourdough takes 24-48 hours. This recipe takes about 4-5 hours from start to finish. You can bake a loaf in a single afternoon.
- That Tangy Flavor — People ask, “Is it really sourdough if there’s no starter?” Yes, because the yogurt and buttermilk create that authentic acidic tang. It tastes complex and fermented, even though it’s chemically leavened.
- Beginner-Proof Texture — The baking powder ensures a reliable rise. The yogurt keeps it incredibly moist. You get that open crumb structure without needing perfect folding techniques or a proofing basket.
- Pantry Staples — You likely have flour, yogurt, milk, and baking powder right now. No specialty ingredients needed.
This is the “if you can only make one bread recipe” option. It’s reliable, it’s delicious, and it builds your confidence in the kitchen immediately.
Ingredients You’ll Need
Here’s the best part: the ingredient list is shorter than most cake recipes. I’m particular about just two things here, but otherwise, it’s super simple.
The Dry Stuff
All-Purpose Flour (3 ½ cups / 440g) — I use King Arthur or Gold Medal. You can use bread flour for a chewier crust, but all-purpose gives that tender, bakery-style crumb that beginners love. Don’t scoop and pack! Spoon it into the cup and level it off. Packing it makes the dough too dense.
Baking Powder (1 tablespoon) — This is your lift. Make sure it’s fresh. If your baking powder is older than six months, it might not give you that good rise. I keep a new tin specifically for baking projects.
Salt (1 ½ teaspoons) — Use fine sea salt. It dissolves better in the dough. This is crucial for flavor—don’t skip it, or the bread will taste flat.
The Wet Stuff
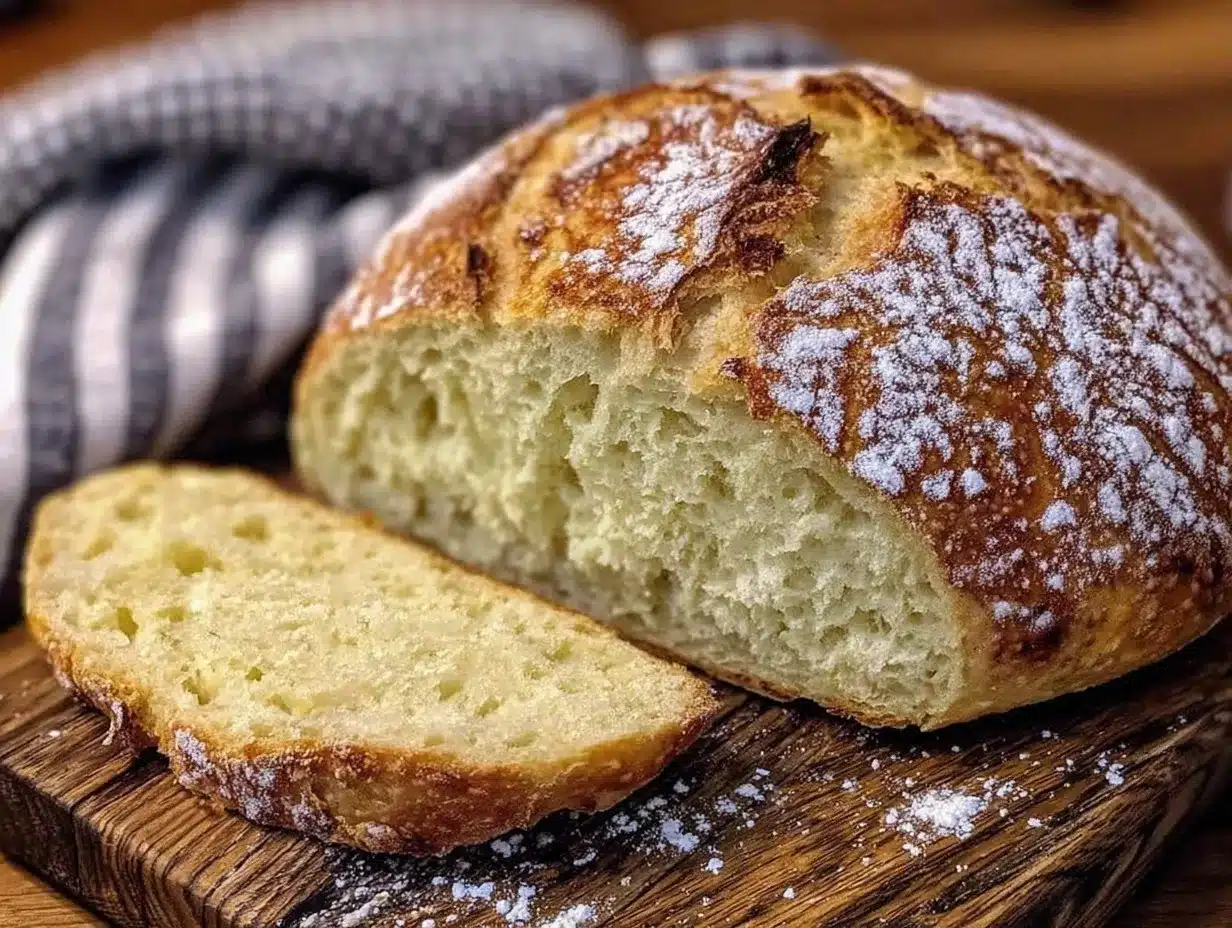
Greek Yogurt (1 cup / 245g) — Plain, full-fat yogurt is non-negotiable here. It provides the moisture and the tang. Skim yogurt makes the bread dry. I use Fage or Chobani, but any full-fat plain Greek yogurt works.
Milk (½ cup / 120ml) — Whole milk is best for richness. Buttermilk works too and adds extra tang, but regular milk is fine if that’s what you have.
Honey or Maple Syrup (1 tablespoon) — Just a little bit to feed the yeast (if you’re using any) and balance the acidity. It also helps the crust brown nicely. I prefer honey for that subtle floral note.
Neutral Oil (2 tablespoons) — Olive oil works, but it can overpower the mild sourdough flavor. I use canola or vegetable oil to keep the taste clean.
Optional: Extra Flour — You might need a few extra tablespoons if your kitchen is humid or if your flour brand absorbs more moisture. Have an extra ¼ cup on hand just in case.
Equipment Needed
You don’t need fancy tools. Here’s what I actually use.
- Large Mixing Bowl — I use a 5-quart ceramic bowl. Anything big enough to let you mix without flour flying everywhere.
- Wooden Spoon or Spatula — For mixing. A sturdy spoon is better than a flimsy one because the dough gets thick.
- 8×4 Inch Loaf Pan — A standard loaf pan is easiest for beginners. It holds the shape perfectly. You can bake it as a free-form round loaf, but it’s harder to handle.
- Pastry Brush — Optional, but nice for brushing melted butter on top after baking.
- Cooling Rack — Essential. Never cut hot bread. The inside is still cooking. Let it rest.
How to Make It: Step-by-Step
Alright, let’s make this! I’m walking you through exactly how I do it. It’s incredibly simple, but there are a few tricks to get that perfect texture.
Step 1: Prep Your Pan (2 minutes)
Preheat your oven to 375°F (190°C). Grease your loaf pan generously with butter or non-stick spray. If you’re worried about sticking, line the bottom with parchment paper. I usually just grease it well—it works fine.
Step 2: Mix the Wet Ingredients (3 minutes)
In your large bowl, whisk together the Greek yogurt, milk, honey, and oil. Mix until it’s smooth and combined. It should look like a thick, creamy batter. No lumps of yogurt should remain.
Step 3: Combine Dry and Wet (5 minutes)
Add the flour, baking powder, and salt to the wet mixture. Stir with a wooden spoon or spatula. At first, it will look shaggy and weird. Keep mixing! The dough will come together into a sticky ball. Do not overmix. Once it forms a cohesive mass, stop. Overmixing develops gluten too much, which makes the bread tough instead of tender.
Step 4: Adjust Consistency (2 minutes)
The dough should be soft and slightly sticky, like thick peanut butter. If it’s too dry and cracking, add milk one tablespoon at a time. If it’s too wet and sticking to your hands, add flour one tablespoon at a time. Aim for a dough that pulls away from the sides of the bowl but still feels soft.
Step 5: Shape and Rise (30 minutes)
Transfer the dough to your prepared loaf pan. Wet your hands slightly to prevent sticking, then press the dough down into the corners. Smooth the top. Cover loosely with a damp kitchen towel or plastic wrap. Let it rise in a warm spot for 30-45 minutes. It doesn’t need to double in size—just puff up noticeably. This is a short rise, so don’t panic if it doesn’t look huge.
Step 6: Bake (45-50 minutes)
Place the pan in the preheated oven. Bake for 45-50 minutes. The top should be deep golden brown. If it browns too quickly, tent it with aluminum foil for the last 10 minutes. The bread is done when it sounds hollow when you tap the bottom, or when an instant-read thermometer reads 190°F (88°C) in the center.
Step 7: Cool (Crucial!)
Remove from the oven and let it sit in the pan for 10 minutes. Then, turn it out onto a cooling rack. Let it cool completely for at least 1 hour before slicing. I know, I know. It smells amazing. But if you cut it hot, the steam escapes, and the crumb becomes gummy. Patience pays off.
Expert Tips for Foolproof Results
Here’s everything I’ve learned from making this dozens of times. These tips will save you from my early mistakes.
Don’t Skimp on the Yogurt
The yogurt is what makes it “sourdough.” It provides the acid that tenderizes the gluten and creates that tang. Regular yogurt or skim yogurt won’t give you the same result. Stick to full-fat plain Greek yogurt.
Measure Flour Correctly
This is the #1 reason bread fails. If you scoop the flour directly with the measuring cup, you’re packing it down, which means you’re using way more flour than the recipe calls for. Spoon the flour into the cup and level it off with a knife. This ensures the right flour-to-liquid ratio.
Check Your Baking Powder
If your bread comes out flat and dense, your baking powder is likely old. Baking powder loses its potency over time. Test it by dropping a teaspoon into hot water—it should fizz vigorously. If it doesn’t, toss it and get a new can.
Listen to the Sound
When the bread is done, tap the bottom of the loaf with your knuckle. It should sound hollow, like a drum. If it sounds dull or thudding, it needs more time. If it sounds hollow, it’s ready.
Brush with Butter
For that soft, bakery-style crust, brush the top of the bread with melted butter immediately after taking it out of the oven. It adds flavor and keeps the crust soft.
Variations & Substitutions
Once you’ve nailed the basic version, here’s how you can mix it up. I’ve tried all of these.
Whole Wheat Sourdough
Substitute half of the all-purpose flour with whole wheat flour. It adds a nuttier flavor and more fiber. The bread will be slightly denser, which is actually delicious with honey butter.
Herb and Garlic
Add 1 teaspoon dried rosemary and 1 teaspoon garlic powder to the dry ingredients. Perfect for dipping in olive oil or serving with soup.
Seeded Loaf
Stir in 2 tablespoons of sesame seeds, poppy seeds, or sunflower seeds before baking. Sprinkle extra seeds on top for a pretty crust.
Cinnamon Raisin
Add 1 teaspoon cinnamon and ½ cup raisins to the dough. A sweet version for breakfast. Skip the honey if you want it less sweet.
Serving & Storage
How to Serve
This bread is incredible on its own, but here are my favorite ways to enjoy it:
- Warm slices with salted butter and a drizzle of honey.
- Toast it and top with avocado and everything bagel seasoning.
- Serve alongside creamy chicken and wild rice soup for a cozy meal.
Storage
Store leftover bread in an airtight container or a bread box at room temperature for up to 3 days. It stays soft and moist. Do not refrigerate—it will make the bread stale faster.
Freezing
This bread freezes beautifully! Slice it, wrap it tightly in plastic wrap, and put it in a freezer bag. It will last up to 3 months. Toast slices directly from frozen. It tastes just like fresh bread.
Nutrition Information
I’m not a nutritionist, but here’s the breakdown if you’re tracking. This is per slice (makes 10 slices).
| Nutrient | Per Slice |
|---|---|
| Calories | 160 |
| Protein | 4g |
| Carbs | 28g |
| Fiber | 1g |
| Fat | 3g |
| Sodium | 320mg |
It’s a moderate-calorie bread, mostly from carbs. The yogurt adds a bit of protein. It’s not a diet food, but it’s certainly not a cheat meal. It’s wholesome, simple fuel.
Final Thoughts
So that’s my go-to no-starter sourdough! I’ve probably talked your ear off at this point, but when you make a recipe this often, you have a lot to say about it.
This bread has saved my weekends more times than I can count. It’s my answer to “I want homemade bread” when I don’t want to spend all day in the kitchen. My family is happy, my neighbors are happy (because I give them slices), and I’m happy because I’m not stressed about feeding a yeast starter.
Make it yours! Try different seeds, different flours, different toppings. The best recipes are the ones you adapt to your family’s tastes. If you make this, drop a comment and let me know what you think! I love hearing how recipes turn out in your kitchen.
Happy baking! And I hope your kitchen smells half as good as mine does right now.
Frequently Asked Questions
Q: Is this really sourdough if there’s no starter?
A: Technically, it’s “quick sourdough” or “pseudo-sourdough.” It uses yogurt and buttermilk to create the acidic environment that mimics the tang of traditional sourdough. It doesn’t have the complex fermentation flavor of a 48-hour loaf, but it’s close enough to satisfy the craving without the hassle.
Q: Can I use buttermilk instead of milk?
A: Yes! In fact, using buttermilk instead of milk will give it a tangier flavor. Just reduce the yogurt slightly if the batter gets too thin, or add a touch more flour. It works great.
Q: Why is my bread dense?
A: This usually happens if you overmixed the dough or used too much flour. Remember to spoon and level your flour. Also, don’t overwork the dough once it comes together. Mix until just combined.
Q: Can I bake this as a round loaf?
A: Yes, but you’ll need to shape it into a round ball and let it rise on a baking sheet. It takes more skill to handle than a loaf pan, but it looks beautiful. Just reduce the baking time by about 10 minutes since it’s thinner.
Q: How do I know when the bread is done?
A: The internal temperature should reach 190°F (88°C). If you don’t have a thermometer, tap the bottom—it should sound hollow. The crust should be deep golden brown.
Q: Can I add cheese to this?
A: Absolutely! Stir in ½ cup of shredded cheddar or gruyere before baking. It makes an amazing savory bread. Just reduce the salt slightly since cheese is salty.
Q: Does this bread keep well for meal prep?
A: Yes! It slices easily and freezes well. I often make two loaves on Sunday and freeze one for the week. It thaws quickly and toasts perfectly.
Pin This Recipe!
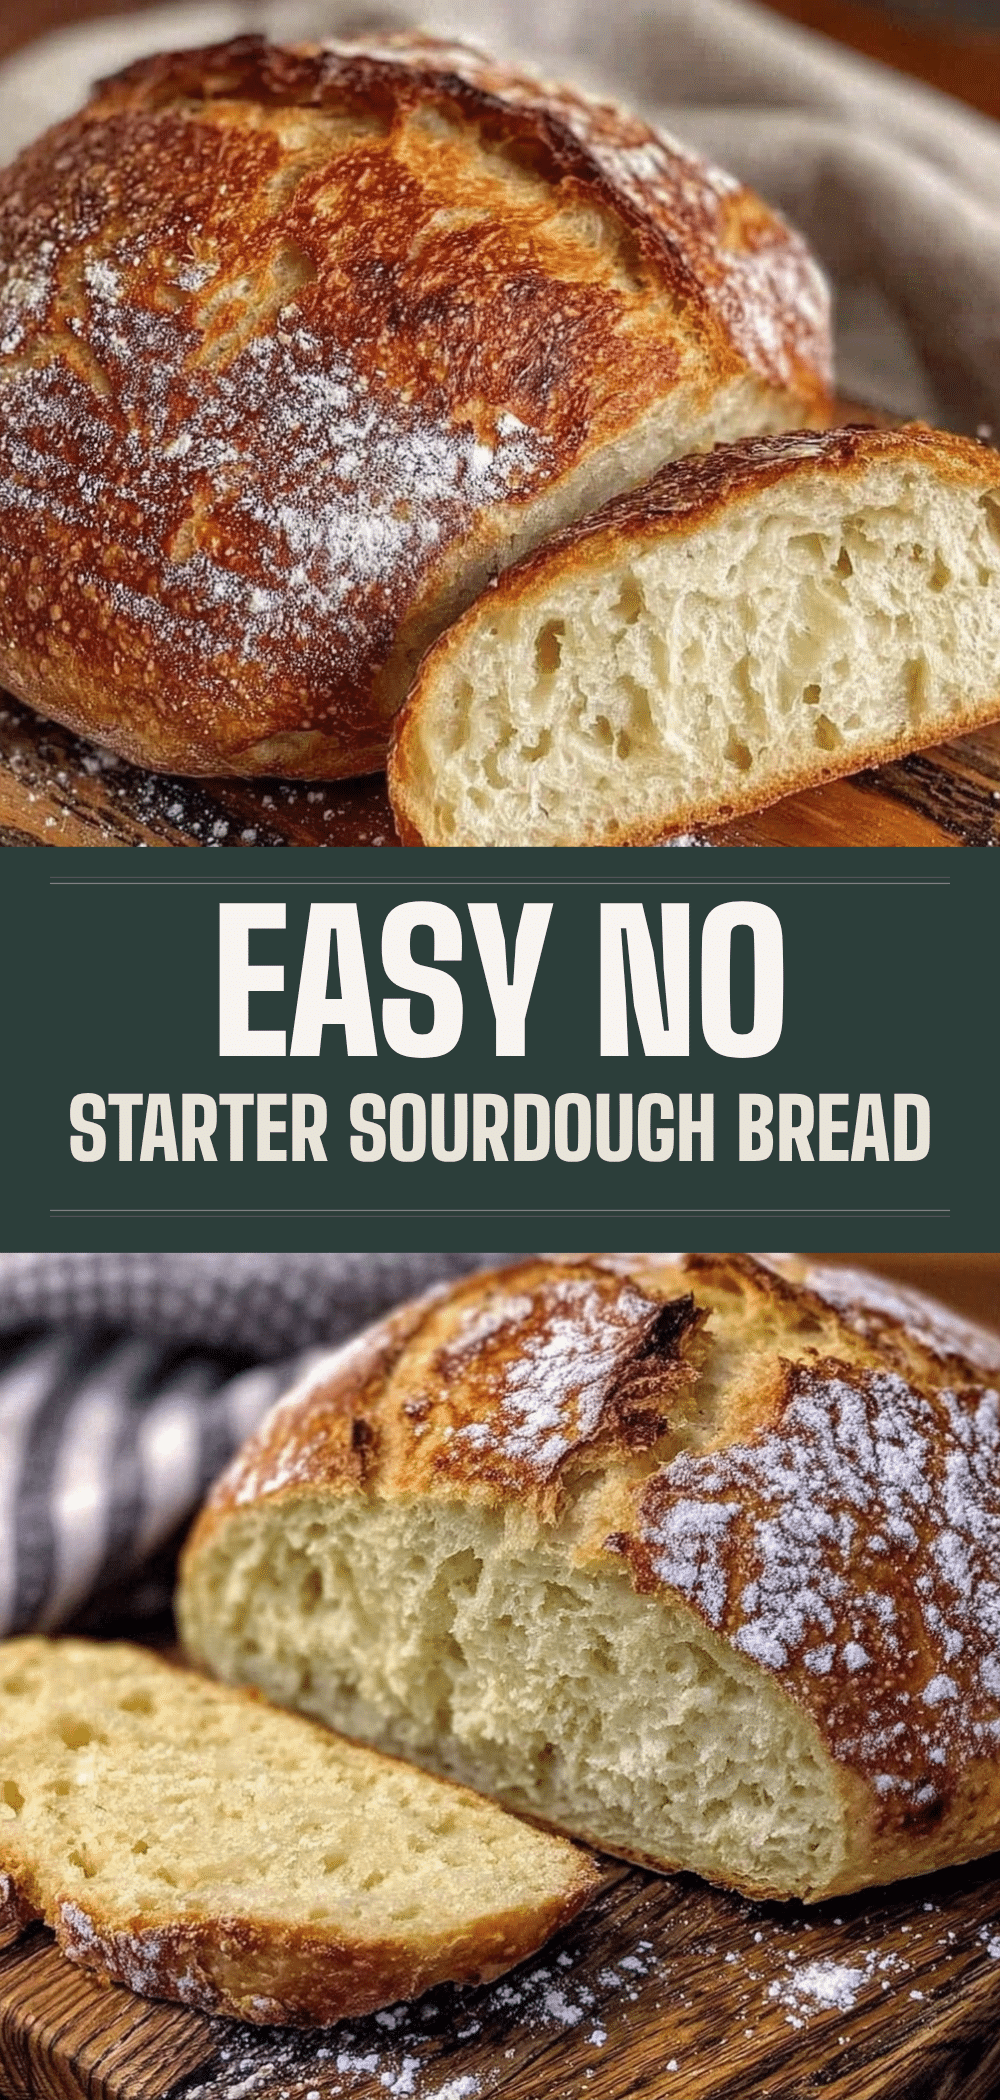
Sourdough Bread: Foolproof Beginner Sourdough Recipe
- Total Time: 4 hours 55 minutes
- Yield: 10 servings 1x
Description
A beginner-friendly, no-starter sourdough bread that uses yogurt and baking powder for a tangy, chewy loaf ready in hours instead of days.
Ingredients
- 3 ½ cups (440g) All-Purpose Flour
- 1 tablespoon Baking Powder
- 1 ½ teaspoons Fine Sea Salt
- 1 cup (245g) Plain Full-Fat Greek Yogurt
- ½ cup (120ml) Whole Milk
- 1 tablespoon Honey or Maple Syrup
- 2 tablespoons Neutral Oil (e.g., Canola or Vegetable)
- Extra Flour (as needed for consistency)
- Butter or Non-stick Spray (for greasing pan)
Instructions
- Preheat oven to 375°F (190°C). Grease an 8×4 inch loaf pan generously with butter or non-stick spray.
- In a large mixing bowl, whisk together the Greek yogurt, milk, honey, and oil until smooth and combined.
- Add the flour, baking powder, and salt to the wet mixture. Stir with a wooden spoon or spatula until a sticky, cohesive dough forms. Do not overmix.
- Adjust consistency if necessary: add milk if too dry or flour if too wet. The dough should be soft and slightly sticky.
- Transfer dough to the prepared loaf pan. Wet hands slightly and press dough into corners, smoothing the top.
- Cover loosely with a damp kitchen towel or plastic wrap. Let rise in a warm spot for 30-45 minutes until puffed up noticeably.
- Bake for 45-50 minutes until the top is deep golden brown and the internal temperature reaches 190°F (88°C). Tent with foil if browning too quickly.
- Let the bread sit in the pan for 10 minutes, then turn out onto a cooling rack.
- Cool completely for at least 1 hour before slicing to prevent a gummy crumb.
- Optional: Brush with melted butter immediately after removing from oven for a soft crust.
Notes
Spoon and level the flour for accurate measurement; do not scoop directly. Ensure baking powder is fresh for proper rise. Do not refrigerate the bread as it will stale faster. Can be frozen for up to 3 months.
- Prep Time: 10 minutes
- Cook Time: 45-50 minutes
- Category: Breakfast
- Cuisine: American
Nutrition
- Serving Size: 1 slice
- Calories: 160
- Sugar: 4
- Sodium: 320
- Fat: 3
- Saturated Fat: 1
- Carbohydrates: 28
- Fiber: 1
- Protein: 4
Keywords: sourdough, no starter sourdough, beginner bread recipe, quick sourdough, homemade bread, yogurt bread, easy bread