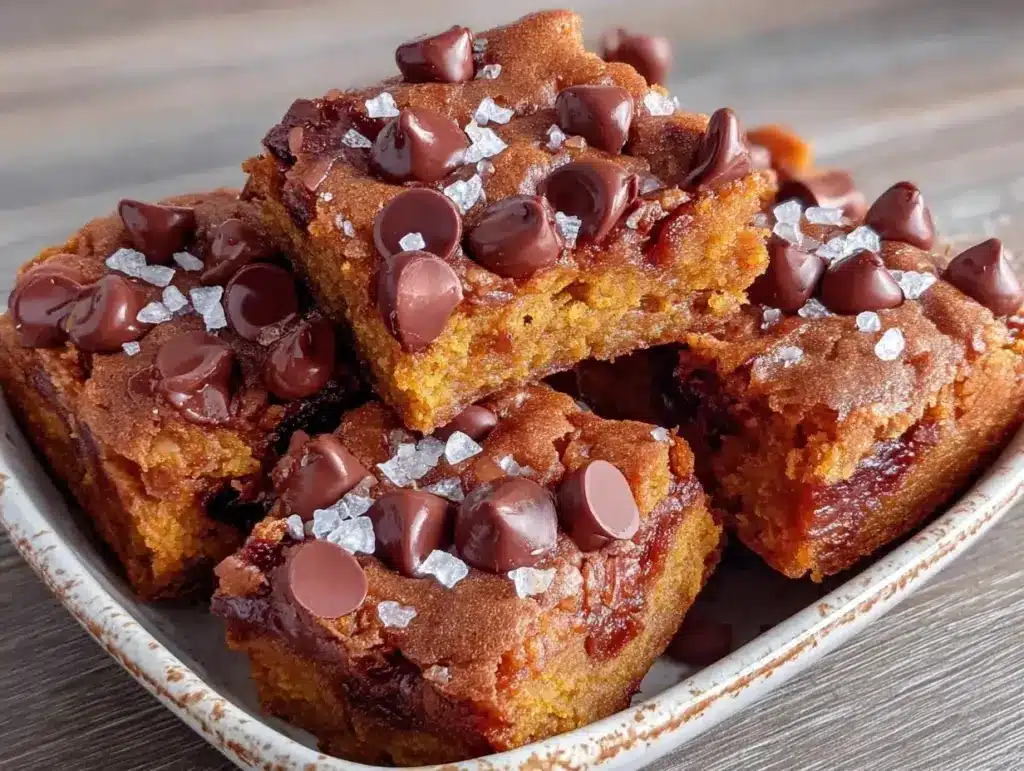
I stumbled onto this recipe completely by accident. I had a half-empty can of pumpkin puree sitting in my fridge that I’d bought for a soup that never happened, and a bag of chocolate chips that was getting lonely. It was 7 PM on a rainy Tuesday, and I didn’t feel like chopping vegetables or managing multiple pans for dinner. I just wanted something sweet, warm, and ridiculously simple.
So, I threw everything into one bowl. I mixed it up, dumped it into a baking pan, and waited. When the smell hit the kitchen—that specific, magical combination of cinnamon, nutmeg, and roasted pumpkin—I knew I was in trouble. My partner walked in, took one bite, and asked if I’d ordered takeout. When I told him it was just pantry staples and a can of pumpkin, he didn’t believe me.
That was three months ago. Since then, I’ve made these fall spiced pumpkin chocolate chip cookie bars at least ten times. They’ve become the go-to dessert for everything from casual Tuesday nights to last-minute potlucks. And here’s the thing: they are so hard to mess up that even my anxious baking friend (who once burned water) made them successfully on the first try.
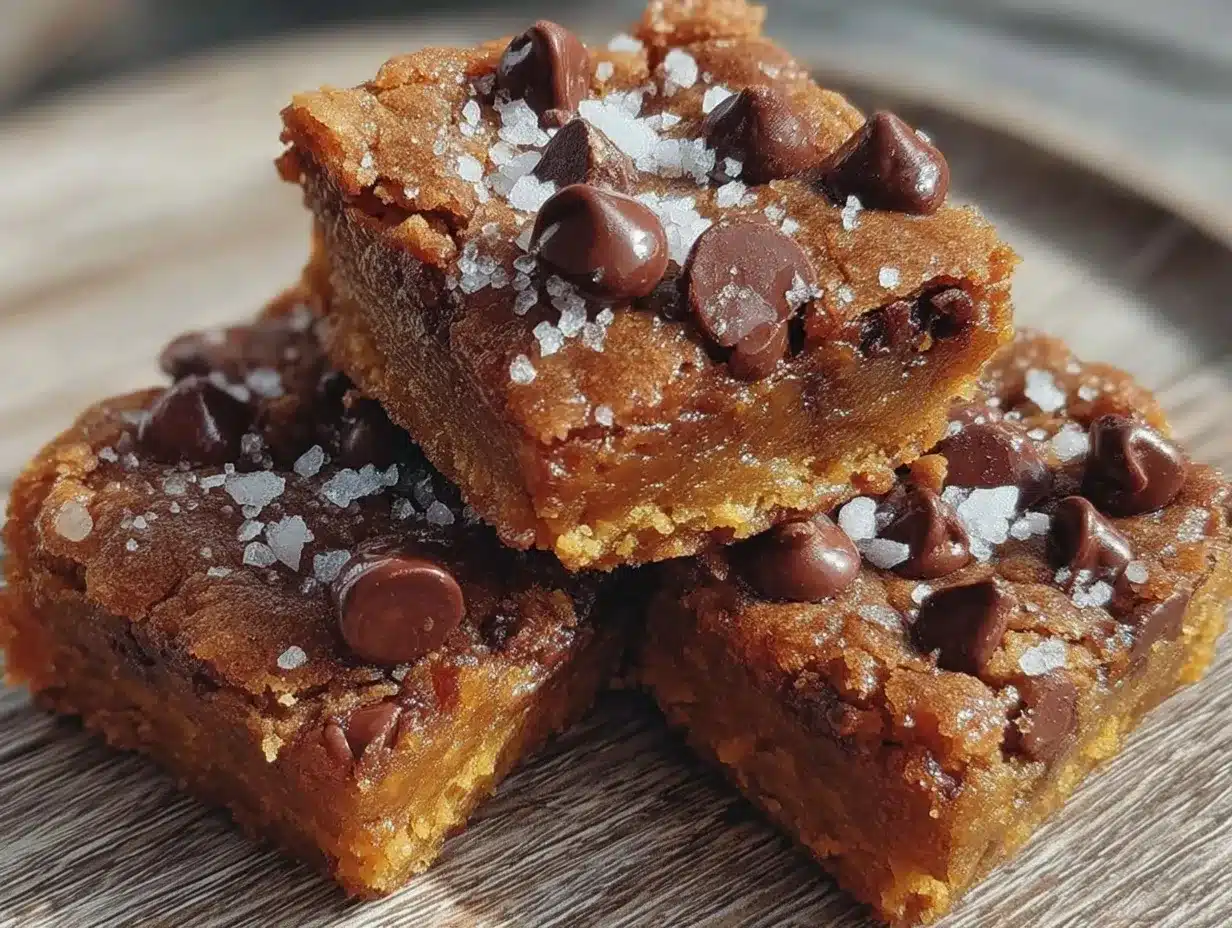
There’s something deeply satisfying about a bar that tastes like a cookie but is easier to make than a dozen individual cookies. You get that thick, chewy texture, the soft cake-like center, and the crispy edges, all in one sheet pan. Plus, the sea salt on top? It’s not just for show. It cuts through the sweetness and makes the chocolate pop in a way you didn’t know was possible.
If you’re looking for a dessert that feels fancy but requires zero skill, look no further. This is the one. It’s forgiving, it’s delicious, and it smells like autumn even if it’s July.
Why You’ll Love This Recipe
I’ve tried my share of pumpkin desserts over the years. Some are too eggy, some are too dry, and some taste like they’re trying too hard to be “healthy.” These pumpkin chocolate chip cookie bars hit that sweet spot (pun intended) between a dessert and a snack. Here’s why they keep ending up in my oven:
- One Bowl, One Pan — Seriously. You don’t need a stand mixer. You don’t need to cream butter and sugar separately. You just dump, stir, and bake. It’s the kind of simplicity that makes me want to hug the recipe. If you can mix batter for gooey chocolate chip cookie bars, you can make this. The technique is nearly identical, just with a few extra spices.
- Uses Ingredients You Already Have — I’m not talking about obscure spices you need to order online. You likely have pumpkin puree (not pie filling!), cinnamon, nutmeg, chocolate chips, and basic baking staples in your kitchen right now. It’s pantry-friendly perfection.
- The Texture is Unbeatable — There’s a reason people call these “bars” and not “cake.” They have that dense, fudgy chewiness of a brownie mixed with the soft crumb of a cookie. No dry edges. No crumbling mess. Just pure, squishy comfort.
- Perfect for Gifting or Sharing — Because they’re in a sheet pan, they cut into neat squares that are easy to hand out. I’ve made these for book clubs, office meetings, and random neighbors. They always disappear within minutes. It’s basically the dessert equivalent of a crowd-pleer hug.
- Make-Ahead Friendly — These actually taste better the next day. The spices settle in, the flavors meld, and the texture gets even chewier. I often make them on Sunday and eat them throughout the week. They keep well at room temperature for days, which is rare for pumpkin baked goods.
Real talk: I used to be intimidated by baking from scratch. But this recipe proved to me that I’m not some kitchen failure. I can do this. And once you taste these, you’ll be hooked too.
Ingredients You’ll Need
Here’s the best part: the ingredient list is short. Like, shockingly short. You don’t need fancy flours or expensive vanilla beans. Just good, simple stuff. I’m being picky about three things here, but mostly because I want you to succeed, not because it’s complicated.
For the Base
All-purpose flour (2 ½ cups / 315g) — The foundation. Don’t try to swap this for almond flour unless you want a completely different texture. All-purpose gives that classic cookie bar chew. Sift it if you’re feeling fancy, but honestly, scooping it straight from the bag works fine too.
Baking powder & baking soda (1 tsp / 5g and ½ tsp / 2.5g) — Yes, you need both. Baking powder gives the lift, baking soda helps with browning and that slight tang. It’s a classic combo for a reason.
Salt (1 tsp / 6g) — Essential. It balances the sweet. Use kosher salt if you have it; it’s easier to measure evenly. If you use table salt, maybe reduce to ¾ tsp.
Unsalted butter (½ cup / 113g, melted) — Melted butter is key here. It makes the bars denser and chewier, less cakey. Let it cool slightly before mixing so you don’t scramble the eggs.
Granulated sugar (¾ cup / 150g) — For sweetness and crisp edges. I use white sugar here because it creates that nice crackly top. Brown sugar works too, but it makes them softer and more molasses-heavy.
Packed brown sugar (½ cup / 100g) — Adds moisture and that deep, caramel flavor. Make sure it’s packed tight in the cup. Loose brown sugar means less moisture, and we want moist.
Eggs (2 large) — Room temperature is ideal, but not a disaster if they’re cold. Just whisk them well so they incorporate evenly.
Pure pumpkin puree (1 cup / 245g) — **Crucial:** Use canned 100% pure pumpkin. Do NOT use pumpkin pie filling, which is already sweetened and spiced. Check the label. It should say “100% pumpkin.”
For the Flavor
Vanilla extract (1 tsp / 5ml) — Real vanilla. The cheap imitation stuff tastes chemical in baked goods. It’s worth the few extra dollars.
Cinnamon (1 tsp / 2g) — The star of the show. Use ground cinnamon. If you have fresh ground, even better, but ground is fine.
Nutmeg (½ tsp / 1g) — Freshly grated is best, but pre-ground works. Don’t skip it; it adds that warm, cozy depth.
Ground ginger (¼ tsp / 0.5g) — Just a pinch. It adds a little kick without making it taste like gingerbread.
Ground cloves (¼ tsp / 0.5g) — Optional, but highly recommended. It adds that “holiday” scent. Don’t overdo it, or it’ll taste like medicine.
For the Topping
Chocolate chips (1 ½ cups / 255g) — Semi-sweet or dark chocolate chips work best. Milk chocolate is too sweet for my taste, but use what you love. I also throw in a handful of chopped walnuts sometimes for crunch.
Flaky sea salt — For sprinkling on top after baking. Maldon is my favorite, but any flaky sea salt works. It’s the finishing touch that makes these taste gourmet.
Equipment Needed
You don’t need a fancy kitchen for this. Here’s what I actually use:
9×13 inch baking pan — Standard size. Line it with parchment paper leaving an overhang on the sides. This is non-negotiable for easy removal. I hate scraping stuck bars out of a pan. Parchment makes it effortless.
Large mixing bowl — Any big bowl works. I use a 4-quart glass bowl because I can see what I’m mixing.
Fork or whisk — For mixing. No mixer needed. A fork is actually easier because you’re just combining wet and dry ingredients.
Spatula — For scraping the bowl and spreading the batter. Silicone is best.
Measuring cups and spoons — Standard stuff. Level off your dry ingredients.
Small saucepan or microwave-safe bowl — For melting the butter. I use the microwave for speed, but a saucepan on low heat works too.
How to Make It: Step-by-Step
Alright, let’s make these! I’m walking you through exactly how I do it. It’s so simple you’ll wonder why you ever stressed over baking.
Step 1: Prep Your Pan and Oven (2 minutes)
Preheat your oven to 350°F (175°C). Line your 9×13 inch baking pan with parchment paper. Leave a little overhang on the long sides—this creates a “handle” so you can lift the whole batch out later. Spray it lightly with cooking spray just to be safe.
Step 2: Mix the Dry Ingredients (3 minutes)
In your large bowl, whisk together the flour, baking powder, baking soda, salt, cinnamon, nutmeg, ginger, and cloves. Make sure there are no big clumps of flour. Whisk it until it’s uniform. This ensures every bite tastes spiced, not just plain flour.
Step 3: Combine the Wet Ingredients (2 minutes)
In a separate bowl (or just measure directly into the dry mix if you’re lazy), whisk the melted butter, granulated sugar, brown sugar, eggs, and vanilla. Whisk vigorously for about a minute. You want the sugar to start dissolving a bit into the butter and eggs. It should look glossy and thick.
Step 4: Bring It All Together (2 minutes)
Pour the wet mixture into the dry ingredients. Add the pumpkin puree. Now, gently fold everything together with a spatula. Mix until *just* combined. Do not overmix. Once you see no more streaks of flour, stop. Overmixing makes the bars tough. We want tender and chewy.
Step 5: Add the Chocolate
Fold in the chocolate chips now. If you’re adding nuts or pecans, do it here too. The batter will be thick and chunky. That’s perfect.
Step 6: Bake (30-35 minutes)
Spread the batter evenly into your prepared pan. It’s thick, so wet your hands or use a spatula to flatten it out. Bake for 30-35 minutes. You’ll know it’s done when the edges are golden brown and the center is just set. A toothpick inserted into the center should come out with moist crumbs, not wet batter. If it’s clean, you might be overbaking. Pull them when they look slightly underdone—they’ll finish setting as they cool.
Step 7: Cool and Salt
Let them cool in the pan for at least 15 minutes. This is the hardest part. Wait. Once they’re cool enough to handle, lift them out using the parchment paper. Sprinkle the flaky sea salt over the top while they’re still warm. The salt will stick slightly and melt into the surface. Cut into squares and enjoy.
Expert Tips & Tricks
Here’s everything I’ve learned from making these dozens of times. These tips will save you from my mistakes.
Don’t Overbake — This is the #1 mistake. Pumpkin bars continue to cook in the pan after you take them out. If you wait until the toothpick is totally clean, they’ll be dry. Aim for moist crumbs. They should jiggle slightly in the center when you pull them out.
Pure Pumpkin, Not Pie Filling — I cannot stress this enough. Pumpkin pie filling has sugar and spices already. If you use it, your bars will be too sweet and weirdly textured. Always use plain canned pumpkin puree.
Melted Butter is Key — Creaming cold butter and sugar makes cake. Melting butter makes bars. Stick to melted butter for that fudgy texture.
Room Temperature Eggs — If your eggs are cold, they might seize the melted butter. Let them sit out for 10 minutes while you preheat the oven. It makes the batter smoother.
Chop Your Chips — Instead of using chips, chop a bar of semi-sweet chocolate. You get little pockets of melted chocolate everywhere, rather than just chips. It’s a game-changer for texture.
Storage is Simple — Keep them in an airtight container at room temperature for up to 4 days. They actually get chewier on day 2. Don’t refrigerate them unless you have to; it dries them out.
Variations & Substitutions
Once you’ve nailed the basic version, here’s how you can mix it up. I’ve tried all of these.
Pumpkin Spice Latte Version — Add 2 tablespoons of instant espresso powder to the dry ingredients. It enhances the coffee and spice flavors. It tastes like a dessert version of your favorite fall drink.
Pecan Praline — Swap the chocolate chips for chopped pecans and a drizzle of caramel sauce after baking. It’s richer and more nutty. Great for Thanksgiving.
White Chocolate Macadamia — Use white chocolate chips and macadamia nuts instead of semi-sweet. It’s sweeter and more tropical, but still works with the pumpkin.
Gluten-Free — Use a 1:1 gluten-free flour blend (like Bob’s Red Mill). It works perfectly in this recipe. No need to adjust liquids.
Dairy-Free — Swap the butter for coconut oil (melted) and use dairy-free chocolate chips. The texture will be slightly different, but still delicious.
Vegan — Use flax eggs (2 tbsp ground flax + 5 tbsp water) instead of eggs, and coconut oil instead of butter. The bars will be slightly denser, but still tasty.
Serving & Storage
How to Serve: I usually serve these warm, straight from the oven, with a glass of cold milk. But they’re also great at room temperature. They’re perfect for potlucks because they’re easy to eat with one hand. No fork needed.
Side Dishes: These are a dessert, so pair them with coffee or tea. If you’re serving them as a snack, they go great with homemade vanilla chai latte or a simple black coffee.
Refrigerator: Store in an airtight container for up to 4 days. If your kitchen is hot, you might want to refrigerate them, but let them come to room temperature before eating for the best texture.
Freezing: Yes, you can freeze these! Wrap individual squares in plastic wrap, then put them in a freezer bag. They’ll last for 2 months. Thaw at room temperature. They don’t freeze as well as plain cookies, but they’re still good.
Meal Prep: Make a double batch on Sunday. You’ll have dessert ready for the week. They keep well in the pantry, so no fridge space needed.
Nutrition Information
I’m not a nutritionist, but here’s the breakdown if you’re tracking. Keep in mind this is an estimate based on standard ingredients.
| Per Serving (1 of 16 bars) | Amount |
|---|---|
| Calories | 220 |
| Protein | 3g |
| Carbs | 32g |
| Fat | 10g |
| Fiber | 1g |
| Sugar | 20g |
What’s Good: Pumpkin adds a bit of fiber and vitamin A. It’s not a health food, but it’s better than a plain sugar cookie.
What to Know: These are still a dessert. They have sugar, butter, and chocolate. Enjoy them as a treat, not a snack. If you want to lighten them up, use less chocolate chips or swap half the sugar for applesauce (though it changes the texture).
Final Thoughts
So that’s my go-to fall spiced pumpkin chocolate chip cookie bars! I’ve probably talked your ear off at this point, but when you make a recipe this often, you have a lot to say about it.
This has saved my dessert game more times than I can count. It’s my answer to “what’s for dessert?” when I want something homemade but don’t want to spend hours in the kitchen. My family is obsessed, my friends ask for the recipe, and I’m happy because it’s so easy to make.
Make it yours! Try different chips, add nuts, or skip the salt if you prefer. The best recipes are the ones you adapt to your tastes. If you make these, drop a comment and let me know what you think! I love hearing how recipes turn out in your kitchen. And if something doesn’t work, tell me that too—I’m here to help troubleshoot.
Happy baking! And I hope your kitchen smells half as good as mine does right now.
Frequently Asked Questions
Can I use fresh pumpkin instead of canned?
You can, but it’s a lot of work. You’d need to roast a whole pumpkin, scoop out the flesh, and puree it until smooth. Then you have to squeeze out all the excess water, or your bars will be soggy. Canned pumpkin is already cooked and pureed, and it has the perfect consistency. I stick with canned for ease and reliability.
Why did my bars turn out dry?
Most likely, you overbaked them. Pumpkin bars continue to cook in the hot pan after you take them out of the oven. Pull them when the center still looks slightly underdone. Also, make sure you’re measuring your flour correctly. Scooping flour directly from the bag packs it in, leading to too much flour. Spoon it into the cup and level it off.
Can I make these ahead for a party?
Yes! They’re actually better the next day. Make them 1-2 days ahead and store them in an airtight container at room temperature. They’ll hold their texture well. Just add the sea salt right before serving so it doesn’t dissolve completely.
Can I freeze the batter?
I wouldn’t recommend freezing the batter. The leavening agents (baking powder/soda) might lose their potency, and the pumpkin could separate. It’s best to mix and bake fresh. But you can definitely freeze the baked bars.
What if I don’t have nutmeg or cloves?
Use pumpkin pie spice instead! Just use 1 ½ teaspoons of pumpkin pie spice in place of the cinnamon, nutmeg, ginger, and cloves. It’s a shortcut that still tastes great. Or just double the cinnamon and add a pinch of ginger. It won’t be exactly the same, but it’ll still be delicious.
Can I make these in a different pan size?
Yes, but adjust the baking time. For an 8×8 pan, the bars will be thicker, so bake for 35-40 minutes. For a 9×13 pan, bake for 30-35 minutes. Always check with a toothpick to ensure they’re done.
Pin This Recipe!
Easy Fall Spiced Pumpkin Chocolate Chip Cookie Bars
- Total Time: 45 minutes
- Yield: 16 servings 1x
Description
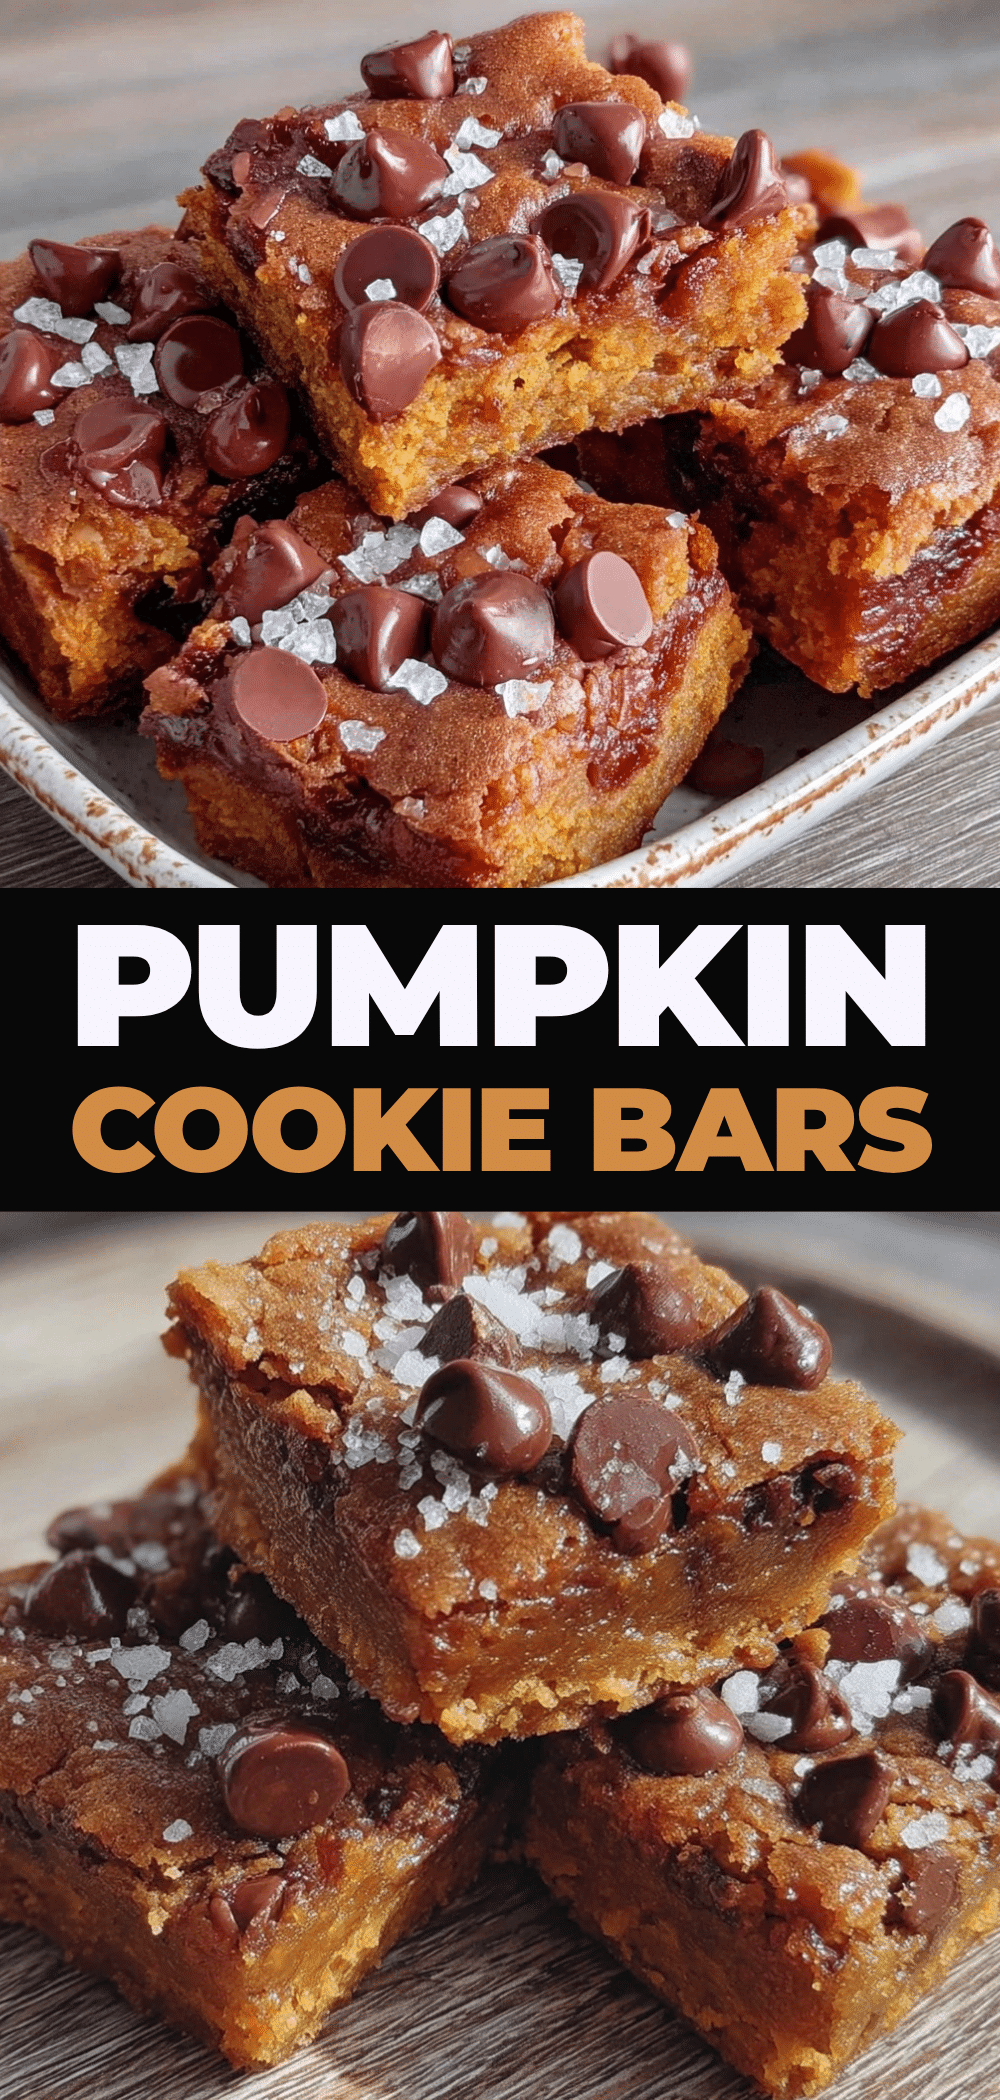
These one-bowl pumpkin chocolate chip cookie bars are incredibly easy to make, featuring a dense, fudgy texture with warm fall spices and a hint of sea salt. Perfect for last-minute desserts or meal prep.
Ingredients
- 2 ½ cups all-purpose flour
- 1 tsp baking powder
- ½ tsp baking soda
- 1 tsp salt (kosher preferred)
- ½ cup unsalted butter, melted
- ¾ cup granulated sugar
- ½ cup packed brown sugar
- 2 large eggs, room temperature
- 1 cup pure pumpkin puree (not pie filling)
- 1 tsp vanilla extract
- 1 tsp ground cinnamon
- ½ tsp ground nutmeg
- ¼ tsp ground ginger
- ¼ tsp ground cloves
- 1 ½ cups semi-sweet or dark chocolate chips
- Flaky sea salt, for sprinkling on top
Instructions
- Preheat oven to 350°F (175°C). Line a 9×13 inch baking pan with parchment paper, leaving an overhang on the sides, and lightly spray with cooking spray.
- In a large bowl, whisk together the flour, baking powder, baking soda, salt, cinnamon, nutmeg, ginger, and cloves until uniform.
- In a separate bowl or directly into the dry ingredients, whisk the melted butter, granulated sugar, brown sugar, eggs, and vanilla vigorously for about a minute until glossy and thick.
- Pour the wet mixture into the dry ingredients and add the pumpkin puree. Gently fold everything together with a spatula until just combined. Do not overmix.
- Fold in the chocolate chips (and nuts, if using). The batter will be thick.
- Spread the batter evenly into the prepared pan. Bake for 30-35 minutes, or until the edges are golden brown and the center is just set (toothpick should come out with moist crumbs).
- Let the bars cool in the pan for at least 15 minutes. Lift them out using the parchment paper overhang.
- Sprinkle flaky sea salt over the top while still warm. Cut into squares and serve.
Notes
Ensure you use pure pumpkin puree, not pumpkin pie filling. Do not overbake, as the bars continue to cook in the pan. For best texture, let them cool completely before cutting. They keep well at room temperature for up to 4 days.
- Prep Time: 10 minutes
- Cook Time: 30-35 minutes
- Category: Dessert
- Cuisine: American
Nutrition
- Serving Size: 1 bar
- Calories: 220
- Sugar: 20
- Sodium: 300
- Fat: 10
- Saturated Fat: 6
- Carbohydrates: 32
- Fiber: 1
- Protein: 3
Keywords: pumpkin bars, chocolate chip cookie bars, fall dessert, easy baking, one bowl recipe, pumpkin spice, gluten-free option


