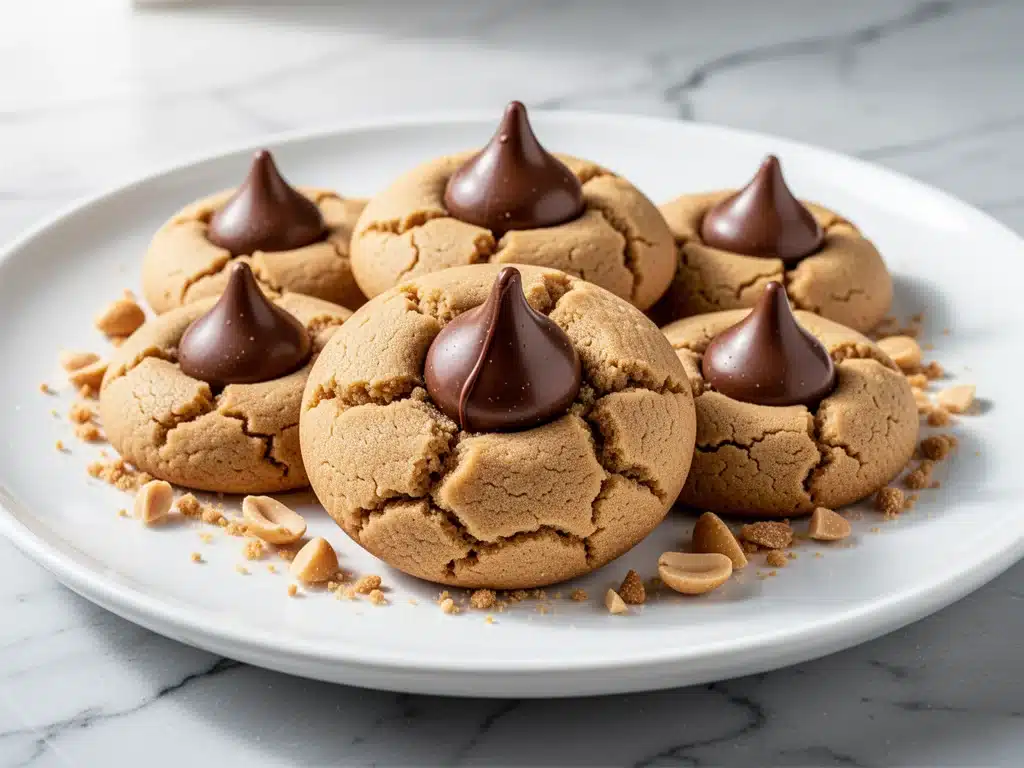
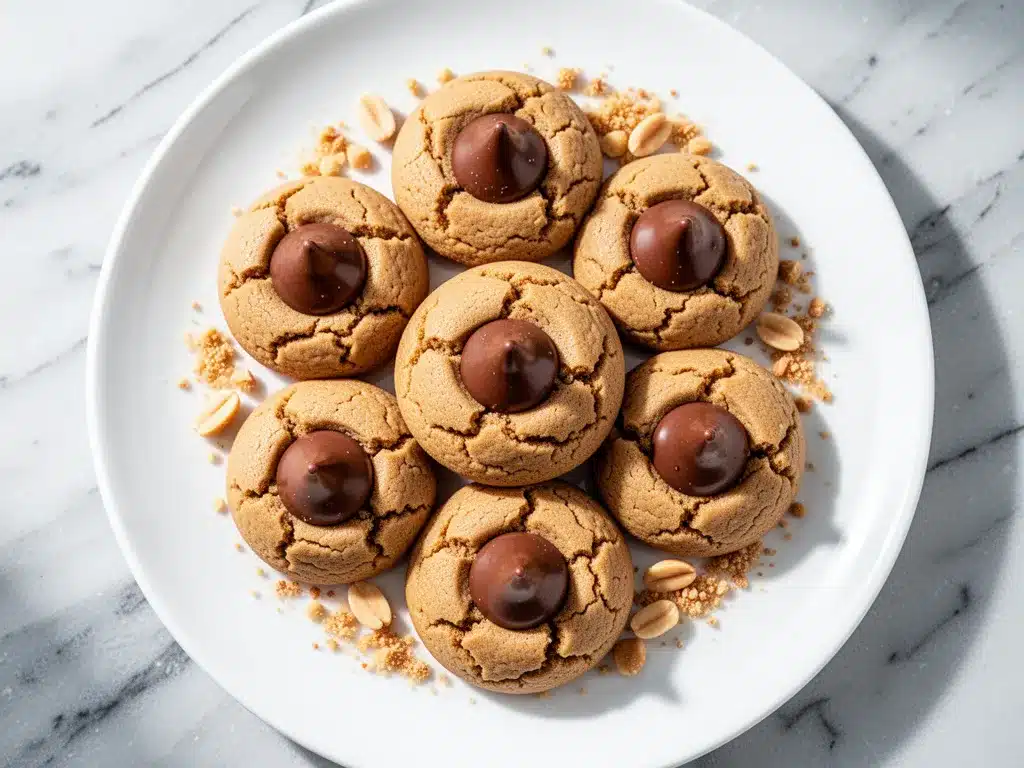
I have a confession to make. For years, I was the person who bought the box mix. Not because I was lazy (though, let’s be honest, some nights I am), but because I genuinely couldn’t get homemade peanut butter cookies to stay chewy. They’d come out of the oven looking perfect—those classic crosshatch patterns, the shiny chocolate kiss sitting proudly on top—but by the next day? Hard as rocks. Crumbly. Dry. I’d end up dunking them in milk just to get them down, which defeated the entire point of a good cookie.
Then, about two years ago, I accidentally left a batch of chewy peanut butter blossom cookies in the oven for an extra three minutes because I got distracted helping my kid with a math problem. I pulled them out, panicked, and let them cool. I was ready to toss them. But when I took a bite the next morning with my coffee? They were perfectly soft. Chewy. The kind of chew that makes you stop mid-bite and wonder what magic I’d used.
That accident led to a month of baking experiments. I tested browning the butter like I do for my brown butter chocolate chip cookies. I tried swapping all the sugar for brown sugar. I even tried using crunchy peanut butter, which was a disaster (too greasy). Finally, I cracked the code. It wasn’t one big trick; it was a combination of small, specific adjustments that changed the texture from “dry crumb” to “melt-in-your-mouth chewy.”
These cookies are my current obsession. They’re the ones I pack for school bake sales because they survive the journey in the Tupperware. They’re the ones my husband requests when he’s having a bad day. And they’re the ones that prove you don’t need fancy ingredients to make something that feels indulgent. If you’ve ever struggled with peanut butter cookies that turn into gravel, this is the recipe you’ve been waiting for. Here’s how I make them, why they work, and exactly how to get that perfect soft center every single time.
Why You’ll Love This Chewy Peanut Butter Blossom Recipe
There’s a reason this specific version of peanut butter blossoms has taken over my kitchen. It’s not just nostalgia; it’s science, backed by a lot of trial and error. Here’s why this recipe has replaced every other cookie dough in my rotation:
- Actually Chewy, Not Crispy — Most peanut butter cookie recipes lean toward crisp, especially if you use crunchy PB. This one uses a specific ratio of sugars and a touch of extra flour to keep the center soft and chewy for days. I’ve eaten these three days after baking, and they still felt fresh.
- Rich Peanut Flavor — Because we’re using smooth, creamy peanut butter (specifically Jif or Skippy, hear me out), the flavor is intense and consistent. Natural peanut butter can be oily and weak here; standard PB gives that classic, comforting taste we all crave.
- Chocolate Kiss Harmony — The Hershey’s Kiss isn’t just a garnish here. It melts slightly into the warm cookie, creating that salty-sweet contrast that makes these cookies legendary. It’s the perfect bite every time.
- One-Bowl Simplicity — You don’t need a stand mixer. You don’t need to cream butter and sugar separately. You just mix it all in one bowl. I make these on weeknights after dinner, and they take about 15 minutes of active time. It’s easier than making my microwave mug brownie with peanut butter swirl, and it feeds more people.
- Freezer-Friendly Dough — I often double the recipe and freeze half the dough balls. When friends come over or I need a last-minute dessert, I just pull them out. They bake straight from frozen with just a minute or two added to the time.
This recipe is my go-to when I want to impress without stressing. It looks like a bakery treat, tastes like home, and takes less effort than ordering delivery. Once you try these, you’ll wonder why you ever bought the box mix.
Ingredients You’ll Need for Perfect Chewy Cookies
Before we get to the mixing, let’s talk about what’s going into the bowl. I’m pretty particular about these ingredients because they directly impact the chewiness. You don’t need anything exotic, but you do need to pay attention to quality.
The Dry Stuff
All-purpose flour (2 ¼ cups / 280g) — This is your structure. Don’t substitute with cake flour; it won’t have enough protein to hold the chew. Spoon and level your flour. Don’t scoop it directly from the bag, or you’ll pack it down and end up with dry, crumbly cookies. If you scoop, you’re adding too much flour. Trust me on this.
Baking soda (1 teaspoon) — This helps the cookies spread and brown. Make sure yours isn’t expired. If your baking soda is old, your cookies won’t rise properly and will stay dense. I keep a fresh can in my pantry at all times.
Salt (½ teaspoon) — Essential for balancing the sweetness. Use table salt or kosher salt. If you use kosher, maybe add a pinch more since it’s less dense.
The Wet Stuff
Unsalted butter (½ cup / 113g, softened) — This is crucial. Softened means cool to the touch but squishable. Not melted! Melted butter makes cookies spread too thin and lose their chew. If you’re in a hurry, you can microwave it for 5-10 seconds, but let it sit for 5 minutes before using. I tested melted butter once, and the cookies were flat discs. Don’t do it.
Peanut butter (1 cup / 250g) — Use standard creamy peanut butter like Jif or Skippy. Natural peanut butter separates and has different oil content, which can make the dough greasy. I’ve tried both, and standard PB gives that reliable, classic texture. Stir it well before measuring if it’s been sitting.
Granulated sugar (½ cup / 100g) — This adds crispness to the edges. We use less of this to keep the center soft.
Brown sugar (1 cup / 200g, packed) — This is the chew engine. The molasses in brown sugar keeps cookies moist. Pack it tightly into the cup. If your brown sugar is hard as a rock, microwave it for 10 seconds with a damp paper towel on top to soften it.
Egg (1 large) — Room temperature eggs mix better into the dough. Cold eggs can cause the butter to seize up. Just let it sit on the counter for 20 minutes while you prep.
Vanilla extract (1 teaspoon) — Real vanilla, please. I know it’s pricey, but it makes a huge difference in flavor depth. Avoid imitation vanilla.
The Topping
Hershey’s Kisses (36 pieces) — The traditional choice. I buy the bulk bags. Milk chocolate works best because it’s sweet enough to balance the salty peanut butter. Dark chocolate kisses are too bitter for this classic combo. Keep them in the wrapper until you’re ready to press them in, so they don’t stick to your fingers.
Equipment Needed
You don’t need a fancy kitchen for this. Here’s what I actually use:
Large mixing bowl — A 4-quart bowl works best. I use a glass one so I can see the dough mixing clearly.
Electric hand mixer or stand mixer — I prefer a hand mixer for small batches like this. It’s faster to clean. A stand mixer with a paddle attachment works too, but don’t overmix once you add the flour.
Measuring cups and spoons — Standard stuff. For flour, I use a separate dry measuring cup.
Sheet pans — Two standard 13×18 inch baking sheets. I prefer light-colored aluminum pans. Dark pans can cause the bottoms to burn, which ruins the chew. If you only have dark pans, lower the oven temperature by 25 degrees.
Parchment paper — Line your sheets. Cleanup is so much easier, and the cookies slide off effortlessly. I never bake cookies directly on bare metal anymore.
Cooling rack — Essential. Letting cookies cool on the hot pan continues the cooking process, and they can get overbaked. Move them to a rack after 5 minutes.
How to Make Chewy Peanut Butter Blossom Cookies
Alright, let’s get baking. This process is straightforward, but timing is everything if you want that perfect chewy texture. I’m walking you through exactly how I do it, including the little tricks I’ve picked up over the years.
Step 1: Prep Your Oven and Pans (5 minutes)
Preheat your oven to 350°F (175°C). This is critical. If your oven is too hot, the edges will burn before the centers set. If it’s too low, the cookies will spread too much. Line your baking sheets with parchment paper. I usually bake two batches, so I have one sheet ready to go while the other cools.
Step 2: Mix the Dry Ingredients (2 minutes)
In a medium bowl, whisk together the flour, baking soda, and salt. This ensures the baking soda is evenly distributed so you don’t get bitter spots. Set this aside. It’s easy to forget this step, but it prevents lumps in your final dough.
Step 3: Cream the Wet Ingredients (3-4 minutes)
In a large bowl, beat the softened butter, creamy peanut butter, granulated sugar, and brown sugar together. Use your electric mixer on medium-high speed. Beat for about 3 minutes until the mixture is light, fluffy, and combined. It should look almost like a thick paste. This step incorporates air, which helps with texture. Don’t skip it.
Step 4: Add Egg and Vanilla (1 minute)
Add the egg and vanilla extract to the butter mixture. Beat on medium speed until just combined. Scrape down the sides of the bowl with a spatula to make sure everything is mixed in. The mixture will look a bit grainy at first—that’s normal. It will come together once you add the flour.
Step 5: Combine Wet and Dry (2 minutes)
Gradually add the flour mixture to the wet ingredients. Mix on low speed until just combined. Stop mixing as soon as you no longer see streaks of flour. Overmixing develops gluten, which makes cookies tough. You want them tender and chewy, not bread-like. The dough will be thick and sticky.
Step 6: Roll and Chill (Optional but Recommended) (15-30 minutes)
Here’s a pro tip: Chill the dough. If you have time, cover the bowl and refrigerate for 30 minutes. This firms up the butter, which prevents the cookies from spreading too much in the oven. It also concentrates the flavors. If you’re in a rush, you can skip this, but the cookies will be thinner. I usually chill them if I’m baking on weekends.
Step 7: Scoop and Bake (10-12 minutes)
Roll the dough into 1-inch balls (about 1.5 tablespoons each) and place them 2 inches apart on the prepared baking sheets. Bake for 10-12 minutes. The edges should be set and lightly golden, but the centers should still look soft and slightly underbaked. This is the key to chewiness. They will continue to cook on the hot pan after you remove them. If you bake them until they look done in the oven, they’ll be dry by morning.
Step 8: Add the Kisses (1 minute)
Immediately after removing the cookies from the oven, press one Hershey’s Kiss into the center of each warm cookie. The heat from the cookie will make the chocolate stick. Do this while they’re still on the hot pan. If you wait until they’re cooled, the kisses won’t adhere.
Step 9: Cool Completely (20 minutes)
Let the cookies sit on the baking sheet for 5 minutes, then transfer them to a wire rack to cool completely. This step is hard because they smell amazing, but cutting into a warm peanut butter cookie is messy and they’ll fall apart. Let them set for at least 20 minutes before eating.
Total Time: About 45 minutes (including cooling). Yield: About 36 cookies.
Expert Tips for Guaranteed Success
Here’s everything I’ve learned from making these dozens of times. These tips will save you from my mistakes.
- Don’t Overbake — This is the #1 mistake. Take them out when they look slightly underdone in the center. They firm up as they cool. If you wait for them to look fully set in the oven, they’ll be crisp, not chewy.
- Use Standard Peanut Butter — I cannot stress this enough. Natural peanut butter has separated oils and less sugar. It makes the dough greasy and the cookies dense. Standard Jif or Skippy is the secret to that classic texture.
- Measure Flour Correctly — Scooping flour packs it down, leading to dry cookies. Spoon the flour into your measuring cup and level it off with a knife. This simple habit changes everything.
- Chill the Dough — If your kitchen is warm, the dough will spread before it bakes. Chilling for 30 minutes ensures nice, thick cookies. It also lets the flavors meld, making the peanut taste more intense.
- Press Kisses Immediately — The chocolate needs the residual heat to stick. If the cookies cool too much, the kisses will slide off. Keep a stack of kisses ready and press them in right when the timer goes off.
Variations and Substitutions
Once you’ve nailed the basic version, here’s how you can mix it up. I’ve tried all of these variations.
Crunchy Peanut Butter Version
Swap the creamy peanut butter for crunchy. The texture is amazing, with little bits of peanut in every bite. Just note that the cookies might spread slightly more, so roll them a bit larger.
Dark Chocolate Kisses
If you prefer less sweetness, use dark chocolate Hershey’s Kisses. It creates a more sophisticated, less cloying flavor profile. My husband prefers this version.
Peanut Butter and Jelly
Add a tiny dollop of strawberry jam in the center of the dough ball before rolling it. It’s like a peanut butter jelly cookie. It’s a fun twist for kids.
Gluten-Free Option
You can use a 1:1 gluten-free flour blend. The texture might be slightly more delicate, but it works well. I’ve used Bob’s Red Mill blend with success.
Vegan Version
Use vegan butter (like Miyoko’s), vegan peanut butter (check labels, some natural PBs are fine, but standard PB often has added sugar/honey), and flax eggs. Use vegan chocolate kisses. It’s not exactly the same, but it’s close.
Serving and Storage
These cookies are best served at room temperature, where the peanut butter and chocolate reach their optimal texture. I usually serve them with a cold glass of milk—it’s the classic combo for a reason.
Storage:
Store cookies in an airtight container at room temperature for up to 5 days. Place a slice of bread in the container with them. The cookies will absorb moisture from the bread, staying soft and chewy for days. I do this for my chewy fall maple oatmeal cream sandwich cookies too, and it works wonders.
Freezing Dough:
You can freeze the unbaked dough balls. Roll them into balls, place them on a baking sheet, and freeze until solid (about 1 hour). Then transfer to a freezer bag. Bake straight from frozen, adding 1-2 minutes to the bake time. This is perfect for last-minute guests.
Freezing Baked Cookies:
These don’t freeze as well as other cookies because the peanut butter can seize up when thawed. They’re best eaten fresh or within a few days.
Nutrition Information
I’m not a nutritionist, but here’s the breakdown if you’re tracking. Keep in mind that these are indulgent cookies, so portion control is key.
Per Cookie (based on 36 servings):
- Calories: 140
- Protein: 3g
- Carbs: 18g
- Fat: 7g
- Sugar: 12g
These are higher in sugar and fat than a standard oatmeal cookie, but they’re also smaller than a brownie. I usually have one or two with my coffee and call it a treat. They’re made with real ingredients, which is better than most store-bought options.
Final Thoughts
So that’s my secret to chewy peanut butter blossom cookies. It’s not rocket science, but it does require paying attention to a few details—especially not overbaking them. These cookies have saved me at bake sales, impressed my in-laws, and provided comfort on rainy Sundays. They’re simple, reliable, and deeply satisfying.
If you make these, I’d love to hear how they turn out. Did you stick to the classic Hershey’s Kisses, or did you try a variation? Drop a comment below and let me know. And if you need another easy dessert to round out your baking rotation, check out my small batch fudgy brownies—they’re just as easy and perfect for chocolate lovers.
Happy baking! I hope your kitchen smells like heaven.
Frequently Asked Questions
Can I use natural peanut butter instead of standard?
I don’t recommend it for this specific recipe. Natural peanut butter separates and has a different oil content, which can make the dough greasy and the cookies dense. Standard creamy peanut butter like Jif or Skippy has emulsifiers that help the dough hold its shape and stay chewy. If you must use natural, stir it very well and add an extra tablespoon of flour.
Why did my cookies spread too much?
This usually happens if the butter was too soft or melted, or if the dough wasn’t chilled. Make sure your butter is softened, not melted. Also, chilling the dough for 30 minutes helps firm up the fats, which prevents spreading. If you’re baking on a dark pan, lower the oven temperature by 25 degrees.
Can I freeze the baked cookies?
You can, but they don’t freeze as well as other cookies. The peanut butter can become grainy or dry when thawed. They’re best eaten within 2-3 days. If you need to make ahead, freeze the dough balls instead and bake them fresh when needed.
How do I keep them chewy for longer?
Store them in an airtight container with a slice of bread. The bread releases moisture that the cookies absorb, keeping them soft. Also, make sure you don’t overbake them. Take them out when they look slightly underdone in the center.
Can I make these gluten-free?
Yes! Use a 1:1 gluten-free flour blend. The texture might be slightly more delicate, but it works well. Make sure your baking soda and chocolate kisses are certified gluten-free if you have a severe allergy.
Why do the chocolate kisses fall off?
They fall off if you wait too long to press them in. The cookies need to be warm so the chocolate melts slightly and adheres. Press them in immediately after removing the cookies from the oven. If they start to cool, the kisses won’t stick.
Pin This Recipe!
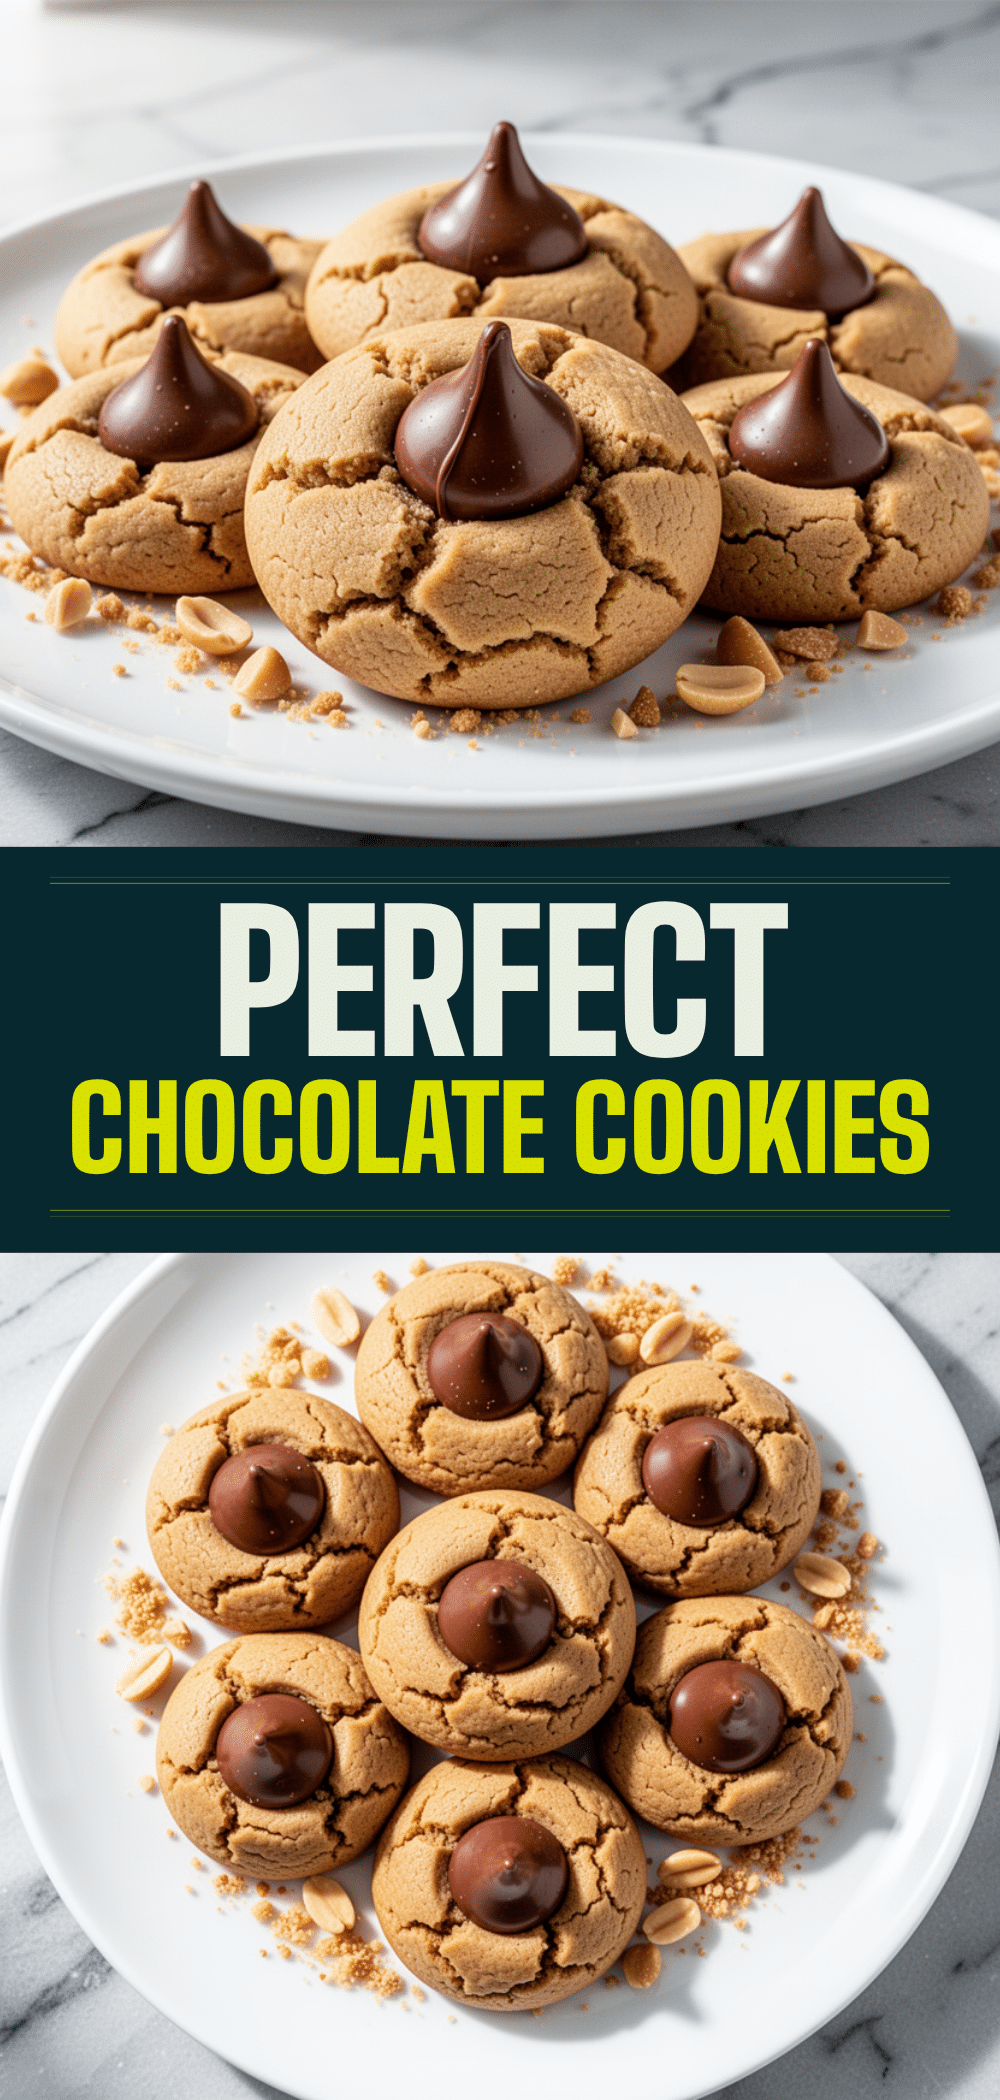
Chewy Peanut Butter Blossom Cookies
- Total Time: 45 minutes
- Yield: 36 cookies 1x
Description
These chewy peanut butter blossom cookies are soft, moist, and packed with rich peanut flavor. Made with standard creamy peanut butter and topped with Hershey’s Kisses, they are easier than box mixes and stay chewy for days.
Ingredients
- 2 ¼ cups (280g) all-purpose flour
- 1 teaspoon baking soda
- ½ teaspoon salt
- ½ cup (113g) unsalted butter, softened
- 1 cup (250g) creamy peanut butter (Jif or Skippy)
- ½ cup (100g) granulated sugar
- 1 cup (200g) packed brown sugar
- 1 large egg, room temperature
- 1 teaspoon vanilla extract
- 36 Hershey’s Kisses
Instructions
- Preheat oven to 350°F (175°C) and line two baking sheets with parchment paper.
- In a medium bowl, whisk together the flour, baking soda, and salt. Set aside.
- In a large bowl, beat the softened butter, peanut butter, granulated sugar, and brown sugar with an electric mixer on medium-high speed for about 3 minutes until light and fluffy.
- Add the egg and vanilla extract to the butter mixture. Beat on medium speed until just combined, scraping down the sides of the bowl.
- Gradually add the dry ingredients to the wet ingredients. Mix on low speed until just combined; do not overmix.
- Optional: Chill the dough for 30 minutes to prevent spreading and concentrate flavors.
- Roll the dough into 1-inch balls and place them 2 inches apart on the prepared baking sheets.
- Bake for 10-12 minutes. The edges should be set and lightly golden, but the centers should still look soft and slightly underbaked.
- Immediately remove from the oven and press one Hershey’s Kiss into the center of each warm cookie.
- Let cookies sit on the baking sheet for 5 minutes, then transfer to a wire rack to cool completely.
Notes
Use standard creamy peanut butter (Jif or Skippy) rather than natural peanut butter to avoid greasy dough. Measure flour by spooning it into the cup and leveling it off to ensure chewiness. Do not overbake; cookies will firm up as they cool. Store in an airtight container with a slice of bread to maintain softness.
- Prep Time: 15 minutes
- Cook Time: 10-12 minutes
- Category: Dessert
- Cuisine: American
Nutrition
- Serving Size: 1 cookie
- Calories: 140
- Sugar: 12
- Sodium: 120
- Fat: 7
- Saturated Fat: 3
- Carbohydrates: 18
- Fiber: 1
- Protein: 3
Keywords: peanut butter cookies, chewy cookies, peanut butter blossoms, Hershey's Kiss cookies, easy cookie recipe, homemade cookies


