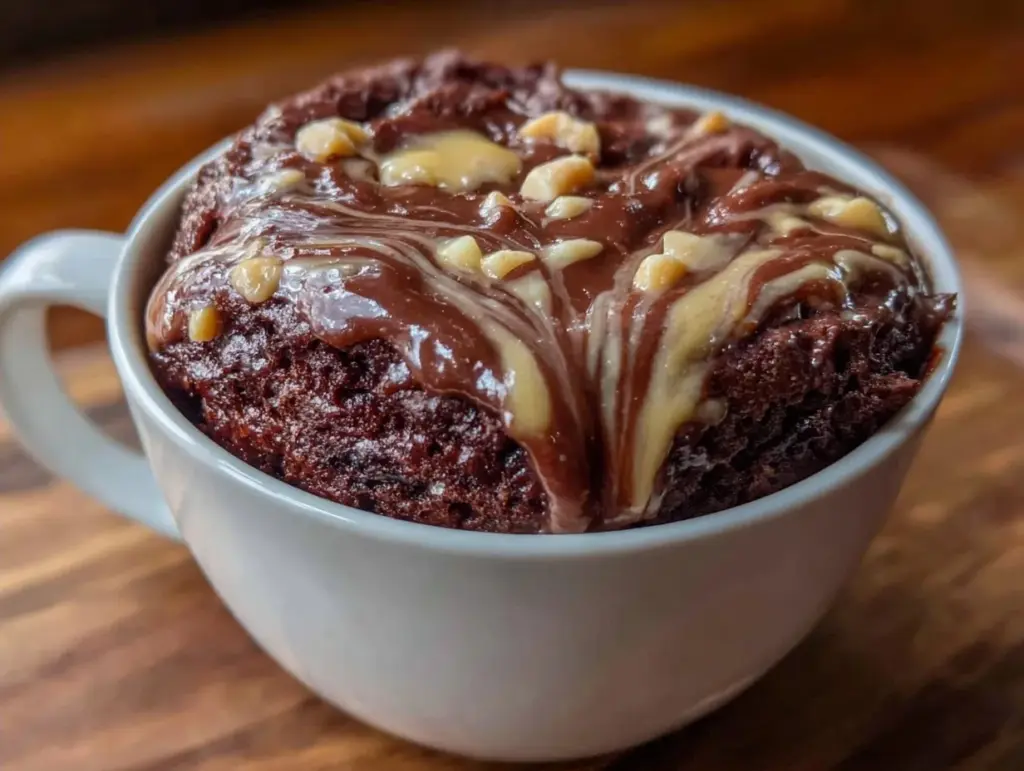
Last Tuesday, I was sitting at my kitchen counter at 11:30 PM, staring into the abyss of the open fridge. You know that look. It’s the “I want something sweet, but I absolutely do not want to pull out bowls, a whisk, a measuring cup, or an oven” look. I had a craving that hit me hard—something chocolate, something gooey, something that felt like a real treat but didn’t require a full baking session.
I’ve been there. So many times. And usually, the compromise is a sad piece of leftover bread or a handful of almonds that tastes like regret. But that night, I remembered I had flour, sugar, cocoa powder, peanut butter, and an egg. Just five things. I threw them into a mug, popped it in the microwave for 60 seconds, and waited with bated breath.
When I pulled it out, it wasn’t just edible. It was perfect. Fudgy, warm, with a gooey peanut butter center that looked like it belonged in a high-end bakery, not a coffee mug. I ate it standing over the sink (don’t judge me), and I made a silent vow: if I ever crave a dessert again, this is it. No debate.
This microwave mug brownie with peanut butter swirl is the ultimate cheat code for late-night cravings. It’s not just easy; it’s practically impossible to mess up. You get the rich, dense texture of a real brownie without the cleanup, without the wait, and without the guilt of eating an entire pan. I’ve made this for my kids when they wanted a snack after homework, for myself when I needed a break, and even for guests who walked in right before dinner was ready. It’s my secret weapon.
Here’s the thing about single-serve desserts: they often feel like a second-class citizen. Like, “Oh, you’re having a brownie? Cute. Here’s your tiny square.” But this? This is a full-sized, indulgent dessert. It’s moist, it’s chocolatey, and that peanut butter swirl adds a salty-sweet kick that makes it addictive. I’ve tested this recipe more times than I care to admit, tweaking the ratios until I got that perfect fudgy consistency. And I’m here to tell you—you really can’t mess this up.
Why You’ll Love This Recipe
There are about ten reasons I keep coming back to this microwave mug brownie with peanut butter swirl, but let’s be real. If it took more than two minutes or required five different bowls, I’d probably just eat cereal. But this checks every single box for me.
Stupid Simple Ingredients
Seriously. You need flour, sugar, cocoa powder, peanut butter, an egg, and maybe a little milk or oil. That’s it. You probably have all of these in your pantry right now. I don’t keep special “dessert-only” ingredients because, honestly, they usually go stale before I use them. This recipe uses staples. It’s foolproof because you don’t have to run to the store. If you can’t make this, you can’t cook.
Two Minutes Flat
From “I’m hungry” to “I’m satisfied” takes less time than it takes to scroll through Instagram. There’s no preheating an oven. There’s no waiting for batter to chill. You mix, you microwave, you eat. It’s the fastest dessert hack in my repertoire. I’ve made this while helping my kid with a math problem, and it was done before they finished the last question.
Zero Cleanup
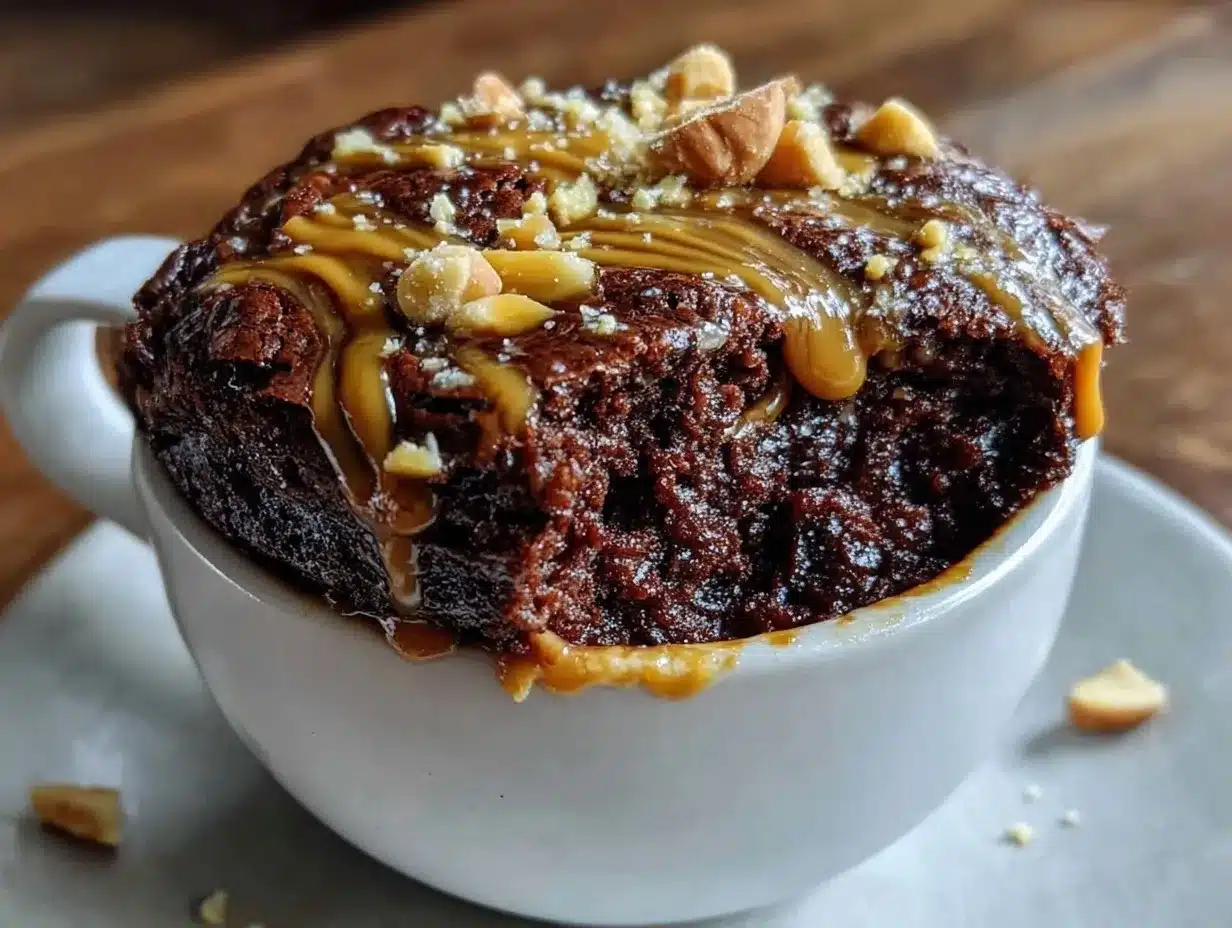
This is the big one. One bowl. One spoon. One mug. That’s the entire cleanup process. Rinse the mug, put it in the dishwasher (or wash it quickly while the brownie cools), and you’re done. No sticky counters. No dirty measuring cups. No greased pans. For a home cook who values simplicity above all else, this is heaven. It removes the biggest barrier to making dessert: the cleanup.
Actually Tastes Like a Real Brownie
I know, I know. “Microwave cake” usually sounds like a rubbery disaster. But this isn’t cake. It’s a brownie. Dense, fudgy, and moist. The key is not overcooking it. I’ve ruined my share of mug brownies by leaving them in too long, and let me tell you, they turn into little rubber disks. But when you get the timing right? It’s gooey perfection. And that peanut butter swirl? It melts into pockets of salty goodness that make every bite interesting.
Forgiving and Beginner-Proof
Have you ever tried baking from scratch? One wrong measurement and your cookies are flat or your cake is dry. This recipe is incredibly forgiving. You don’t need to sift flour. You don’t need to whip eggs to stiff peaks. You just stir until it’s mostly combined. If you overmix it a little? No big deal. If you undermix it? Still good. It’s designed for people who want a delicious treat without the stress of precision. It’s confidence-building dessert making.
Ingredients You’ll Need
This looks like a short list, but that’s the beauty of it. Each ingredient plays a specific role, and you don’t need fancy substitutions. I’m not particular about brands here, but I am particular about quality. Here’s what you need to grab from your pantry.
For the Brownie Base
All-purpose flour (4 tablespoons / 30g) — This is your structure. Don’t try to use almond flour or coconut flour unless you want a completely different recipe. All-purpose gives that classic, dense brownie texture. I use the generic store brand because it works perfectly and saves money.
Cocoa powder (2 tablespoons / 10g) — This is where the chocolate flavor lives. Use unsweetened cocoa powder. Hershey’s is the standard, but any dark unsweetened cocoa works. Avoid “Dutch-processed” if you can, as it can sometimes taste bitter in microwave recipes. Regular cocoa is safer and more forgiving. This is the heart of your microwave mug brownie with peanut butter swirl.
Granulated sugar (3 tablespoons / 35g) — Sweetness is key. I prefer white sugar here because it dissolves easily and gives that slightly crisp edge. Brown sugar works too, but it makes it chewier and moister, which can sometimes lead to a gummy texture if you’re not careful. White sugar is the reliable choice.
Vegetable oil or melted butter (1 tablespoon / 15ml) — Fat keeps it moist. I usually use vegetable oil because it’s neutral and I don’t have to wait for butter to melt. Butter adds flavor, though. If you’re feeling fancy, melt a tablespoon of butter in the microwave for 10 seconds. But oil? It’s easier, and it still tastes great.
Milk (1-2 tablespoons / 15-30ml) — This adds the liquid needed to bind everything. Whole milk is best for richness, but skim works in a pinch. Don’t overdo it. You want a thick batter, not a soup. Start with 1 tablespoon and add more only if it looks too dry.
Vanilla extract (½ teaspoon) — Optional, but I highly recommend it. It rounds out the chocolate flavor and makes it taste more “bakery-like.” Skip it if you’re in a rush, but don’t skip it if you want it to taste good.
For the Peanut Butter Swirl
Creamy peanut butter (1 tablespoon / 16g) — This is non-negotiable. Do not use natural peanut butter where the oil separates. That will make your brownie greasy and weird. Use Jif or Skippy, or any standard creamy peanut butter. The sugar and stabilizers in it help it hold its shape in the center. This creates that gooey, salty center that makes this microwave mug brownie with peanut butter swirl so special.
Chocolate chips (optional, 5-6 chips) — I throw these in sometimes for extra chocolatey bits. It’s not required, but if you have them, why not? It adds variety to the texture.
Equipment Needed
You don’t need anything fancy. I’m not going to lie to you and say you need a digital scale or a whisk. You need things you already have.
A standard 12-ounce mug or ramekin — This is crucial. If your mug is too small, the brownie will overflow. If it’s too big, it’ll cook too fast and dry out. A standard coffee mug (about 12 oz) is perfect. I use a ceramic mug because it heats evenly. Glass mugs can sometimes get too hot on the outside or heat unevenly, so ceramic is my go-to. If you don’t have a mug, a small ramekin works too.
A small mixing bowl or the mug itself — I usually mix directly in the mug to save a bowl. It’s efficient. Just make sure your mug is clean and dry before you start.
A fork or small spoon — You need something to stir. A fork works great for breaking up the peanut butter. A spoon is easier for mixing the batter. Use whatever feels comfortable in your hand.
A microwave — Standard settings. No convection, no grill. Just plain old microwave. My microwave is 1000 watts, so I cook for 60 seconds. If yours is weaker (700-800 watts), you might need 70-80 seconds. If it’s stronger (1100+ watts), stick to 60 seconds or even 50. Watch it the first time you make it to learn your microwave’s quirks.
How to Make It: Step-by-Step
Alright, let’s make this! I’m walking you through exactly how I do it. It’s so simple that you’ll feel like a baking genius by the end.
Step 1: Prep Your Mug
Grab your 12-ounce mug. If you’re feeling extra cautious, you can lightly grease it with a tiny bit of oil or butter, but it’s usually not necessary. The batter is moist enough that it doesn’t stick. Set it aside on a microwave-safe plate (just in case it bubbles over).
Step 2: Mix the Dry Ingredients
Add the flour, cocoa powder, and sugar to the mug. Use a fork to stir them together until they are well combined and there are no big clumps of cocoa. This step is important because cocoa powder likes to clump. If you skip stirring the dry ingredients first, you’ll end up with bitter pockets of pure cocoa in your finished brownie. Stir until it looks like uniform, dark sand.
Step 3: Add the Wet Ingredients
Pour in the oil (or melted butter), milk, and vanilla extract. Stir vigorously with your fork. You want a thick, smooth batter. It should look like chocolate cake batter—thick and glossy. If it looks too dry and crumbly, add another teaspoon of milk. If it’s too runny, add a tiny sprinkle of flour. You want it thick enough to hold its shape but wet enough to be fudgy.
Step 4: The Peanut Butter Swirl
This is the fun part. Take your tablespoon of creamy peanut butter. Drop it in dollops on top of the batter. Don’t mix it in yet! Use the fork to gently swirl it into the batter. Just a few gentle circles. You don’t want to fully incorporate it. You want distinct ribbons of peanut butter. This creates those pockets of salty goodness. If you mix it too much, you just get peanut butter brownie batter. You want the swirl.
Step 5: Microwave It
Place the mug in the microwave. Cook on high for 60 seconds. This is the critical moment. Watch it through the window. You’ll see it rise and then start to settle. The top should look set but still slightly soft. It should not look wet or liquidy. If it looks wet, give it 10 more seconds. But be careful. Overcooking is the enemy. The brownie will continue to cook slightly from residual heat after you take it out.
Step 6: Cool and Eat
Let it sit for 1-2 minutes. It will be extremely hot, especially the peanut butter center. I know it’s tempting to dig in immediately, but give it a minute. It firms up slightly and becomes less molten-hot. Eat it straight from the mug. That’s the best part. No plate needed.
Expert Tips & Tricks
Here’s everything I’ve learned from making this dozens of times. These tips will save you from my mistakes.
Don’t Overmix the Batter
Once you add the wet ingredients, mix just until combined. Overmixing develops gluten, which makes the brownie tough and cakey instead of fudgy. You want minimal mixing. It’s okay if there are a few tiny streaks of flour left.
Watch Your Microwave
Every microwave is different. My first time making this, I cooked it for 90 seconds because I was distracted. Result? A rubbery, dry disk. Learn your microwave. Start with 60 seconds. If it’s not done, add 10-second increments. It’s better to undercook slightly than overcook.
The Peanut Butter Must Be Creamy
I cannot stress this enough. Natural peanut butter separates. The oil rises to the top. If you use that, your brownie will have a layer of oil on top and weird chunks of solids. Use standard creamy peanut butter. It has the right consistency to create that gooey swirl.
Top It With Something
While this is perfect on its own, I like to add a dollop of whipped cream or a scoop of vanilla ice cream on top. The contrast of hot brownie and cold ice cream is incredible. It elevates it from a snack to a proper dessert. But honestly? It’s delicious plain, too.
Use a Plate
Always put the mug on a microwave-safe plate. Microwave ovens are notorious for splattering. Even if you don’t think it will overflow, it might bubble up at the edges. The plate catches the mess and saves your microwave interior.
Variations & Substitutions
Once you’ve nailed the basic version, here’s how you can mix it up. I’ve tried all of these, and they all work.
Chocolate Chip Explosion
Add a handful of chocolate chips to the batter before swirling the peanut butter. It’s like a double chocolate peanut butter brownie. My kids love this version. It’s basically a cookie in a mug.
Marshmallow Swirl
Instead of peanut butter, swirl in a tablespoon of marshmallow fluff. It creates a s’mores-like effect. It’s sweet, gooey, and amazing. Great for summer evenings.
Nutella Swirl
Swap the peanut butter for Nutella. It’s richer and hazelnut-flavored. It’s decadent and feels like a treat. Just be aware it’s sweeter than peanut butter.
Gluten-Free
Use a 1:1 gluten-free flour blend. It works perfectly. The texture might be slightly more tender, but it’s still delicious. I’ve used Bob’s Red Mill and it works great.
Vegan
Swap the egg for a flax egg (1 tablespoon ground flaxseed + 3 tablespoons water). Use oil instead of butter (if using butter). Use vegan peanut butter and chocolate chips. It works surprisingly well. The texture is slightly denser, but still good.
Protein Boost
Add a scoop of chocolate protein powder. Reduce the flour by 1 tablespoon. It makes it a post-workout snack. It’s drier, so add a little more milk. It’s a solid option if you’re tracking macros.
Serving & Storage
This is a single-serve dessert, so storage is pretty straightforward.
How to Serve
Eat it warm, straight from the mug. That’s the best way. If you want to make it fancy, top it with a dollop of whipped cream, a drizzle of chocolate sauce, or a sprinkle of sea salt. The sea salt on top of the peanut butter swirl is incredible. It enhances the sweetness.
Leftovers
There are no leftovers. This is meant to be eaten immediately. If you somehow have some left, store it in the fridge in an airtight container for up to 2 days. Reheat it in the microwave for 15-20 seconds before eating. It will be soft again. Don’t leave it out at room temperature for more than 2 hours.
Can You Make It Ahead?
Not really. The texture changes as it sits. It becomes denser and drier. It’s best made fresh. But you can prep the dry ingredients in a small baggie and keep them in your pantry. When you want the brownie, just dump the dry mix in the mug, add wet ingredients, and microwave. It saves even more time.
Nutrition Information
I’m not a nutritionist, but here’s the breakdown if you’re tracking. This is a treat, so enjoy it without guilt.
Per Serving (1 mug):
- Calories: 350-400
- Protein: 10g
- Carbs: 45g
- Fat: 18g
- Sugar: 30g
It’s high in sugar and calories, obviously. It’s a dessert. But it’s a controlled portion. One mug. No more, no less. Compared to a slice of cake from a bakery, it’s actually pretty reasonable. And you control the ingredients. No preservatives, no weird additives. Just real food.
Final Thoughts
So that’s my go-to microwave mug brownie with peanut butter swirl. I’ve probably talked your ear off at this point, but when you make a recipe this often, you have a lot to say about it.
This has saved me from late-night snack spirals more times than I can count. It’s my answer to “I want something sweet” when I’m tired, don’t want to cook, and still want something that tastes really good. It’s reliable, it’s delicious, and it’s easy. My family loves it, and I love that I can make it in two minutes.
Make it yours! Try different toppings, swap the peanut butter for Nutella, or add chocolate chips. The best recipes are the ones you adapt to your tastes. If you make this, drop a comment and let me know what you think! I love hearing how recipes turn out in your kitchen. And if something doesn’t work, tell me that too—I’m here to help troubleshoot.
Happy cooking! And I hope your kitchen smells half as good as mine does right now.
Frequently Asked Questions
Can I use almond flour instead of all-purpose flour?
You can, but the texture will be different. Almond flour is denser and more crumbly. You might need less liquid. I haven’t tested this extensively, so I’d recommend starting with 3 tablespoons of almond flour and adding milk gradually. It won’t taste exactly like a traditional brownie, but it will still be chocolatey and good.
Why did my brownie turn out rubbery?
You overcooked it. Microwaves cook unevenly, and the edges can dry out before the center is done. Next time, reduce the cooking time by 10 seconds. The brownie should still look slightly soft in the center when you take it out. It will finish cooking from residual heat.
Can I make this for a crowd?
You can make multiple mugs at once! Just put them in the microwave one at a time. Don’t try to cook them all at once unless you have a large commercial microwave. The cooking time is the same for each mug. Just make sure you have enough mugs!
Can I use dark chocolate chips instead of peanut butter?
Absolutely! Just drop the chocolate chips on top of the batter and swirl them in slightly. It creates a marbled effect. It’s less salty, though, so you might want to add a pinch of salt on top.
Is this recipe healthy?
It’s a dessert, so it’s not “healthy” in the traditional sense. It has sugar and carbs. But it’s a controlled portion, and you can use healthier ingredients like almond flour or natural peanut butter if you want. It’s better than store-bought cupcakes because you know exactly what’s in it.
Can I freeze the batter?
No. The baking powder in the flour will lose its leavening power if it sits in the wet batter for too long. Make it fresh. It’s too fast to worry about freezing.
What if I don’t have a microwave?
This recipe is designed for the microwave. You can adapt it for the oven, but you’ll need to grease a small ramekin and bake at 350°F for 12-15 minutes. The texture will be slightly different, but it will still work. However, the microwave version is just faster and easier.
Pin This Recipe!
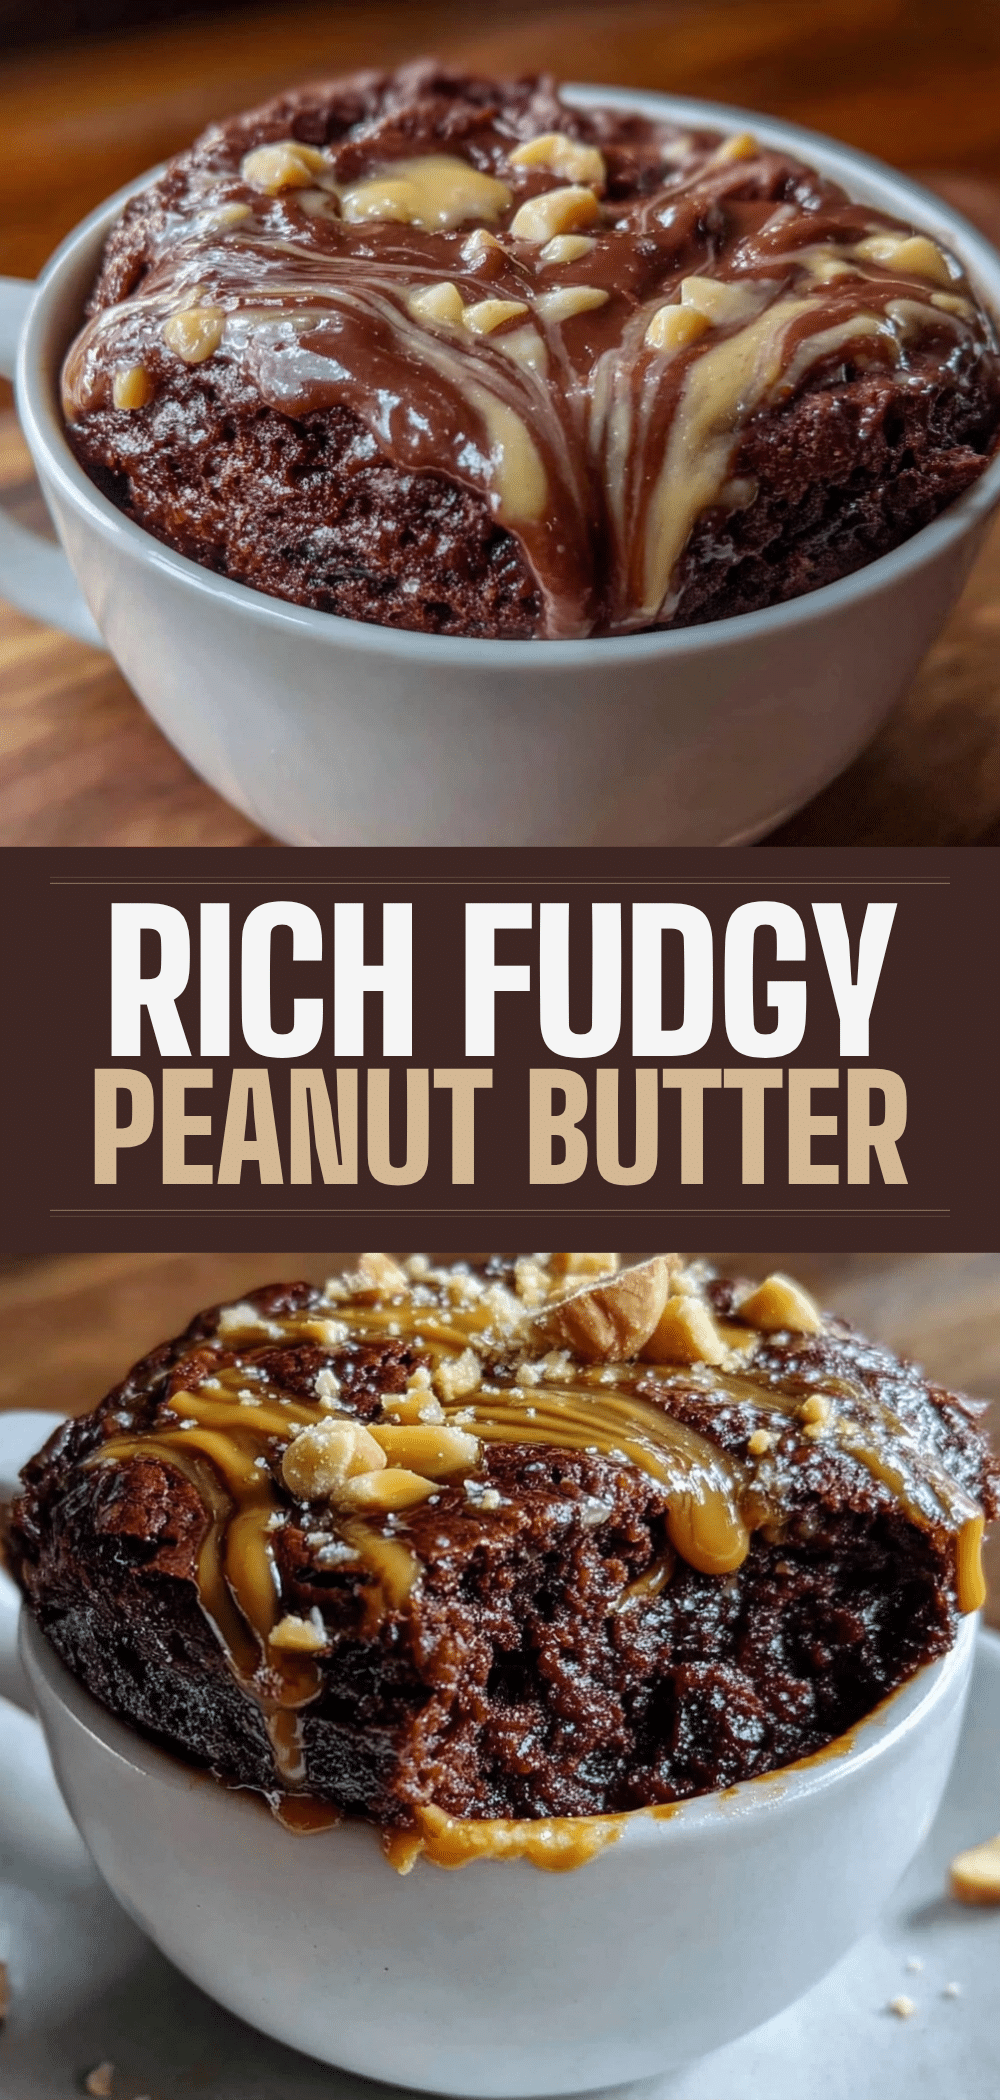
Microwave Mug Brownie with Peanut Butter Swirl
- Total Time: 3 minutes
- Yield: 1 serving 1x
Description
A quick, fudgy single-serve dessert made in the microwave with a gooey peanut butter center. This easy 4-ingredient recipe requires no oven and minimal cleanup.
Ingredients
- 4 tablespoons all-purpose flour
- 2 tablespoons unsweetened cocoa powder
- 3 tablespoons granulated sugar
- 1 tablespoon vegetable oil or melted butter
- 1–2 tablespoons milk
- 1/2 teaspoon vanilla extract
- 1 tablespoon creamy peanut butter
- 5–6 chocolate chips (optional)
Instructions
- Add flour, cocoa powder, and sugar to a 12-ounce microwave-safe mug. Stir with a fork until well combined and free of clumps.
- Pour in oil (or melted butter), milk, and vanilla extract. Stir vigorously until a thick, smooth batter forms. Add more milk if too dry or flour if too runny.
- Drop dollops of creamy peanut butter on top of the batter. Gently swirl with a fork to create ribbons; do not fully incorporate.
- Place the mug on a microwave-safe plate and cook on high for 60 seconds. The top should look set but slightly soft.
- Let the brownie cool for 1-2 minutes before eating directly from the mug.
Notes
Do not overcook or the brownie will become rubbery. Every microwave varies in power; start with 60 seconds and add 10-second increments if needed. Use standard creamy peanut butter, not natural, to prevent oil separation. Always place the mug on a plate to catch potential splatters.
- Prep Time: 2 minutes
- Cook Time: 1 minute
- Category: Dessert
- Cuisine: American
Nutrition
- Serving Size: 1 mug
- Calories: 375
- Sugar: 30
- Sodium: 150
- Fat: 18
- Saturated Fat: 5
- Carbohydrates: 45
- Fiber: 2
- Protein: 10
Keywords: microwave brownie, mug cake, peanut butter swirl, quick dessert, single serve, easy baking, late night snack