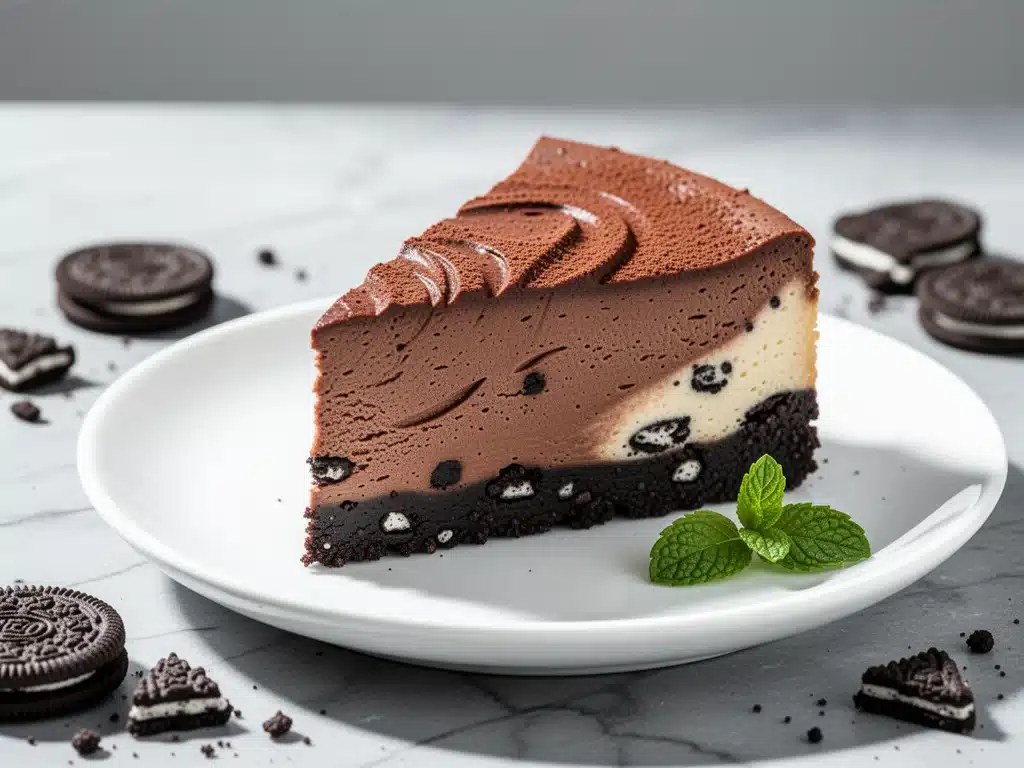
I have to confess something. For years, I was the person who bought the boxed cheesecake mix. You know the one—the dry powder, the canned condensed milk, the graham cracker crust that tasted like cardboard. I told myself it was “efficient.” I told myself I didn’t have time to whip up cream cheese and sugar like a pastry chef.
But last month, my husband brought home a slice of cheesecake from a fancy boutique bakery. He set it on the counter, looked at me, and said, “I wish you could make this.”
I didn’t say anything then. But that night, while he was asleep, I raided my pantry. I had cream cheese. I had chocolate. I had those chocolate sandwich cookies everyone buys by the case for parties. I threw them together in a food processor, poured the batter into a springform pan, and waited. When I took it out of the oven two days later, the kitchen smelled like a chocolate factory had exploded. I cut a slice. It didn’t crack. It didn’t weep. It was dense, fudgy, and impossibly smooth.
My husband took one bite and actually stopped chewing to look at me. “Okay,” he said. “How did you make this?”
That was the moment I knew I had finally nailed the Ultra-Creamy Chocolate Cheesecake with Chocolate Sandwich Cookie Crust. It’s not just a dessert; it’s a confidence booster. It’s the kind of cake that makes people forget they’re eating dairy-heavy comfort food and just think about how good it tastes. I’ve tested this recipe at least eight times—some failures were dry, some were soupy, and one was so cracked it looked like a desert landscape. But this version? This is the one that works every single time.
If you’ve ever been intimidated by cheesecake, thinking it requires a water bath, a thermometer, and a degree in chemistry, put those fears away. This recipe is simpler than making microwave mug brownies, yet it delivers that restaurant-quality richness that usually costs $12 a slice. It’s the ultimate crowd-pleaser for holidays, date nights, or just because you deserve a slice on a Tuesday.
Why You’ll Love This Ultra-Creamy Chocolate Cheesecake
There are about a dozen reasons I keep making this chocolate cheesecake, but let’s get to the ones that actually matter when you’re standing in your kitchen at 8 PM wondering what to do with your free evening.
It’s Actually Dense, Not Fluffy — I hate airy, soufflé-like cheesecakes. They feel like a trick. This recipe uses a specific ratio of cream cheese to eggs that gives you that heavy, luxurious mouthfeel. It’s the kind of texture that stays on your spoon. Think of it like the difference between whipped cream and a solid chocolate bar. You want the bar.
The Crust is Edible Gold — Most cheesecake crusts are an afterthought. Not here. By crushing chocolate sandwich cookies (the kind with the dark filling) and mixing them with brown butter, you get a crust that’s crunchy, chocolatey, and salty-sweet. It’s so good I’ve been known to eat it straight off the pan before adding the filling. If you love sandwich cookies, this crust will be your new obsession.
Zero Cracking (Guaranteed) — The number one fear people have with cheesecake is the crack in the middle. It looks amateur. It ruins the presentation. This recipe uses a low-and-slow baking method combined with a water bath technique that keeps the environment humid. The result? A perfectly smooth, mirror-like top. No cracks. No stress.
Make-Ahead Friendly — This is my secret weapon for hosting. You can make this cheesecake three days before your dinner party. It actually tastes better on day two and three because the flavors have time to meld and the texture firms up. I prep it on Sunday, chill it all week, and pull it out just before guests arrive. It makes me look like a genius.
Rich Enough to Share (But Not Really) — This cake is intense. A small slice goes a long way. It’s not a light, airy dessert; it’s a decadent experience. One slice satisfies the chocolate craving completely, so you don’t end up eating the whole thing and feeling guilty (well, maybe a little guilty, but worth it).
This is the dessert that turns a regular weeknight into a celebration. It’s reliable, it’s delicious, and it’s easier than you think.
Ingredients You’ll Need
Here’s the good news: you don’t need fancy, hard-to-find ingredients. This recipe relies on pantry staples and a few key quality items. I’m particular about three things here, and I’ll tell you exactly why.
For the Chocolate Sandwich Cookie Crust
Chocolate Sandwich Cookies (24 cookies, about 240g) — I use the big-name store brand or a premium brand like Oreos. The key is that they have a dark, chocolatey filling. If you use vanilla-filled cookies, the crust won’t be chocolatey enough. Crush them finely—you want crumbs, not chunks.
Unsalted Butter (6 tablespoons / 85g) — I brown this butter first. It sounds extra, but browning butter adds a nutty, toffee-like depth that cuts through the sweetness of the chocolate. It elevates the crust from “basic” to “bakery quality.”
Granulated Sugar (2 tablespoons / 25g) — Just a little bit to help the crust bind and add a hint of caramel flavor. Don’t skip it.
Salt (½ teaspoon) — Essential. It balances the sweetness and makes the chocolate flavor pop.
For the Ultra-Creamy Chocolate Filling
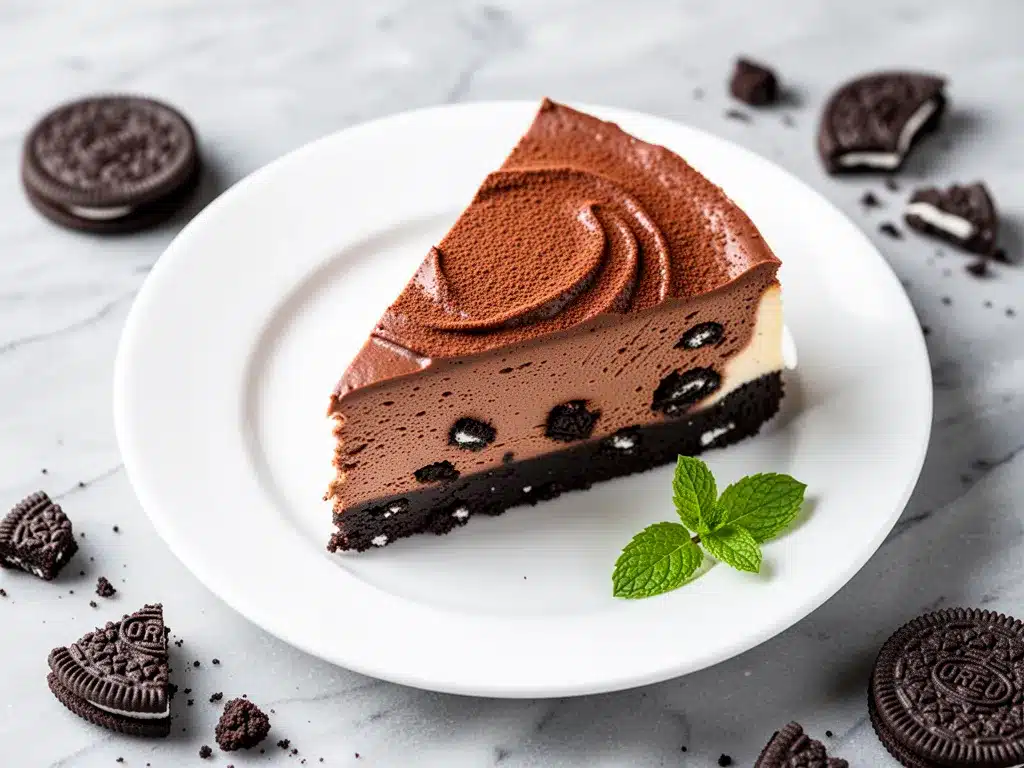
Full-Fat Cream Cheese (32 oz / 900g) — This is non-negotiable. You need four 8-ounce blocks. Do not use the tub-style whipped cream cheese; it has air and stabilizers that will ruin the texture. Let it sit on the counter for 45 minutes before you start. Cold cream cheese creates lumps. Lumps are the enemy.
Granulated Sugar (1 cup / 200g) — Standard white sugar. It dissolves easily and doesn’t add moisture like brown sugar would.
Sour Cream (1 cup / 240g) — This is the secret ingredient for that “ultra-creamy” tang. It adds fat and acidity, which keeps the cheesecake moist and prevents it from becoming too sweet. Use full-fat sour cream.
Eggs (4 large eggs) — Room temperature is crucial. Cold eggs will seize the cream cheese. Take them out of the fridge while you prep the crust.
Bittersweet Chocolate (4 oz / 115g) — I use a 60-70% cocoa bar. Melt it down and let it cool slightly before adding it. If you use chocolate chips, they often have stabilizers that make the texture grainy. A real chocolate bar melts smoother.
Unsweetened Cocoa Powder (2 tablespoons / 10g) — For an extra boost of chocolate intensity without adding more sugar. I use Dutch-processed cocoa for a darker, mellower flavor.
Vanilla Extract (2 teaspoons) — Pure vanilla, not imitation. It rounds out the chocolate flavors.
Semisweet Chocolate Chips (1 cup / 170g) — For swirling into the batter. These add pockets of melty chocolate goodness in every bite.
Equipment Needed
You don’t need a fancy kitchen to make this. Here’s what I actually use.
10-inch Springform Pan — This is essential for cheesecake. It allows you to release the sides without damaging the cake. Make sure it’s in good condition so it doesn’t leak.
Food Processor — For crushing the cookies into fine crumbs. A zip-top bag and a rolling pin work too, but they take forever and your arms get tired.
Hand Mixer or Stand Mixer — You need to beat the cream cheese until it’s completely smooth. A whisk is not enough effort. I use a stand mixer with the paddle attachment.
Roasting Pan — A large, deep roasting pan or baking sheet to hold the water bath. It needs to be big enough to fit your springform pan inside.
Kitchen Torch (Optional) — For removing the cheesecake from the pan easily. If you don’t have one, run a thin knife around the edge and let it sit for 10 minutes.
How to Make It: Step-by-Step
Alright, let’s make this! I’m walking you through exactly how I do it, including the little tricks I’ve picked up over years of baking.
Step 1: Prep the Oven and Pan (5 minutes)
Preheat your oven to 325°F (165°C). This is a low temperature. High heat causes cracks. Wrap the bottom and sides of your springform pan tightly with two layers of heavy-duty aluminum foil. This prevents water from seeping in during the water bath. Set the pan aside.
Step 2: Make the Brown Butter Crust (10 minutes)
Melt the butter in a saucepan over medium heat. Swirl it constantly until it turns amber and smells nutty. Be careful not to burn it. Pour it into a bowl and let it cool for 5 minutes. In your food processor, pulse the chocolate sandwich cookies until they are fine crumbs. Add the cooled brown butter, sugar, and salt. Pulse until the mixture looks like wet sand. Press this mixture firmly into the bottom of your springform pan. Use the bottom of a glass to pack it down tight. Place the crust in the fridge to set while you make the filling.
Step 3: Beat the Cream Cheese (5 minutes)
In a large bowl, beat the room-temperature cream cheese on medium-low speed. This is the most important step. Beat it for a full 3-4 minutes until it is completely smooth and creamy. Scrape down the sides of the bowl. If there are any lumps, your cheesecake will have lumps. Add the sugar and beat until combined.
Step 4: Add Wet Ingredients (3 minutes)
Add the sour cream, vanilla, and cocoa powder. Beat on low until just combined. Do not overmix once you add the eggs. Add the eggs one at a time, mixing on low speed just until the yolk disappears. Overmixing adds air, which leads to cracks.
Step 5: Incorporate the Chocolate (5 minutes)
Melt the bittersweet chocolate in the microwave in 30-second intervals, stirring in between. Let it cool for 5 minutes so it doesn’t cook the eggs when you add it. Stir the melted chocolate into the batter until fully incorporated. Fold in the semisweet chocolate chips gently with a spatula.
Step 6: The Water Bath and Bake (1 hour 45 minutes)
Place your foil-wrapped springform pan inside the large roasting pan. Pour hot water into the roasting pan until it comes halfway up the sides of the springform pan. This creates steam and keeps the cheesecake moist. Carefully place the roasting pan in the oven. Bake at 325°F for 1 hour 45 minutes. The edges should be set, but the center should still jiggle slightly like Jell-O when you shake the pan. It will firm up as it cools.
Step 7: The Slow Cool (3 hours)
Turn off the oven and crack the door open slightly. Leave the cheesecake inside for 1 hour. This gradual cooling prevents thermal shock, which causes cracks. Remove it from the oven and let it cool on the counter for another hour. Then, refrigerate for at least 6 hours, preferably overnight.
Expert Tips & Tricks
Here’s everything I’ve learned from making this dozens of times. These tips will save you from my mistakes.
Room Temperature is King
Cold cream cheese and cold eggs are the biggest enemies of a smooth cheesecake. If you forget to take them out, soak the cream cheese blocks in warm water for 10 minutes, or microwave the eggs in warm water for 5 minutes. It makes a huge difference.
Don’t Overmix
Once you add the eggs, mix as little as possible. Air bubbles are what cause cracks and sinking. If you see air bubbles on the surface after baking, pop them with a knife before chilling.
The Jiggle Test
Many people overbake cheesecake because they wait for it to be completely firm. It’s done when the edges are set but the center 2 inches still jiggle. It will continue to cook from residual heat as it cools.
Use a Water Bath
I know it sounds messy, but it’s worth it. The steam creates a humid environment that prevents the top from drying out and cracking. If you’re worried about leaks, double-wrap the foil.
Chill Overnight
I know it’s hard to wait, but a cheesecake made fresh is often too soft and the flavors aren’t developed. Overnight chilling is mandatory for that dense, creamy texture.
Variations & Substitutions
Once you’ve nailed the basic version, here’s how you can mix it up. I’ve tried all of these.
White Chocolate Cheesecake
Swap the bittersweet chocolate for white chocolate chips. Reduce the sugar by ¼ cup because white chocolate is sweeter. Add 1 teaspoon of raspberry extract for a fun twist.
Chocolate Chip Cheesecake
Just add 1½ cups of mini chocolate chips to the batter. Simple, classic, and always a hit with kids.
Mint Chocolate Cheesecake
Add 1 teaspoon of peppermint extract to the batter. Top with chocolate shavings and a dollop of whipped cream. Great for holidays.
Gluten-Free Option
Use gluten-free chocolate sandwich cookies for the crust. The rest of the recipe is naturally gluten-free (check your chocolate chips to be sure).
Dairy-Free Option
This is harder because cream cheese is the main ingredient. You can use a high-quality vegan cream cheese block, but the texture will be different. You may need to add a cornstarch slurry to help it set.
Serving & Storage
How to Serve:
I serve this cheesecake plain, but if you want to dress it up, top it with whipped cream, chocolate shavings, or fresh berries. The tartness of raspberries or strawberries cuts through the richness perfectly. It pairs beautifully with a cup of strong coffee or a glass of red wine.
Storage:
Keep the cheesecake in the springform pan, covered tightly with plastic wrap or in an airtight container, in the refrigerator for up to 5 days. It actually tastes better on day three.
Freezing:
You can freeze this cheesecake! Wrap the whole pan (or individual slices) tightly in plastic wrap and then foil. It will keep for up to 2 months. Thaw in the refrigerator overnight before serving. The texture might be slightly softer, but it’s still delicious.
Reheating:
Do not reheat cheesecake. It’s meant to be served cold or at room temperature. If you want it softer, let it sit on the counter for 20 minutes before eating.
Nutrition Information
I’m not a nutritionist, but here’s the breakdown if you’re tracking. Keep in mind, this is a rich dessert, so portion control is key.
Per Serving (based on 12 slices):
- Calories: 480
- Protein: 8g
- Carbs: 42g
- Fiber: 2g
- Sugar: 32g
- Fat: 32g
- Saturated Fat: 18g
This is indulgent comfort food. It’s not a health food, but it’s made with real ingredients. When I want to make it lighter, I use a lighter cream cheese, but the texture suffers. Usually, I just enjoy a smaller slice and savor every bite.
Final Thoughts
So that’s my go-to ultra-creamy chocolate cheesecake! I’ve probably talked your ear off at this point, but when you make a recipe this often, you have a lot to say about it.
This cheesecake has saved my social life. It’s my answer to “What should I bring to the potluck?” or “I need to impress my in-laws.” It’s reliable, it’s delicious, and it makes everyone happy. My family asks for it for birthdays, holidays, and just because. It’s the dessert that brings people together.
Make it yours! Try different cookie crusts, add different extracts, or just enjoy it plain. The best recipes are the ones you adapt to your family’s tastes. If you make this, drop a comment and let me know what you think! I love hearing how recipes turn out in your kitchen. And if something doesn’t work, tell me that too—I’m here to help troubleshoot.
Happy baking! And I hope your kitchen smells half as good as mine does right now.
Frequently Asked Questions
Can I use a different type of cookie for the crust?
Yes! You can use graham crackers, vanilla wafers, or even ginger snaps. But for this specific recipe, chocolate sandwich cookies provide the best flavor balance. If you use graham crackers, you might want to add 1 tablespoon of cocoa powder to the crust to keep it chocolatey.
Why did my cheesecake crack?
Cracks are usually caused by overmixing (adding too much air), overbaking, or cooling too quickly. Make sure you don’t overbeat the eggs, use a water bath, and let it cool gradually in the turned-off oven. If it does crack, you can cover it with whipped cream or chocolate ganache to hide it!
Can I make this in a pressure cooker?
Yes, you can make cheesecake in an Instant Pot. Use the same ingredients but reduce the cooking time to 35-40 minutes on high pressure, followed by a natural release for 15 minutes. The texture will be slightly denser, but it’s still delicious.
How do I know when the cheesecake is done?
The edges should be set and slightly pulling away from the pan, but the center should still jiggle like Jell-O when you gently shake the pan. It will firm up as it cools. If it’s completely firm in the oven, it’s overbaked.
Can I substitute sour cream with Greek yogurt?
Yes, you can use full-fat Greek yogurt instead of sour cream. The texture will be slightly tangier and firmer, but it works well. Just make sure it’s full-fat for the best texture.
How long does it take to cool completely?
It takes about 1 hour to cool in the oven, 1 hour on the counter, and then at least 6 hours in the fridge. Ideally, let it chill overnight for the best texture and flavor.
Pin This Recipe!
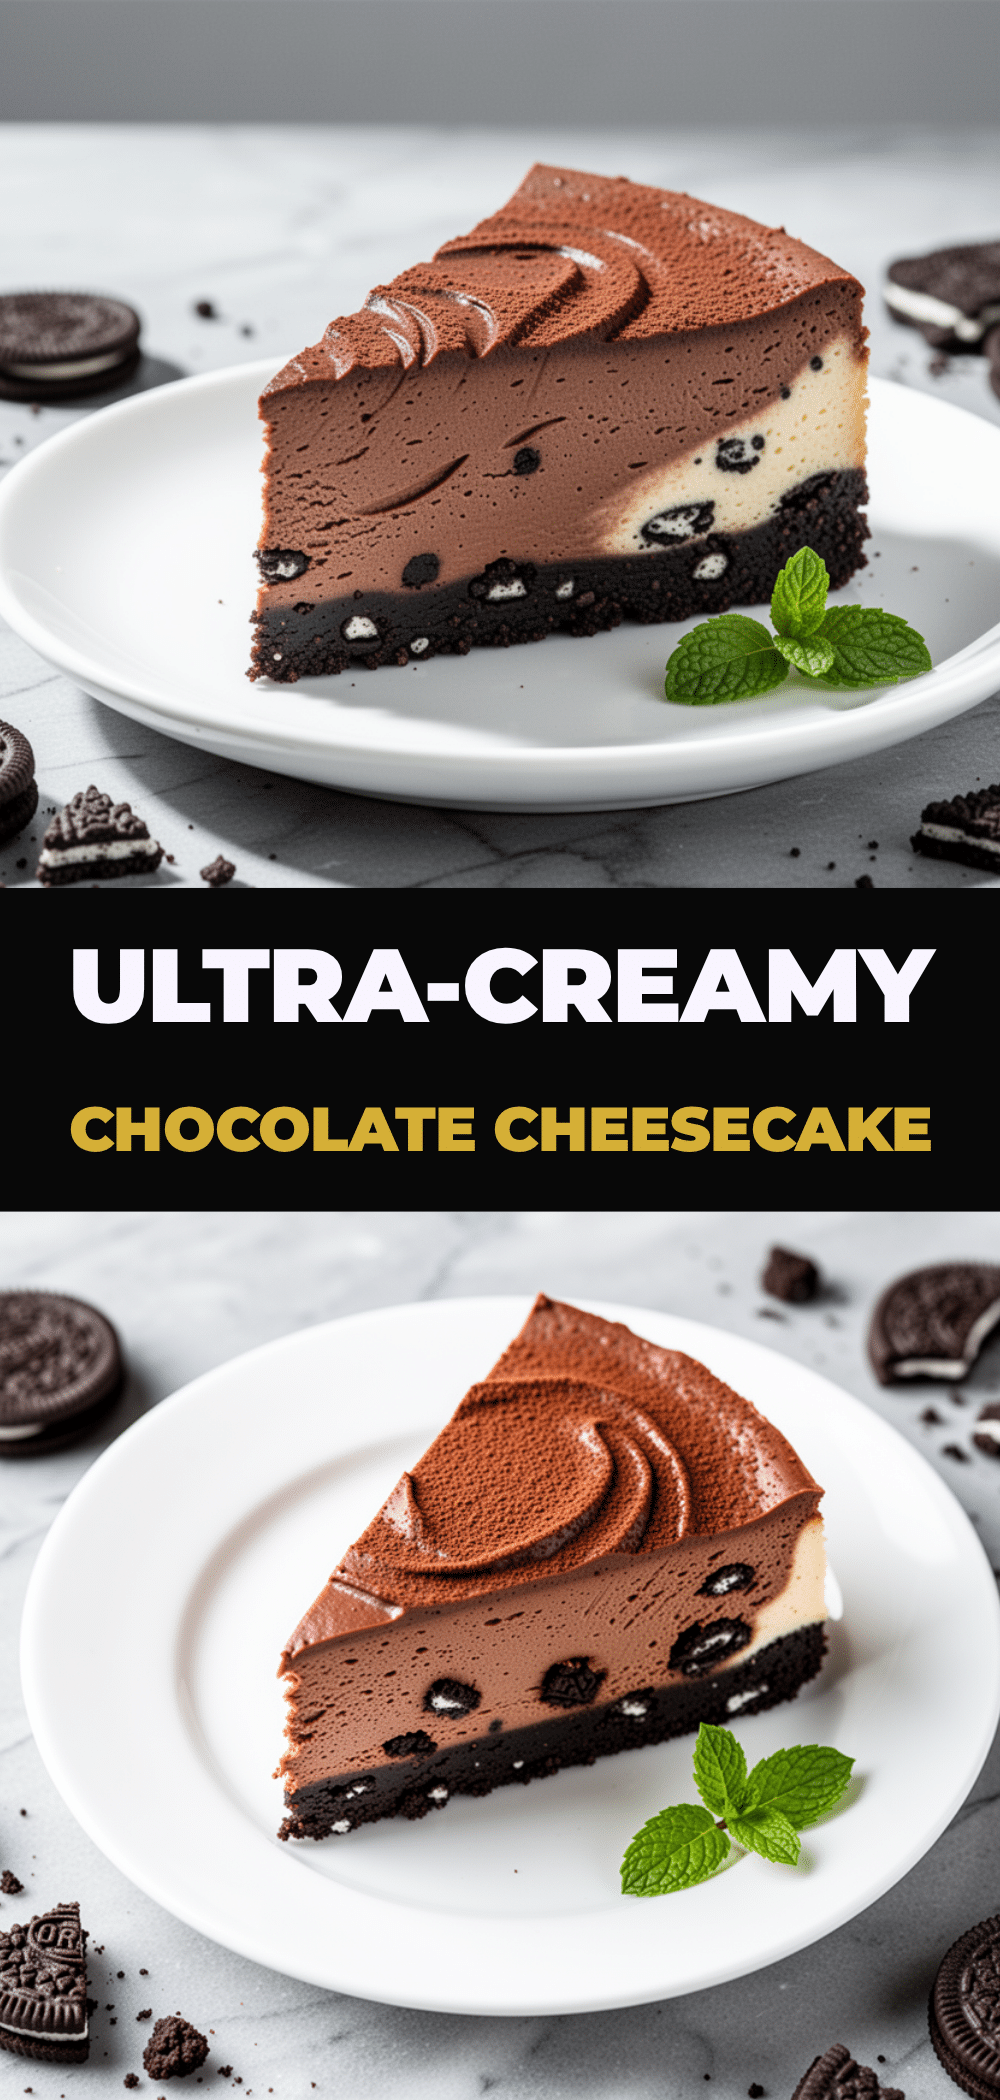
Ultra-Creamy Chocolate Cheesecake with Chocolate Sandwich Cookie Crust
- Total Time: 8 hours 15 minutes
- Yield: 12 servings 1x
Description
A dense, fudgy, and impossibly smooth chocolate cheesecake with a brown butter chocolate cookie crust. This recipe guarantees a crack-free, restaurant-quality dessert using a water bath and low-and-slow baking method.
Ingredients
- 24 chocolate sandwich cookies (about 240g)
- 6 tablespoons unsalted butter
- 2 tablespoons granulated sugar
- 1/2 teaspoon salt
- 32 oz full-fat cream cheese (4 blocks), room temperature
- 1 cup granulated sugar
- 1 cup full-fat sour cream
- 4 large eggs, room temperature
- 4 oz bittersweet chocolate (60-70% cocoa), melted and cooled
- 2 tablespoons unsweetened cocoa powder (Dutch-processed)
- 2 teaspoons pure vanilla extract
- 1 cup semisweet chocolate chips
Instructions
- Preheat oven to 325°F (165°C). Wrap the bottom and sides of a 10-inch springform pan tightly with two layers of heavy-duty aluminum foil.
- Melt butter in a saucepan over medium heat until amber and nutty. Let cool for 5 minutes.
- Pulse chocolate sandwich cookies in a food processor until fine crumbs. Add cooled brown butter, 2 tablespoons sugar, and salt. Pulse until mixture resembles wet sand.
- Press crust mixture firmly into the bottom of the springform pan. Refrigerate while making filling.
- Beat room-temperature cream cheese on medium-low speed for 3-4 minutes until completely smooth. Scrape down sides. Add 1 cup sugar and beat until combined.
- Add sour cream, vanilla, and cocoa powder. Beat on low until just combined.
- Add eggs one at a time, mixing on low speed just until yolks disappear. Do not overmix.
- Stir melted bittersweet chocolate into the batter. Gently fold in semisweet chocolate chips.
- Place foil-wrapped springform pan inside a large roasting pan. Pour hot water into roasting pan until it comes halfway up the sides of the springform pan.
- Bake at 325°F for 1 hour 45 minutes. Edges should be set, but center should jiggle slightly like Jell-O.
- Turn off oven and crack door open. Leave cheesecake inside for 1 hour.
- Remove from oven and cool on counter for 1 hour.
- Refrigerate for at least 6 hours, preferably overnight, before serving.
Notes
Ensure all dairy ingredients (cream cheese, eggs) are at room temperature to prevent lumps. Do not overmix after adding eggs to avoid air bubbles which cause cracking. The water bath is essential for a moist, crack-free top. The cheesecake tastes better on day 2 or 3 after flavors have melded.
- Prep Time: 30 minutes
- Cook Time: 1 hour 45 minutes
- Category: Dessert
- Cuisine: American
Nutrition
- Serving Size: 1 slice
- Calories: 480
- Sugar: 32
- Fat: 32
- Saturated Fat: 18
- Carbohydrates: 42
- Fiber: 2
- Protein: 8
Keywords: chocolate cheesecake, easy cheesecake, no crack cheesecake, chocolate cookie crust, brown butter crust, make ahead dessert, rich chocolate dessert


