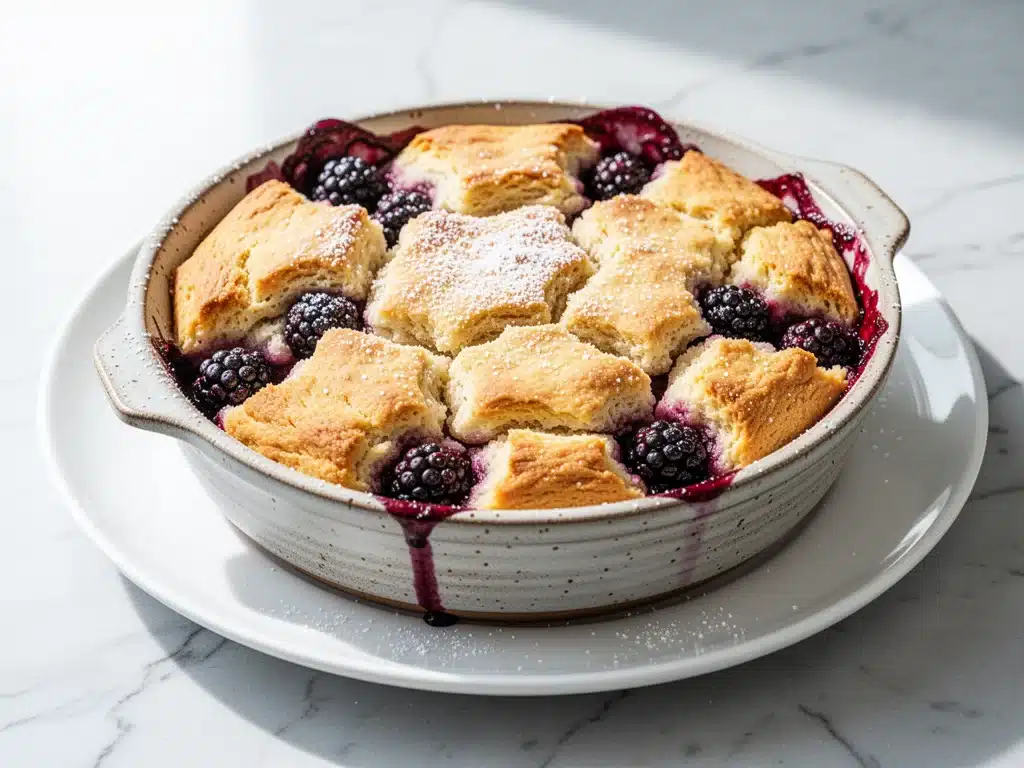
Last Saturday morning, I woke up to the kind of gray, drizzly weather that makes staying in bed feel like a moral imperative. But the smell of coffee brewing and the sudden craving for something sweet—and not just coffee cake—sent me stumbling into the kitchen before 9 a.m. I didn’t have a plan. I just had a bag of blackberries from the farmer’s market that were getting too soft to ignore and a desire to feel like I was living in a cozy movie scene without actually having to leave my couch.
I threw together an old-fashioned blackberry cobbler, the kind my grandma used to make, but tweaked for modern speed and flavor. I didn’t measure anything. I just guessed, stirred, and popped it in the oven. Twenty minutes later, the kitchen smelled like summer and sugar. My partner walked in, rubbed sleep from his eyes, took one bite, and said, “Is this what brunch is supposed to feel like?”
That’s when I knew I had something special. This isn’t a fancy, multi-layered dessert that requires three hours and a degree in pastry arts. It’s rustic, it’s forgiving, and it’s the perfect way to turn a lazy weekend morning into a memory. Whether you’re hosting a small group of friends or just treating yourself, this easy weekend brunch cobbler is the answer when you want comfort food that tastes homemade but takes almost zero effort to make.
I’ve tested this recipe at least a dozen times now—sometimes with fresh berries, sometimes with frozen ones I forgot to thaw, and even once when I only had half a cup of blackberries left. It always works. It always tastes amazing. And it’s become my go-to recipe for those days when I want to feel fancy but can barely function without caffeine.
Why You’ll Love This Recipe
There are plenty of desserts out there, but this old-fashioned blackberry cobbler holds a special place in my heart. It’s not just because it’s delicious (though it is), but because it’s the ultimate low-stress, high-reward dish. Here’s why it keeps showing up in my kitchen week after week:
It’s Actually Easy — Seriously, if you can mix batter and scoop berries, you can make this. I’ve made this while on the phone with my mom, while watching TV, and even while trying to figure out what to wear. It doesn’t require whisking egg whites to stiff peaks or tempering chocolate. It’s dump, stir, and bake.
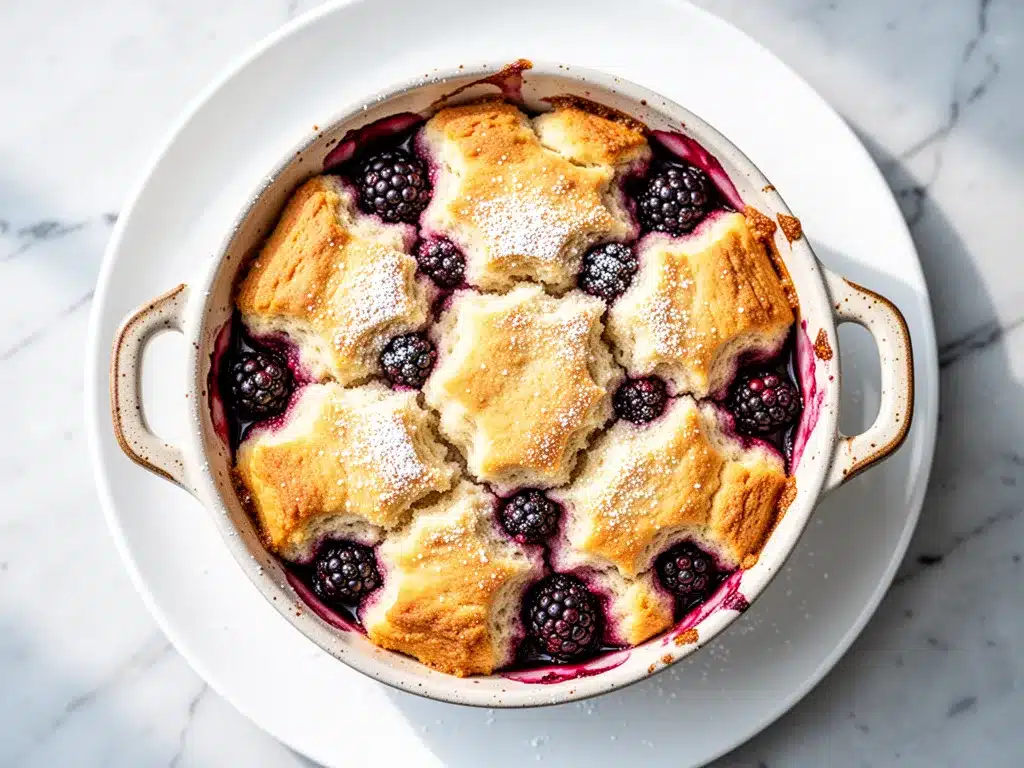
It’s Perfectly Rustic — I love how messy it is. The berries bubble over the edges, the crust gets crispy on top and soft underneath, and it looks best when it’s not perfectly neat. It feels like a hug in a bowl. It’s the kind of dessert that looks like your nonna made it, even if you made it in a T-shirt and sweatpants.
It Uses What You Have — You probably have most of these ingredients in your pantry right now. Flour, sugar, butter, milk, blackberries. If you don’t have blackberries, you can swap in raspberries, blueberries, or even peaches. It’s incredibly flexible. I once made it with frozen strawberries because that’s all I had, and it was still good.
It’s Great for Brunch — Unlike heavy pies or rich cakes, this cobbler feels light enough for a morning meal but satisfying enough to curb those afternoon sweet cravings. It pairs beautifully with coffee, tea, or even a glass of rosé if you’re feeling fancy. It’s versatile in a way that makes it perfect for any time of day.
Makes Amazing Leftovers — I know, I know, leftovers of a fresh cobbler? They exist! And they’re delicious. It tastes even better the next day as the flavors meld. I often make a small batch on Sunday and have it for breakfast throughout the week. Just microwave a slice for 30 seconds, add a dollop of whipped cream, and you’re set.
This recipe has saved me more times than I can count. It’s my answer to “what do I make for brunch when I don’t want to cook a big meal?” It’s reliable, it’s delicious, and it makes everyone happy. Even the pickiest eaters in my life can’t say no to warm, berry-filled cobbler.
Ingredients You’ll Need
Here’s the best part: this recipe is simple. You don’t need fancy ingredients or a trip to a specialty store. I’m particular about a few things here, but mostly, it’s about using good-quality basics. Here’s what you’ll need to make this old-fashioned blackberry cobbler:
For the Filling
Blackberries (4 cups / 500g) — Fresh is best, but frozen works too. If using frozen, don’t thaw them first or your cobbler will be soupy. I buy fresh when they’re in season and freeze the extras. Look for plump, dark berries with no mold. If they’re mushy, skip them.
Sugar (½ cup / 100g) — Granulated white sugar is standard, but brown sugar adds a deeper, molasses-like flavor. I use a mix of both—half white, half brown. It gives the berries a nice caramel note as they cook.
Lemon Juice (1 tablespoon / 15ml) — This is crucial. It brightens the tartness of the berries and balances the sweetness. Don’t skip it. Freshly squeezed is best, but bottled works in a pinch.
Cornstarch (1 tablespoon / 8g) — This thickens the berry juices so you don’t end up with a runny mess. If you don’t have cornstarch, you can use arrowroot powder or tapioca starch, but cornstarch gives the clearest, glossiest result.
Vanilla Extract (1 teaspoon / 5ml) — Adds warmth and depth. Use pure vanilla, not imitation. It makes a noticeable difference in flavor.
For the Topping
All-Purpose Flour (1 cup / 120g) — Standard flour works fine. I don’t bother with cake flour for this. Just spoon and level it, don’t pack it down.
Baking Powder (1 teaspoon / 5g) — This is what makes the topping rise and get that cake-like texture. Make sure it’s not expired! I keep a new can every few months because old baking powder doesn’t work.
Salt (¼ teaspoon / 1g) — Just a pinch to balance the sweetness. It enhances the flavor of the berries and the crust.
Butter (½ cup / 115g, melted) — Unsalted butter is best so you can control the salt. I use good quality European-style butter when I have it, but regular supermarket butter works perfectly fine. Melt it in the microwave or in a small saucepan.
Milk (½ cup / 120ml) — Whole milk is best for richness, but 2% works too. I don’t recommend skim milk because the cobbler needs some fat to stay tender.
Sugar (½ cup / 100g) — For the topping, this adds sweetness and helps create that crispy, sugary crust. I sometimes sprinkle an extra tablespoon on top before baking for extra crunch.
Optional Add-ins
Lemon Zest (1 teaspoon) — If you’re a citrus lover, add the zest of one lemon to the berry filling. It adds a bright, aromatic note that pairs beautifully with blackberries.
Almond Extract (½ teaspoon) — Swap half the vanilla for almond extract for a more sophisticated flavor profile. It tastes like a fancy bakery dessert.
Cinnamon (½ teaspoon) — If you like warm spices, a pinch of cinnamon adds depth. It’s not traditional, but I love it.
Whipped Cream — For serving. I make my own, but store-bought works. Or try a dollop of Greek yogurt for a lighter option.
Equipment Needed
You don’t need fancy equipment for this. Here’s what I actually use:
9×9 Inch Baking Dish — I prefer a square dish because it gives a good surface area for the topping to crisp up. A round 9-inch pie dish works too, but the cobbler might be thicker. Glass or ceramic is best because it heats evenly.
Medium Mixing Bowl — For the berry filling. Any bowl works, just make sure it’s big enough to toss the berries without spilling.
Small Mixing Bowl — For the topping batter. A separate bowl keeps things organized.
Measuring Cups and Spoons — Standard stuff. Dollar store versions work fine.
Whisk — For mixing the topping batter. A fork works too, but a whisk is easier.
Spatula — For stirring the berries and scraping the bowl. Silicone spatulas are best because they don’t scratch the bowl.
Microplane or Zester — If you’re adding lemon zest. Or just chop it finely with a knife.
Small Saucepan or Microwave-Safe Bowl — For melting the butter. I use a microwave-safe bowl and zap it for 30 seconds.
That’s it. No stand mixer, no food processor, no fancy gadgets. Just basic kitchen tools you already have.
How to Make It: Step-by-Step
Alright, let’s make this! I’m walking you through exactly how I do it, including the little tricks I’ve picked up.
Step 1: Prep Your Oven and Dish (5 minutes)
Preheat your oven to 375°F (190°C). Grease your 9×9 inch baking dish with a little butter or non-stick spray. This prevents sticking and helps the edges get crispy. I like to rub a little butter around the edges for extra flavor.
Step 2: Make the Berry Filling (5 minutes)
In a medium bowl, combine the blackberries, sugar, lemon juice, cornstarch, and vanilla. Toss gently until the berries are evenly coated. The cornstarch will start to thicken the juices immediately. Taste a berry—if it’s very tart, you can add a little more sugar. If it’s sweet, stick with the recipe. Pour the mixture into the prepared baking dish, spreading it out evenly.
Step 3: Make the Topping Batter (5 minutes)
In a small bowl, whisk together the flour, baking powder, salt, and sugar. In another small bowl, whisk the melted butter and milk together until smooth. Pour the wet ingredients into the dry ingredients and stir gently until just combined. Don’t overmix—lumps are okay! In fact, lumps are good. They create a biscuit-like texture.
Step 4: Assemble the Cobbler (2 minutes)
Spoon the batter over the berries in the baking dish. Don’t spread it out evenly—just dollop it on top. The batter will spread as it bakes, and unevenness adds to the rustic charm. If you want a crispy top, sprinkle a little extra sugar over the batter before baking.
Step 5: Bake (35-40 minutes)
Place the dish in the preheated oven and bake for 35-40 minutes. You’ll know it’s done when the topping is golden brown and the berries are bubbling vigorously around the edges. If the top is browning too fast, cover it loosely with aluminum foil for the last 10 minutes.
Step 6: Cool and Serve (10 minutes)
Let the cobbler cool for at least 10 minutes before serving. This allows the filling to thicken slightly so it’s not too runny. Serve warm with a dollop of whipped cream or a scoop of vanilla ice cream. The contrast of warm berries and cold cream is divine.
Total Time: About 60 minutes (15 minutes prep, 40 minutes bake, 10 minutes cool)
Expert Tips & Tricks
Here’s everything I’ve learned from making this dozens of times. These tips will save you from my mistakes.
Don’t Overmix the Batter — This is the #1 mistake people make. Overmixing develops gluten and makes the topping tough. Stir until just combined, even if it looks lumpy. Lumps = tender cobbler.
Use Cold Butter? No, Melted is Better — For a cobbler, melted butter creates a more cake-like topping. If you want a flaky, biscuit-like topping, use cold cubed butter and cut it in. But for this easy version, melted is foolproof.
Thicken the Filling Properly — If your berries are very juicy, add an extra teaspoon of cornstarch. If they’re dry, stick with the recipe. You want the filling to be syrupy, not watery.
Let It Cool — I know it’s tempting to dig in immediately, but cooling allows the filling to set. If you cut into it hot, it’ll be soupy. Patience pays off.
Customize the Fruit — This recipe works with almost any berry. Raspberries, blueberries, strawberries, or a mix. Just adjust the sugar based on tartness.
Make-Ahead Option — You can assemble the cobbler the night before and refrigerate it. Bake it the next morning, adding 5-10 minutes to the bake time since it’s cold.
Variations & Substitutions
Once you’ve nailed the basic version, here’s how you can mix it up. I’ve tried all of these.
Raspberry Cobbler — Swap blackberries for raspberries. Raspberries are tarter, so add an extra tablespoon of sugar.
Blueberry Lemon Cobbler — Use blueberries and add the zest of one lemon to the filling. It’s bright and refreshing.
Stone Fruit Cobbler — Peaches, plums, or cherries work great. Slice them thinly and toss with the sugar and cornstarch.
Gluten-Free Version — Use a 1:1 gluten-free flour blend. The texture will be slightly different but still delicious.
Dairy-Free Version — Use dairy-free butter and almond milk. The result is surprisingly good, though not as rich.
Vegan Version — Use coconut oil instead of butter and coconut milk instead of dairy milk. Add a teaspoon of apple cider vinegar to the milk to curdle it slightly for a buttermilk effect.
Serving & Storage
How to Serve: I usually serve this straight from the oven, warm and steaming. It looks rustic and stays warm. But here are other ways I’ve enjoyed it:
- With Whipped Cream: Homemade whipped cream is best, but cool whip works in a pinch.
- With Ice Cream: Vanilla bean ice cream is classic. Try it with salted caramel ice cream for a fancy twist.
- With Yogurt: Greek yogurt adds protein and tang. Great for a lighter brunch.
Side Dishes: Since this is a sweet dish, pair it with something savory for brunch. Try these creamy southern sausage gravy and biscuits or some buttery garlic herb dinner rolls to balance the meal.
Storage Instructions: Store leftovers in an airtight container in the fridge for up to 3 days. The topping will soften, but the flavor remains good.
Reheating: Reheat individual portions in the microwave for 30-60 seconds. Or warm in a 350°F oven for 10-15 minutes to crisp up the topping. Avoid the oven for the whole dish if it’s already cold, as it can dry out.
Freezing: This doesn’t freeze well because the topping becomes soggy. Make it fresh or store in the fridge for up to 3 days.
Nutrition Information
I’m not a nutritionist, but here’s the breakdown if you’re tracking. This is per serving (based on 6 servings):
- Calories: 320
- Protein: 4g
- Carbs: 58g
- Fiber: 3g
- Sugar: 38g
- Fat: 9g
- Saturated Fat: 5g
- Cholesterol: 20mg
- Sodium: 180mg
What’s Good: It has fiber from the berries and is relatively low in fat compared to other desserts. What to Know: It’s higher in sugar due to the berries and topping. But it’s way better than store-bought pie, and I know exactly what’s in it. When I want to make it lighter, I reduce the sugar in the topping and use Greek yogurt instead of whipped cream. But usually? I just eat a reasonable portion and enjoy it.
Final Thoughts
So that’s my go-to old-fashioned blackberry cobbler! I’ve probably talked your ear off at this point, but when you make a recipe this often, you have a lot to say about it.
This has saved weekend brunches more times than I can count. It’s my answer to “what’s for brunch?” when I want something special but don’t want to stress. My family is happy, my guests are impressed, and I’m happy because I’m not stressed about cooking.
Make it yours! Try different berries, add spices, or serve it with different toppings. The best recipes are the ones you adapt to your family’s tastes.
If you make this, drop a comment and let me know what you think! I love hearing how recipes turn out in your kitchen. And if something doesn’t work, tell me that too—I’m here to help troubleshoot.
Happy cooking! And I hope your kitchen smells half as good as mine does right now.
Frequently Asked Questions
Can I use frozen blackberries?
Yes! Just don’t thaw them first. Frozen berries release more water, so you might want to add an extra teaspoon of cornstarch. Bake for an extra 5 minutes if they’re very cold.
Why did my cobbler turn out soggy?
Usually, this means the filling wasn’t thickened enough or it wasn’t baked long enough. Make sure the berries are bubbling when you take it out. Also, let it cool for 10 minutes before cutting.
Can I make this ahead of time?
Yes! Assemble it the night before and refrigerate. Bake it the next morning, adding 5-10 minutes to the bake time. Or bake it fully and reheat slices later.
Can I use other fruits?
Absolutely. Raspberries, blueberries, strawberries, peaches, and cherries all work. Adjust sugar based on tartness. For example, raspberries are tarter, so add more sugar.
How do I reheat leftovers?
Microwave individual portions for 30-60 seconds. Or warm in a 350°F oven for 10-15 minutes to crisp up the topping. Avoid reheating the whole dish in the microwave, as it can make the topping rubbery.
Can I freeze this cobbler?
It’s not recommended. The topping becomes soggy when thawed. It’s best enjoyed fresh or stored in the fridge for up to 3 days.
What’s the difference between cobbler and crisp?
Cobbler has a biscuit or cake-like topping dropped in dollops. Crisp has a crumbly, oat-based topping. Both are delicious, but cobbler is more traditional and comforting.
Pin This Recipe!
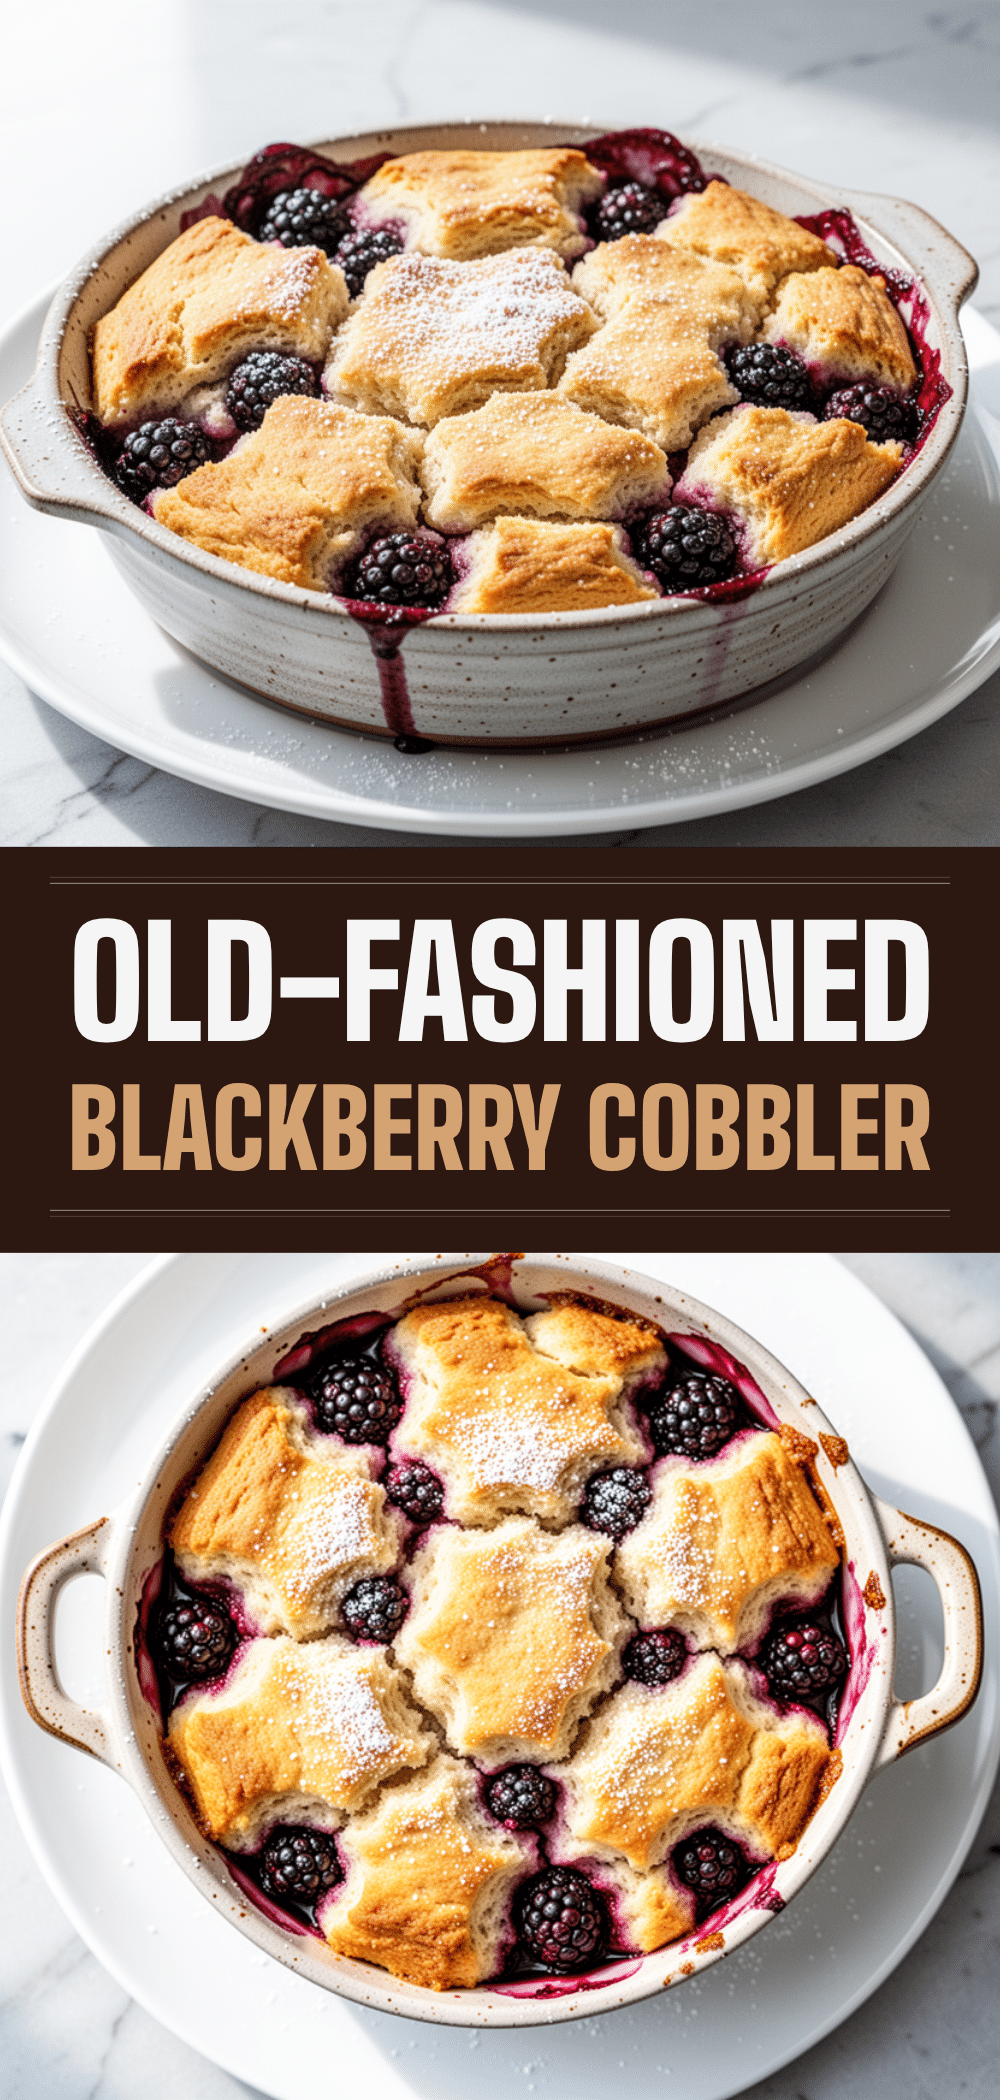
Old-Fashioned Blackberry Cobbler: Easy Weekend Brunch
- Total Time: 60 minutes
- Yield: 6 servings 1x
Description
A rustic, forgiving, and easy-to-make blackberry cobbler that serves as the perfect low-stress weekend brunch or dessert. It features a sweet berry filling topped with a cake-like batter and is ready in about an hour.
Ingredients
- 4 cups blackberries (fresh or frozen, do not thaw if frozen)
- 1/2 cup granulated white sugar
- 1/2 cup brown sugar
- 1 tablespoon lemon juice
- 1 tablespoon cornstarch
- 1 teaspoon vanilla extract
- 1 cup all-purpose flour
- 1 teaspoon baking powder
- 1/4 teaspoon salt
- 1/2 cup unsalted butter, melted
- 1/2 cup whole milk
- 1/2 cup sugar (for topping)
- Optional: 1 teaspoon lemon zest, 1/2 teaspoon almond extract, 1/2 teaspoon cinnamon
Instructions
- Preheat oven to 375°F (190°C) and grease a 9×9 inch baking dish with butter or non-stick spray.
- In a medium bowl, combine blackberries, sugars, lemon juice, cornstarch, and vanilla. Toss gently to coat berries evenly.
- Pour the berry mixture into the prepared baking dish and spread evenly.
- In a small bowl, whisk together flour, baking powder, salt, and 1/2 cup sugar.
- In another small bowl, whisk melted butter and milk until smooth.
- Pour wet ingredients into dry ingredients and stir gently until just combined; do not overmix. Lumps are okay.
- Spoon the batter in dollops over the berry mixture. Do not spread it evenly.
- Sprinkle extra sugar on top if desired for crunch.
- Bake for 35-40 minutes until the topping is golden brown and berries are bubbling vigorously.
- If the top browns too quickly, cover loosely with foil for the last 10 minutes.
- Let cool for at least 10 minutes before serving to allow filling to thicken.
- Serve warm with whipped cream, ice cream, or yogurt.
Notes
Do not overmix the batter to avoid a tough topping. If using frozen berries, do not thaw them first to prevent a soupy cobbler. The cobbler can be assembled the night before and refrigerated, adding 5-10 minutes to bake time. It does not freeze well due to topping texture.
- Prep Time: 15 minutes
- Cook Time: 40 minutes
- Category: Dessert
- Cuisine: American
Nutrition
- Serving Size: 1 slice
- Calories: 320
- Sugar: 38
- Sodium: 180
- Fat: 9
- Saturated Fat: 5
- Carbohydrates: 58
- Fiber: 3
- Protein: 4
Keywords: blackberry cobbler, weekend brunch, easy dessert, rustic baking, berry cobbler, homemade cobbler, gluten-free option, dairy-free option


