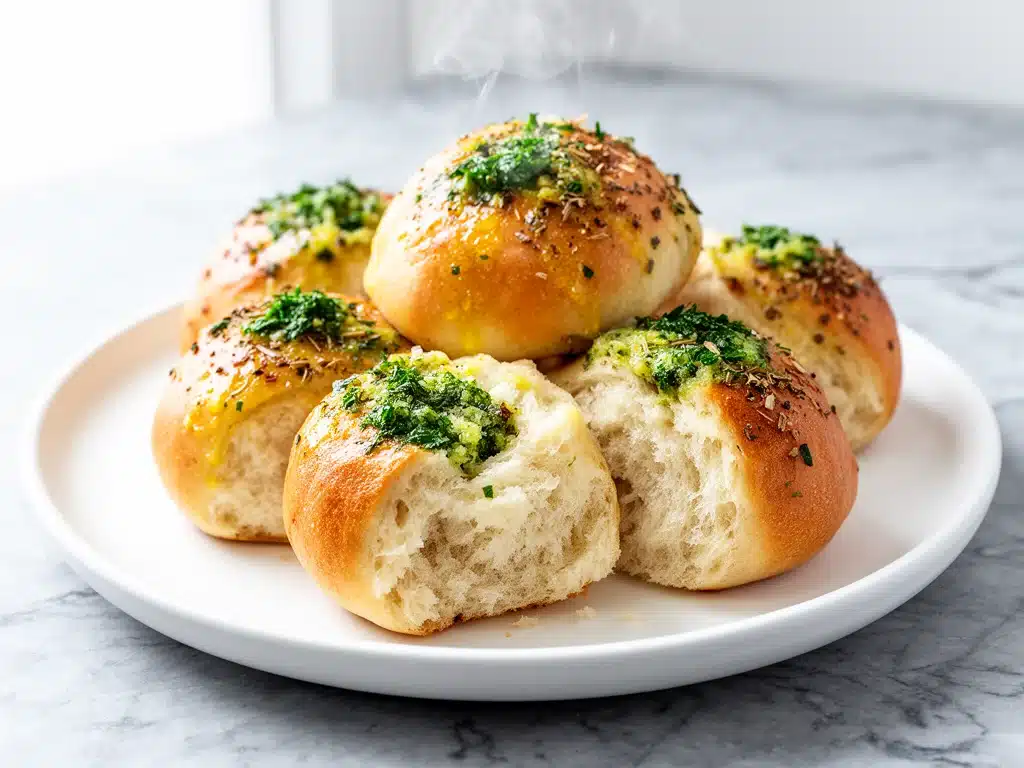
It was Thanksgiving three years ago, and I was standing in my kitchen, staring at a loaf of frozen dinner rolls like they had personally offended me. My family had just sat down, forks in hand, eyes bright with anticipation. Then I realized I’d forgotten to thaw them. Panic set in. I threw them in the oven anyway, hoping for the best, and what came out were dense, sad little discs that tasted vaguely of cardboard and regret. My mother-in-law took one bite, smiled politely, and then quietly reached for the bread basket I’d left on the counter. That moment stuck with me. Not because it was a disaster, but because it highlighted something I’d been ignoring: I was lazy, and lazy cooking rarely wins hearts.
I’ve made these buttery garlic herb dinner rolls dozens of times since that fateful holiday, and let me tell you—this is hands-down the best method I’ve ever found. They’re soft, pillowy, infused with roasted garlic, and brushed with herbed butter that makes your mouth water before you even take a bite. I’ve tested this recipe with different flours, different yeasts, and even while half-asleep on a Sunday morning. It always works. It’s forgiving, it’s fast, and it smells like heaven.
The secret isn’t fancy equipment or rare ingredients. It’s the technique. Specifically, how you handle the dough and how much love you put into that garlic butter brush. I learned this trick from a baker friend who swore by “kneading until it sings” (which sounds ridiculous until you feel that smooth, elastic bounce). Now, every time I make these buttery garlic herb dinner rolls, I’m reminded of that Thanksgiving disaster—and how far I’ve come since then.
Why You’ll Love These Dinner Rolls
There are a lot of reasons to keep these buttery garlic herb dinner rolls in your rotation, but here are the big ones that keep me coming back:
- Stupid Simple — Seriously, if you can mix and knead, you can make these. I’ve walked my teenage daughter through it over FaceTime while she was at college.
- Lightning Fast — From start to finish, it’s under an hour. Most of that time is just waiting for the dough to rise. Active cooking? About 15 minutes.
- Pantry-Friendly — You probably have most of this already. Flour, yeast, butter, garlic, milk. Basic stuff.
- Crowd-Pleaser — I’ve served these to my picky eater nephew, my foodie sister, and my neighbor who claims she “doesn’t like bread.” Everyone asks for seconds.
- Makes Amazing Leftovers — Actually tastes better the next day, toasted with a bit more butter. I deliberately make extra for breakfast sandwiches.
- Budget-Smart — Feeds 8-10 people for under $5. That’s less than a single appetizer at a restaurant.
This is my go-to when I need something warm and comforting to bring to a potluck or serve alongside a hearty soup. No complicated techniques, no weird ingredients, just reliable, delicious food that makes everyone happy.
Ingredients You’ll Need
Here’s the best part: you probably have most of this already. I’m particular about three ingredients here, and I’ll tell you exactly why.
For the Dough
Warm milk (1 cup / 240ml) — This activates the yeast. It should be around 110°F (43°C)—warm to the touch, not hot. If it’s too hot, you’ll kill the yeast. If it’s too cold, it won’t rise. I test it on my wrist like I’m checking a baby bottle.
Active dry yeast (2 teaspoons / 7g) — I use Red Star or Fleischmann’s. Both work great. Make sure it’s not expired—old yeast is a common reason for dense rolls.
Granulated sugar (2 tablespoons / 25g) — Feeds the yeast and adds a touch of sweetness. Brown sugar works too, but it changes the flavor slightly.
All-purpose flour (3 to 3½ cups / 375-440g) — I use King Arthur or Gold Medal. Don’t use bread flour unless you want chewier rolls. All-purpose gives that perfect tender crumb.
Large egg (1, room temperature) — Adds richness and helps bind the dough. Room temp eggs incorporate better than cold ones.
Salt (1 teaspoon / 6g) — Enhances flavor and strengthens the gluten. Use fine sea salt or table salt.
Unsalted butter (2 tablespoons / 30g, melted) — Adds flavor and tenderness. Don’t use salted butter unless you reduce the added salt.
For the Garlic Butter Brush
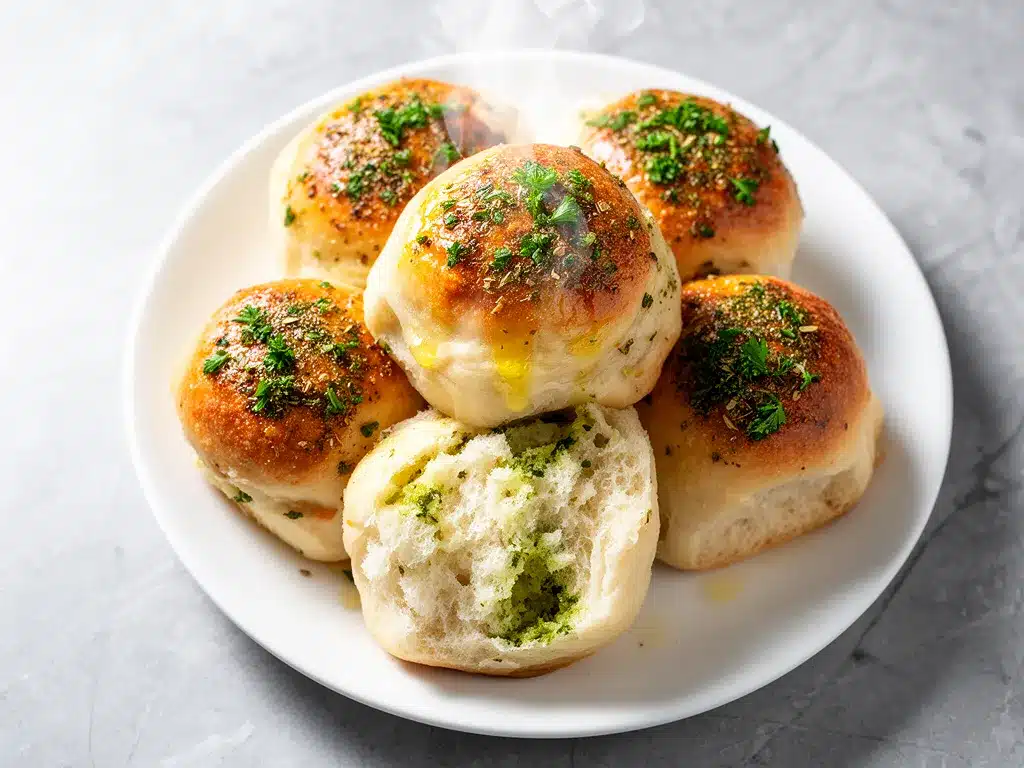
Unsalted butter (½ cup / 115g, softened) — This is the star. Good quality butter makes a huge difference. I use Kerrygold or Plugra.
Garlic (4 cloves, minced / about 2 tablespoons) — Yes, four cloves. Don’t skimp. Fresh only—no jarred garlic in this recipe. It tastes metallic and ruins the vibe.
Dried parsley (1 teaspoon) — Adds color and a mild herbal note. Fresh parsley works too, but add it at the end so it doesn’t burn.
Dried thyme (½ teaspoon) — Pairs beautifully with garlic. If you don’t have it, omit it or use dried rosemary.
Optional: Parmesan cheese (2 tablespoons, grated) — Adds a savory umami kick. I love this twist, but it’s not traditional.
Equipment Needed
You don’t need fancy equipment for this. Here’s what I actually use:
Large mixing bowl — I use a 5-quart stainless steel bowl. Needs to fit the dough comfortably with room to rise.
Measuring cups and spoons — Pretty standard stuff. Dollar store versions work fine, but accuracy matters with yeast.
Rolling pin — Optional, but helpful if you want uniform rolls. I usually just shape them by hand.
Baking sheet or 9×13 pan — I prefer a 9×13 pan for tighter rolls that steam each other, making them extra soft. A baking sheet works too if you want individual rolls with crispier edges.
Pastry brush — For applying the garlic butter. Silicone works best because it doesn’t shed bristles.
Clean kitchen towel — To cover the dough while it rises. Or just use plastic wrap.
Instant-read thermometer — Optional but helpful for checking milk temperature. I used to guess, but now I measure to be safe.
How to Make It: Step-by-Step
Alright, let’s make this! I’m walking you through exactly how I do it, including the little tricks I’ve picked up.
Step 1: Activate the Yeast (5 minutes)
In a large mixing bowl, combine the warm milk and sugar. Sprinkle the yeast on top and stir gently. Let it sit for 5-10 minutes until it becomes foamy and bubbly. If it doesn’t foam, your yeast might be dead. Start over with fresh yeast—it’s frustrating, but worth it.
Step 2: Mix the Dough (5 minutes)
Add the egg, melted butter, and salt to the yeast mixture. Whisk until combined. Then, add 2 cups of flour. Stir with a wooden spoon or dough whisk until it forms a shaggy mass. Don’t worry about it being perfect yet.
Step 3: Knead the Dough (8-10 minutes)
Transfer the dough to a floured surface. Knead by hand, adding the remaining flour gradually as needed. You want a soft, slightly sticky dough that pulls away from the sides of the bowl. Knead until it’s smooth and elastic—about 8-10 minutes. If you’re using a stand mixer, use the dough hook on low speed for 5-7 minutes. The dough should pass the “windowpane test”—stretch a small piece thin enough to see light through it without tearing.
Step 4: First Rise (45-60 minutes)
Place the dough in a lightly oiled bowl, turning to coat. Cover with plastic wrap or a damp towel. Let it rise in a warm, draft-free spot until doubled in size. This takes about 45-60 minutes, depending on your kitchen temperature. I usually set it near the oven (which is warm from baking) or in a turned-off oven with the light on.
Step 5: Shape the Rolls (10 minutes)
Punch down the dough to release air. Divide it into 8-10 equal pieces. Roll each piece into a smooth ball by tucking the edges underneath. Place them seam-side down in a greased 9×13 pan, leaving a little space between them. For tighter rolls, place them close together. For crispier edges, space them out.
Step 6: Second Rise (20-30 minutes)
Cover the pan again and let the rolls rise until puffy and nearly doubled. This takes 20-30 minutes. They should look jiggly and soft. Preheat your oven to 375°F (190°C) during the last 10 minutes of rising.
Step 7: Bake (15-18 minutes)
Bake the rolls until golden brown on top. They should sound hollow when tapped on the bottom. If they sound dull, they need more time. Rotate the pan halfway through for even browning.
Step 8: The Garlic Butter Brush (5 minutes)
While the rolls bake, mix the softened butter, minced garlic, parsley, and thyme. As soon as the rolls come out of the oven, brush them generously with the garlic butter. The heat will melt the butter into the crust, creating that irresistible aroma. If you’re adding Parmesan, sprinkle it on now.
Step 9: Serve
Serve warm. These rolls are best eaten fresh out of the oven, but they keep well for leftovers (more on that later). Pair them with creamy pumpkin alfredo pasta for a cozy fall dinner, or alongside a hearty soup.
Expert Tips & Tricks
Here’s everything I’ve learned from making this recipe dozens of times. These tips will save you from my mistakes.
The Yeast Check
Always check your yeast before you start. If it doesn’t foam in the warm milk, toss it and buy fresh. I’ve wasted hours on dead yeast more times than I can count.
Don’t Over-Flour
It’s tempting to add more flour to make the dough easier to handle, but too much flour makes dense rolls. The dough should be slightly sticky. Your hands will get messy, but it’s worth it.
Warm Kitchen Matters
Yeast loves warmth. If your kitchen is cold, let the dough rise in a turned-off oven with the light on, or on top of the refrigerator. Cold kitchens mean longer rising times.
Room Temperature Ingredients
Use room temperature eggs and butter. Cold ingredients can shock the yeast and slow down the rise. Take them out of the fridge 30 minutes before you start.
Soft Rolls vs. Crispy Rolls
Want soft, steamed rolls? Place them close together in the pan. Want crispy edges? Space them out on a baking sheet. Both are delicious, just different textures.
Common Mistakes (and how to avoid them)
Mistake: Rolls are dense — Fix: Your yeast might be old, or you over-kneaded the dough. Check yeast freshness and knead just until smooth.
Mistake: Rolls are too flat — Fix: Under-proofing. Let them rise until puffy, not just doubled.
Mistake: Garlic butter is bitter — Fix: You burned the garlic. Use minced fresh garlic, not burnt roasted garlic, and don’t let the butter brown too much.
Variations & Substitutions
Once you’ve nailed the basic version, here’s how you can mix it up. I’ve tried all of these.
Cinnamon Sugar Rolls — Skip the garlic butter. Mix ¼ cup sugar with 1 teaspoon cinnamon and brush on after baking. Roll them up like cinnamon rolls.
Honey Garlic — Replace half the butter with honey in the garlic brush. Adds a sweet-savory twist.
Rosemary Parmesan — Add 1 teaspoon dried rosemary and 2 tablespoons grated Parmesan to the garlic butter. Great with roast chicken.
Whole Wheat — Replace half the all-purpose flour with whole wheat flour. Adds nuttiness and fiber. The rolls will be slightly denser but still delicious.
Dairy-Free — Use almond milk instead of dairy milk and coconut oil instead of butter. The texture will be slightly different but still tasty.
Gluten-Free — Use a 1:1 gluten-free flour blend. The dough will be stickier, so handle gently. Results vary by brand.
Serving & Storage
How to Serve: I usually serve these straight from the pan at the dinner table—they look rustic and stay warm. But here are other ways I’ve enjoyed them:
- Split and toast with extra garlic butter for sandwiches
- Serve alongside slow cooker apple cider pulled pork for a fall feast
- Use as bases for mini bruschetta
- Dip in melted cheese or marinara sauce
Storage Instructions:
Room Temperature: Store in an airtight container for up to 2 days. They’ll stay soft if kept sealed.
Refrigerator: Store in an airtight container for up to 5 days. They’ll firm up in the fridge—totally normal. Reheat to restore softness.
Reheating: Best method: Wrap in foil and warm in a 350°F (175°C) oven for 10 minutes. Or microwave for 20-30 seconds with a damp paper towel. Never reheat in the toaster oven unless you want crispy edges.
Freezing: Yes, they freeze well! Bake and cool completely, then wrap tightly in plastic wrap and foil. Freeze for up to 3 months. Thaw at room temperature and reheat in the oven.
Nutrition Information
I’m not a nutritionist, but here’s the breakdown if you’re tracking. Based on 8 rolls, with garlic butter included.
Per Roll:
- Calories: 180
- Protein: 4g
- Carbs: 28g
- Fiber: 1g
- Sugar: 2g
- Fat: 6g
- Saturated Fat: 3g
- Cholesterol: 25mg
- Sodium: 220mg
These are comfort food, so they’re not diet-friendly. But they’re made with real ingredients, no preservatives, and cost less than bakery rolls. When I want to make them lighter, I reduce the butter in the brush and use whole wheat flour. But usually? I just enjoy them in moderation.
Final Thoughts
So that’s my go-to buttery garlic herb dinner rolls! I’ve probably talked your ear off at this point, but when you make a recipe this often, you have a lot to say about it.
These rolls have saved holiday dinners more times than I can count. They’re my answer to “what’s for bread” when I want something homemade but don’t have hours to spare. My kids are happy, my husband’s happy, and I’m happy because I’m not stressed about cooking.
Make them yours! Try different herbs, swap in your favorite cheese, or add bacon bits to the butter. The best recipes are the ones you adapt to your family’s tastes. If you make these, drop a comment and let me know what you think! I love hearing how recipes turn out in your kitchen. And if something doesn’t work, tell me that too—I’m here to help troubleshoot.
Happy baking! And I hope your kitchen smells half as good as mine does right now.
Frequently Asked Questions
Can I use instant yeast instead of active dry yeast?
Yes! Instant yeast can be mixed directly into the dry ingredients without activating in warm milk first. Use the same amount. The results are nearly identical, just slightly faster rising time.
Why did my rolls turn out dense?
Usually means your yeast was old, or you over-kneaded the dough. Check yeast freshness by foaming it in warm milk first. Also, don’t add too much flour—sticky dough is okay!
Can I make these ahead of time?
Yes! After shaping, cover and refrigerate overnight. Let them come to room temperature and rise for 1-2 hours before baking. Or bake, cool, and freeze for later.
Can I use bread flour instead of all-purpose?
You can, but the rolls will be chewier. All-purpose gives that tender, soft crumb I love. If you use bread flour, reduce the liquid slightly.
How do I keep the rolls soft for leftovers?
Store them in an airtight container immediately after cooling. Reheat in the oven with a damp paper towel to restore moisture. Avoid the microwave unless you’re in a hurry.
Can I add cheese to the dough?
Absolutely! Add ½ cup shredded cheddar or Parmesan to the dough after kneading. It adds flavor and makes the rolls extra savory.
Why did my garlic butter taste bitter?
You probably burned the garlic. Fresh minced garlic burns quickly. Use low heat when melting the butter, and add garlic at the end. Or use roasted garlic for a sweeter, milder flavor.
Pin This Recipe!
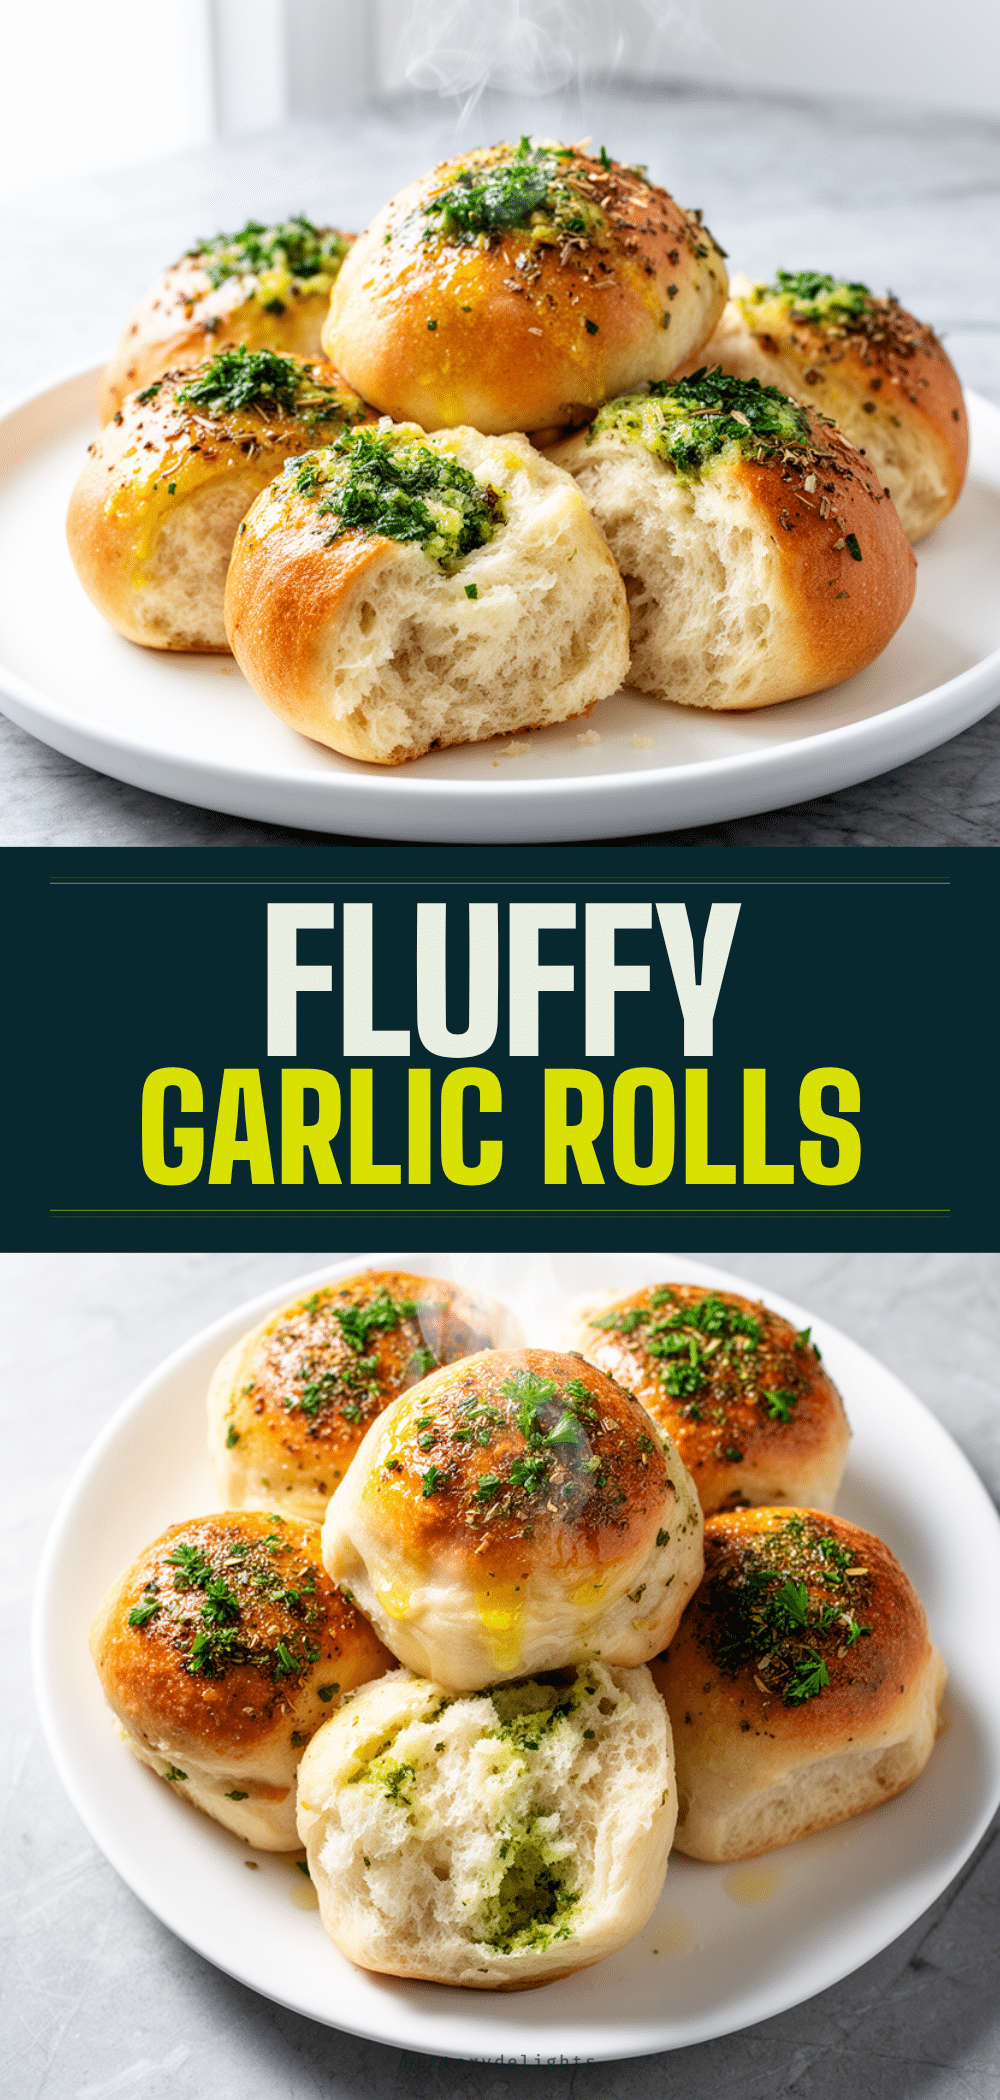

Buttery Garlic Herb Dinner Rolls: 5-Min Easy Recipe
- Total Time: 45-60 minutes
- Yield: 8-10 servings 1x
Description
Soft, pillowy dinner rolls infused with roasted garlic and brushed with herbed butter. This forgiving, fast recipe yields crowd-pleasing results in under an hour.
Ingredients
- 1 cup warm milk (110°F/43°C)
- 2 teaspoons active dry yeast
- 2 tablespoons granulated sugar
- 3 to 3½ cups all-purpose flour
- 1 large egg, room temperature
- 1 teaspoon salt
- 2 tablespoons unsalted butter, melted
- ½ cup unsalted butter, softened (for brush)
- 4 cloves garlic, minced
- 1 teaspoon dried parsley
- ½ teaspoon dried thyme
- 2 tablespoons grated Parmesan cheese (optional)
Instructions
- In a large mixing bowl, combine warm milk and sugar. Sprinkle yeast on top and stir gently. Let sit for 5-10 minutes until foamy.
- Add the egg, melted butter, and salt to the yeast mixture. Whisk until combined.
- Add 2 cups of flour and stir until a shaggy mass forms.
- Transfer dough to a floured surface and knead for 8-10 minutes, adding remaining flour gradually as needed, until smooth and elastic.
- Place dough in a lightly oiled bowl, cover, and let rise in a warm spot for 45-60 minutes until doubled.
- Punch down dough and divide into 8-10 equal pieces. Shape into balls and place seam-side down in a greased 9×13 pan.
- Cover and let rise again for 20-30 minutes until puffy. Preheat oven to 375°F (190°C) during the last 10 minutes.
- Bake for 15-18 minutes until golden brown and hollow-sounding when tapped.
- While baking, mix softened butter, minced garlic, parsley, and thyme.
- Immediately upon removing from oven, brush rolls generously with garlic butter. Sprinkle with Parmesan if using.
- Serve warm.
Notes
Ensure milk is warm but not hot to avoid killing yeast. Dough should be slightly sticky; do not over-flour. For soft rolls, place close together in pan; for crispy edges, space them out. Rolls taste better toasted the next day.
- Prep Time: 15 minutes
- Cook Time: 15-18 minutes
- Category: Side Dish
- Cuisine: American
Nutrition
- Serving Size: 1 roll
- Calories: 180
- Sugar: 2
- Sodium: 220
- Fat: 6
- Saturated Fat: 3
- Carbohydrates: 28
- Fiber: 1
- Protein: 4
Keywords: dinner rolls, garlic bread, herb rolls, homemade bread, easy yeast recipe, side dish, comfort food


