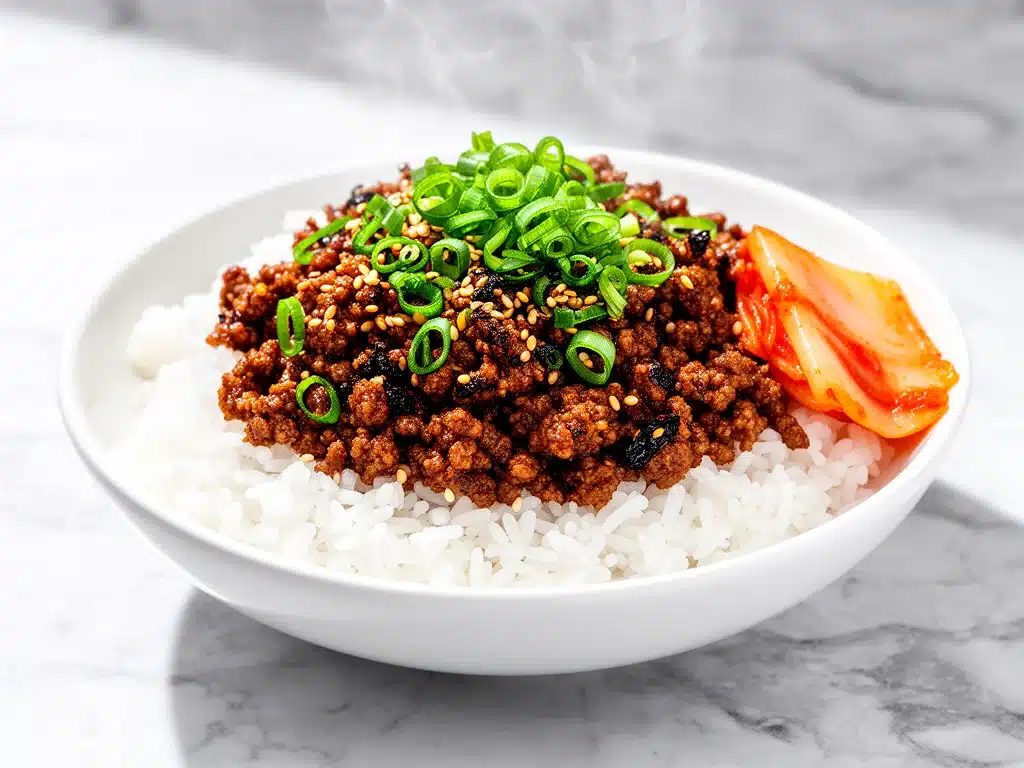
Last Tuesday, I came home from work completely drained. You know that feeling? Where your brain feels like static and the last thing you want to do is chop vegetables or figure out what to cook for dinner. I stared into my fridge at a half-empty container of ground beef, some sad spinach, and a bottle of soy sauce that had been there since 2019. I didn’t want takeout. I didn’t want to order in. I just wanted something hot, flavorful, and fast.
So I threw together what I thought would be a mediocre stir-fry. I didn’t have time to marinate anything. I didn’t have time to slice beef thinly. I just dumped ground beef into a hot pan, added a quick sauce, and hoped for the best. Thirty minutes later—okay, let’s be real, 15 minutes later—my family was scraping their bowls clean. My husband asked me to add it to our regular rotation. That’s how I discovered that sometimes the best recipes happen when you’re not overthinking it.
This Korean Ground Beef Bulgogi Bowl recipe has become my absolute lifeline for busy weeknights. It takes less time than it takes to decide what to order on DoorDash, uses ingredients I always have in my pantry, and tastes like something from a Korean restaurant. I’ve made it at least a dozen times since that Tuesday, tweaking the sauce ratio until it was perfect. It’s sweet, savory, slightly spicy, and incredibly comforting.
If you’re tired of the same old chicken and rice routine, or if you’re looking for a cozy fall dinner idea that doesn’t require hours of prep, this is it. It’s the kind of meal that makes your kitchen smell amazing while you’re actually still at work. Let me walk you through why this works, what you need, and how to get it on the table faster than you can blink.
Why You’ll Love This Recipe
There are about ten reasons I keep making this, but here are the big ones that keep me coming back to the stove every week.
Stupid Simple — Seriously, if you can boil water and mix a liquid, you can make this. I’ve walked my teenage son through it over FaceTime while he was at college. There’s no fancy technique here. It’s just browning meat and mixing sauce. I’ve even made it while helping my kid with homework because it’s so hands-off once the beef is in the pan.
Lightning Fast — 15 minutes from start to finish, and only 5 of those are active cooking. I make this on weeknights when I get home at 7pm and realize I forgot to defrost dinner. Ground beef cooks in minutes, unlike a whole chuck roast that needs slow-cooking like my creamy pumpkin alfredo pasta which needs an hour of simmering. This is for when you have zero time.
Pantry-Friendly — You probably have 80% of these ingredients already. I keep soy sauce, sesame oil, brown sugar, and garlic on hand specifically so I can make this on a whim. It’s the ultimate “I have nothing to eat but let’s make dinner” meal.
Crowd-Pleaser — I’ve served this to my picky eater nephew, my food-snob friend, and my dad who only likes “plain” food. Everyone loved it. The sweet and savory flavor profile is universally liked, and you can adjust the spice level to suit your household.
Makes Amazing Leftovers — Actually tastes better the next day. The flavors meld together overnight. I deliberately make extra for lunch throughout the week. It reheats beautifully and is perfect for meal prep.
Budget-Smart — Feeds 4-6 people for under $15. That’s less than one meal at a fast-food place. Ground beef is affordable, and you can stretch it with rice and veggies. It’s a high-value meal that doesn’t break the bank.
This is my go-to when I need dinner to just work. No complicated techniques, no weird ingredients, just reliable, delicious food that makes everyone happy. It’s the antidote to dinner stress.
Ingredients You’ll Need
Here’s the best part: you probably have most of this already. I’m particular about a few things here, and I’ll tell you exactly why they matter.
Ground Beef (1.5 pounds / 680g) — I use 80/20 fat ratio. It keeps the beef juicy and flavorful. Lean beef can get dry and crumbly in this dish. If you prefer leaner, go for 90/10, but you might need to add a tiny splash of oil.
Soy Sauce (½ cup / 120ml) — Use low-sodium if you can. It lets you control the saltiness. Regular soy sauce works too, but you’ll need to reduce added salt. I like Kikkoman because it’s consistent.
Brown Sugar (3 tablespoons / 45g) — This is key for the bulgogi flavor. It caramelizes slightly and adds that signature sweetness. Dark brown sugar is better for deeper molasses flavor, but light works fine.
Sesame Oil (1 tablespoon / 15ml) — Toasted sesame oil is non-negotiable. It adds that nutty, aromatic kick that defines Korean cuisine. Make sure it’s toasted, not raw. The smell alone is worth it.
Garlic (6 cloves, minced / about 2 tablespoons) — Yes, six cloves. Don’t skimp. Fresh only—no jarred garlic in this recipe. It tastes metallic in a delicate sauce like this. Minced fresh garlic brings the heat.
Ginger (1 teaspoon, grated / about 5g) — Fresh ginger is best. It adds brightness and cuts through the richness of the beef. If you don’t have fresh, ½ teaspoon of ground ginger works, but it’s not as vibrant.
Red Pepper Flakes (½ teaspoon) — Optional but adds nice kick. Start with less if you’re sensitive to spice. Gochugaru (Korean chili flakes) is authentic, but red pepper flakes work in a pinch.
Black Pepper (½ teaspoon) — Freshly cracked is best. Adds a little sharpness to balance the sweet.
Green Onions (4 stalks, sliced) — For garnish and freshness. The white parts go in the sauce, the green tops go on top. Don’t skip the garnish—it adds color and crunch.
For Serving:
– Steamed Rice (jasmine or short-grain) — Essential for soaking up the sauce.
– Vegetables — Spinach, carrots, cucumbers. Whatever you have.
– Egg — A fried or soft-boiled egg on top is a game-changer. The yolk mixes with the beef like a rich sauce.
Personal Tips:
– I buy pre-minced garlic when I’m being lazy, but fresh tastes way better. If you’re short on time, jarred garlic is okay, but rinse it to remove the metallic taste.
– Substitutions: No brown sugar? Use honey or maple syrup. It changes the flavor slightly but still works.
– Storage: Soy sauce and sesame oil keep forever in the pantry. Ground beef freezes well if you buy it in bulk.
Equipment Needed
You don’t need fancy equipment for this. Here’s what I actually use.
Large Skillet or Wok — 12-inch works best for the sauce. I prefer stainless steel or cast iron, but non-stick works too. You need a wide surface area to brown the beef properly.
Small Bowl — For mixing the sauce. A 1-cup measuring cup works too.
Wooden Spoon or Spatula — For stirring. Silicone works too. Don’t use metal on non-stick.
Knife and Cutting Board — For chopping green onions. Sharp knife makes this easier.
Rice Cooker or Pot — For cooking the rice. Or use instant rice if you’re in a rush. I’m obsessed with my rice cooker—it’s like $30 and makes life easier.
Optional but nice:
– Garlic Press — Saves time but not necessary. Mincing works fine.
– Measuring Spoons — Pretty standard stuff. Dollar store versions work fine.
How to Make It: Step-by-Step
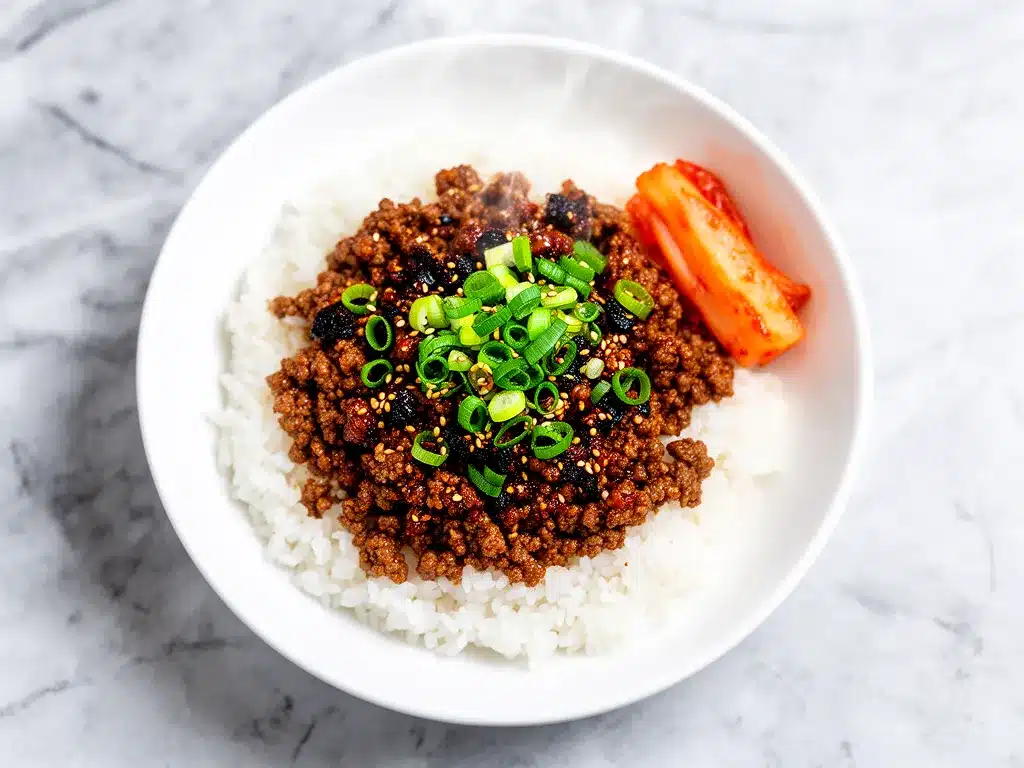
Alright, let’s make this! I’m walking you through exactly how I do it, including the little tricks I’ve picked up.
Step 1: Mix the Sauce (2 minutes)
In a small bowl, whisk together the soy sauce, brown sugar, sesame oil, minced garlic, grated ginger, red pepper flakes, and black pepper. Stir until the brown sugar is mostly dissolved. It doesn’t need to be perfect, but you want it combined. Set aside.
Step 2: Cook the Rice (15-20 minutes)
Start your rice first. It needs time to steam. Use a rice cooker if you have one. If not, rinse 1 cup of rice, add 1.5 cups water, bring to a boil, cover, reduce heat to low, and simmer for 18 minutes. Remove from heat and let it sit covered for 5 minutes. Fluff with a fork.
Step 3: Brown the Beef (5 minutes)
Heat a large skillet over medium-high heat. Add the ground beef. Break it up with a wooden spoon as it cooks. You want it browned and crumbled, not in big clumps. This takes about 5-7 minutes. Don’t overcrowd the pan. If it’s steaming instead of browning, you’re not using enough heat or the pan is too crowded. Drain excess fat if there’s too much, but leave a little for flavor.
Step 4: Add the Sauce (2 minutes)
Once the beef is browned, pour in the sauce mixture. Stir well to coat the beef. Let it simmer for 2-3 minutes. The sauce will bubble and thicken slightly, clinging to the beef. It should look glossy and rich. If it’s too thin, let it cook a minute longer. If it’s too thick, add a splash of water.
Step 5: Finish and Serve
Remove from heat. Taste and adjust. Need more salt? Add a dash of soy sauce. Want it sweeter? Add a pinch of sugar. Want it spicier? Add more red pepper flakes. Serve over steamed rice. Top with sliced green onions and a fried egg if you’re feeling fancy.
Total Time: About 15-20 minutes (5 minutes active, 15 minutes mostly hands-off for rice)
Built-in Troubleshooting:
– Sauce too salty? Add a little more brown sugar or a splash of water.
– Beef dry? You cooked it too long. Next time, remove from heat as soon as it’s brown.
– Sauce too thin? Let it simmer longer. The starches from the rice and the reduction will thicken it.
Expert Tips & Tricks
Here’s everything I’ve learned from making this dozens of times. These tips will save you from my mistakes.
Don’t Skimp on Garlic
This is the #1 tip. The garlic flavor is what makes it taste like bulgogi. I forgot it once and it tasted like plain taco meat. Now I mince 6 cloves every time. It takes 2 minutes and makes a huge difference.
Use the Right Fat Ratio
80/20 ground beef is best. Lean beef can be dry. If you use 90/10, add a tablespoon of oil to the pan. The fat carries the flavor of the sauce.
Toast Your Sesame Oil
Make sure it’s toasted sesame oil. Raw sesame oil has a different flavor. Toasted is nutty and aromatic. It’s worth the extra dollar.
Common Mistakes (and how to avoid them):
– Mistake: Beef is watery
Fix: Cook it longer to evaporate the moisture. Don’t add the sauce until the beef is well-browned.
– Mistake: Sauce is too sweet
Fix: Add more soy sauce or a splash of rice vinegar to balance it.
– Mistake: Rice is mushy
Fix: Rinse your rice before cooking. It removes excess starch. Use the right water ratio.
Pro Tricks I’ve Learned:
– For Restaurant-Quality Finish
Add a teaspoon of sesame seeds on top. Adds crunch and visual appeal.
– For Extra Flavor
Sauté some mushrooms or onions with the beef. Adds depth and texture.
– For Better Texture
Use short-grain rice. It’s stickier and holds the sauce better than jasmine rice.
Variations & Substitutions
Once you’ve nailed the basic version, here’s how you can mix it up. I’ve tried all of these.
Turkey Version
Use ground turkey instead of beef. It’s leaner and lighter. Add a little more sesame oil for flavor. My wife prefers this version when she’s trying to eat lighter.
Beef and Broccoli
Add chopped broccoli florets to the pan with the beef. Cook until tender-crisp. Adds veggies and crunch. This is how I get my kids to eat vegetables.
Spicy Kimchi
Add 1 cup of chopped kimchi to the pan with the beef. Adds tang and spice. Totally different vibe—sour and fermented. Great for gut health.
Vegetarian Option
Use crumbled tofu or tempeh instead of beef. Marinate it in the sauce first. It’s not the same, but it works if you’re vegetarian.
Dietary Modifications:
– Gluten-Free
Use tamari instead of soy sauce. Everything else is naturally gluten-free. I’ve used Coconut Secret tamari and it works great.
– Dairy-Free
This recipe is naturally dairy-free. Just make sure your rice is cooked with water, not milk.
– Lower-Carb
Serve over cauliflower rice instead of regular rice. Reduce the brown sugar by half. I won’t lie—it’s not the same, but it works if you’re watching carbs.
Serving & Storage
How to Serve:
I usually serve this straight from the skillet at the dinner table—it looks rustic and stays warm. But here are other ways I’ve enjoyed it:
Side Dishes:
– Simple green salad with sesame vinaigrette
– Pickled radishes or cucumbers
– Steamed bok choy
– Kimchi (obviously)
Toppings Bar:
When I have guests, I put out: sliced green onions, sesame seeds, red pepper flakes, fried eggs, crispy wonton strips. Everyone customizes their bowl.
Storage Instructions:
Store in an airtight container for up to 4 days. The sauce will thicken in the fridge—totally normal.
Reheating:
Best method: Add to a skillet with a splash of water or broth over low heat. Stir until heated through and creamy again.
Microwave method: Heat in 30-second intervals, stirring between. Add a splash of water if it’s too thick.
Never works: Trying to reheat in the pot you cooked it in. It always burns on the bottom. Ask me how I know.
Freezing:
Honestly, this freezes well. The beef and sauce freeze beautifully. Let it cool completely, then freeze in portions. Thaw in the fridge overnight and reheat. The rice doesn’t freeze well, so cook fresh.
Pro tip: If leftovers are drying out, stir in a tablespoon of water and a splash of sesame oil when reheating. Brings back that juicy texture.
Nutrition Information
I’m not a nutritionist, but here’s the breakdown if you’re tracking.
Per Serving (based on 6 servings, with rice):
– Calories: 350
– Protein: 25g
– Carbs: 35g
– Fiber: 1g
– Sugar: 8g
– Fat: 12g
– Saturated Fat: 4g
– Cholesterol: 65mg
– Sodium: 800mg
– Calcium: 40mg
What’s Good:
– High protein from beef
– Quick and satisfying
– Can add vegetables to boost nutrition
– More filling than it looks
What to Know:
– Higher in sodium from soy sauce
– Contains gluten (unless using tamari)
– Moderate carbs from rice
– Use low-sodium soy sauce to reduce sodium
My Take:
Look, this is comfort food with soy sauce and sugar. It’s not a diet recipe. But it’s way better than takeout, costs less, and I know exactly what’s in it. When I want to make it lighter, I use turkey and cauliflower rice. But usually? I just eat a reasonable portion and enjoy it.
Final Thoughts
So that’s my go-to Korean Ground Beef Bulgogi Bowl! I’ve probably talked your ear off at this point, but when you make a recipe this often, you have a lot to say about it.
This has saved weeknight dinners more times than I can count. It’s my answer to ‘what’s for dinner’ when I’m tired, don’t want takeout, and still want something that tastes really good. My kids are happy, my husband’s happy, and I’m happy because I’m not stressed about cooking.
Make it yours! Try different add-ins, swap in your favorite vegetables, adjust the garlic (though more is always better in my opinion). The best recipes are the ones you adapt to your family’s tastes.
If you make this, drop a comment and let me know what you think! I love hearing how recipes turn out in your kitchen. And if something doesn’t work, tell me that too—I’m here to help troubleshoot.
Happy cooking! And I hope your kitchen smells half as good as mine does right now.
Frequently Asked Questions
Can I use ground turkey instead of beef?
Yes! Ground turkey works great and is leaner. Just add a little more sesame oil for flavor since turkey is drier. I make this version when I’m trying to eat lighter. The cooking time is the same.
My sauce is too salty—what happened?
Soy sauce is salty! If you used regular soy sauce, it might be too much. Next time, use low-sodium soy sauce or reduce the amount by 2 tablespoons. You can also add a little more brown sugar or a splash of water to balance it.
Can I make this ahead for a dinner party?
Sort of. Make the beef and sauce up to 2 days ahead and store in the fridge. Cook the rice fresh right before serving. Reheat the beef gently and toss with hot rice. It won’t be quite as good as fresh, but it’s close and saves you stress during the party.
Why did my beef get dry?
You probably cooked it too long or used lean beef. Ground beef cooks fast. Once it’s browned, remove it from heat. If you used 90/10 beef, add a little oil to the pan. The fat keeps it juicy.
Can I use jarred garlic?
You can, but fresh tastes so much better. Jarred garlic has a metallic taste that really shows up in this delicate sauce. If you must use it, use half the amount because it’s stronger. But honestly, mincing 6 cloves takes like 2 minutes.
How do I reheat leftovers without it getting dry?
Add a splash of water or broth to a skillet, add your leftover beef, and heat gently over low heat, stirring frequently. The extra liquid brings back the juicy texture. Microwave sort of works but tends to dry it out. If you do microwave, definitely add a splash of water first and heat in short bursts.
Can I double this recipe?
Absolutely! Double everything and use your biggest skillet. The cooking times stay the same. I do this when I’m meal-prepping or feeding a crowd. Just make sure your pan is big enough for the beef—you might need to cook it in batches.
Pin This Recipe!
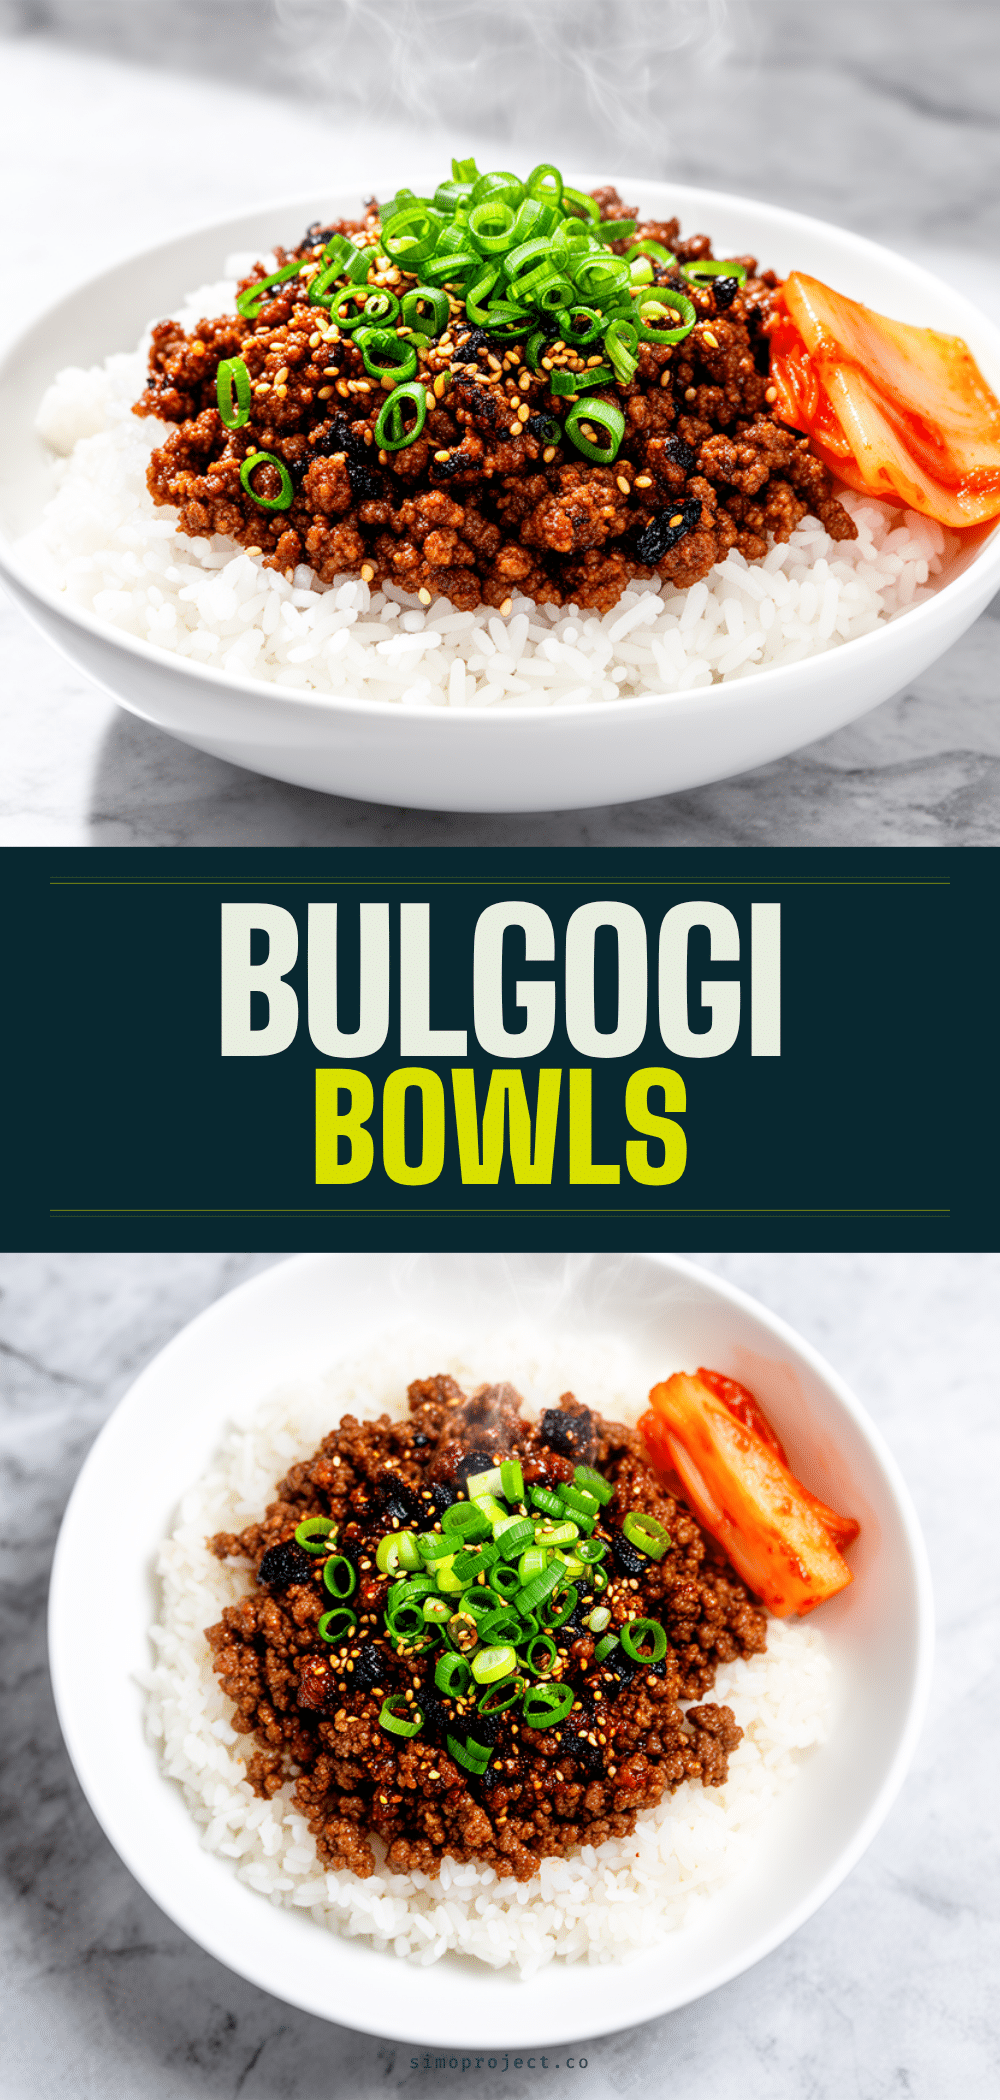
Korean Ground Beef Bulgogi Bowls: Easy 15-Minute Weeknight Dinner
- Total Time: 20 minutes
- Yield: 4-6 servings 1x
Description
A quick and flavorful weeknight dinner featuring ground beef in a sweet and savory Korean-inspired sauce, served over steamed rice. This recipe is pantry-friendly, takes only 15 minutes to cook, and is perfect for busy families.
Ingredients
- 1.5 pounds ground beef (80/20 fat ratio)
- ½ cup soy sauce (low-sodium recommended)
- 3 tablespoons brown sugar
- 1 tablespoon toasted sesame oil
- 6 cloves garlic, minced
- 1 teaspoon fresh ginger, grated
- ½ teaspoon red pepper flakes (optional)
- ½ teaspoon black pepper
- 4 stalks green onions, sliced
- Steamed rice (jasmine or short-grain) for serving
- Vegetables (spinach, carrots, cucumbers) for serving
- Egg (fried or soft-boiled) for serving
Instructions
- In a small bowl, whisk together soy sauce, brown sugar, sesame oil, minced garlic, grated ginger, red pepper flakes, and black pepper until the sugar is mostly dissolved. Set aside.
- Cook the rice according to package instructions or by rinsing 1 cup of rice, adding 1.5 cups water, bringing to a boil, covering, reducing heat to low, and simmering for 18 minutes. Let sit covered for 5 minutes before fluffing.
- Heat a large skillet over medium-high heat. Add the ground beef and break it up with a wooden spoon. Cook for 5-7 minutes until browned and crumbled. Drain excess fat if necessary.
- Pour the sauce mixture over the browned beef. Stir well to coat and let it simmer for 2-3 minutes until the sauce thickens slightly and becomes glossy.
- Taste and adjust seasoning if needed. Serve the beef mixture over steamed rice, topped with sliced green onions and a fried egg if desired.
Notes
Use 80/20 ground beef for juiciness. Toasted sesame oil is essential for authentic flavor. Fresh garlic and ginger provide the best taste. The recipe can be made gluten-free by using tamari instead of soy sauce. For a lower-carb option, serve over cauliflower rice and reduce the brown sugar.
- Prep Time: 5 minutes
- Cook Time: 15 minutes
- Category: Main Course
- Cuisine: Korean
Nutrition
- Serving Size: 1 bowl per person
- Calories: 350
- Sugar: 8
- Sodium: 800
- Fat: 12
- Saturated Fat: 4
- Carbohydrates: 35
- Fiber: 1
- Protein: 25
Keywords: Korean ground beef, bulgogi bowl, weeknight dinner, quick recipes, easy dinner, ground beef recipes, Korean food, meal prep, family dinner


