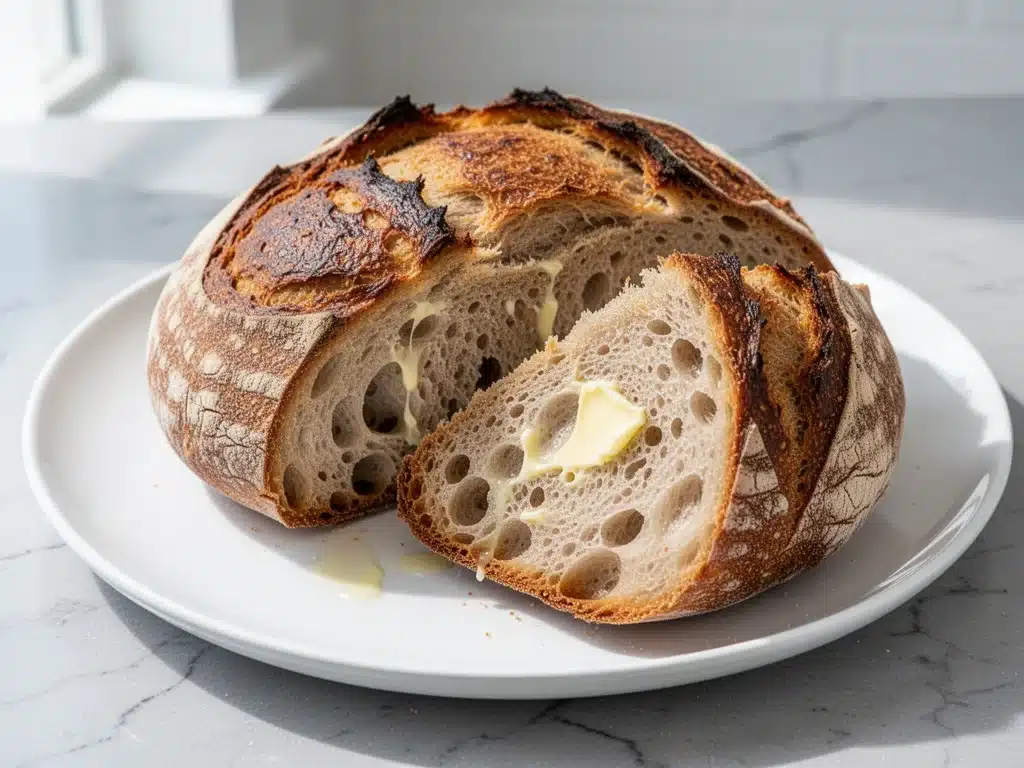
I still remember the first time I pulled a loaf out of the oven that looked like it actually came from a bakery. Not the sad, dense brick I’d tried to make in college with a complicated recipe that required a stand mixer and a thermometer, but a golden, crackly, rustic loaf that smelled like heaven. I was standing in my kitchen at 7 AM, wearing pajamas, holding a hot Dutch oven with oven mitts that were definitely too small, and I nearly dropped it because I was too busy staring at the crust.
That was three years ago. Since then, I’ve made this no-knead Dutch oven bread at least fifty times. Maybe more. It’s become my secret weapon for when I want to feel like a fancy chef without actually doing any of the hard work. The best part? There’s no kneading. No fancy equipment. No waiting for dough to rise for hours on a counter while you second-guess your life choices. You mix it, you let it sit, you bake it. That’s it.
I’ve tested this recipe with everything from all-purpose flour to whole wheat, with different brands of salt, and even in different-sized pots. The result is always the same: a bread with an incredibly thin, shatteringly crisp crust and a soft, airy interior that smells like a Parisian bakery. It’s the kind of bread you tear apart with your hands, slather with butter, and eat while standing over the counter. It’s also the perfect companion to a bowl of creamy garlic mashed potatoes or a hearty soup.
If you’ve been intimidated by bread baking, this is your invitation to stop being scared. I’m going to walk you through exactly how I do it, why it works, and how you can get bakery-quality results without buying a single piece of specialized gear. This isn’t just a recipe; it’s a confidence builder.
Why You’ll Love This No-Knead Bread
There are a dozen reasons I keep coming back to this method, but let’s be real—most of them come down to laziness mixed with a desire for delicious food. Here’s why this no-knead Dutch oven bread has earned a permanent spot in my rotation.
Zero Kneading Required — Seriously. I know, it sounds too good to be true. Traditional bread recipes make you knead for 10-15 minutes to develop gluten. This method uses time instead of muscle. The long rise does all the work for you. I’ve made this dough while my kids were watching cartoons, and it turned out perfect. Every. Single. Time.
The Crackly Crust is Non-Negotiable — There is nothing worse than soft, sad bread crust. This method creates a steam-filled environment that mimics a professional steam-injected oven. The result? A crust that sounds like it’s singing when you tap it. It shatters. It crunches. It’s the best part.
Pantry Staples Only — You don’t need yeast starter, fancy flours, or expensive ingredients. Just flour, water, salt, and yeast. I keep these in my pantry at all times specifically so I can make this on a whim. It’s cheaper than buying a loaf at the store and tastes a thousand times better.
Hands-Off Cooking — The active time is about 10 minutes. The rest is just waiting. I mix the dough, cover it, and go do my day. Then I come back, shape it, let it rise again, and throw it in the oven. It’s perfect for busy weeknights or lazy weekends. It’s also a great way to introduce kids to baking because there’s no dangerous kneading involved.
Impressive but Easy — When I serve this bread, people assume I spent hours on it. They ask about the “sourdough starter” or the “professional technique.” I just smile and say, “I mixed it and walked away.” It’s the ultimate humble brag in the kitchen.
This bread has saved me so many times. When I need a side dish that feels special but doesn’t require stress, I make this. When I want to impress in-laws who think I’m not a “real cook,” I make this. It’s reliable, it’s delicious, and it’s surprisingly forgiving.
Ingredients You’ll Need
Here’s the thing about bread: it’s simple, but the quality of your ingredients matters. You don’t need fancy stuff, but you do need good stuff. I’m not going to lie to you—bad flour or stale yeast will ruin this. But if you stick to these basics, you’ll be golden.
All-Purpose Flour (425g / 3 cups + 2 tablespoons) — I use King Arthur All-Purpose, but any good AP flour works. Don’t use bread flour unless you want a chewier, denser loaf. We want soft and airy here. Cake flour is too weak. Stick to AP.
Water (345ml / 1 ½ cups) — Room temperature is best. Cold water slows down the yeast; hot water kills it. If your kitchen is cold, warm it up slightly. The water hydrates the flour and activates the yeast.
Instant Yeast (1 ¼ teaspoons / 1 packet) — Instant yeast is faster and more reliable than active dry yeast for this method. You don’t need to proof it. Just dump it in. If you only have active dry, that’s fine, but you might need to let the dough rise a bit longer.
Fine Sea Salt (1 ½ teaspoons) — Salt controls the yeast and adds flavor. Don’t skip it. Kosher salt works too, but you might need a bit more because the grains are bigger. Fine sea salt dissolves evenly.
Cornmeal or Semolina (for dusting) — This goes on the parchment paper. It prevents sticking and adds a nice little crunch to the bottom of the loaf. If you don’t have it, extra flour works, but cornmeal is better.
Butter or Olive Oil (optional, for brushing) — Some people brush the top with butter after baking for a softer crust. I prefer the crackly crust, so I skip this. But if you want a softer crust, brush it right when it comes out of the oven.
Common Questions:
- Can I use bread flour? Yes, but the texture will be chewier and less airy. I prefer AP for this specific recipe.
- What if I don’t have a Dutch oven? You can use a heavy casserole dish with a lid, or even a loaf pan. But the crust won’t be as good. The Dutch oven is key for the steam.
- Can I make this gluten-free? Not really. The gluten structure is what holds the air bubbles. You’d need a specialized GF blend and xanthan gum, and the results are different. I’d stick to this for regular flour.
Equipment Needed
You don’t need a fancy kitchen to make this. In fact, the less equipment you have, the better. Here’s what I actually use, and what you can skip.
Large Mixing Bowl — A 4-quart bowl or larger. I use a glass bowl because I can see the dough rising. Plastic works too. Just make sure it’s big enough to hold the dough without it spilling over.
Dutch Oven — A 5-7 quart Dutch oven is ideal. Enameled cast iron is best because it retains heat well. I have a Le Creuset, but any heavy pot with a tight-fitting lid works. If your lid isn’t tight, you can tent it with foil, but a good lid is crucial for trapping steam.
Parchment Paper — Essential. You’ll drop the dough onto this and lift it into the pot. It makes cleanup a breeze and prevents sticking. Don’t skip this step.
Coffee Mug or Measuring Cup — For measuring water and flour. I use a 4-cup mug because it’s easy to read and pour. Level off your flour with a knife for accuracy.
Sharp Knife or Razor Blade — For scoring the top of the dough before baking. This controls where the bread expands. A dull knife will drag the dough; a sharp one gives a clean cut.
Oven Mitts — Heavy-duty ones. The Dutch oven gets incredibly hot. I learned this the hard way with a minor burn on my thumb. Don’t be like me.
Cooling Rack — For letting the bread cool. If you cut it while it’s hot, the inside gets gummy. Patience pays off.
How to Make It: Step-by-Step
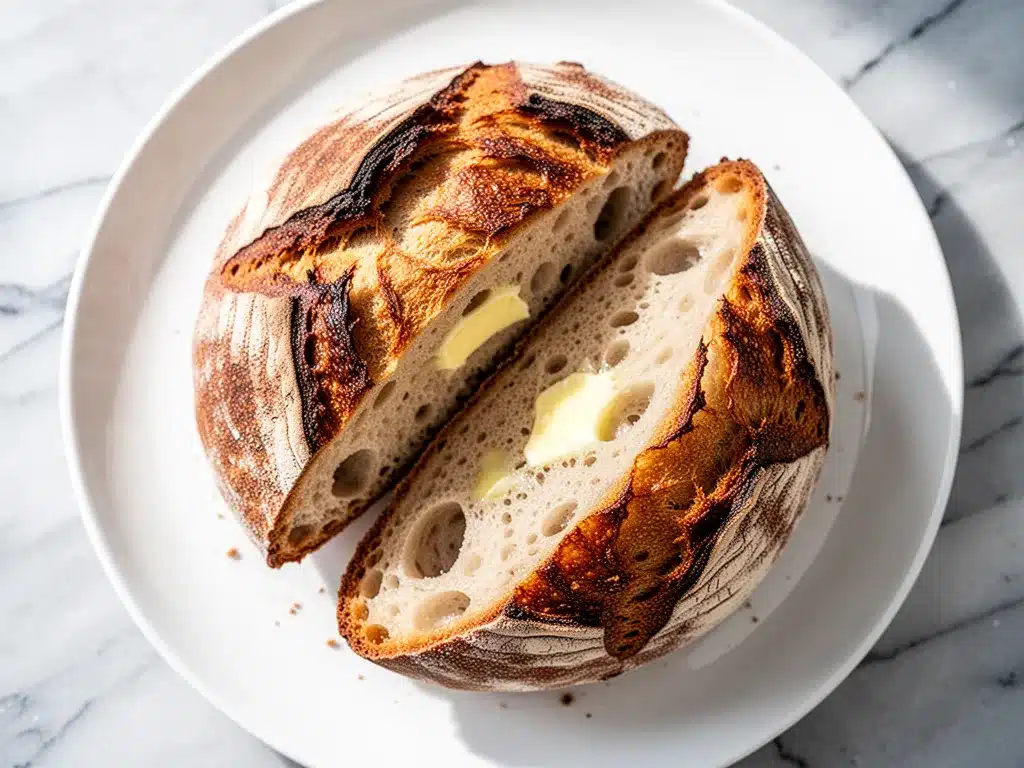
Alright, let’s make this! I’m walking you through exactly how I do it. It’s simple, but there are a few tricks that make the difference between okay bread and amazing bread.
Step 1: Mix the Dough (5 minutes)
In your large bowl, whisk together the flour, yeast, and salt. Make a well in the center and pour in the water. Mix with a wooden spoon or your hands until it comes together into a shaggy, sticky ball. It will look messy. That’s fine. It’s supposed to be sticky. Don’t add more flour. Cover the bowl with plastic wrap or a damp towel and let it sit at room temperature for 12-18 hours. This long rise develops the flavor and gluten without any kneading.
Step 2: Shape the Loaf (5 minutes)
After the dough has risen (it should be bubbly and jiggly), turn it out onto a heavily floured surface. Use a bench scraper or your hands to gently fold the edges into the center a few times. You’re creating surface tension. Shape it into a round ball by tucking the edges underneath. Place it seam-side up on a piece of parchment paper dusted with cornmeal. Cover loosely and let it rise for another 1-2 hours. It should look puffy and hold a finger indent when pressed.
Step 3: Preheat the Oven and Pot (30 minutes)
Place your empty Dutch oven (with lid on) into a cold oven. Turn the oven to 450°F (230°C). Let it heat up for at least 30 minutes. The pot needs to be screaming hot to create that steam burst. This is the secret to the crackly crust.
Step 4: Score and Bake (30 minutes)
Carefully remove the hot Dutch oven. Lift the dough by the parchment paper and drop it into the pot. Remove the parchment. Use a sharp knife to score the top with a deep slash. Put the lid on and bake for 30 minutes. The steam trapped inside helps the bread rise and creates the crust.
Step 5: Finish the Crust (15 minutes)
Remove the lid. The bread should be pale but set. Bake for another 15 minutes with the lid off to brown the crust. It should be deep golden brown. If it’s browning too fast, tent it with foil.
Step 6: Cool (1 hour)
Remove the bread from the pot and place it on a cooling rack. Wait at least an hour before cutting. I know, it’s hard. But cutting it hot ruins the texture. Let it rest.
Expert Tips & Tricks
Here’s everything I’ve learned from making this dozens of times. These tips will save you from my mistakes.
Don’t Overmix — The dough is supposed to be sticky. If you try to make it smooth, you’ll add too much flour. The hydration is high, which creates the open crumb. Trust the stickiness.
Time is Your Ingredient — The 12-18 hour rise is non-negotiable. If you rush it, the flavor will be bland. I usually mix it before bed and bake it the next evening. It fits perfectly into a busy schedule.
Score Deeply — Your slash needs to be at least ½ inch deep. Shallow cuts won’t open up properly. A razor blade gives the cleanest cut, but a sharp knife works.
Steam is Key — The lid traps the moisture from the dough. This steam keeps the crust soft initially, allowing the bread to expand fully before it hardens. Without the lid, you get a flat, dense loaf.
Cool Completely — I cannot stress this enough. Cutting hot bread is a sin. The starches are still setting. If you cut it, the inside becomes gummy and wet. Wait the hour.
Variations & Substitutions
Once you’ve nailed the basic version, here’s how you can mix it up. I’ve tried all of these.
Whole Wheat Version — Swap half the all-purpose flour for whole wheat. It adds nuttiness and fiber. The crust might be slightly darker, but it’s delicious.
Rosemary Garlic — Add 1 tablespoon of fresh chopped rosemary and 2 cloves of minced garlic to the dough before the first rise. It smells incredible.
Seeded Loaf — Sprinkle sesame seeds, poppy seeds, or sunflower seeds on top before baking. Brush with water first so they stick.
Cheddar Chive — Fold in ½ cup of shredded cheddar cheese and 2 tablespoons of chopped chives. It’s like a savory dinner roll in loaf form.
Serving & Storage
How to Serve: I serve this warm, torn into pieces. It’s perfect with oven-baked chicken breast and roasted vegetables. It’s also amazing with soup or stew.
Storage: Store leftovers in a paper bag at room temperature for 2 days. The crust will soften, but the flavor remains. For longer storage, slice and freeze. Reheat slices in the toaster.
Reheating: If the bread is stale, spritz it with water and bake at 350°F for 10 minutes. It’ll be crisp again.
Nutrition Information
I’m not a nutritionist, but here’s the breakdown if you’re tracking. Per slice (1/12th of loaf):
- Calories: 110
- Protein: 3g
- Carbs: 22g
- Fat: 0.5g
- Fiber: 1g
It’s relatively low in fat and calories, making it a reasonable side dish. The sodium comes from the salt, so use low-sodium salt if you’re watching intake.
Final Thoughts
So that’s my go-to no-knead Dutch oven bread! I’ve probably talked your ear off at this point, but when you make a recipe this often, you have a lot to say about it. This bread has saved weeknight dinners more times than I can count. It’s my answer to “what’s for dinner” when I’m tired, don’t want takeout, and still want something that tastes really good.
Make it yours! Try different add-ins, swap in your favorite herbs, adjust the salt. The best recipes are the ones you adapt to your family’s tastes. If you make this, drop a comment and let me know what you think! I love hearing how recipes turn out in your kitchen. And if something doesn’t work, tell me that too—I’m here to help troubleshoot.
Frequently Asked Questions
Why did my bread turn out flat?
This usually means the yeast was old or the dough didn’t rise enough. Make sure your yeast is fresh and your kitchen isn’t too cold. Also, don’t punch down the dough after the first rise. You want to keep those air bubbles.
Can I use active dry yeast instead of instant?
Yes, but you may need to let the dough rise a bit longer. Instant yeast is more robust. If using active dry, you can dissolve it in the water first, but it’s not strictly necessary for this recipe.
Why is my crust soft?
If you covered the bread while it was still hot, steam got trapped and softened the crust. Always cool it on a rack with air circulation. If you prefer a softer crust, brush with butter right after baking.
Can I freeze the dough?
Yes! After the first rise, shape the loaf, freeze it on a tray, then transfer to a bag. Thaw overnight in the fridge, then let it rise again before baking.
Do I need to preheat the Dutch oven?
Yes. A cold pot won’t create the steam burst needed for a good rise and crust. The pot must be hot when the dough goes in.
Pin This Recipe!
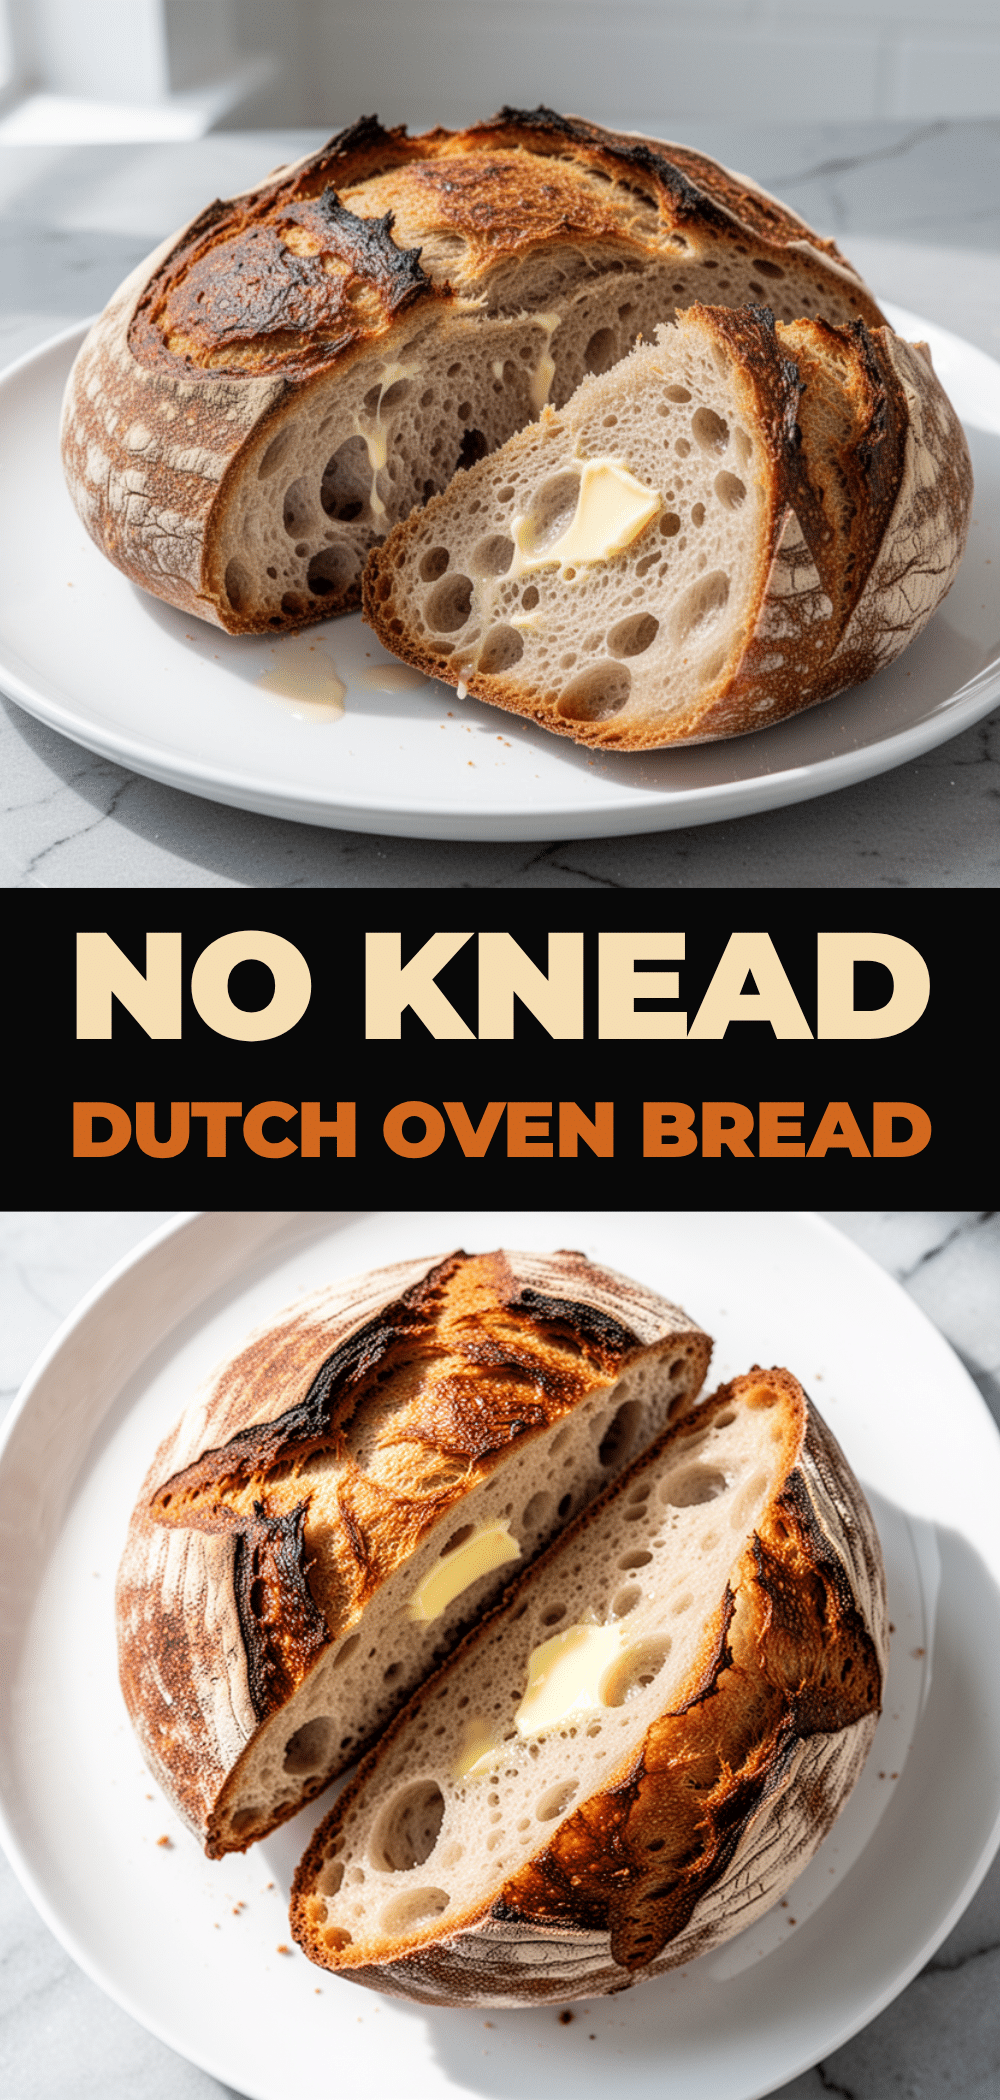
Easy No-Knead Dutch Oven Bread Recipe
- Total Time: 13 hours 55 minutes
- Yield: 1 loaf 1x
Description
A simple, rustic bread with a crackly crust and airy interior that requires no kneading. Made with pantry staples and baked in a Dutch oven for bakery-quality results.
Ingredients
- 425g (3 cups + 2 tablespoons) All-Purpose Flour
- 345ml (1 ½ cups) Water, room temperature
- 1 ¼ teaspoons Instant Yeast
- 1 ½ teaspoons Fine Sea Salt
- Cornmeal or Semolina, for dusting
- Butter or Olive Oil, optional for brushing
Instructions
- In a large bowl, whisk together flour, yeast, and salt. Make a well and pour in water. Mix with a wooden spoon or hands until a shaggy, sticky ball forms. Cover and let sit at room temperature for 12-18 hours.
- Turn the risen, bubbly dough onto a heavily floured surface. Gently fold edges into the center to create surface tension. Shape into a round ball, place seam-side up on parchment paper dusted with cornmeal. Cover loosely and rise for 1-2 hours until puffy.
- Place an empty Dutch oven (with lid) in a cold oven. Turn oven to 450°F (230°C) and preheat for at least 30 minutes.
- Carefully remove the hot Dutch oven. Lift the dough by the parchment paper and drop it into the pot. Remove parchment. Score the top deeply with a sharp knife or razor blade. Cover and bake for 30 minutes.
- Remove the lid and bake for another 15 minutes to brown the crust. If browning too fast, tent with foil.
- Remove bread from pot and place on a cooling rack. Let cool completely for at least 1 hour before cutting.
Notes
The long rise (12-18 hours) is crucial for flavor and texture. Do not add extra flour if the dough is sticky. Ensure the Dutch oven is fully preheated to create steam. Cool the bread completely before cutting to prevent a gummy texture.
- Prep Time: 10 minutes
- Cook Time: 45 minutes
- Category: Side Dish
- Cuisine: American
Nutrition
- Serving Size: 1 slice (1/12th of l
- Calories: 110
- Sodium: 250
- Fat: 0.5
- Carbohydrates: 22
- Fiber: 1
- Protein: 3
Keywords: no-knead bread, dutch oven bread, easy bread recipe, rustic bread, homemade bread, bakery style bread


