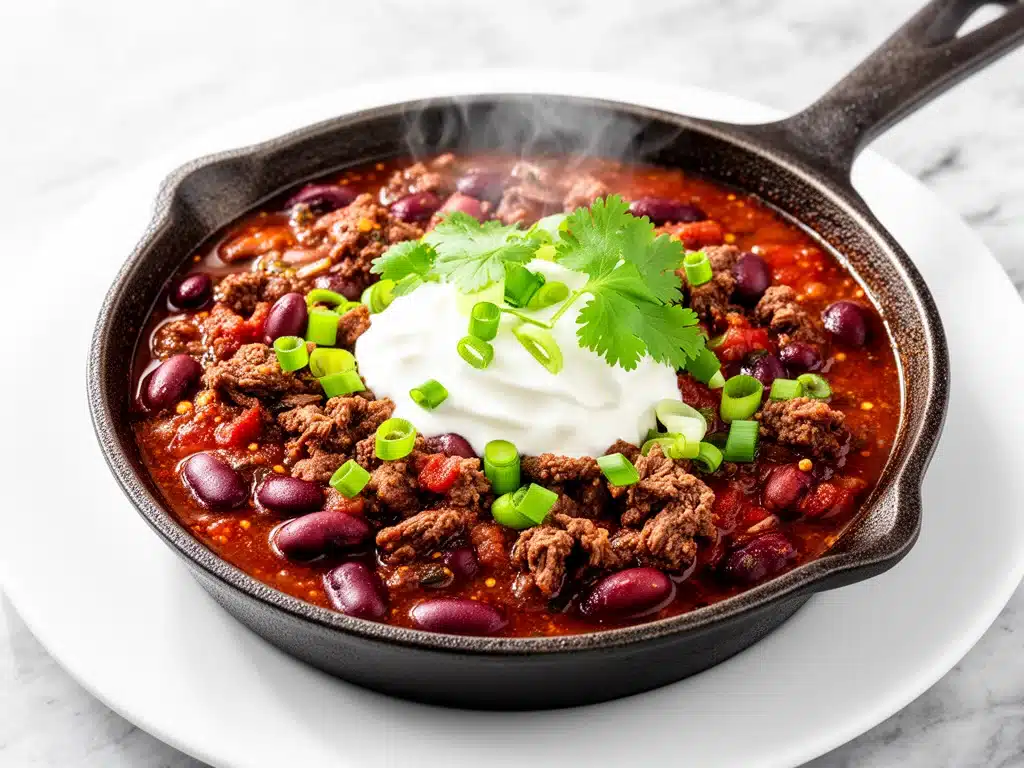
Last Tuesday, I came home from work completely drained. You know that feeling—where your brain is fried, the kids are already in a meltdown over something trivial, and the idea of chopping vegetables feels like climbing Mount Everest. I stared into my fridge, hoping a magical meal would appear, but all I saw was a sad container of leftover ground beef and a can of beans I’d bought three weeks ago and forgotten about.
I didn’t have the energy for a complex recipe. I didn’t want to order takeout (and my wallet certainly didn’t). So I threw together what I thought would be a mediocre, rushed dinner. Ten minutes later, the smell of cumin, smoked paprika, and simmering beef filled the house. My husband walked in, sniffed the air, and actually sighed with relief. “Is that chili?” he asked. “Yes,” I said, “but it’s probably going to be bland because I’m too tired to taste it.”
He took one bite and stopped mid-chew. “This tastes like you spent hours on it,” he said. It wasn’t bland at all. It was rich, spicy, and deeply flavorful. That night, I realized I’d been overcomplicating dinner. I didn’t need a slow-cooker recipe that required planning the night before. I didn’t need a complicated technique. I just needed a solid, reliable classic homemade beef chili that came together in the time it takes to boil water.
Since that Tuesday, I’ve made this classic homemade beef chili at least four times a month. It’s become the anchor of our weeknight routine. It’s forgiving if you’re tired, adaptable if you have weird leftovers in the fridge, and universally loved by everyone from my spice-hating teenage son to my chili-snob mother-in-law. If you’re looking for a dinner that feels like a hug in a bowl but actually comes together in 30 minutes, you’re in the right place. This isn’t just chili; it’s my secret weapon for busy nights.
Why You’ll Love This 30-Minute Beef Chili
There are a lot of chili recipes out there. Some take six hours in a slow cooker. Some require ten different spices you can’t pronounce. This classic homemade beef chili is different. It’s designed for real life. Here’s why it’s earned a permanent spot in my weekly rotation:
- Lightning Fast — Seriously. From thawed ground beef to steaming bowl, it’s 30 minutes. I’ve timed it. 28 minutes, actually. I make this on nights when I get home at 7:15 PM and need dinner on the table by 7:45 PM. No other recipe plays nice with that schedule.
- One-Pot Wonder — You don’t need to dirty a dozen pans. Just one large skillet or Dutch oven. Cleanup takes less time than it takes to eat. This matters when you’re already exhausted. I love a good cleanup as much as the next person, but not on a Tuesday.
- Flavor That Deepens — I know, I know. People say chili needs to sit overnight to taste better. Sure, it does. But this version is so flavorful from the start that you won’t care. The browned beef, the bloomed spices, and the slow-simmered tomatoes create a depth that usually takes hours. I’ve served this to guests who swear I made it days in advance. They’re not wrong to be impressed.
- Freezer-Friendly — I make a double batch every time. I portion it into containers and freeze it for those nights when I’m too tired to even think about cooking. It reheats perfectly—actually, it tastes better the second day. I keep it stocked like I do with slow cooker apple cider pulled pork for easy meal prep.
- Customizable — Hate beans? Leave them out. Love corn? Throw it in. Want it hotter? Add more jalapeño. This recipe is a canvas, not a rigid rulebook. I’ve made it with kidney beans, pinto beans, and no beans at all. It’s always good.
- Budget-Smart — Ground beef, canned tomatoes, onions, peppers, and spices. You probably have half of this already. Feeds 4-6 people for under $20. That’s cheaper than pizza delivery and way healthier.
Bottom line? This is my go-to when I need dinner to just work. No stress, no fancy ingredients, just reliable, delicious food that makes everyone happy. It’s the classic homemade beef chili I wish I’d discovered years ago.
Ingredients You’ll Need for Classic Homemade Beef Chili
Here’s the best part: you probably have most of this already. This isn’t a recipe that requires a special trip to a specialty store. It’s pantry-friendly, freezer-staple, and simple. I’m particular about three things here—the quality of your cumin, the type of tomatoes, and the beef itself. But for the rest? Keep it simple.
For the Base:
Ground beef (1.5 lbs / 680g) — I use 80/20 fat ratio. Yes, fat. Lean beef makes chili dry and bland. The fat carries the flavor. If you’re health-conscious, 90/10 works, but add a tablespoon of olive oil to the pan. I’ve tried lean, and it’s just not the same. The 80/20 gives it that rich, hearty texture.
Yellow onion (1 large, diced / about 300g) — Sweet and savory. White onions work too, but yellow has better depth when cooked down. I dice it finely so it melts into the sauce.
Red bell pepper (1 medium, diced / about 150g) — Adds sweetness and color. Green peppers work but are more bitter. Red is sweeter and blends better with the spices.
Garlic (4 cloves, minced / about 2 tablespoons) — Fresh only. No jarred garlic for this. It tastes metallic and kills the fresh flavor. Mincing takes two minutes. Do it.
For the Flavor:
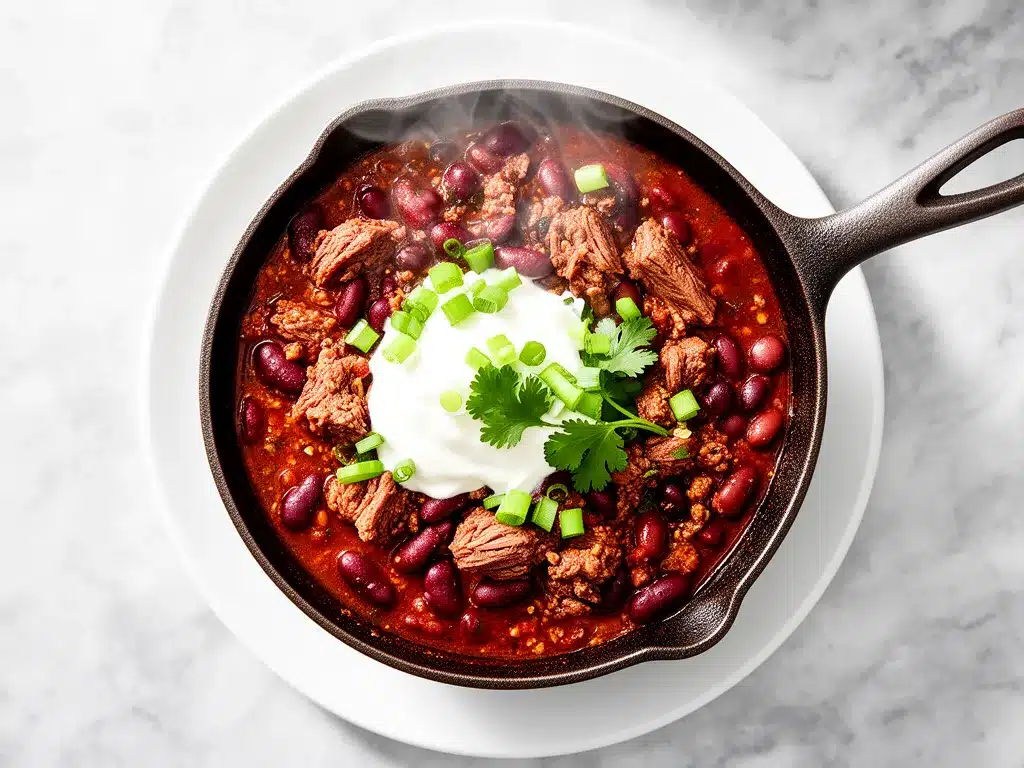
Chili powder (2 tablespoons) — This is the main spice. Use a good brand like McCormick or Badia. If you’re feeling fancy, make your own blend (I’ll share that in the tips).
Cumin (1 tablespoon, ground) — This is non-negotiable. Cumin is the soul of chili. If your cumin smells faint, buy new. It’s cheap and makes a huge difference.
Smoked paprika (1 teaspoon) — This adds that smoky, BBQ-like depth without actual smoking. It’s the secret weapon. I learned this from making creamy pumpkin alfredo pasta, where smoked paprika added a similar depth to the sauce.
Hot sauce (1-2 teaspoons) — I use Crystal or Tabasco. It adds brightness and heat, not just spice. Adjust to taste.
Bay leaf (1 whole) — Adds subtle herbal notes. Remove before serving. I always forget to remove it once. Don’t be me.
For the Body:
Crushed tomatoes (28 oz / 800g can) — I use San Marzano if I can find them. They’re sweeter and less acidic. Regular crushed tomatoes work fine too. Do not use diced tomatoes—they don’t break down enough.
Tomato paste (2 tablespoons) — Concentrates the tomato flavor. I fry it in the oil for a minute before adding liquids. It caramelizes slightly and adds richness.
Beef broth (1 cup / 240ml) — Low sodium so you can control the salt. Beef broth makes it hearty. Chicken broth works but is lighter.
Beans (2 cans, 15 oz each / 425g each) — Kidney beans are classic. Pinto beans are creamier. Black beans are earthy. I use kidney and pinto. Drain and rinse them well to remove the metallic tin taste.
Optional Add-ins:
Jalapeño (1, finely diced) — For extra heat. Remove seeds for less heat. I keep the seeds in because I like it spicy.
Corn (1 cup, frozen or canned) — Adds sweetness and crunch. I throw this in at the end so it doesn’t get mushy.
Dark chocolate (1 square, 70% cocoa) — Yes, really. It adds depth and richness, not sweetness. I learned this trick from a chef friend. It’s subtle but amazing.
Equipment Needed
You don’t need fancy equipment for this. Here’s what I actually use:
Large Dutch oven or heavy-bottomed skillet — I use a 6-quart Dutch oven. It holds everything comfortably and distributes heat evenly. If you don’t have one, a large skillet (12-inch) works, but you might need to cook in batches if you’re making a double batch. Cast iron is great for this.
Wooden spoon — For stirring. Silicone works too. Don’t use metal on non-stick.
Sharp knife — For chopping onions and peppers. Dull knives make you cry more—learned this the hard way.
Colander — For draining beans. Or just use a sieve if you’re being lazy.
Can opener — Obvious, but essential. I use the manual one because the electric one scares me.
Measuring spoons — For spices. Precision matters here, especially with cumin and chili powder.
Optional but nice:
- Ladle — For serving. Makes it easier to get a good mix of meat, beans, and sauce.
- Microplane — For grating the chocolate if you’re using it.
How to Make It: Step-by-Step
Alright, let’s make this! I’m walking you through exactly how I do it, including the little tricks I’ve picked up over dozens of batches.
Step 1: Prep Your Ingredients (5 minutes)
Before you start cooking, dice your onion, mince your garlic, and chop your bell pepper. Drain and rinse your beans. Measure out your spices. I know it seems fussy, but it makes the actual cooking way less stressful. Once you start browning the beef, things move fast. Have everything ready to go.
Step 2: Brown the Beef (8-10 minutes)
Heat your Dutch oven or skillet over medium-high heat. Add the ground beef. Break it up with your wooden spoon as it cooks. Don’t let it sit in one big chunk. You want it browned and crumbly, not pink. This takes about 8 minutes. Drain excess fat if there’s too much (leave about 1 tablespoon for flavor). The browning creates fond (those brown bits) at the bottom of the pan. That fond is flavor gold. Don’t scrub it away.
Step 3: Sauté the Aromatics (3-4 minutes)
Add the diced onion and bell pepper to the beef. Cook for 3-4 minutes until softened. Add the minced garlic and cook for 1 minute more. The garlic should smell fragrant, not brown. Browned garlic tastes bitter. Stir constantly.
Step 4: Bloom the Spices (1-2 minutes)
Turn the heat to medium-low. Add the chili powder, cumin, smoked paprika, and salt. Stir constantly for 1-2 minutes. This “blooms” the spices, releasing their essential oils and deepening their flavor. It’s a small step that makes a huge difference. The mixture will look pasty and smell amazing. If it starts to burn, add a splash of beef broth to deglaze.
Step 5: Build the Sauce (5 minutes)
Add the tomato paste. Stir it into the beef and spice mixture. Cook for 1 minute to caramelize slightly. Then add the crushed tomatoes, beef broth, hot sauce, and bay leaf. Stir well to combine, scraping up any browned bits from the bottom of the pan. Bring it to a simmer.
Step 6: Simmer and Add Beans (10-12 minutes)
Reduce heat to low-medium. Let the chili simmer gently for 10-12 minutes. This allows the flavors to meld and the sauce to thicken. Stir occasionally. Add the drained beans during the last 5 minutes of simmering. If you add them too early, they can break down and make the chili mushy. If you’re adding corn, add it now too.
Step 7: Finish and Taste (2 minutes)
Remove the bay leaf. Taste the chili. This is crucial. Add salt if needed. Add more hot sauce if you want more heat. Add a pinch of sugar if the tomatoes are too acidic. If you’re using chocolate, stir in a square now. It will melt and add richness. Let it sit for 2 minutes before serving. The sauce will thicken slightly as it rests.
Total Time: About 30 minutes (10 minutes active, 20 minutes simmering).
Expert Tips & Tricks
Here’s everything I’ve learned from making this dozens of times. These tips will save you from my mistakes.
Bloom Your Spices
I can’t stress this enough. Adding spices to hot oil for a minute before adding liquids unlocks their full flavor. Raw chili powder tastes dusty. Bloomed chili powder tastes deep and complex. It’s the difference between okay and amazing.
Don’t Skip the Browning
If you just boil the beef, you miss out on the Maillard reaction—that chemical process that creates those savory, roasted flavors. Brown the beef well. It’s worth the extra 5 minutes.
Control the Heat
Simmer, don’t boil. A rolling boil breaks down the beans and makes the sauce watery. A gentle simmer keeps everything intact and concentrates flavors. If it’s bubbling too hard, turn the heat down.
Acidity Balance
Tomatoes can be acidic. If your chili tastes sharp, add a pinch of sugar or a square of dark chocolate. It doesn’t make it sweet; it rounds out the edges. I learned this from making fluffy buttermilk pancakes, where balancing acidity is key to flavor.
Make-Ahead Strategy
Chili tastes better the next day. The flavors meld overnight. Make it on Sunday, store in the fridge, and reheat on Wednesday. It’s even better. Just add a splash of broth when reheating to loosen it up.
Variations & Substitutions
Once you’ve nailed the basic version, here’s how you can mix it up. I’ve tried all of these.
Turkey Chili
Swap ground beef for ground turkey. Use 93% lean. Add an extra tablespoon of olive oil since turkey is leaner. It’s lighter but still flavorful. My weight-loss friend loves this version.
Vegetarian Chili
Skip the beef. Use extra beans (black beans and kidney beans) and add diced mushrooms for umami. Saute the mushrooms until browned to mimic the meat texture. It’s hearty and satisfying.
Chicken Chili
Use shredded rotisserie chicken. Add it at the end just to warm through. Use chicken broth instead of beef. Add green chiles and corn for a Southwest vibe.
Spicy Chili
Add diced jalapeños with the onions. Use a hotter hot sauce. Add a pinch of cayenne pepper. I make this for my husband who loves heat.
Chili Con Queso
Stir in 1 cup of shredded cheddar cheese at the end. It turns it into a creamy, cheesy mess. My kids love this version.
Dietary Modifications:
- Gluten-Free — Naturally gluten-free. Just check your chili powder and hot sauce labels to ensure no cross-contamination.
- Dairy-Free — Naturally dairy-free. Skip the cheese topping.
- Lower-Sodium — Use low-sodium broth and no-salt-added canned tomatoes. Control salt at the end.
Serving & Storage
How to Serve:
I usually serve this straight from the pot at the dinner table. It looks rustic and stays warm. But here are other ways I’ve enjoyed it:
Classic Toppings:
- Shredded cheddar cheese
- Sour cream or Greek yogurt
- Diced white onion
- Fresh cilantro
- Crushed tortilla chips
- Lime wedges
Side Dishes:
- Cornbread (obviously)
- Simple green salad
- White rice
- Tortillas for burritos
Storage Instructions:
Refrigerator:
Store in an airtight container for up to 5 days. The flavors actually improve after day 2.
Freezer:
Chili freezes beautifully. Portion into containers or freezer bags. Freeze for up to 3 months. Thaw in the fridge overnight and reheat on the stove. It reheats perfectly.
Reheating:
Reheat gently on the stove over low-medium heat. Add a splash of broth or water if it’s too thick. Stir occasionally. Microwave works but can dry it out. If microwaving, add a splash of liquid and cover.
Nutrition Information
I’m not a nutritionist, but here’s the breakdown if you’re tracking. This is per serving (based on 6 servings).
| Nutrient | Amount |
|---|---|
| Calories | 380 |
| Protein | 28g |
| Carbs | 35g |
| Fiber | 12g |
| Sugar | 8g |
| Fat | 14g |
| Saturated Fat | 5g |
| Sodium | 650mg |
What’s Good:
High in protein and fiber. Good source of iron and vitamins from the vegetables. It’s filling and satisfying.
What to Know:
Higher in sodium due to canned tomatoes and broth. Use low-sodium versions to reduce. Contains beef fat. Can be made lighter with turkey.
My Take:
Look, this is comfort food. It’s hearty and filling. It’s not a diet recipe, but it’s balanced. When I want to make it lighter, I use turkey and skip the cheese. But usually? I just enjoy a reasonable portion and savor it.
Final Thoughts
So that’s my go-to classic homemade beef chili! I’ve probably talked your ear off at this point, but when you make a recipe this often, you have a lot to say about it.
This has saved weeknight dinners more times than I can count. It’s my answer to “what’s for dinner” when I’m tired, don’t want takeout, and still want something that tastes really good. My kids are happy, my husband’s happy, and I’m happy because I’m not stressed about cooking.
Make it yours! Try different add-ins, swap in your favorite vegetables, adjust the spice level. The best recipes are the ones you adapt to your family’s tastes. And don’t be afraid to double the batch. Freeze it for a rainy day.
If you make this, drop a comment and let me know what you think! I love hearing how recipes turn out in your kitchen. And if something doesn’t work, tell me that too—I’m here to help troubleshoot.
Happy cooking! And I hope your kitchen smells half as good as mine does right now.
Frequently Asked Questions
Can I make this chili ahead of time?
Absolutely. In fact, it tastes better the next day. The flavors meld overnight. Make it on Sunday, store in the fridge, and reheat on Wednesday. Just add a splash of broth when reheating to loosen it up. I do this all the time for meal prep.
Why is my chili too watery?
Usually means you didn’t simmer it long enough, or you added too much liquid. Let it simmer uncovered for 10-15 more minutes to reduce. Also, make sure you’re using crushed tomatoes, not diced, which release more water. If it’s still watery, add a tablespoon of tomato paste and cook for a few minutes.
Can I use ground turkey instead of beef?
Yes! Use 93% lean ground turkey. Add an extra tablespoon of olive oil since turkey is leaner. It’s lighter but still flavorful. My weight-loss friend loves this version. Just brown it well to get that savory flavor.
How do I store leftover chili?
Store in an airtight container in the fridge for up to 5 days. It freezes beautifully for up to 3 months. Portion into containers or freezer bags. Thaw in the fridge overnight and reheat on the stove.
Can I freeze chili with beans?
Yes. Beans freeze well in chili. Some people worry they get mushy, but they hold up fine if you reheat gently. Just don’t overcook them when reheating. I freeze chili with beans all the time.
What’s the best way to reheat chili?
Best method: Reheat gently on the stove over low-medium heat. Add a splash of broth or water. Stir occasionally. Microwave works but can dry it out. If microwaving, add a splash of liquid and cover. Never boil it when reheating—it can break down the beans.
Can I make this in a slow cooker?
Yes, but it takes longer. Brown the beef and sauté the onions first (this step is crucial for flavor), then add everything to the slow cooker. Cook on low for 6-8 hours or high for 3-4 hours. But for busy weeknights, the stovetop version is faster and just as good.
Pin This Recipe!
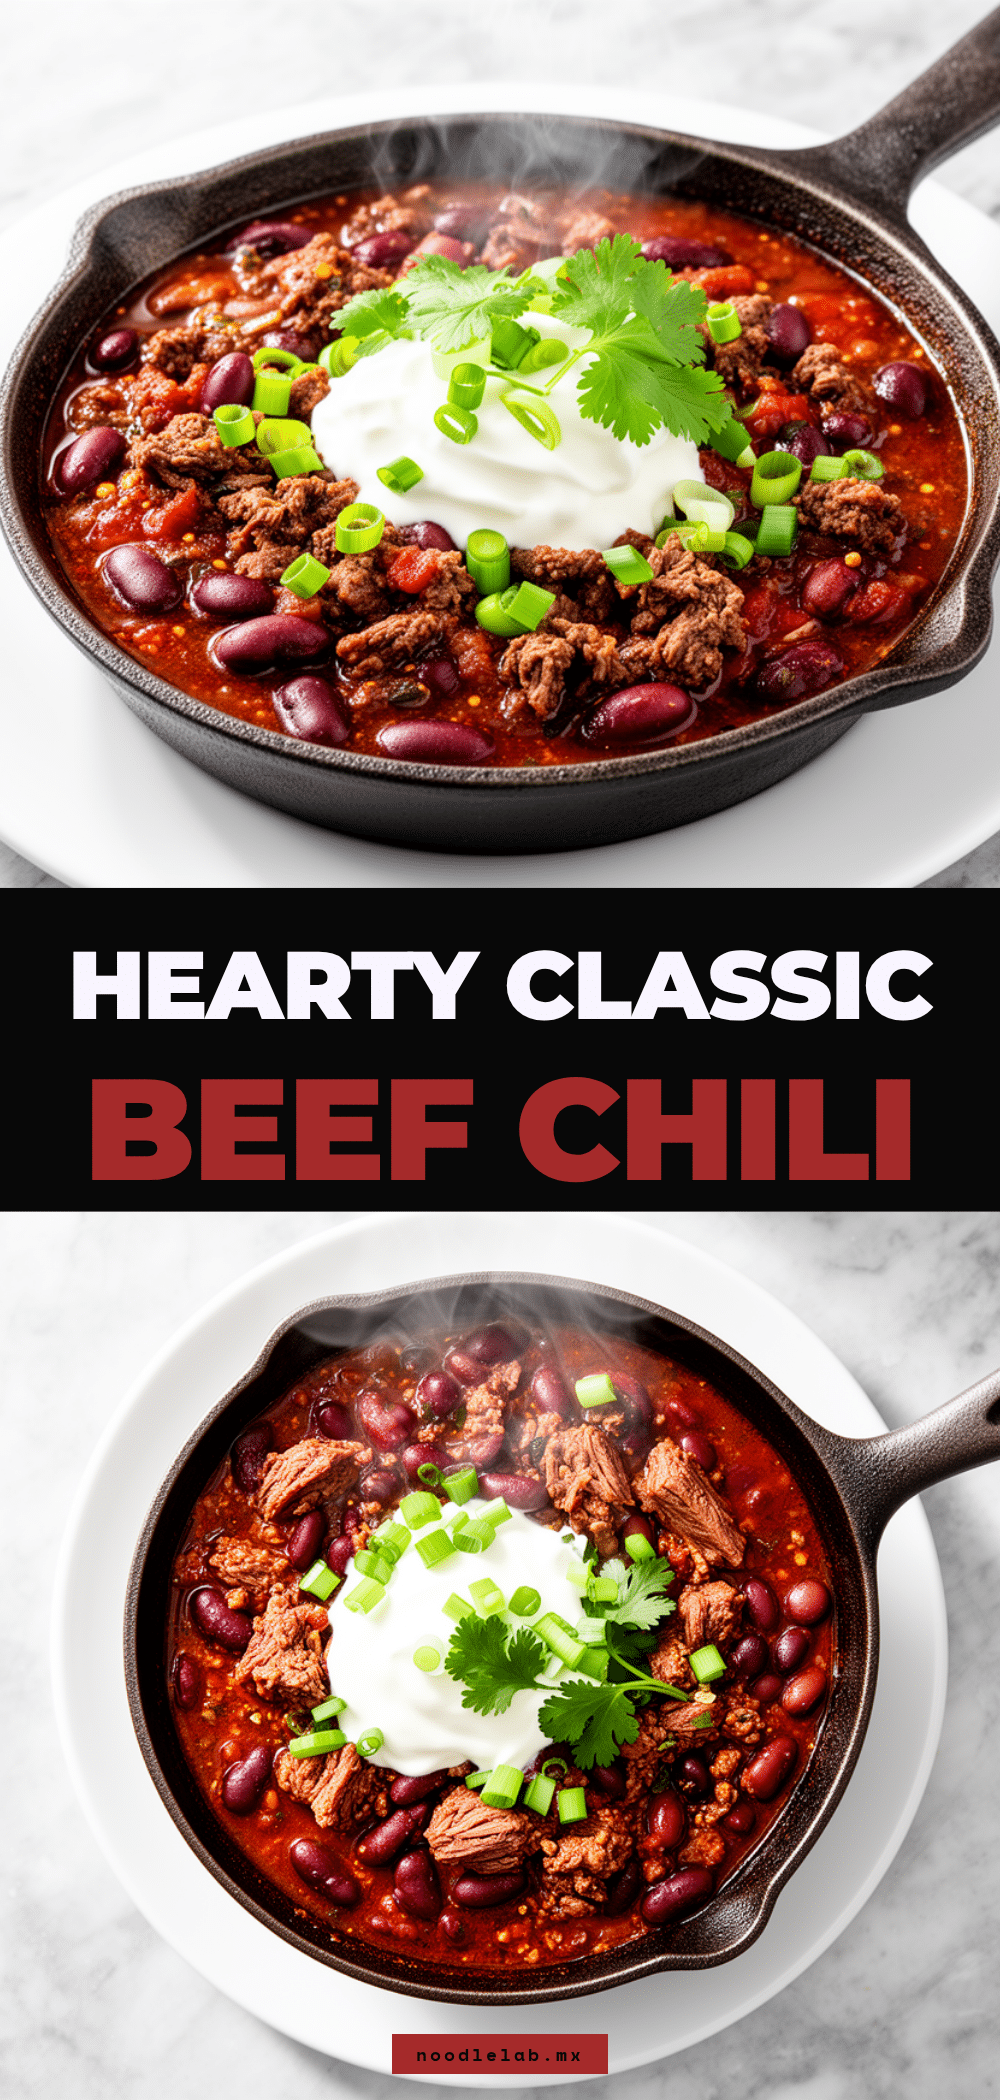

Classic Homemade Beef Chili: 30-Minute Easy Weeknight Dinner
- Total Time: 30 minutes
- Yield: 6 servings 1x
Description
A rich, spicy, and deeply flavorful beef chili that comes together in just 30 minutes. This one-pot wonder is perfect for busy weeknights, freezer-friendly, and customizable to your taste.
Ingredients
- 1.5 lbs ground beef (80/20 fat ratio)
- 1 large yellow onion, diced
- 1 medium red bell pepper, diced
- 4 cloves garlic, minced
- 2 tablespoons chili powder
- 1 tablespoon ground cumin
- 1 teaspoon smoked paprika
- 1–2 teaspoons hot sauce (e.g., Crystal or Tabasco)
- 1 whole bay leaf
- 28 oz can crushed tomatoes
- 2 tablespoons tomato paste
- 1 cup beef broth (low sodium)
- 2 cans (15 oz each) kidney beans, drained and rinsed
- 1 jalapeño, finely diced (optional)
- 1 cup corn, frozen or canned (optional)
- 1 square dark chocolate (70% cocoa, optional)
Instructions
- Prep ingredients: Dice onion, mince garlic, chop bell pepper, and drain/rinse beans. Measure spices.
- Brown the beef: Heat a large Dutch oven or skillet over medium-high heat. Add ground beef and break it up. Cook for 8-10 minutes until browned and crumbly. Drain excess fat, leaving about 1 tablespoon.
- Sauté aromatics: Add diced onion and bell pepper to the beef. Cook for 3-4 minutes until softened. Add minced garlic and cook for 1 minute more until fragrant.
- Bloom spices: Reduce heat to medium-low. Add chili powder, cumin, smoked paprika, and salt. Stir constantly for 1-2 minutes to release oils. If it starts to burn, add a splash of beef broth.
- Build the sauce: Stir in tomato paste and cook for 1 minute. Add crushed tomatoes, beef broth, hot sauce, and bay leaf. Stir well to combine and scrape up browned bits from the bottom. Bring to a simmer.
- Simmer and add beans: Reduce heat to low-medium. Simmer gently for 10-12 minutes to thicken. Add drained beans during the last 5 minutes. Add corn now if using.
- Finish and taste: Remove bay leaf. Taste and adjust seasoning with salt, hot sauce, or a pinch of sugar if needed. Stir in dark chocolate if using. Let sit for 2 minutes before serving.
Notes
Browning the beef creates fond which adds deep flavor. Blooming the spices in oil unlocks their full potential. Chili tastes better the next day as flavors meld. Use low-sodium broth and tomatoes to control salt levels. If using lean beef, add a tablespoon of olive oil.
- Prep Time: 10 minutes
- Cook Time: 20 minutes
- Category: Main Course
- Cuisine: American
Nutrition
- Serving Size: 1 bowl
- Calories: 380
- Sugar: 8
- Sodium: 650
- Fat: 14
- Saturated Fat: 5
- Carbohydrates: 35
- Fiber: 12
- Protein: 28
Keywords: beef chili, weeknight dinner, 30 minute meals, one pot recipe, easy chili, homemade chili, freezer friendly, comfort food


