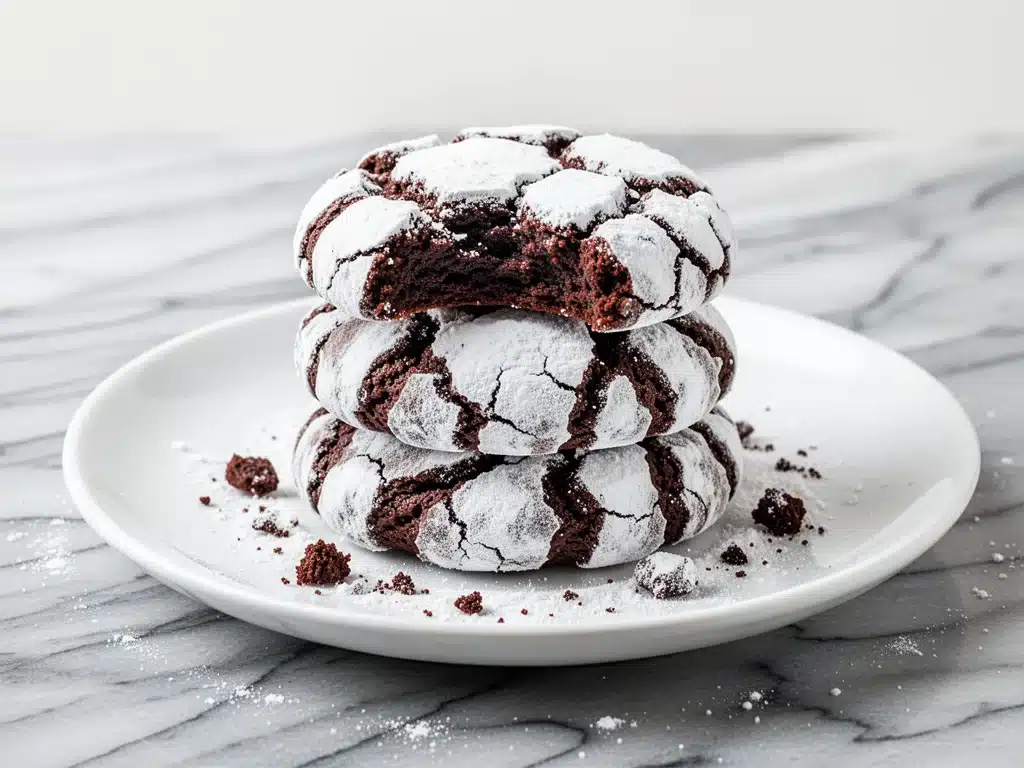
I have a confession to make. Last week, I stood in my kitchen at 11 PM, eating chocolate cookie dough straight out of the bowl, and I didn’t even care that my husband was asleep upstairs. It wasn’t just any cookie dough. It was the kind that smells like warm brownies and promises happiness. And that dough came from these chewy chocolate crinkle cookies.
For years, I avoided crinkle cookies. I thought they were too much work. I thought the rolling in powdered sugar was a mess I didn’t want to deal with. I thought the “crackle” was just marketing hype for a cookie that would turn into flat, dry discs by the time they cooled. I was wrong. So, so wrong.
These aren’t your average chocolate cookies. They are soft, fudgy centers wrapped in a delicate, sweet, snowy shell that cracks open to reveal the dark, rich chocolate inside. They are the kind of cookies that disappear from the cooling rack before they’re even done. I’ve made them for holiday parties, for last-minute dinner guests, and just because I wanted something sweet with my morning coffee. Every single time, they come out perfectly. The contrast between the crisp, sugary exterior and the chewy, almost brownie-like interior is absolute magic.
If you’ve ever struggled with cookies that spread too much or turn out cakey, this is your fix. This chewy chocolate crinkle cookies recipe is designed to be forgiving, easy, and incredibly rewarding. You don’t need fancy equipment. You don’t need hours of chilling time (though I do recommend a quick chill for the best results). You just need a few pantry staples and a willingness to eat a few raw cookies during the process. Trust me, it’s part of the fun.
I’ve tested this recipe more times than I care to admit. I’ve tweaked the cocoa powder ratios, experimented with different sugars, and even tried substituting ingredients to see what worked. The result? A foolproof method that guarantees that signature crinkle pattern every single time. Whether you’re a seasoned baker or just starting out, this is a recipe you’ll want to keep close. It’s better than any store-bought cookie and way easier than you think.
Why You’ll Love This Recipe
There are plenty of chocolate cookie recipes out there. So why this one? Why spend your Saturday making these when you could just buy a box of Girl Scout cookies? Because these are different. These are the cookies that make people ask for your number. These are the cookies that vanish in minutes.
Here’s why these chewy chocolate crinkle cookies have taken over my kitchen:
- The Texture is Unbeatable — I’m talking fudgy, chewy, almost brownie-like centers with a crisp, sugary crust. It’s the best of both worlds. I’ve tried other chocolate cookies, but none compare to this specific chew. It’s dense but not heavy, sweet but not cloying.
- Visual Drama — The “crinkle” isn’t subtle. It’s dramatic. The cookies look like they’ve been dusted in snow. They look professional, like they came from a high-end bakery. I’ve served these at potlucks and watched people stare at them before even taking a bite. The powdered sugar coating creates beautiful cracks that are purely aesthetic joy.
- Stupid Simple Ingredients — You probably have most of this already. Cocoa powder, sugar, flour, eggs, butter. No weird extracts or hard-to-find items. It’s basic baking, done right. If you can make one-bowl banana bread, you can make these cookies. It’s that easy.
- Make-Ahead Friendly — These cookies actually get better after a day or two. The flavors meld, the chewiness intensifies, and they stay soft for days if stored properly. I often make them on Sunday for the week ahead. They’re perfect for lunchboxes or afternoon snacks.
- Guaranteed Crackle — The secret isn’t magic. It’s technique. By rolling them in powdered sugar while they’re still warm-ish and letting them rest, you ensure that signature crackle. I’ve tried skipping steps, and the results were flat. With this method? Perfect cracks every time.
This is my go-to dessert when I need to impress without stressing. It’s reliable, delicious, and makes my house smell like a chocolate factory. Once you make these, you’ll understand why they’re a classic for a reason.
Ingredients You’ll Need
Here’s the best part: you don’t need a specialty store for this. Most of these ingredients are pantry staples. However, quality matters here. Since there aren’t many ingredients, each one plays a huge role in the final taste and texture.
For the Dough
Unsalted butter (1 cup / 226g) — You need room temperature butter. Soft, but not melted. If you melt it, your cookies will spread too much and lose their crinkle. I usually take my butter out 30 minutes before baking. If you’re in a hurry, microwave it in 5-second bursts until it’s just soft. Don’t let it turn to liquid.
Granulated sugar (1 cup / 200g) — This provides structure and a bit of crispness. I use regular white sugar. Don’t try to substitute with brown sugar here, as it will make the cookies too cakey and prevent that nice crackle.
Dark brown sugar (1 cup / 220g, packed) — This is where the chew comes from. The molasses in the brown sugar keeps the cookies soft and fudgy. Pack it down tightly when you measure it. I use a mix of white and brown sugar to balance the crispness and chew.
Eggs (2 large) — Room temperature eggs incorporate better into the dough. If your eggs are cold, just run them under warm water for a minute. They help bind the dough and add richness.
Vanilla extract (2 teaspoons) — Use real vanilla extract, not imitation. It adds depth to the chocolate flavor. I use a good quality pure vanilla. It makes a noticeable difference in the aroma.
All-purpose flour (1 ½ cups / 190g) — Don’t overmeasure! Spoon the flour into your measuring cup and level it off. If you scoop directly from the bag, you’ll pack too much flour in, and your cookies will be dry and crumbly. I’ve made this mistake before, and the cookies turned out more like brownies than cookies.
Cocoa powder (¾ cup / 65g) — This is crucial. Use unsweetened cocoa powder. I prefer Dutch-processed cocoa for a deeper, darker color and richer flavor, but regular natural cocoa works fine too. Just be consistent. Don’t use hot cocoa mix; it has sugar and milk solids that will ruin the texture.
Baking powder (1 teaspoon) — This helps the cookies rise slightly, creating the cracks. Don’t skip it.
Baking soda (½ teaspoon) — This reacts with the acidity in the cocoa and brown sugar to help with browning and spread.
Salt (½ teaspoon) — Even in a sweet cookie, salt is essential. It balances the sweetness and enhances the chocolate flavor. Don’t skip it, or the cookies will taste flat.
For the Coating
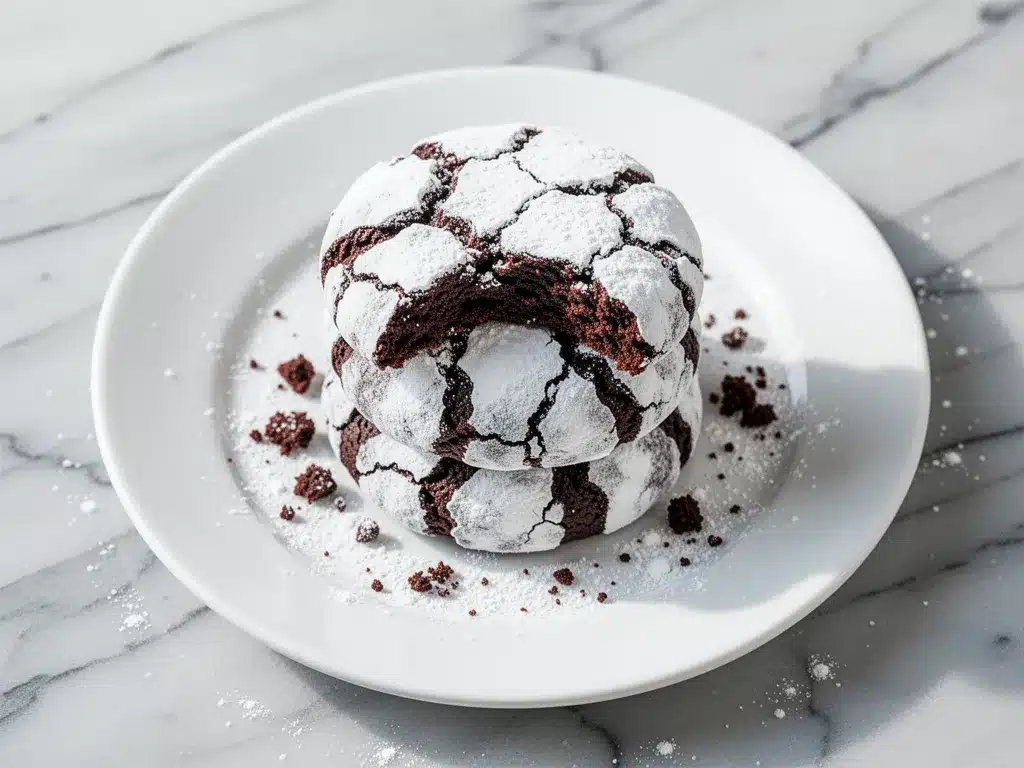
Confectioners’ sugar (Powdered sugar) (1 ½ cups / 180g) — This is for rolling the dough balls. Use a fine-mesh sieve if your sugar has lumps. You want a smooth, snowy coating. I always have a bag of this in my pantry because it’s so versatile. If you don’t have it, you can make your own by blending granulated sugar with a little cornstarch in a blender, but buying it is easier.
Equipment Needed
You don’t need fancy gadgets for this. Here’s what I actually use:
Mixing bowls — I use a large bowl for the wet ingredients and a medium bowl for the dry. Two bowls keep things organized and prevent mess.
Electric mixer — A hand mixer or stand mixer makes creaming the butter and sugars much easier. You can do it by hand, but it takes elbow grease. I prefer the mixer for consistent results.
Measuring cups and spoons — Accurate measurements are key in baking. I use standard measuring cups for dry ingredients and liquid measuring cups for wet ones.
Baking sheets — I use standard half-sheet pans. Light-colored aluminum pans are best because they don’t brown the bottoms too quickly. Dark pans can cause the edges to burn.
Parchment paper — Line your baking sheets with parchment. It prevents sticking and makes cleanup a breeze. I never bake these on bare sheets; the sugar coating can caramelize and stick.
Cookie scoop — A 1.5-tablespoon scoop ensures uniform size. Uniform size means even baking. I use a spring-loaded scoop because it’s fast and consistent.
Cooling rack — Needed to cool the cookies after baking. This stops the cooking process and lets them set.
How to Make It: Step-by-Step
Alright, let’s make these! I’m walking you through exactly how I do it. It’s simple, but there are a few tricks to get that perfect crinkle.
Step 1: Prep Your Oven and Pans
Preheat your oven to 350°F (175°C). Line two large baking sheets with parchment paper. This step is non-negotiable. If you skip it, your cookies will stick, and the powdered sugar will burn onto the pan.
Step 2: Cream the Butter and Sugars
In a large bowl, beat the room-temperature butter, granulated sugar, and brown sugar together on medium-high speed for about 3-4 minutes. You want this mixture to be light, fluffy, and pale. This step incorporates air, which helps with the texture. Don’t rush this. If the mixture looks dense, keep beating. It should look like whipped frosting.
Step 3: Add Eggs and Vanilla
Add the eggs one at a time, beating well after each addition. Mix in the vanilla extract. Scrape down the sides of the bowl with a spatula to ensure everything is combined. The mixture might look slightly curdled at first—that’s okay. It will come together once you add the dry ingredients.
Step 4: Mix Dry Ingredients Separately
In a separate medium bowl, whisk together the flour, cocoa powder, baking powder, baking soda, and salt. Whisking the dry ingredients ensures there are no lumps of cocoa powder in your final dough. It also distributes the leavening agents evenly.
Step 5: Combine Wet and Dry
Gradually add the dry ingredients to the wet mixture. Mix on low speed just until combined. Do not overmix! Once the flour disappears, stop mixing. Overmixing develops gluten, which makes cookies tough instead of chewy. The dough should be thick and sticky.
Step 6: Chill the Dough (Crucial Step)
Cover the bowl with plastic wrap and refrigerate for at least 1 hour, or up to 24 hours. I know this is a pain, but it’s essential. Chilling the dough firms up the butter, which prevents the cookies from spreading too much. If you skip this, you’ll get flat, greasy cookies. If you’re short on time, you can freeze the dough for 30 minutes, but the fridge is better for flavor development.
Step 7: Roll in Powdered Sugar
Once the dough is chilled, scoop out tablespoon-sized portions. Roll each ball in your hands to make them smooth. Then, roll each ball generously in the confectioners’ sugar. You want a thick, even coating. Don’t be shy with the sugar; it’s what creates the crinkle. Place the coated balls on the prepared baking sheets, leaving about 2 inches between them for spreading.
Step 8: Bake
Bake for 9-11 minutes. The cookies should look set on the outside but still soft in the center. They will crack as they bake. Do not overbake! They will continue to cook on the hot baking sheet after you take them out. If you bake them until they look firm, they’ll be dry.
Step 9: Cool
Let the cookies cool on the baking sheet for 5 minutes. Then transfer them to a wire rack to cool completely. If you try to move them while they’re hot, they’ll break. The powdered sugar coating might melt slightly, but it will re-harden as they cool.
Expert Tips & Tricks
Here’s everything I’ve learned from making these dozens of times. These tips will save you from my mistakes.
Don’t Skip the Chill
I cannot stress this enough. The chill is what makes the cookies hold their shape and create the cracks. Warm dough spreads instantly in the oven. Cold dough takes time to melt, allowing the center to rise and the exterior to crack. If you’re in a hurry, freeze the dough balls for 20 minutes instead of chilling the whole batch.
Use a Cookie Scoop
Uniformity is key. If your cookies are different sizes, they’ll bake at different rates. Small ones will burn; large ones will be undercooked. A cookie scoop ensures every cookie is the same size, so they bake evenly.
Generous Sugar Coating
Roll the dough balls in enough powdered sugar that they’re almost white. If the coating is too thin, you won’t get the dramatic crinkle. The sugar needs to have enough volume to crack as the cookie expands.
Watch the Oven
Ovens vary. Start checking your cookies at 9 minutes. They should look slightly underdone in the center. If they look firm, they’re done. They will firm up as they cool. If you wait until they look perfect in the oven, they’ll be dry by the time they cool.
Store Properly
Store cookies in an airtight container at room temperature for up to 5 days. If they start to soften, you can refresh them by baking at 300°F for 2 minutes. Don’t refrigerate them; they’ll lose their chew.
Double the Batch
These freeze beautifully. You can freeze the dough balls on a baking sheet, then transfer them to a bag. Bake from frozen, adding 1-2 minutes to the bake time. This is my favorite meal prep hack for dessert.
Variations & Substitutions
Once you’ve nailed the basic version, here’s how you can mix it up. I’ve tried all of these.
Add-ins
Chopped walnuts or pecans add a nice crunch. I fold 1 cup of toasted nuts into the dough before scooping. It adds texture and breaks up the monotony of pure chocolate.
White Chocolate Drizzle
Melt white chocolate and drizzle it over the cooled cookies. It adds a sweet, creamy contrast to the dark chocolate. I do this for holidays, but it’s delicious any time.
Mint Crinkle Cookies
Add ½ teaspoon of peppermint extract to the dough. Sprinkle crushed candy canes on top before baking. These are perfect for Christmas.
Gluten-Free Option
Use a 1:1 gluten-free flour blend. The texture might be slightly more crumbly, but it still works. I’ve used Bob’s Red Mill 1:1 blend with success.
Dairy-Free Option
Use dairy-free butter sticks. The texture should be similar. Make sure your chocolate chips (if adding) are dairy-free too.
Espresso Crinkle Cookies
Add 1 teaspoon of instant espresso powder to the dry ingredients. It enhances the chocolate flavor without making the cookies taste like coffee. It’s a subtle boost that makes the chocolate taste richer.
Serving & Storage
How to Serve:
I serve these warm with a glass of cold milk. It’s the classic combo. But they’re also great with coffee or tea. I often set them out on a platter with a dusting of extra powdered sugar for a festive look. They’re perfect for holiday parties, potlucks, or just a Tuesday night treat.
Storage Instructions:
Refrigerator: Not recommended. Refrigeration dries out cookies.
Room Temperature: Store in an airtight container for up to 5 days. Place a piece of bread in the container to keep them soft. The bread will harden, but the cookies will stay chewy.
Freezer: Freeze baked cookies in an airtight container for up to 3 months. Thaw at room temperature before serving. Or freeze the dough balls and bake as needed.
Pro tip: If the powdered sugar coating melts slightly during storage, just roll them in fresh powdered sugar before serving. They’ll look brand new.
Nutrition Information
I’m not a nutritionist, but here’s the breakdown if you’re tracking. Keep in mind that these are rich cookies, so portion control is key.
Per Cookie (makes about 24 cookies):
- Calories: 180
- Protein: 2g
- Carbs: 24g
- Fiber: 1g
- Sugar: 16g
- Fat: 9g
- Saturated Fat: 5g
- Cholesterol: 25mg
- Sodium: 80mg
What’s Good:
They provide a quick energy boost from the sugar. The cocoa powder has some antioxidants.
What to Know:
Higher in sugar and saturated fat. Use this as an occasional treat. If you want a lighter option, try my Mediterranean falafel bowl for a savory, healthy meal instead.
Final Thoughts
So that’s my go-to chewy chocolate crinkle cookies recipe! I’ve probably talked your ear off at this point, but when you make a recipe this often, you have a lot to say about it.
This has saved my dessert game more times than I can count. It’s my answer to “what should I bring?” when invited to a party. It’s my go-to when I need to comfort my kids after a bad day. And it’s my favorite way to use up extra cocoa powder.
Make it yours! Try different add-ins, adjust the sugar, or experiment with extracts. The best recipes are the ones you adapt to your family’s tastes. If you make these, drop a comment and let me know what you think! I love hearing how recipes turn out in your kitchen. And if something doesn’t work, tell me that too—I’m here to help troubleshoot.
Happy baking! And I hope your kitchen smells half as good as mine does right now.
Frequently Asked Questions
Q: Can I use melted butter instead of room temperature butter?
A: You can, but the results will be different. Melted butter makes the cookies denser and cakier, and they won’t spread as much, so the crinkle might be less dramatic. Room temperature butter is key for that light, chewy texture. If you must use melted butter, chill the dough longer to compensate.
Q: Why didn’t my cookies crack?
A: This usually happens if the dough wasn’t chilled enough, or if you didn’t roll them in enough powdered sugar. The sugar coating needs to be thick to crack as the cookie expands. Also, if your oven is too hot, the cookies might set too quickly before they can crack. Try lowering the oven temperature by 25°F.
Q: Can I freeze the dough?
A: Absolutely! Scoop the dough into balls, roll them in powdered sugar, and freeze them on a baking sheet. Once frozen, transfer them to a bag. Bake from frozen, adding 1-2 minutes to the bake time. This is great for having fresh cookies on demand.
Q: Can I substitute cocoa powder with chocolate chips?
A: No, not directly. Cocoa powder provides the chocolate flavor and structure. If you want chocolate chips, add them as an in addition to the cocoa powder. Don’t try to replace the cocoa with chips, or the dough will be too wet and sweet.
Q: How do I store these cookies?
A: Store them in an airtight container at room temperature for up to 5 days. If they start to soften, you can refresh them by baking at 300°F for 2 minutes. Don’t refrigerate them, as they’ll lose their chew.
Q: Can I make these gluten-free?
A: Yes! Use a 1:1 gluten-free flour blend. The texture might be slightly more crumbly, but it still works. I’ve used Bob’s Red Mill 1:1 blend with success. Make sure your baking powder is also gluten-free.
Q: Can I make these dairy-free?
A: Yes! Use dairy-free butter sticks. The texture should be similar. Make sure your powdered sugar is dairy-free (some brands use bone char, though it’s rare now). Check the label to be sure.
Pin This Recipe!
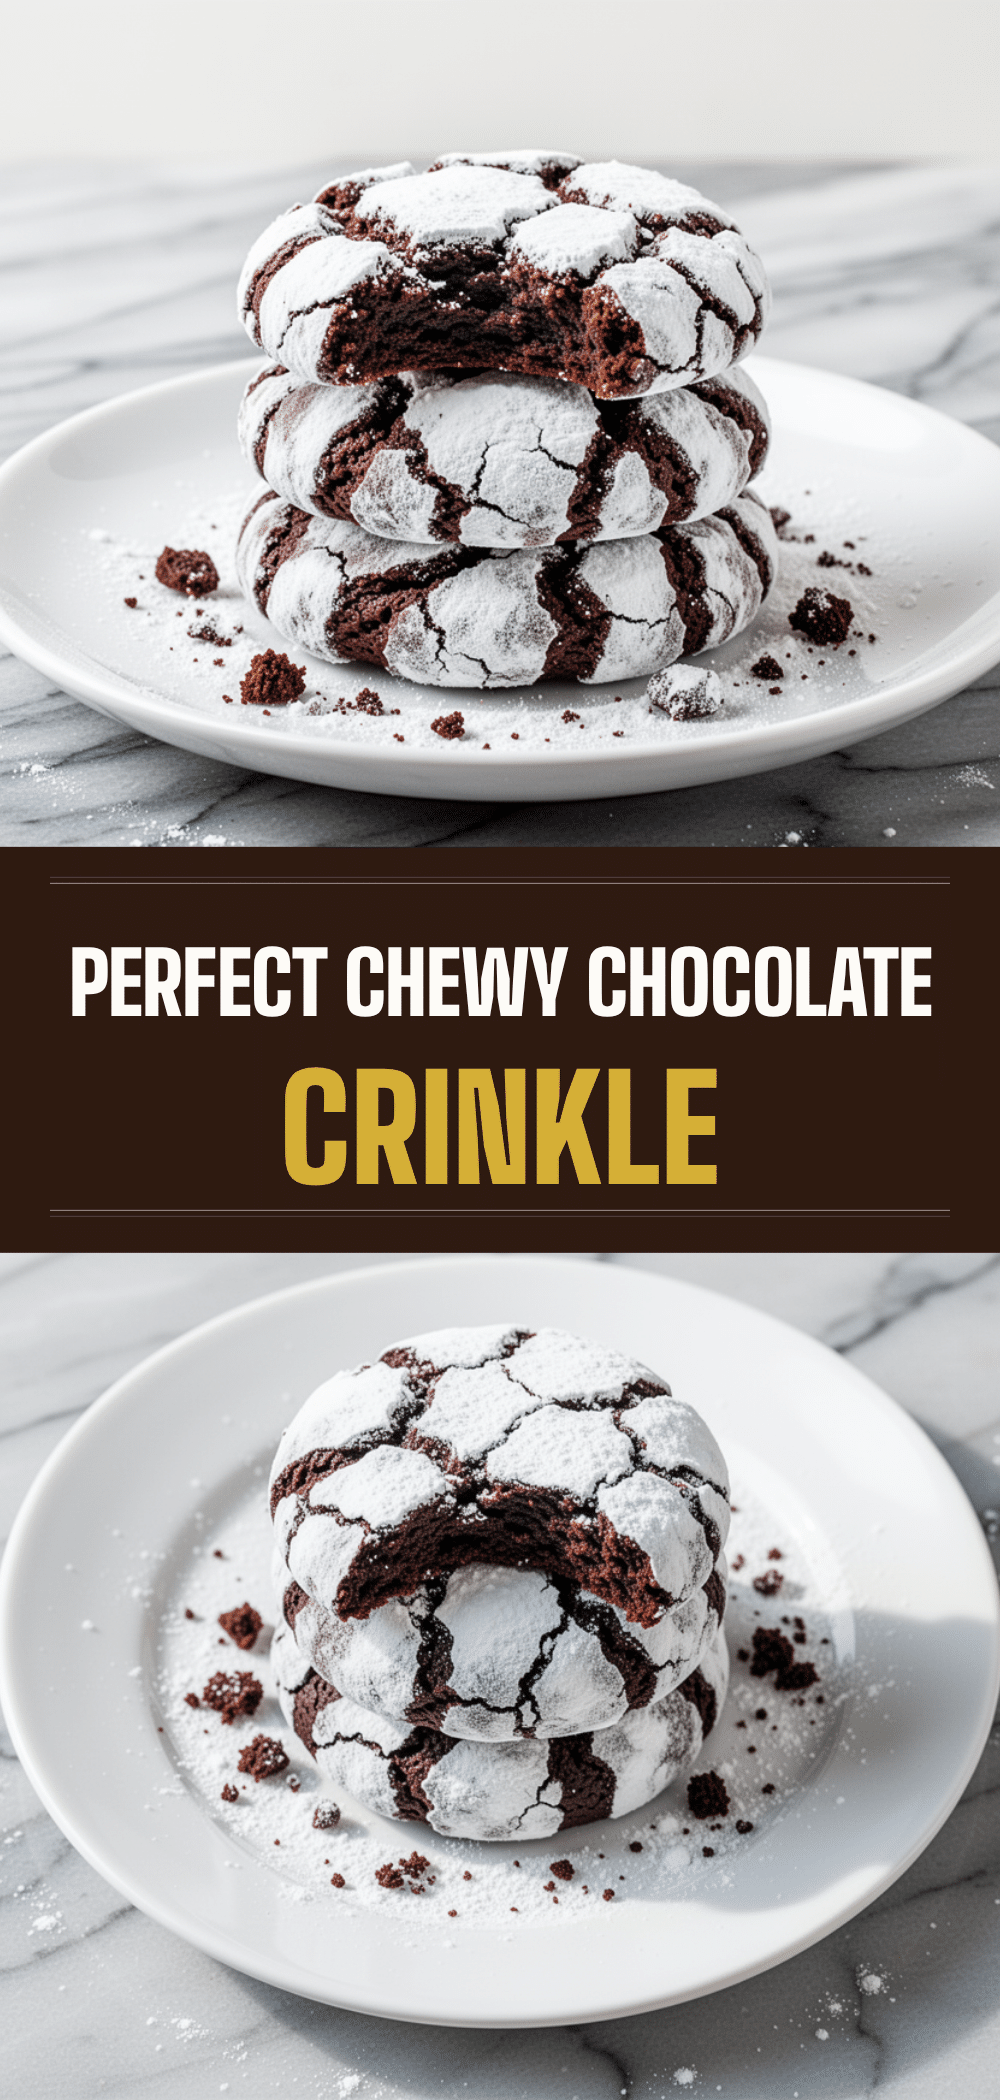
Chewy Chocolate Crinkle Cookies
- Total Time: 1 hour 31 minutes
- Yield: 24 cookies 1x
Description
Soft, fudgy chocolate cookies with a crisp, sugary exterior that cracks open to reveal a chewy, brownie-like interior. This foolproof recipe guarantees the signature crinkle pattern every time.
Ingredients
- 1 cup (226g) unsalted butter, room temperature
- 1 cup (200g) granulated sugar
- 1 cup (220g) dark brown sugar, packed
- 2 large eggs, room temperature
- 2 teaspoons vanilla extract
- 1 ½ cups (190g) all-purpose flour
- ¾ cup (65g) unsweetened cocoa powder
- 1 teaspoon baking powder
- ½ teaspoon baking soda
- ½ teaspoon salt
- 1 ½ cups (180g) confectioners’ sugar (powdered sugar) for coating
Instructions
- Preheat oven to 350°F (175°C). Line two large baking sheets with parchment paper.
- In a large bowl, beat the room-temperature butter, granulated sugar, and brown sugar on medium-high speed for 3-4 minutes until light, fluffy, and pale.
- Add eggs one at a time, beating well after each addition. Mix in vanilla extract. Scrape down the sides of the bowl.
- In a separate medium bowl, whisk together flour, cocoa powder, baking powder, baking soda, and salt.
- Gradually add dry ingredients to the wet mixture. Mix on low speed just until combined. Do not overmix.
- Cover the bowl with plastic wrap and refrigerate for at least 1 hour (or up to 24 hours).
- Scoop out tablespoon-sized portions of dough. Roll each ball in hands to smooth, then roll generously in confectioners’ sugar until fully coated.
- Place coated dough balls on prepared baking sheets, leaving 2 inches between them.
- Bake for 9-11 minutes. Cookies should look set on the outside but still soft in the center.
- Let cookies cool on the baking sheet for 5 minutes, then transfer to a wire rack to cool completely.
Notes
Do not skip the chilling step; it is crucial for preventing spreading and creating the crinkle. Use room temperature butter, not melted. Store in an airtight container at room temperature for up to 5 days. Do not refrigerate as it dries out the cookies.
- Prep Time: 20 minutes
- Cook Time: 11 minutes
- Category: Dessert
- Cuisine: American
Nutrition
- Serving Size: 1 cookie
- Calories: 180
- Sugar: 16
- Sodium: 80
- Fat: 9
- Saturated Fat: 5
- Carbohydrates: 24
- Fiber: 1
- Protein: 2
Keywords: chocolate crinkle cookies, chewy chocolate cookies, easy cookie recipe, holiday cookies, baking from scratch


