There is a specific kind of magic that happens when butter turns brown. I’ve always thought it smelled like nutty heaven, but honestly? It used to scare me. I burned my first batch of brown butter three years ago. It smelled like burnt toast and regret, and I nearly threw the whole pan into the sink. But after a few more attempts—some better, some worse—I finally got it right. The secret isn’t fancy equipment; it’s just patience and knowing what that nutty, toasted aroma actually looks like.
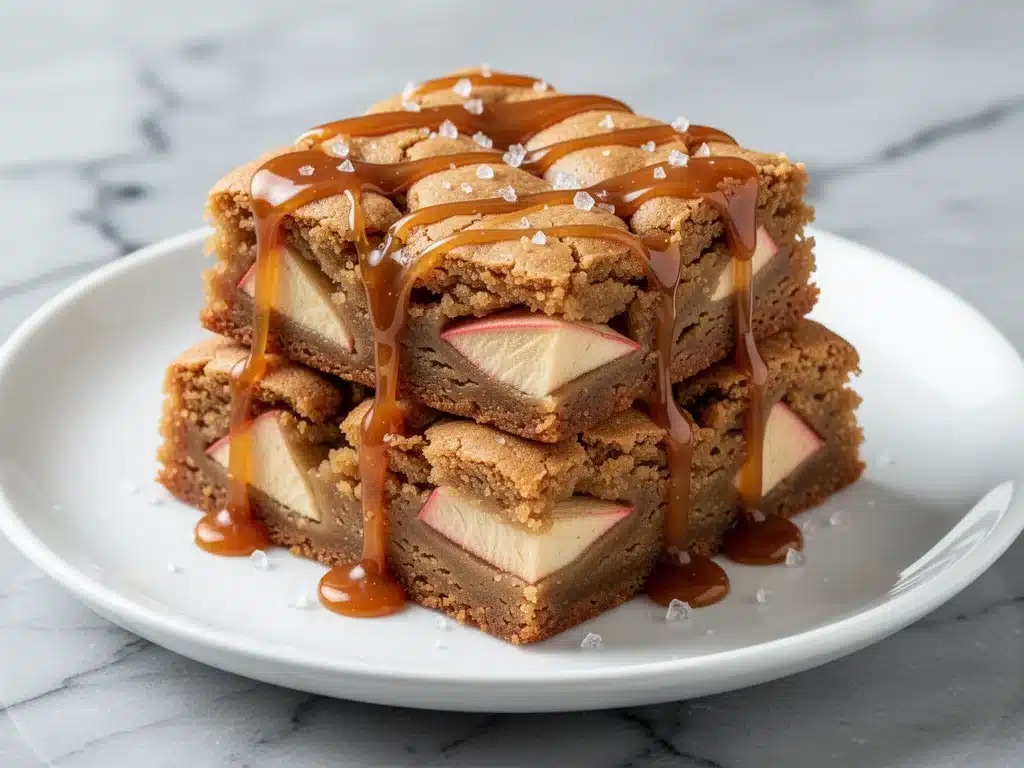
That little breakthrough changed everything for me. Suddenly, I was adding brown butter to everything from brown butter chocolate chip cookies to simple pasta sauces. It adds this deep, toasty complexity that regular melted butter just can’t compete with. And then, last week, I combined that brown butter with two of my favorite fall flavors: crisp apples and salty caramel drizzle. The result? These Fall Brown Butter Apple Blondies.
I made a batch on a Tuesday afternoon. I was supposed to be working, but instead, I was staring at a pot of bubbling butter, waiting for it to hit that perfect amber stage. When they came out of the oven, warm and gooey in the center with chunks of apple peeking through, my husband walked in, took one bite, and didn’t say a word for a full minute. That’s the silence of pure delight.
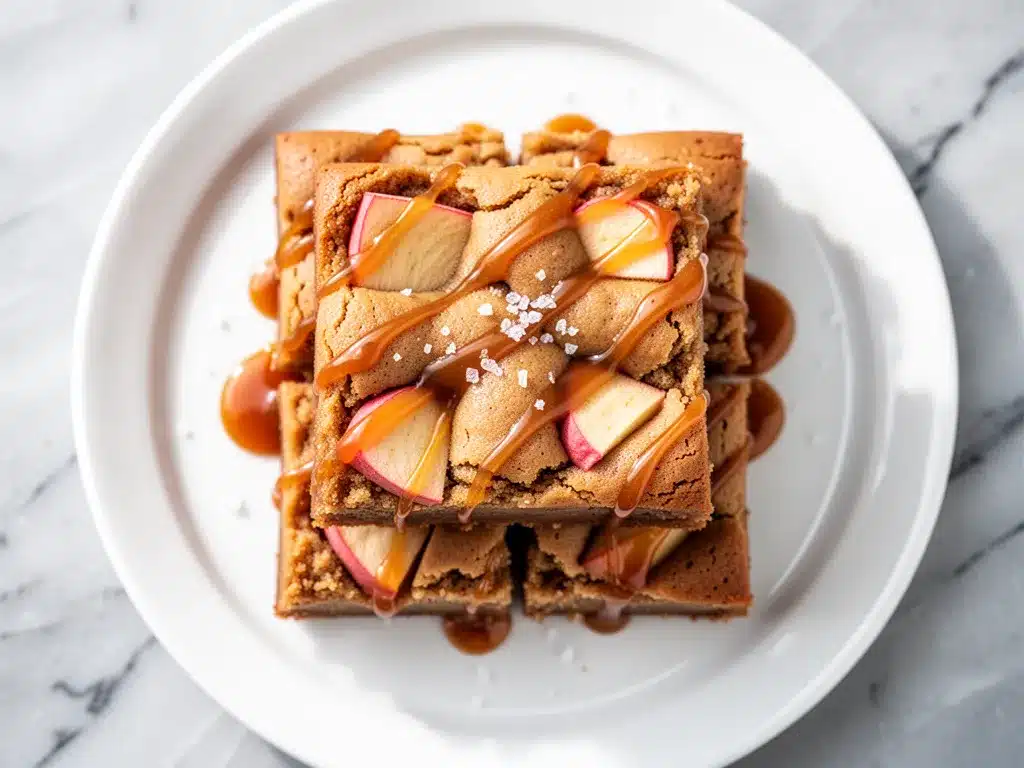
These blondies are the ultimate cozy fall treat. They’re chewy, dense, and packed with spice. The brown butter base gives them a caramel-like depth, while the apples add freshness and texture. And that salted caramel drizzle? It’s not just decoration—it’s the finish that ties everything together. I’ve made these six times in the last month, tweaking the apple variety and the spice ratios until they were absolutely perfect. If you love things that are easy to make but taste like you spent hours in the kitchen, this is the recipe for you. Trust me, once you try these, you’ll be making them on repeat all season long.
Why You’ll Love This Recipe
Look, I bake a lot. Between one-bowl banana bread and various cakes, my kitchen is basically a bakery at this point. But these Fall Brown Butter Apple Blondies have taken the crown as my absolute favorite fall bake. Here’s why they’re sticking around in my rotation:
- Brown Butter Magic — This isn’t your average vanilla blondie. The brown butter adds a nutty, toasty flavor that makes every bite taste richer and more sophisticated. It’s a game-changer. I never use regular butter for these anymore.
- Perfect Texture — I’ve struggled with blondies that are either too cakey or too dry. This recipe hits the sweet spot: chewy on the outside, soft and gooey in the middle. The apples keep them moist without making them soggy.
- Seasonal Flavor Bomb — Cinnamon, nutmeg, and crisp apples? Yes, please. These taste like autumn in a bar. They’re perfect for potlucks, office parties, or just eating straight out of the pan with a fork (no judgment here).
- Easy to Make — Seriously, if you can melt butter and mix a bowl of dry ingredients, you can make these. No stand mixer required. No complicated techniques. Just one bowl for the wet, one for the dry, and a little folding action.
- Great for Gifting — I wrapped a few in wax paper and gave them to my neighbors last week. They came back the next day asking for the recipe. Plus, they travel well if you’re bringing them to a friend’s house.
Real talk? These are my go-to when I want to impress people without stressing out. They look fancy because of that caramel drizzle, but the base is so simple. I’ve served these to my picky eater friends, my baking-obsessed sister, and even my husband’s boss (who is apparently hard to please). Everyone asks for seconds.
Ingredients You’ll Need
Here’s the best part: most of these ingredients are probably already in your pantry. You don’t need anything fancy or hard to find. I’m particular about a few things, though, so pay attention to those details.
For the Blondie Base
Unsalted butter (1 cup / 226g) — This is where the magic happens. You need enough butter to brown properly. Don’t skimp. Use good quality butter if you can find it; it makes a noticeable difference in flavor. I use unsalted so I can control the salt in the final product.
Light brown sugar (1 ½ cups / 300g) — Light brown sugar is key here. It has less molasses than dark brown sugar, which keeps the blondies chewy rather than dense and heavy. Dark brown sugar works in a pinch, but the flavor will be stronger. I always keep a bag of this stocked for baking.
Granulated sugar (½ cup / 100g) — This helps with the crisp edges. The combination of brown and white sugar gives you that perfect chewy-crispy texture I love.
Large eggs (2 large) — Room temperature eggs are best. They emulsify better with the butter and sugar, creating a smoother batter. If you forget, just drop them in warm water for 5 minutes.
Vanilla extract (2 teaspoons) — Use real vanilla, not imitation. The flavor is so prominent here that cheap vanilla will taste harsh. I use a good-grade pure vanilla bean paste sometimes for extra specks and flavor.
All-purpose flour (1 ½ cups / 190g) — Don’t over-measure! Spoon it into the cup and level it off. Too much flour makes dense, dry blondies. I usually fluff the flour first, then spoon it in. If you’re measuring by weight, that’s about 190 grams.
Baking powder (1 teaspoon) — Just a little bit to give them a tiny lift. We don’t want cakey blondies; we want chewy ones.
Salt (½ teaspoon) — Enhances all the flavors. Since we’re using unsalted butter, this is important for balance.
For the Spice and Apple Mix
Cinnamon (1 teaspoon) — Ground cinnamon. Fresh is best, but I buy mine in bulk and it’s fine for months if stored in a cool, dark place.
Nutmeg (¼ teaspoon) — Freshly grated is amazing, but pre-ground works fine. Just a pinch goes a long way.
Granny Smith apples (2 medium, peeled and diced) — I prefer Granny Smith because they hold their shape well during baking and offer a nice tart contrast to the sweet blondie. You could use Honeycrisp or Fuji, but they might get too soft. Peel them? Yes. Peeled apples look cleaner and don’t turn brown as easily.
For the Salted Caramel Drizzle
Heavy cream (½ cup / 120ml) — Full fat only. Low-fat cream won’t thicken properly and will make the drizzle runny.
Semi-sweet chocolate chips (½ cup / 85g) — Or use caramel chips if you can find them. I like mixing chocolate and caramel flavors for a deeper taste.
Butter (1 tablespoon) — Adds richness to the drizzle.
Sea salt (a pinch) — Essential. The salt cuts through the sweetness and makes the caramel flavor pop. Flaky sea salt on top before serving is even better.
Optional Add-ins — I sometimes add ½ cup of chopped walnuts or pecans. They add crunch and go beautifully with the apple and cinnamon. If you’re allergic to nuts, skip them—they’re delicious either way.
Equipment Needed
You don’t need a fancy kitchen for this. Here’s what I actually use:
Medium saucepan — For browning the butter. A light-colored pan is best so you can see the color change clearly. If you have a dark pan, watch it extra closely. I use a 2-quart saucepan.
Large mixing bowl — For the wet ingredients. Something wide is better for whisking.
Medium mixing bowl — For the dry ingredients.
Whisk — Essential for breaking up the brown butter and mixing it with the sugars and eggs. A silicone whisk is nice because it scrapes the sides.
9×9 inch baking pan — Or an 8×8 inch pan if you want thicker blondies. Line it with parchment paper, leaving an overhang on the sides. This is crucial for easy removal. Grease the parchment too.
Small saucepan or microwave-safe bowl — For making the caramel drizzle. I prefer the stove for more control, but the microwave works in a pinch.
Sharp knife and peeler — For prepping the apples. A paring knife is perfect for dicing.
How to Make It: Step-by-Step
Alright, let’s make these! I’m walking you through exactly how I do it, including the little tricks I’ve picked up over the last few batches.
Step 1: Brown the Butter (5-7 minutes)
This is the most important step. Melt your butter in a medium saucepan over medium heat. Stir it constantly with a wooden spoon or silicone spatula. At first, it will just melt. Then, it will start to foam up. Keep stirring! The foam will subside, and you’ll hear a crackling sound. That’s the milk solids separating. Watch closely. It will go from yellow to a deep amber color. You’ll smell a nutty, toasted aroma—like hazelnuts or browned toast. As soon as you see that dark amber color and smell that nutty scent, remove it from the heat immediately. Pour it into your large mixing bowl to stop the cooking. Let it cool for about 5 minutes. Don’t rush this; if the butter is too hot, it will scramble the eggs.
Step 2: Mix the Wet Ingredients (3 minutes)
To the slightly cooled brown butter, add the light brown sugar and granulated sugar. Whisk vigorously for about 2 minutes. You want the mixture to look glossy and smooth. This helps dissolve the sugar a bit. Add the eggs one at a time, whisking well after each addition. Then stir in the vanilla extract. The batter should be smooth and homogenous.
Step 3: Combine Dry Ingredients (2 minutes)
In a separate medium bowl, whisk together the flour, baking powder, salt, cinnamon, and nutmeg. This ensures the spices are evenly distributed so you don’t get a spicy bite in one corner and a bland one in another.
Step 4: Fold It All Together (2 minutes)
Pour the dry ingredients into the wet ingredients. Use a spatula to gently fold them together. Stop as soon as the flour disappears. Overmixing makes tough blondies. Once the flour is gone, fold in the diced apples. If you’re adding nuts, add them now. The batter will be thick and sticky. This is normal.
Step 5: Bake (25-30 minutes)
Preheat your oven to 350°F (175°C). Pour the batter into your prepared 9×9 inch pan. Spread it out evenly with a spatula. Bake for 25-30 minutes. The edges should be golden brown, and the center should still look slightly soft. If you insert a toothpick, it should come out with a few moist crumbs, but not wet batter. If it’s clean, they’re done. If it’s wet, give them 2-3 more minutes. Overbaking is the enemy of chewy blondies.
Step 6: Cool and Drizzle (1 hour)
Let the blondies cool in the pan for at least 30 minutes. They will firm up as they cool. While they cool, make the drizzle. Combine the heavy cream, chocolate chips, and butter in a small saucepan over low heat. Stir constantly until melted and smooth. Alternatively, microwave in 30-second intervals, stirring between each. Drizzle the warm caramel over the completely cooled blondies. Use a knife to swirl it into the top for a marbled effect. Slice into squares and serve.
Expert Tips & Tricks
Here’s everything I’ve learned from making these dozens of times. These tips will save you from my mistakes.
Don’t Burn the Butter — It takes only seconds to go from perfect to burnt. If it smells like burnt toast, start over. Trust me, you don’t want that bitter flavor in your dessert. If you’re nervous, take the pan off the heat right when you see the first dark spots, and keep stirring. The residual heat will continue to cook it.
Cool the Butter — I’ve made the mistake of adding eggs to hot brown butter before. It creates scrambled egg bits in your batter. Not appetizing. Let the butter cool for 5-10 minutes until it’s just warm to the touch.
Peel Your Apples — I tried leaving the skins on once for convenience. The skins turned dark and weird during baking, and the texture was unpleasant. Peel them. It’s worth the extra 2 minutes.
Don’t Overbake — Blondies continue to cook in the pan after you take them out of the oven. Pull them when they look slightly underdone in the center. They’ll firm up as they cool.
Drizzle Consistency — If your caramel drizzle is too thick, add another teaspoon of heavy cream. If it’s too thin, let it cool a bit longer. You want it to drizzle easily but not run off the edges immediately.
Flaky Salt on Top — Sprinkle a little flaky sea salt on the drizzle while it’s still wet. It adds a beautiful crunch and visual appeal. Plus, the salt contrast is delicious.
Variations & Substitutions
Once you’ve nailed the basic version, here’s how you can mix it up. I’ve tried all of these.
Maple Pecan Version — Swap the caramel drizzle for a maple glaze. Mix ½ cup powdered sugar with 2 tablespoons maple syrup and 1 tablespoon milk. Drizzle over the top. Add ½ cup chopped pecans to the batter.
Chai Spice Version — Replace the cinnamon and nutmeg with 2 teaspoons of chai spice blend. Adds a warm, aromatic kick that’s perfect for fall.
Dark Chocolate Chunk — Add ½ cup of chopped dark chocolate bars to the batter along with the apples. The bitterness of the dark chocolate balances the sweetness perfectly.
Gluten-Free — Use a 1:1 gluten-free flour blend. I’ve used Bob’s Red Mill and King Arthur, and both work great. Make sure your baking powder is certified gluten-free.
Dairy-Free — Use dairy-free butter (like Miyoko’s or Earth Balance) and dairy-free chocolate chips. The drizzle can be made with coconut cream instead of heavy cream. It’s richer but still tasty.
Vegan — This is trickier because of the brown butter flavor. Use vegan butter and brown it as directed. Use flax eggs (2 tablespoons ground flax + 6 tablespoons water) instead of regular eggs. Use maple syrup instead of brown sugar for a deeper flavor. It’s not exactly the same, but it’s still good.
Serving & Storage
How to serve these things up properly.
Room Temperature — These are best eaten at room temperature. The texture is chewiest and the flavors are most balanced. If you refrigerate them, they get hard and waxy. Not fun.
Pairing — I love these with a hot cup of coffee or a glass of cold milk. The coffee enhances the brown butter flavor, while the milk cuts through the sweetness. A nice apple cider is also a great pairing.
Storage — Store in an airtight container at room temperature for up to 3 days. They stay moist and chewy. If your kitchen is very hot, you might need to refrigerate them, but bring them to room temperature before serving.
Freezing — Yes, you can freeze them! Wrap individual squares in plastic wrap, then put them in a freezer bag. They last up to 3 months. Thaw at room temperature for an hour. Don’t freeze the drizzle separately; just freeze the whole thing.
Reheating — If you want them warm, microwave a square for 10-15 seconds. The center gets gooey and warm. Be careful not to overheat, or the apples might burst.
Nutrition Information
I’m not a nutritionist, but here’s the breakdown if you’re tracking. Keep in mind, this is an estimate based on standard ingredients.
Per Serving (1 of 16 bars):
- Calories: 280
- Protein: 3g
- Carbs: 42g
- Fiber: 1g
- Sugar: 28g
- Fat: 12g
- Saturated Fat: 7g
These are definitely a treat. The apples add a tiny bit of fiber, but mostly it’s sugar and butter. Enjoy them as a special indulgence, not a health food. Pair them with a salad or some veggies for balance if that’s your thing. But honestly? I just eat them as is.
Final Thoughts
So that’s my take on Fall Brown Butter Apple Blondies! I’ve probably talked your ear off at this point, but when you make a recipe this often, you have a lot to say about it. These blondies have saved my baking routine more times than I can count. They’re my answer to “what should I bring to the party?” or “I need a dessert that tastes like fall.”
They’re easy, they’re delicious, and they smell amazing while baking. My kids love them, my husband loves them, and I love making them. Make them your own! Try different apples, add nuts, or skip the drizzle if you want. The best recipes are the ones you adapt to your tastes.
If you make these, drop a comment and let me know what you think! I love hearing how recipes turn out in your kitchen. And if something doesn’t work, tell me that too—I’m here to help troubleshoot. Happy baking!
Frequently Asked Questions
Can I use frozen apples?
You can, but thaw them first and pat them dry with a paper towel. Frozen apples release a lot of water, which can make the blondies soggy. If you use them straight from the freezer, expect a longer bake time and potentially a denser texture. Fresh apples are definitely better.
Why did my blondies turn out cakey?
Usually, this means you added too much flour or overmixed the batter. Make sure you’re spooning and leveling your flour, not scooping directly from the bag. Also, stop mixing as soon as the dry ingredients disappear. Overworking the gluten makes them cakey.
Can I make these in a different pan size?
Yes! If you use an 8×8 inch pan, the blondies will be thicker and you’ll need to bake them for 30-35 minutes. Keep an eye on them. If you use a 9×13 inch pan, they’ll be thinner and bake in 20-25 minutes. Adjust the bake time accordingly.
Is the salted caramel drizzle necessary?
No, it’s optional. The blondies are delicious on their own. But the drizzle adds a nice contrast of salt and sweetness, and it makes them look fancy. If you’re short on time, skip it. They’re still great.
How do I store leftovers?
Keep them in an airtight container at room temperature for up to 3 days. If your house is warm, refrigerate them, but bring them to room temperature before eating. They taste best fresh.
Can I double this recipe?
Absolutely! Double all the ingredients and use a 9×13 inch pan. The bake time will be similar, but check a few minutes early. You might need to rotate the pan halfway through for even baking.
What kind of apples work best?
Granny Smith is my top choice because they hold their shape and offer a tart contrast. Honeycrisp and Fuji are also good options if you prefer sweeter apples. Avoid Red Delicious; they get mushy and bland when baked.
Pin This Recipe!
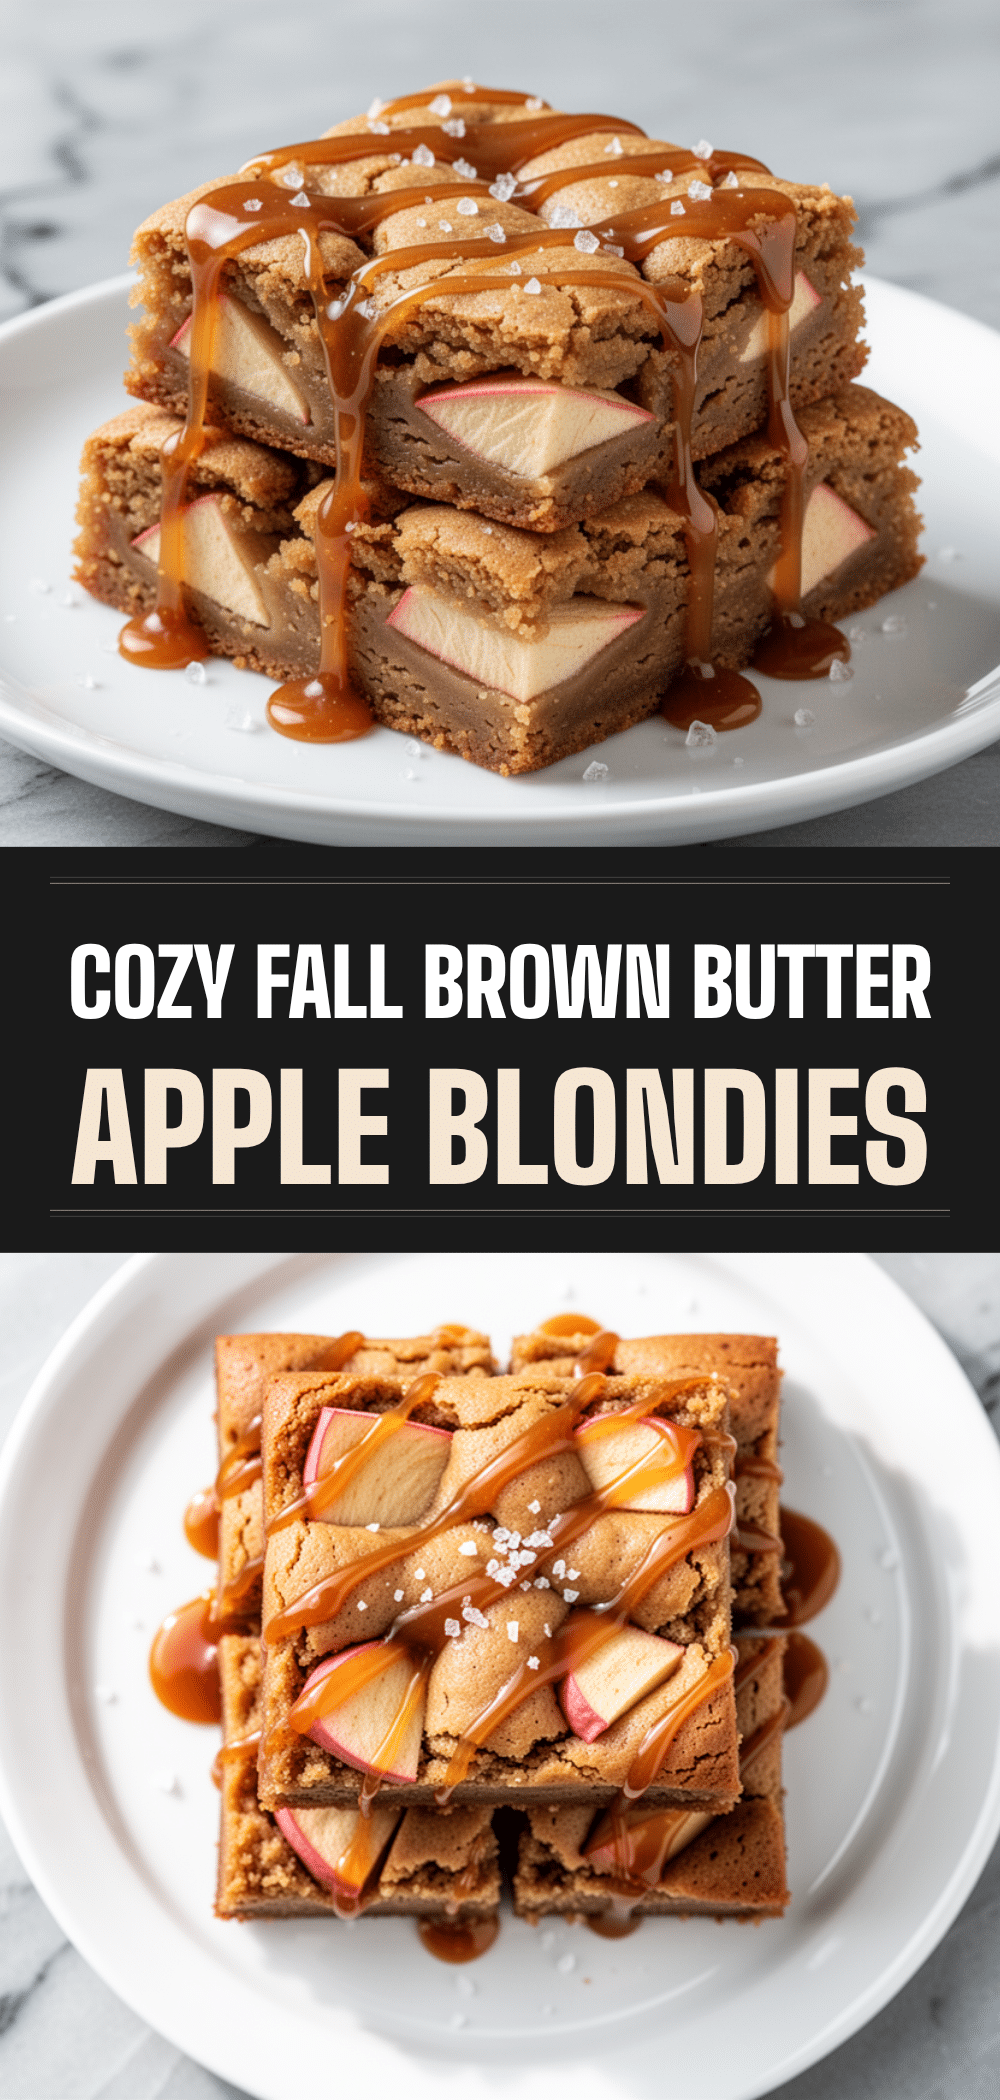
Fall Brown Butter Apple Blondies
- Total Time: 45 minutes
- Yield: 16 servings 1x
Description
Chewy, dense blondies infused with nutty brown butter, crisp Granny Smith apples, and warm fall spices, finished with a homemade salted caramel drizzle.
Ingredients
- 1 cup (226g) unsalted butter
- 1 ½ cups (300g) light brown sugar
- ½ cup (100g) granulated sugar
- 2 large eggs, room temperature
- 2 teaspoons vanilla extract
- 1 ½ cups (190g) all-purpose flour
- 1 teaspoon baking powder
- ½ teaspoon salt
- 1 teaspoon ground cinnamon
- ¼ teaspoon nutmeg
- 2 medium Granny Smith apples, peeled and diced
- ½ cup (120ml) heavy cream
- ½ cup (85g) semi-sweet chocolate chips
- 1 tablespoon butter
- Pinch of sea salt
- Optional: ½ cup chopped walnuts or pecans
Instructions
- Preheat oven to 350°F (175°C). Line a 9×9 inch baking pan with parchment paper, leaving an overhang on the sides, and grease the parchment.
- Melt the 1 cup of unsalted butter in a medium saucepan over medium heat. Stir constantly until the butter foams, subsides, and turns a deep amber color with a nutty aroma (5-7 minutes). Immediately pour into a large mixing bowl to stop cooking and let cool for 5 minutes.
- Add the light brown sugar and granulated sugar to the cooled brown butter. Whisk vigorously for 2 minutes until glossy and smooth.
- Add the eggs one at a time, whisking well after each addition. Stir in the vanilla extract until the batter is homogenous.
- In a separate medium bowl, whisk together the flour, baking powder, salt, cinnamon, and nutmeg.
- Pour the dry ingredients into the wet ingredients. Gently fold with a spatula until the flour just disappears. Fold in the diced apples (and nuts, if using).
- Spread the thick batter evenly into the prepared pan.
- Bake for 25-30 minutes, until edges are golden brown and the center looks slightly soft. A toothpick should come out with moist crumbs.
- Let blondies cool in the pan for at least 30 minutes.
- While cooling, make the drizzle: Combine heavy cream, chocolate chips, and 1 tablespoon butter in a small saucepan over low heat. Stir until melted and smooth. Alternatively, microwave in 30-second intervals, stirring between each.
- Drizzle the warm caramel over the completely cooled blondies. Use a knife to swirl for a marbled effect. Slice into squares and serve.
Notes
Do not burn the butter; remove from heat as soon as it reaches deep amber. Cool the brown butter for 5-10 minutes before adding eggs to prevent scrambling. Peel apples for better texture and appearance. Do not overbake, as blondies continue to cook in the pan. Store in an airtight container at room temperature for up to 3 days.
- Prep Time: 15 minutes
- Cook Time: 30 minutes
- Category: Dessert
- Cuisine: American
Nutrition
- Serving Size: 1 bar
- Calories: 280
- Sugar: 28
- Fat: 12
- Saturated Fat: 7
- Carbohydrates: 42
- Fiber: 1
- Protein: 3
Keywords: fall baking, brown butter, apple blondies, salted caramel, easy dessert, autumn recipes, chewy blondies


