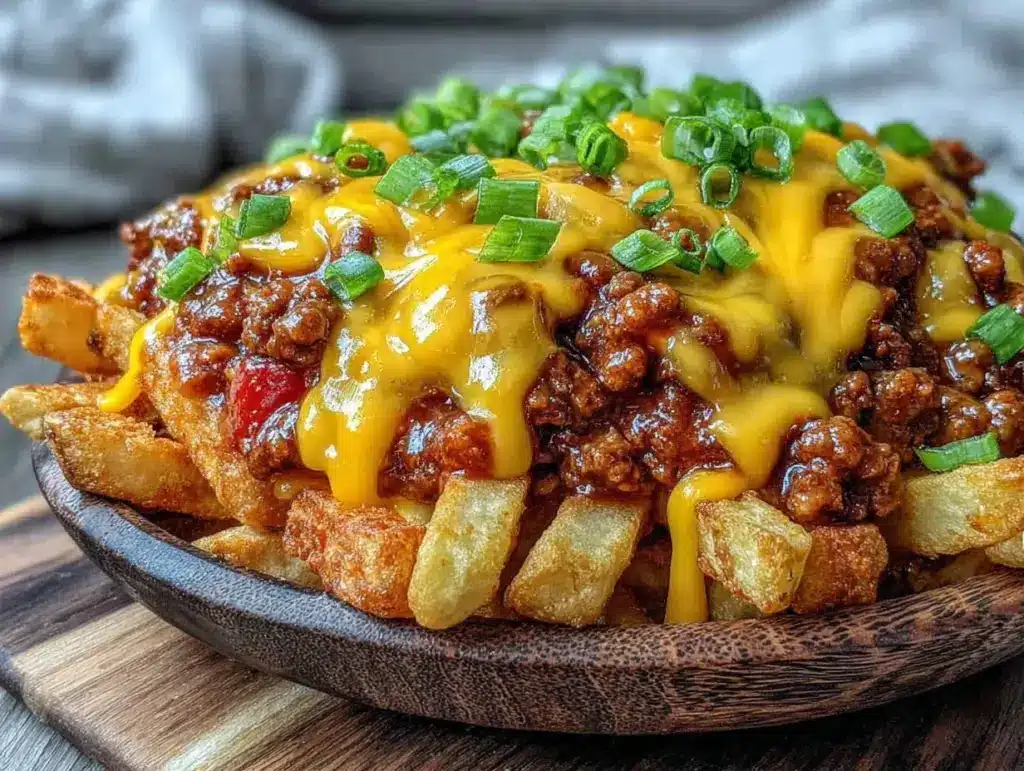
Last Sunday, I was staring at a pile of sad, store-bought potato chips and realizing I had absolutely nothing to serve when my friends arrived for the big game. I didn’t want to order pizza. I didn’t want to deal with a complicated casserole that needed three different pans and twenty minutes of babysitting. I wanted something that screamed “game day” but actually tasted like I cared. So I did what I always do when I’m stressed and hungry: I raided my pantry and threw together what I thought would be a mediocre snack.
Thirty minutes later, my living room smelled like heaven, and my friends were already asking for the recipe before the first quarter even ended. That’s when I discovered that sometimes the best party food happens when you stop overthinking it and just let the cheese do the heavy lifting. These football party chili cheese fries have become our go-to for every game, watch party, and lazy weekend. It takes 20 minutes, uses ingredients I always have on hand, and tastes like something from a stadium concession stand (but better, because you control the quality).
I’ve made this football party chili cheese fries at least a dozen times since that Sunday. I’ve tweaked the chili, tested different cheeses, and even tried baking them instead of broiling (don’t do that). I’ve landed on a method that is stupid simple, hard to mess up, and guaranteed to make everyone happy. If you’re looking for a crowd-pleaser that doesn’t require a culinary degree, this is it. You really can’t mess this up.
Why You’ll Love This Recipe
This recipe has completely changed our game day routine. I’ve served these to picky eaters, football snobs, and people who claim they “don’t like messy food,” and everyone goes back for seconds. There are about ten reasons I keep making this, but here are the big ones:
- Stupid Simple — Seriously, if you can heat up a jar of chili and melt cheese, you can make this. I’ve walked my teenage son through it over FaceTime while he was at college. He didn’t burn a single fry.
- Lightning Fast — 20 minutes from start to finish, and only 5 of those are active cooking. I make this on game days when I’m watching the pre-game show and need something hot and ready.
- 5-Ingredient Foolproof — I’m not exaggerating. You need fries, chili, cheese, green onions, and maybe a splash of sour cream. That’s it. No fancy sauces, no obscure spices. Just good, honest food.
- Crowd-Pleaser — I’ve served these to my vegetarian sister (with veggie chili) and my meat-loving dad. Everyone loves them. It’s the ultimate comfort food.
- Makes Amazing Leftovers — Okay, they’re best fresh, but honestly? The second-day fries, reheated in the oven with a sprinkle of cheese, are pretty damn good too. I deliberately make extra for lunch the next day.
- Budget-Smart — Feeds 4-6 people for under $15. That’s less than one appetizer plate at a sports bar.
This is my go-to when I need party food to just work. No complicated techniques, no weird ingredients, just reliable, delicious food that makes everyone happy. It’s the kind of dish that feels indulgent but is actually just basic comfort food done right.
Ingredients You’ll Need
Here’s the best part: you probably have most of this already. I’m particular about three ingredients here, and I’ll tell you exactly why. The rest is just pantry basics.
For the Base
French fries (2 pounds / 900g) — I use frozen steak fries or thick-cut crinkle cuts. They hold up better under the toppings. Shoestring fries get soggy too fast. I like the texture of a sturdy fry. Avoid the thin, fast-food style ones.
Chili (2 cans / 28oz total) — I use a high-quality canned chili like Hormel or Bush’s. Or use leftover homemade chili if you have it. Avoid the “chili sauce” or “chili con carne” with weird additives. Look for chili with beans or without, depending on your preference. I prefer the one with beans for heartiness.
For the Topping
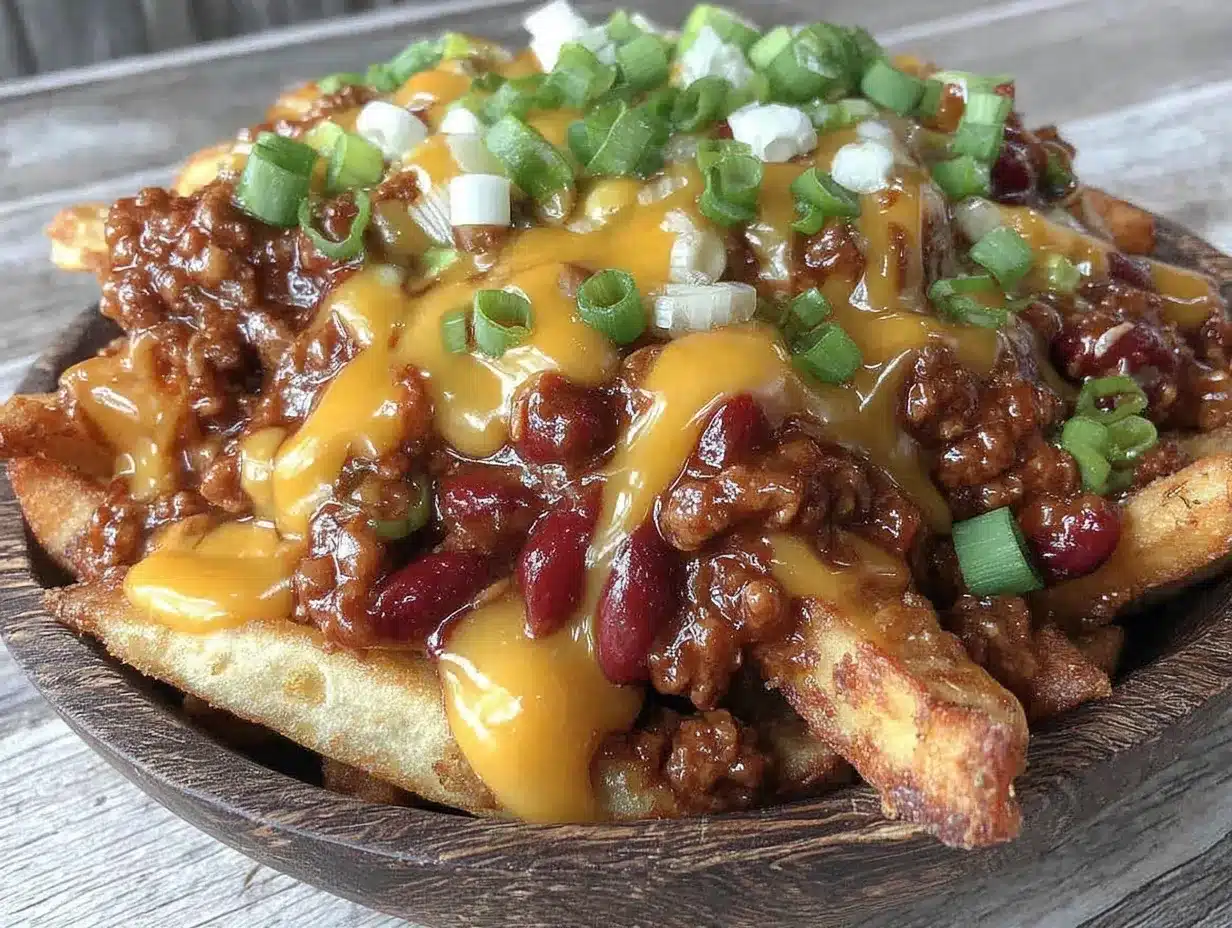
Cheddar cheese (2 cups / 200g, shredded) — Sharp cheddar is key. Mild cheddar doesn’t have enough punch. I shred my own from a block because pre-shredded cheese has anti-caking agents that make it melt poorly. Trust me on this. It takes 2 minutes and makes a huge difference.
Green onions (4 stalks, sliced) — Adds a fresh, crisp bite to cut through the richness. White onions work too, but green onions are more traditional for this look. They’re also prettier.
Sour cream (½ cup / 120g, optional) — For drizzling. I love the tang. If you’re dairy-free, skip this or use a vegan alternative. It’s not essential, but it adds that classic diner vibe.
Pantry Staples
Black pepper — Freshly cracked. Always. Pre-ground pepper tastes dusty.
Jalapeños (optional, sliced) — For heat. I add them if I want a kick. Diced pickled jalapeños work great too.
Hot sauce (optional) — Frank’s RedHot or Tabasco. A few dashes in the chili adds depth.
Butter (1 tablespoon, optional) — For tossing the fries before broiling. Keeps them crispy.
Personal Tips:
- Brand recommendations: I always use Kirkland Signature frozen fries—they’re thick and don’t get soggy.
- Shopping shortcuts: Buy pre-shredded cheese if you’re being lazy, but know it won’t melt as smoothly. Worth the extra 2 minutes to shred your own.
- Substitutions: No chili? Use taco meat or sloppy joe mix. It changes the flavor but still works.
- Storage: Chili keeps for months in the freezer if you have leftovers. I keep a stash for nights like this.
Common Questions
- Can I use sweet potato fries? Yes! They add a nice sweetness. Just bake them longer since they’re denser.
- Where do I find good canned chili? Most grocery stores have a good selection. Look for brands with simple ingredient lists.
- Can I make this ahead? Not really. Fries get soggy. Make it fresh for the best texture.
Equipment Needed
You don’t need fancy equipment for this. Here’s what I actually use.
Baking sheet or large skillet — I use a rimmed baking sheet. It gives you plenty of room to spread the fries in a single layer. A large skillet works too if you’re broiling in batches. My ancient baking sheet from college still works fine.
Oven — Obviously. But specifically, you need one with a broiler setting. If yours doesn’t have a broiler, you can use a toaster oven or air fryer for the cheese melting step.
Sharp knife — For slicing green onions. Dull knives make you cry more—learned this the hard way.
Cutting board — Any size works. I use plastic for easier cleanup.
Measuring cups and spoons — Pretty standard stuff. Dollar store versions work fine.
Spatula — For spreading the chili and scraping the pan. Silicone works best.
Optional but nice:
- Tongs — For tossing the fries with butter. Makes it easier.
- Small bowl — For holding the shredded cheese. Keeps your workspace organized.
Tool Tips
- Don’t have a baking sheet? Any large oven-safe dish works. Just make sure it’s big enough for a single layer.
- I’m obsessed with my silicone spatula — It’s like $5 and makes cleaning up the chili so much easier.
How to Make It: Step-by-Step
Alright, let’s make this! I’m walking you through exactly how I do it, including the little tricks I’ve picked up.
Step 1: Prep Your Ingredients (5 minutes)
Before you start cooking, slice your green onions and shred your cheese. I know it seems fussy, but it makes the actual cooking way less stressful. Once you start cooking, things move fast. Set out your bowls and get everything ready.
Step 2: Cook the Fries (15-20 minutes)
Preheat your oven to 425°F (220°C). If your fries are frozen, follow the package instructions for baking. If you’re using fresh fries, toss them in a little olive oil and salt. IMPORTANT: Don’t overcrowd the pan. Spread them in a single layer. This ensures they get crispy. If you pile them up, they’ll steam instead of bake. Bake until golden and crispy, usually 15-20 minutes. Flip halfway through.
Step 3: Heat the Chili (5 minutes)
While the fries are cooking, pour your canned chili into a small saucepan. Heat over medium-low heat, stirring occasionally. If it’s too thick, add a splash of water or broth. You want it warm and pourable, not boiling. If you’re using homemade chili, just warm it through. Don’t overcook it.
Step 4: Assemble the Fries (2 minutes)
Once the fries are crispy, remove them from the oven. Immediately toss them with a tablespoon of melted butter (optional, but it helps the cheese stick). Spread them back out on the baking sheet. Spoon the warm chili evenly over the fries. Don’t drown them—just a generous layer. You want to see some fries peeking through.
Step 5: Melt the Cheese (2-3 minutes)
Turn your oven broiler to high. Sprinkle the shredded cheese generously over the chili-covered fries. Place the baking sheet under the broiler for 2-3 minutes. WATCH THEM CLOSELY. Cheese burns fast. You want it melted and bubbly, not browned and crispy. Remove from oven as soon as it’s melted.
Step 6: Garnish and Serve
Immediately sprinkle with sliced green onions. Add a dollop of sour cream if you’re using it. Serve hot. The cheese will start to set quickly, so eat them while they’re hot.
Total Time: About 20 minutes (5 minutes active, 15 minutes mostly hands-off)
Built-in Troubleshooting
- Fries are soggy? You overcrowded the pan. Use two baking sheets or cook in batches.
- Cheese didn’t melt? Broiler was too far away. Move the rack closer to the element (but not touching).
- Chili is too thin? Simmer it longer before adding to fries. Or use less chili.
Visual/Sensory Cues
- You’ll know the fries are ready when they’re golden brown and crisp to the touch.
- The cheese should look bubbly and glossy, not separated or oily.
- The finished dish should smell like warm chili and melted cheese—comforting and savory.
Expert Tips & Tricks
Here’s everything I’ve learned from making this dozens of times. These tips will save you from my mistakes.
The Game-Changers
Use Thick Fries
This is the #1 tip. Thin fries turn into mush under the chili. Steak fries or crinkle cuts hold up best. I’ve tried shoestring fries, and they just don’t work. Stick to the thick stuff.
Shred Your Own Cheese
Pre-shredded cheese has cornstarch to prevent clumping, which stops it from melting smoothly. Shred a block of sharp cheddar—it melts like silk. My husband can tell when I’ve been lazy and used pre-shredded. It’s a noticeable difference.
Don’t Skip the Broil
Microwaving the cheese makes it rubbery. Broiling gives it that perfect, slightly crispy edge. It’s worth the extra minute. If you don’t have a broiler, use a toaster oven on high.
Warm the Chili First
Adding cold chili to hot fries cools the fries down too fast. Warm the chili in a saucepan first. It helps keep everything hot and improves the texture.
Common Mistakes (and how to avoid them)
Mistake: Cheese is burnt
Fix: Lower the broiler rack position or reduce time. Cheese burns in seconds. Watch it like a hawk.
Mistake: Fries are soggy
Fix: Cook in a single layer. Don’t pile them up. Use a wire rack on the baking sheet if you have one—it lets air circulate.
Mistake: Chili is too watery
Fix: Simmer the chili down before adding. Or use less chili. You want a coating, not a soup.
Pro Tricks I’ve Learned
For Extra Crunch
Add a sprinkle of crushed tortilla chips or bacon bits before broiling. Adds texture and flavor.
For Better Flavor
Add a pinch of cumin and chili powder to the canned chili. It boosts the flavor without much effort.
For Better Presentation
Serve on a wooden board or in a cast-iron skillet. Looks rustic and keeps warm longer.
Variations & Substitutions
Once you’ve nailed the basic version, here’s how you can mix it up. I’ve tried all of these.
Tested Variations
Vegetarian Chili Cheese Fries
Use vegetarian chili. I use Amy’s or Hormel Vegetarian. Everything else stays the same. My vegetarian sister loves this version.
BBQ Bacon Version
Swap chili for BBQ sauce. Add crispy bacon bits. Top with cheddar. It’s smoky and sweet. My husband prefers this version—makes it more filling.
Taco Style
Use seasoned ground beef instead of chili. Top with salsa, guacamole, and cotija cheese. Totally different vibe—fresh and zesty.
Spicy Kick
Add diced jalapeños to the chili. Use pepper jack cheese. Drizzle with hot sauce. For those who like it hot.
Loaded Nacho Style
Add black beans, corn, and diced tomatoes to the chili. Top with jalapeños and cilantro. It’s like nachos on fries.
Dietary Modifications
Gluten-Free
Most frozen fries and canned chili are naturally gluten-free. Check labels to be sure. I use Kirkland fries—they’re GF.
Dairy-Free
Replace cheddar with vegan cheese shreds (Violife or Daiya work well). Use vegan chili. Skip sour cream or use vegan sour cream. It’s different but still tasty. My lactose-intolerant friend requests this version.
Lower-Carb
Use broccoli florets or cauliflower wedges instead of fries. Roast them until crispy. Top with chili and cheese. I won’t lie—it’s not the same, but it works if you’re watching carbs.
Different Toppings
- Crumbled bacon
- Sliced jalapeños
- Chopped cilantro
- Drizzled ranch dressing
- Crushed tortilla chips
Serving & Storage
How to Serve:
I usually serve these straight from the baking sheet at the party—it looks rustic and stays warm. But here are other ways I’ve enjoyed it:
Side Dishes:
– Smoky Bourbon BBQ Baby Back Ribs (for a full feast)
– Simple green salad with balsamic vinaigrette (to cut the richness)
– Cornbread (classic combo)
– Coleslaw (adds crunch and freshness)
Toppings Bar:
When I have guests, I put out: extra cheddar, sliced jalapeños, green onions, sour cream, hot sauce, and crushed tortilla chips. Everyone customizes their portion.
Wine Pairing:
Not a wine expert, but my wine-snob friend says a bold red like Cabernet Sauvignon or a cold beer works great with this. It’s comfort food, so don’t overthink it.
Storage Instructions:
Refrigerator:
Store leftovers in an airtight container for up to 2 days. The fries will get soggy—totally normal. The chili will thicken.
Reheating:
Best method: Spread fries on a baking sheet, reheat in oven at 400°F for 10 minutes. Then broil for 2 minutes to melt cheese again.
Microwave method: Heat in 30-second intervals. The fries will be soft, but it’s okay.
Never works: Trying to reheat in the fridge cold. It’s not appetizing.
Freezing:
Honestly, this doesn’t freeze well. The fries get mushy, and the cheese separates. Make it fresh or store in the fridge for up to 2 days.
Meal Prep:
Cook the fries ahead and store in the fridge. Reheat in the oven right before serving. Add chili and cheese last minute. Takes 10 minutes and tastes way better than fully reheated everything.
Pro tip: If leftovers are drying out, sprinkle a little water on the fries before reheating. Steam helps revive them.
Nutrition Information
I’m not a nutritionist, but here’s the breakdown if you’re tracking.
Per Serving (based on 4 servings):
– Calories: 550
– Protein: 22g
– Carbs: 45g
– Fiber: 4g
– Sugar: 6g
– Fat: 28g
– Saturated Fat: 12g
– Cholesterol: 45mg
– Sodium: 800mg
– Calcium: 300mg
What’s Good:
– Decent protein from chili and cheese
– Calcium from the cheese
– Can add vegetables to boost nutrition
– More filling than it looks
What to Know:
– Higher in calories from fries and cheese
– Contains dairy and gluten
– Moderate sodium (use low-sodium chili to reduce)
My Take:
Look, this is comfort food with fries, chili, and cheese. It’s not a diet recipe. But it’s way better than takeout, costs less, and I know exactly what’s in it. When I want to make it lighter, I use sweet potato fries and less cheese. But usually? I just eat a reasonable portion and enjoy it.
Dietary Notes:
– Contains: gluten, dairy
– Can be made: gluten-free, vegetarian
– Not suitable for: vegan (without modifications), dairy-free (without modifications)
Final Thoughts
So that’s my go-to football party chili cheese fries! I’ve probably talked your ear off at this point, but when you make a recipe this often, you have a lot to say about it.
This has saved game days more times than I can count. It’s my answer to “what’s for snack” when I’m tired, don’t want to cook a full meal, and still want something that tastes really good. My kids are happy, my friends are happy, and I’m happy because I’m not stressed about cooking.
Make it yours! Try different add-ins, swap in your favorite vegetables, adjust the spice level. The best recipes are the ones you adapt to your family’s tastes. If you’re looking for other easy party foods, check out these no-bake chocolate peanut butter bars for a sweet finish.
If you make this, drop a comment and let me know what you think! I love hearing how recipes turn out in your kitchen. And if something doesn’t work, tell me that too—I’m here to help troubleshoot.
Happy cooking! And I hope your kitchen smells half as good as mine does right now.
Frequently Asked Questions
Can I use sweet potato fries instead of regular fries?
Absolutely! Sweet potato fries add a nice sweetness that pairs well with the savory chili. Just note that they might cook a bit faster, so keep an eye on them in the oven. I’ve used them for parties, and they’re always a hit. They’re a great alternative if you want to mix things up.
Why did my cheese turn out grainy?
This usually happens when you use pre-shredded cheese, which has anti-caking agents that prevent smooth melting. Shred your own cheese from a block for the best results. Also, make sure you’re not broiling for too long—cheese can separate if it gets too hot. Remove it from the oven as soon as it’s melted.
Can I make this ahead for a party?
Not really. Fries get soggy quickly, especially with the chili on them. I recommend cooking the fries ahead and storing them in the oven at a low temperature (200°F) to keep them warm. Then, add the chili and cheese right before serving. It takes just a few minutes and ensures the best texture.
Can I use homemade chili instead of canned?
Yes! Homemade chili works great. Just make sure it’s not too watery. If your chili is thin, simmer it down before adding it to the fries. I often use leftover homemade chili for this recipe—it’s a great way to use up leftovers. You can also use Smoky Bourbon BBQ Baby Back Ribs for a different flavor profile if you’re feeling adventurous.
How do I reheat leftovers without them getting soggy?
The best way is to reheat them in the oven. Spread the fries on a baking sheet and warm them at 400°F for 10 minutes. Then, broil for 2 minutes to melt the cheese again. The microwave will make the fries soft and chewy, which isn’t ideal. If you must use the microwave, heat in short bursts and stir in between.
Can I freeze these?
I wouldn’t recommend freezing them. The fries will lose their crispiness, and the cheese will separate when thawed. It’s best to make them fresh. If you have leftover chili, you can freeze that separately and use it for another batch of fries.
What kind of cheese is best for this?
Sharp cheddar is the classic choice. It has a strong flavor that stands up to the chili. Pepper jack is great if you like spice. Monterey Jack melts beautifully but has a milder flavor. I usually use a mix of cheddar and pepper jack for the best of both worlds.
Pin This Recipe!
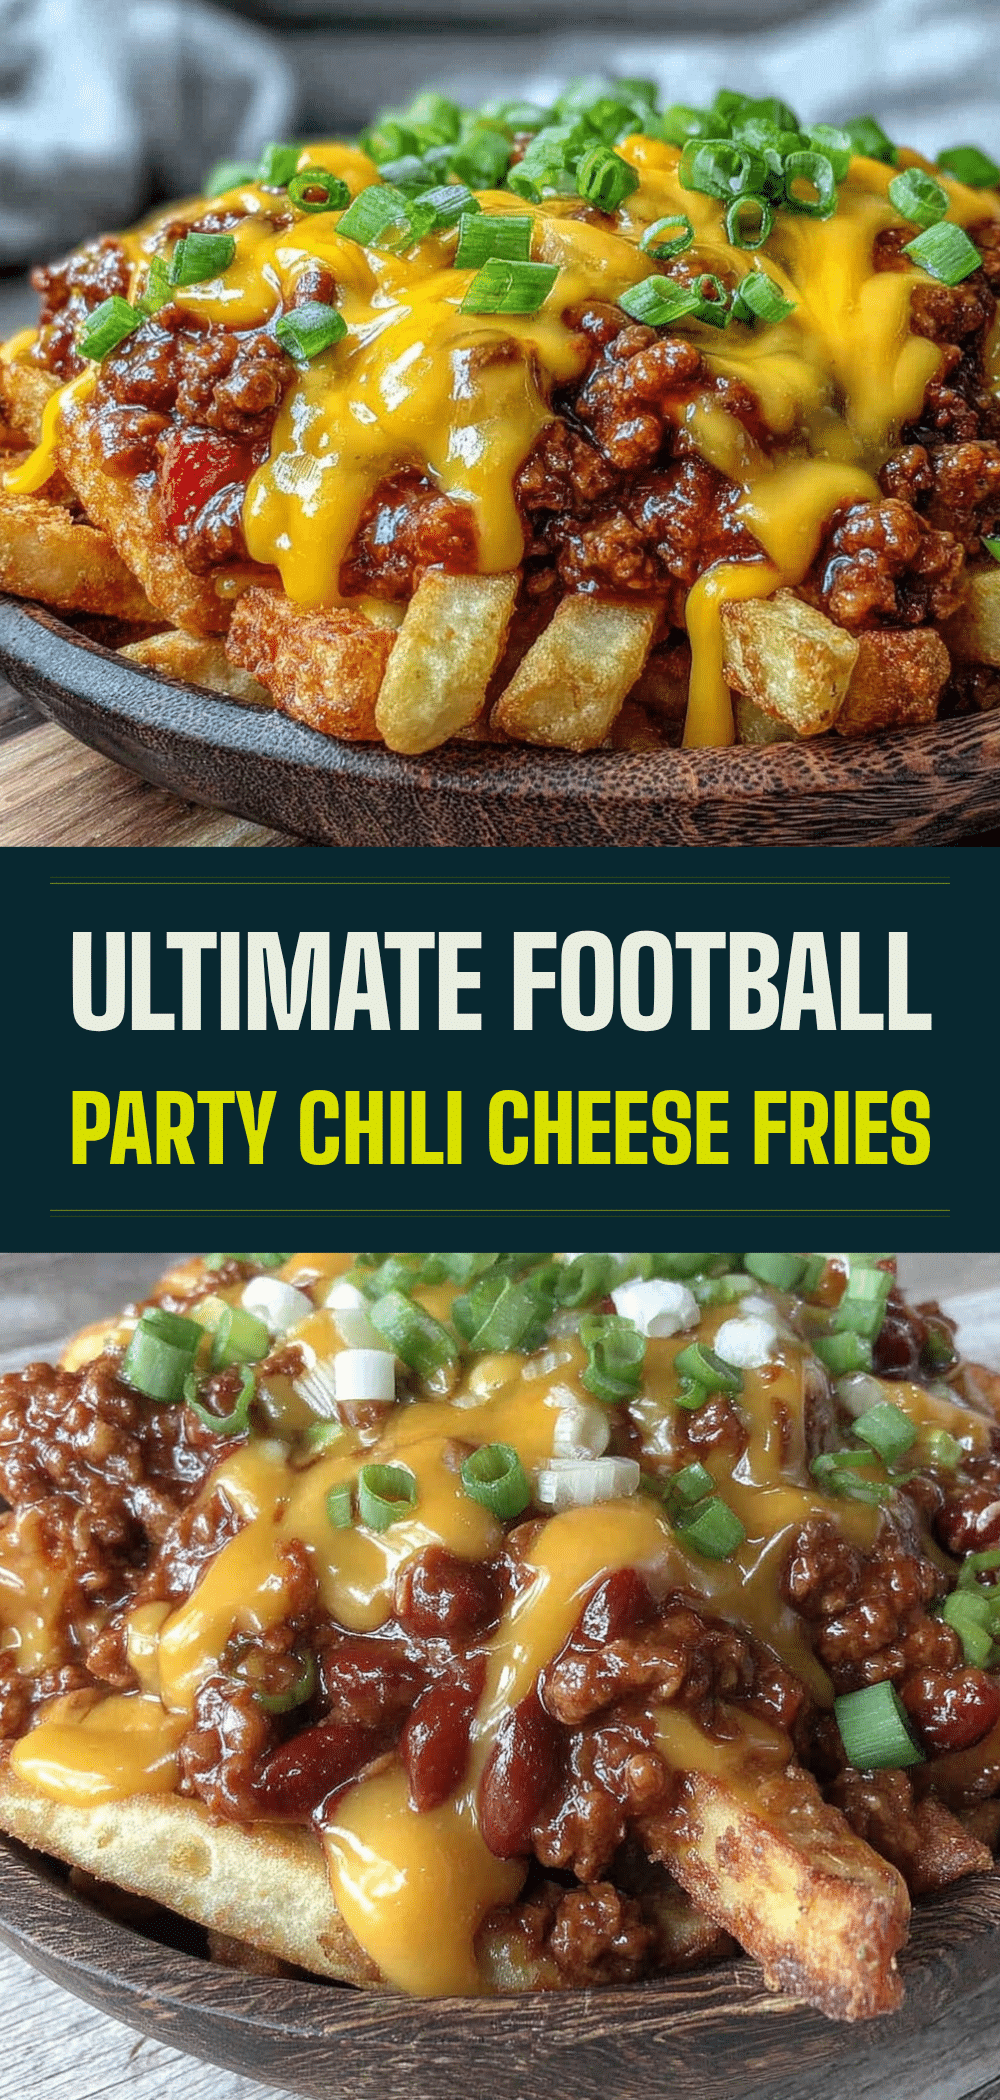

Football Party Chili Cheese Fries: 5-Ingredient Foolproof Snack
- Total Time: 20 minutes
- Yield: 4 servings 1x
Description
A quick, 20-minute game day snack featuring crispy fries topped with warm chili, melted sharp cheddar cheese, and fresh green onions. Simple, crowd-pleasing, and perfect for parties.
Ingredients
- 2 pounds frozen steak fries or thick-cut crinkle cuts
- 2 cans (28oz total) canned chili (with or without beans)
- 2 cups sharp cheddar cheese, shredded
- 4 stalks green onions, sliced
- 1 tablespoon butter (optional, for tossing fries)
- 1/2 cup sour cream (optional, for serving)
- Black pepper, freshly cracked
- Jalapeños, sliced (optional)
- Hot sauce (optional)
Instructions
- Preheat oven to 425°F (220°C). Slice green onions and shred cheese.
- Spread frozen fries in a single layer on a rimmed baking sheet. Bake for 15-20 minutes until golden and crispy, flipping halfway through.
- While fries bake, heat canned chili in a small saucepan over medium-low heat until warm and pourable.
- Remove crispy fries from oven and toss with melted butter (if using). Spread back on the baking sheet.
- Spoon warm chili evenly over the fries.
- Sprinkle shredded cheese generously over the chili.
- Broil on high for 2-3 minutes, watching closely, until cheese is melted and bubbly.
- Remove from oven and immediately garnish with sliced green onions and sour cream. Serve hot.
Notes
Use thick-cut fries to prevent sogginess. Shred your own cheese for better melting. Do not overcrowd the pan when baking fries. Serve immediately as fries lose crispiness quickly.
- Prep Time: 5 minutes
- Cook Time: 15 minutes
- Category: Appetizer
- Cuisine: American
Nutrition
- Serving Size: 1 serving
- Calories: 550
- Sugar: 6
- Sodium: 800
- Fat: 28
- Saturated Fat: 12
- Carbohydrates: 45
- Fiber: 4
- Protein: 22
Keywords: chili cheese fries, game day food, party snacks, easy recipes, football party, comfort food, 5-ingredient recipes


