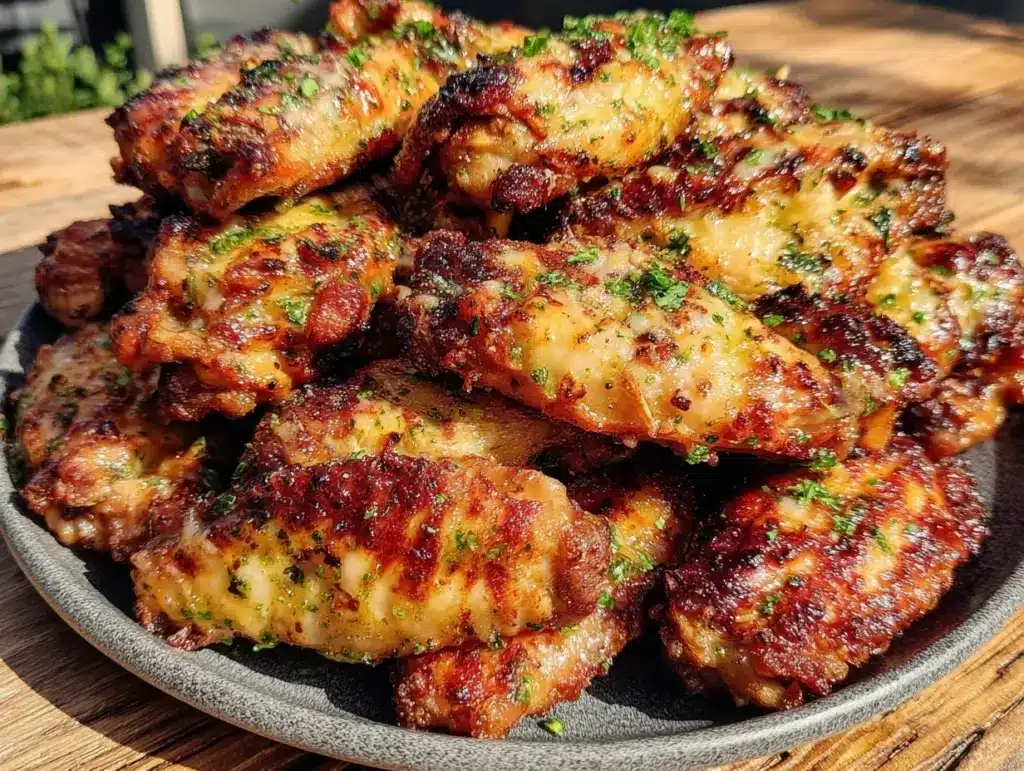
Last September, I was standing in my driveway at 10:30 AM, staring at a cooler that was supposed to be full of snacks, when I realized I had completely forgotten to buy wings. The game didn’t start until 1:00 PM. I had two hours. My husband was already in his jersey, looking at me with that specific expression that says, “I hope you’re not planning to serve store-bought nuggets.” I didn’t have time to order delivery, and I definitely didn’t have time to figure out a complicated marinade.
So I did what I always do when I’m stressed and hungry: I opened the fridge and grabbed what was there. I had a bag of frozen wings, a tub of parmesan cheese, a stick of butter, and a bunch of garlic. I tossed them together, threw them in the oven, and prayed.
When they came out, they were crispy, golden, and smelled like heaven. My husband took one bite and actually stopped talking about the referee’s terrible calls to ask for the recipe. That was three years ago. Since then, I’ve made these garlic parmesan chicken wings for every Super Bowl, every playoff game, and half the Sunday dinners in between. They’ve become the backbone of our tailgating strategy.
Here’s the thing about tailgate food: it needs to be holdable, flavorful, and forgiving. You can’t be hovering over a grill while trying to watch the pre-game show. These wings are different because they cook hands-off in the oven, and the garlic-parmesan coating is so addictive that people will line up for them even if the football game is boring. I’ve tested this method with everything from air fryers to conventional ovens, and it works every single time. If you can only make one thing for your next gathering, make these wings. You really can’t mess this up.
Why You’ll Love This Garlic Parmesan Chicken Wings Recipe
I know there are a million wing recipes out there. Buffalo is classic, BBQ is comforting, and spicy Korean wings are trendy. But garlic parmesan hits a sweet spot that works for everyone, including the people who claim they “don’t like wings” because they hate the grease. These are crispy, not greasy, and packed with flavor.
Here’s why this recipe has earned a permanent spot in my tailgate rotation:
- Minimal Ingredients — Seriously, you need four main items: wings, butter, garlic, and parmesan. I’m not exaggerating. If you have these in your kitchen, you can make dinner. No weird sauces or hard-to-find spices.
- Hands-Off Cooking — You toss them, then you wait. While the wings are crisping up in the oven, you can hang out with your guests, watch the warm-ups, or just relax. You don’t need to babysit them like you do with smoky bourbon ribs, which require constant attention.
- Beginner-Proof — I’ve made these for friends who have never cooked a day in their lives, and the results were restaurant-quality. The key is simple: get them crispy, toss them, and serve. There’s no technique required.
- Holds Up Well — Unlike fried wings that get soggy if they sit for too long, baked wings with this coating stay decently crisp for up to an hour. Perfect for tailgates where food sits out.
- Universal Appeal — Kids love them. Pick eaters love them. People who are “watching their diet” (but only on Tuesdays) love them. They’re the ultimate crowd-pleaser.
This is my go-to when I want to impress without trying. It’s effortless, delicious, and guarantees that the snack table will be empty by halftime.
Ingredients You’ll Need
Here’s the best part: you probably have most of this already. I’m particular about the quality of the parmesan, but for everything else, standard grocery store stuff works perfectly.
For the Wings
Chicken wings (3 pounds / 1.4 kg) — I buy the “party cut” wings (flats and drumettes separated). If you can only find whole wings, just cut them at the joint. Frozen wings work fine, but make sure they’re completely thawed so they cook evenly. I don’t recommend using chicken thighs here; the skin texture is different.
Baking powder (1 tablespoon / 15g) — This is the secret weapon. Not baking soda! Baking powder. It draws out moisture from the skin, helping it crisp up in the oven without frying. Use aluminum-free if you can find it, but regular works too. This is the same trick I use for my crispy chicken milanese to get that perfect crunch.
Salt (1 teaspoon / 5g) — Kosher salt is best because it’s easier to control. Sea salt works too. Don’t use iodized table salt if you can help it; it can taste metallic.
Black pepper (½ teaspoon / 2g) — Freshly cracked is nice, but ground pepper is fine. Just don’t skip it; it adds a little heat to balance the richness.
For the Garlic Parmesan Toss
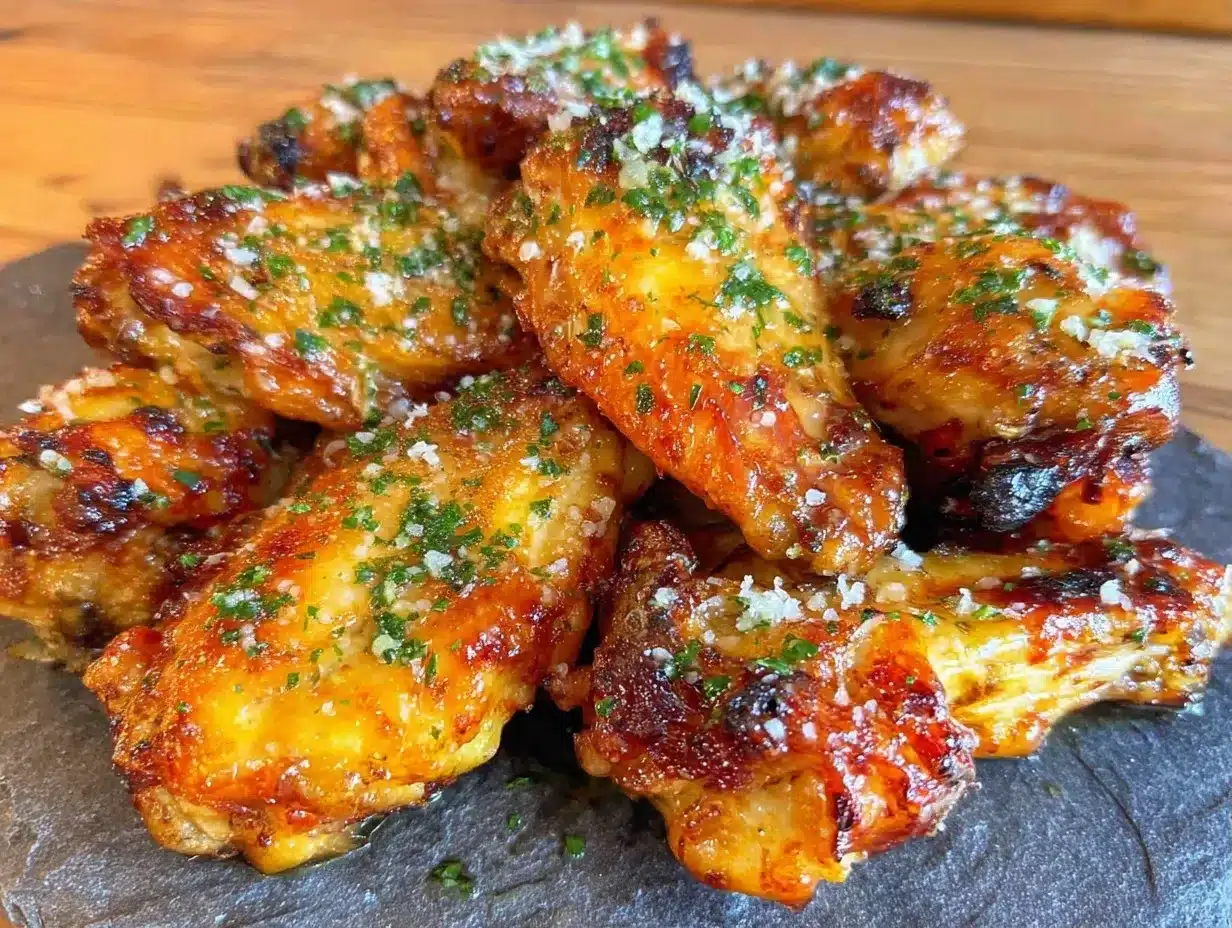
Unsalted butter (½ cup / 115g) — Melted. I use unsalted so I can control the sodium. If you only have salted, reduce the salt in the wing rub by half. Real butter tastes better than oil here; it carries the garlic flavor better.
Garlic (6 cloves / about 2 tablespoons minced) — Fresh garlic only. No jarred stuff. I mince it finely so it sticks to the wings. If you’re worried about burning, you can use a garlic press, but mincing gives you better control. This recipe is very garlic-forward, which is why I love it.
Parmesan cheese (1 cup / 100g, freshly grated) — Buy a wedge of Parmigiano-Reggiano and grate it yourself. Pre-grated cheese has anti-caking agents that make it clumpy and prevent it from melting into a nice coating. I know it takes two minutes, but it’s worth it. If you’re in a rush, you can use a food processor, but don’t over-process it into powder.
Parsley (2 tablespoons / 3g, fresh) — Chopped. This adds color and a fresh, herbal note that cuts through the heavy cheese. Dried parsley works in a pinch, but fresh is better. I usually just chop a bunch from my window herb garden.
Optional: Red pepper flakes (½ teaspoon) — If you like a little kick, add these to the butter mixture. It’s not spicy, just a hint of warmth.
Equipment Needed
You don’t need fancy gear for this. Here’s what I actually use.
Baking sheets (2 large) — I use two half-sheet pans. If you only have one, you’ll need to bake in two batches. Don’t crowd the wings; they need space to breathe and crisp up.
Wire rack (optional but helpful) — Placing the wings on a wire rack set over the baking sheet allows air to circulate underneath. This makes them crispier on the bottom. If you don’t have one, just line your pan with parchment paper and flip them halfway through.
Large mixing bowl — For tossing the wings in the baking powder mixture.
Small saucepan or microwave-safe bowl — For melting the butter. I usually just microwave it in 30-second bursts.
Garlic mincer or knife — To get that fine mince.
Box grater — For the parmesan. A microplane works too if you want it super fine.
How to Make It: Step-by-Step
Alright, let’s make these wings! I’m walking you through exactly how I do it. It’s simple, but there are a few tricks to ensure they’re crispy and not soggy.
Step 1: Prep the Wings (5 minutes)
If your wings are frozen, thaw them completely. You can leave them in the fridge overnight or soak them in cold water for 30 minutes. Once thawed, pat them extremely dry with paper towels. This is crucial. Moisture is the enemy of crispiness. The drier they are, the better they’ll crisp.
Preheat your oven to 400°F (200°C). Line two large baking sheets with parchment paper or aluminum foil for easy cleanup. If you have wire racks, place them on the sheets now.
Step 2: The Dry Rub (2 minutes)
In a large bowl, toss the dried wings with the baking powder, salt, and black pepper. Use your hands to make sure every single wing is coated. The baking powder will draw out moisture and create a crispy skin. Let them sit on the baking sheet for 15-20 minutes while the oven heats up. This air-drying step makes a huge difference.
Step 3: Bake Until Crispy (45-50 minutes)
Place the wings in the oven, leaving space between them. Do not crowd the pan! If they’re touching, they’ll steam instead of bake. Bake for 45-50 minutes. Halfway through (around 25 minutes), flip the wings over if you’re not using a wire rack. They’re done when the skin is deep golden brown and crispy to the touch. If you don’t have a thermometer, the internal temperature should be 165°F (74°C), but visually, look for that deep gold color.
Step 4: Make the Garlic Butter (2 minutes)
While the wings bake, melt the butter in a small saucepan over low heat or in the microwave. Stir in the minced garlic and red pepper flakes (if using). Let it sit for a minute to let the garlic infuse the butter, but don’t let the garlic brown or burn. Burnt garlic tastes bitter.
Step 5: The Toss (3 minutes)
Transfer the hot wings to a large clean bowl. Pour the garlic butter over them. Sprinkle the freshly grated parmesan and chopped parsley over the top. Toss everything together vigorously until every wing is coated in cheese and garlic. The heat from the wings will melt the cheese slightly, creating a sticky, delicious coating.
Step 6: Serve Immediately
Plate them up on a platter or in a foil pan for the tailgate. Serve with ranch or blue cheese dressing on the side. I usually cut a lemon in half and put it on the plate too, because the acidity cuts through the richness. Enjoy!
Expert Tips & Tricks
Here’s everything I’ve learned from making these dozens of times. These tips will save you from my early mistakes.
Pat Them Dry
I can’t stress this enough. Wet wings = soggy wings. Use multiple paper towels. If they’re still damp after the first pass, use more. This is the #1 reason people’s baked wings fail.
Don’t Skip the Baking Powder
It’s not for flavor; it’s for texture. It raises the pH of the skin, which helps it brown and crisp. It won’t make your wings taste soapy if you rinse them properly (though you don’t need to rinse them, just pat them dry). Just make sure it’s baking powder, not soda.
Space Is Key
If you crowd the pan, the wings will steam in their own juices. Use two pans if you have to. If you only have one pan, bake in two batches. The second batch will often be even better because the pan is already hot.
Fresh Garlic Only
Jarred garlic has a preservative taste that doesn’t work well with simple butter. Fresh garlic melts into the butter and creates a fragrant sauce. If you’re worried about chopping, just buy pre-peeled garlic cloves from the produce section.
Grate Your Own Cheese
Pre-grated cheese is coated in cellulose to prevent clumping. This cellulose stops the cheese from melting smoothly. Freshly grated cheese melts into a beautiful, creamy coating. It takes two minutes and makes a world of difference.
Variations & Substitutions
Once you’ve nailed the basic version, here’s how you can mix it up. I’ve tried all of these.
Spicy Garlic Parmesan
Add 1 teaspoon of cayenne pepper or 2 teaspoons of red pepper flakes to the butter mixture. This gives you a kick without overwhelming the garlic flavor.
Herb-Infused
Add 1 teaspoon of dried thyme or oregano to the baking powder rub. This adds an earthy note that pairs well with the parmesan.
Gluten-Free
This recipe is naturally gluten-free! Just make sure your baking powder and parmesan cheese are certified gluten-free (some pre-grated cheeses have wheat starch as an anti-caking agent). Check the labels.
Dairy-Free Option
Replace the butter with olive oil or dairy-free butter. Use a vegan parmesan alternative (like the one from Follow Your Heart) or nutritional yeast. It won’t melt the same way, but it’s still tasty. I’ve made this for my dairy-free friend, and she loved it.
Air Fryer Method
If you have an air fryer, cook the wings at 400°F for 20-25 minutes, shaking the basket every 5 minutes. Then toss in the garlic butter. They’ll be even crispier than the oven version. This is my favorite method for small batches.
Serving & Storage
How to Serve:
I usually serve these straight from the bowl at the tailgate. They look rustic and inviting. Pair them with simple sides like grilled peach salad for a fresh contrast, or some classic potato chips. Drinks? A cold beer or a light lager works perfectly with the rich cheese.
Storage:
Store leftovers in an airtight container in the fridge for up to 3 days. The wings will lose some crispiness, but the flavor remains strong.
Reheating:
Don’t microwave them! They’ll get rubbery. Instead, reheat them in the oven at 375°F for 10-15 minutes, or in an air fryer for 5-7 minutes. This brings back the crispiness. If you’re tailgating, keep them in a slow cooker on the “warm” setting with a little extra butter to keep them moist.
Freezing:
You can freeze the cooked wings for up to 2 months. Thaw in the fridge overnight and reheat in the oven. Do not freeze the garlic butter mixture separately; it separates when thawed. Just freeze the wings and make fresh butter when you’re ready to serve.
Nutrition Information
I’m not a nutritionist, but here’s the breakdown if you’re tracking. Keep in mind that this is a rich dish, so portions matter.
Per serving (based on 6 servings, approx. 4-5 wings per person):
- Calories: 450
- Protein: 28g
- Carbs: 4g
- Fat: 35g
- Sodium: 400mg
What’s Good: High protein from the chicken and cheese. Low carb if you skip the breading (which you aren’t using anyway).
What to Know: High in saturated fat due to the butter and cheese. If you’re watching your sodium, use low-sodium butter and check your parmesan label. But honestly? This is a treat. Enjoy it.
Final Thoughts
So that’s my garlic parmesan chicken wings! I know I’ve talked about how simple they are, but that’s the point. Life is complicated enough. Your tailgate snacks shouldn’t be. These wings are my answer to “what do I bring?” when I want to look like I put in effort but actually just threw them in the oven.
They’ve saved me more times than I can count. They’re crispy, garlicky, cheesy, and universally loved. Make them for your next game day, or just because it’s Tuesday. You really can’t mess this up.
If you make these, drop a comment and let me know how they turned out! I love hearing how recipes work in your kitchen. And if you’re looking for more easy crowd-pleasers, check out my make-ahead breakfast casserole for the morning after the party.
Happy tailgating! I hope your kitchen smells as good as mine does right now.
Frequently Asked Questions
Can I use frozen wings?
Yes, but they must be completely thawed before cooking. If you bake them frozen, the skin won’t crisp up properly, and they’ll release too much water. Thaw them in the fridge overnight or in a bowl of cold water.
Why are my wings not crispy?
Usually, it’s because they were crowded on the pan or not patted dry enough. Make sure there’s space between each wing, and use paper towels to remove as much moisture as possible before adding the baking powder.
Can I make these in an air fryer?
Absolutely. Cook at 400°F for 20-25 minutes, shaking the basket every 5 minutes. They’ll be even crispier than the oven version. Toss in the garlic butter right after cooking.
What if I don’t have baking powder?
You can skip it, but the wings won’t be as crispy. They’ll still be good, but the skin will be softer. For the best texture, baking powder is essential. Don’t use baking soda; it tastes soapy.
How long do these last at a tailgate?
They hold up well for about an hour at room temperature. If you’re keeping them warm, put them in a slow cooker on low with a little extra butter. They won’t get soggy as quickly as fried wings.
Can I add ranch seasoning?
Yes! Some people like to add a packet of dry ranch seasoning to the garlic butter mixture. It adds a tangy, herby flavor that pairs well with the parmesan. It’s a great variation if you’re serving kids.
Do I need to flip the wings?
If you’re using a wire rack, no. If you’re baking directly on the parchment paper, yes, flip them halfway through to ensure even browning on both sides.
Pin This Recipe!
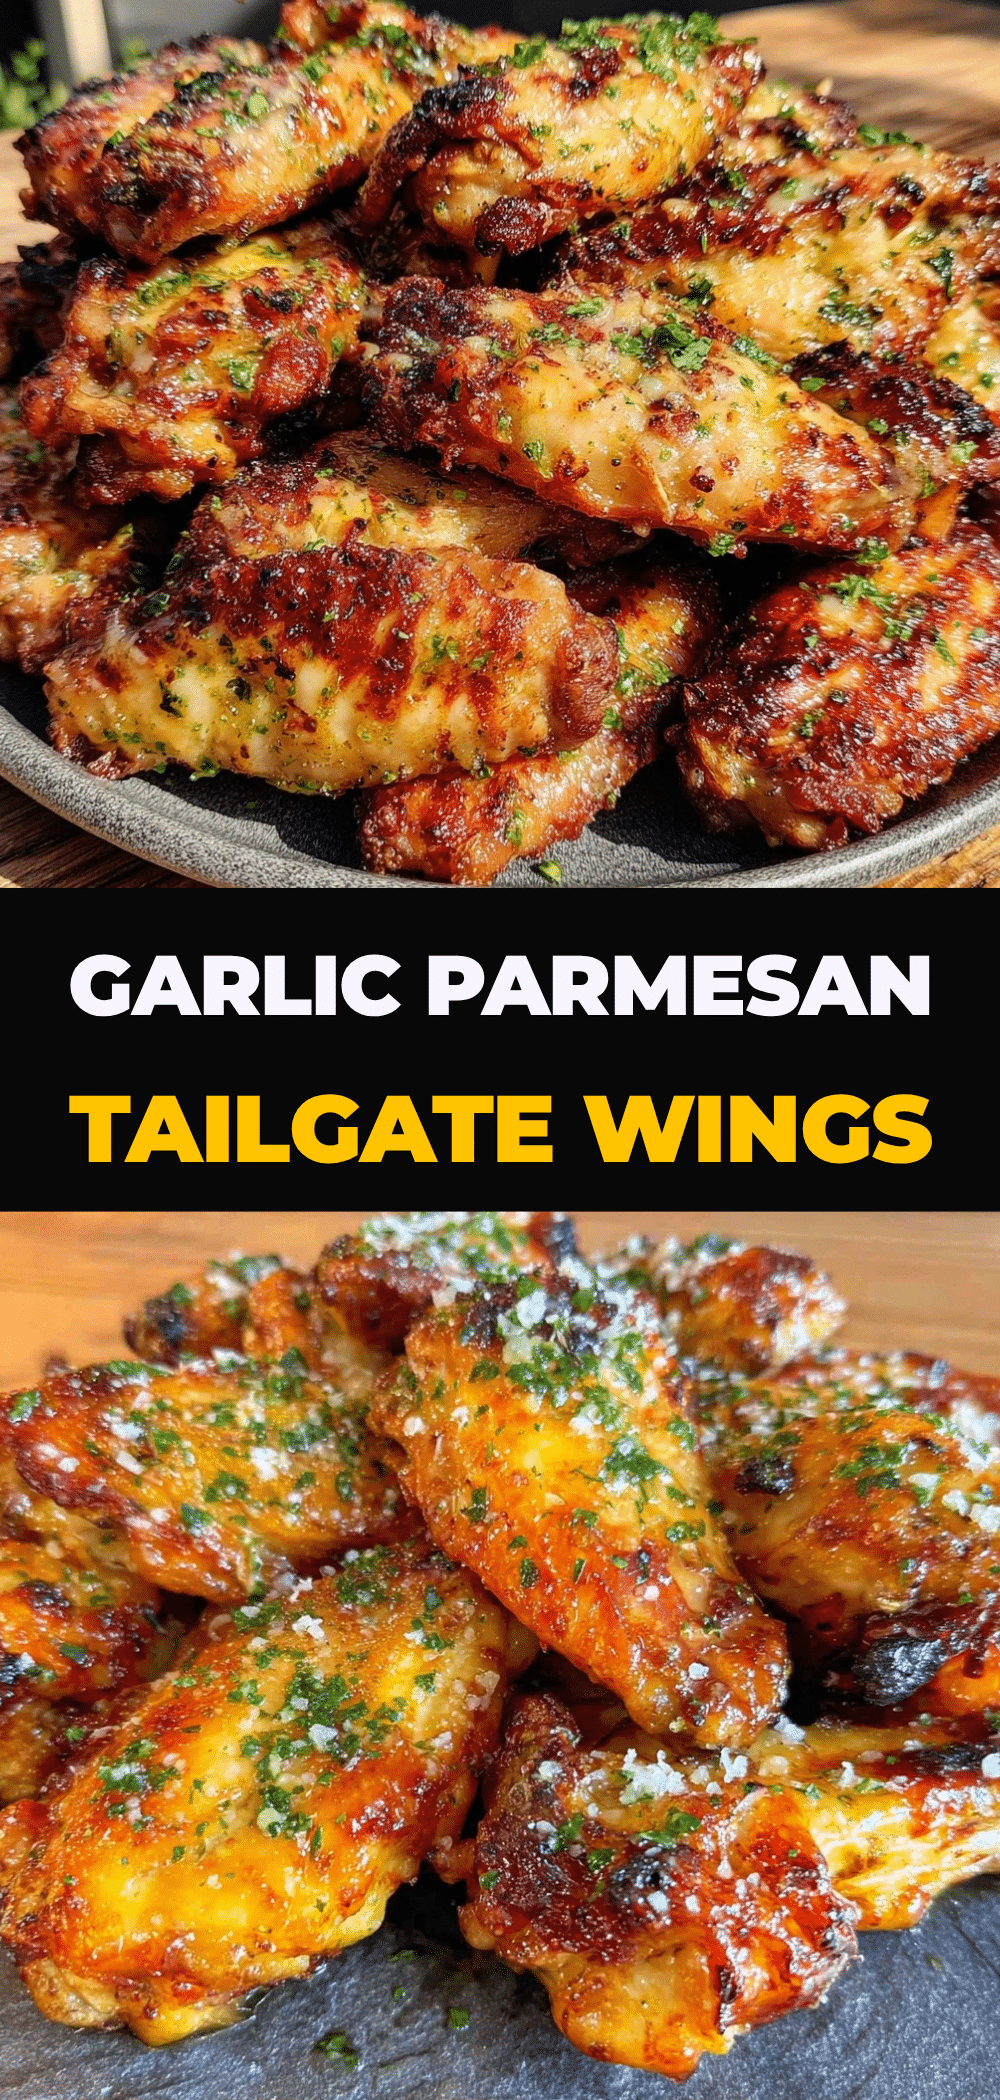
Garlic Parmesan Chicken Wings: The Only Tailgate Recipe You Need
- Total Time: 1 hour
- Yield: 6 servings 1x
Description
Crispy, golden-baked chicken wings tossed in a rich garlic butter and parmesan cheese coating. This hands-off, beginner-proof recipe is perfect for tailgating, game days, or any gathering where you need crowd-pleasing snacks.
Ingredients
- 3 pounds chicken wings (party cut: flats and drumettes)
- 1 tablespoon baking powder
- 1 teaspoon kosher salt
- 1/2 teaspoon black pepper
- 1/2 cup unsalted butter (melted)
- 6 cloves garlic (minced)
- 1 cup freshly grated Parmesan cheese
- 2 tablespoons fresh parsley (chopped)
- 1/2 teaspoon red pepper flakes (optional)
Instructions
- Thaw frozen wings completely if using. Pat wings extremely dry with paper towels to ensure crispiness.
- Preheat oven to 400°F (200°C). Line two large baking sheets with parchment paper or foil. Place wire racks on sheets if available.
- In a large bowl, toss dried wings with baking powder, salt, and black pepper until evenly coated.
- Place wings on the prepared baking sheets, ensuring they are not crowded. Let them sit for 15-20 minutes while the oven heats up.
- Bake for 45-50 minutes. Halfway through, flip the wings if not using a wire rack. Wings are done when deep golden brown and crispy (internal temp 165°F).
- While wings bake, melt butter in a saucepan or microwave. Stir in minced garlic and red pepper flakes (if using). Let sit for a minute to infuse, but do not burn.
- Transfer hot wings to a large clean bowl. Pour garlic butter over wings, then sprinkle with parmesan cheese and parsley.
- Toss vigorously until every wing is coated. Serve immediately with ranch or blue cheese dressing and lemon wedges.
Notes
Patting the wings dry is crucial for crispiness. Do not use baking soda; use baking powder. Space is key; do not crowd the pan or wings will steam. Freshly grate your own parmesan to avoid anti-caking agents that prevent melting. For air fryer method, cook at 400°F for 20-25 minutes, shaking every 5 minutes.
- Prep Time: 10 minutes
- Cook Time: 50 minutes
- Category: Appetizer
- Cuisine: American
Nutrition
- Serving Size: 4-5 wings per person
- Calories: 450
- Sugar: 1
- Sodium: 400
- Fat: 35
- Saturated Fat: 18
- Carbohydrates: 4
- Protein: 28
Keywords: garlic parmesan wings, tailgate recipes, baked chicken wings, game day food, easy appetizer, crispy wings, parmesan chicken


