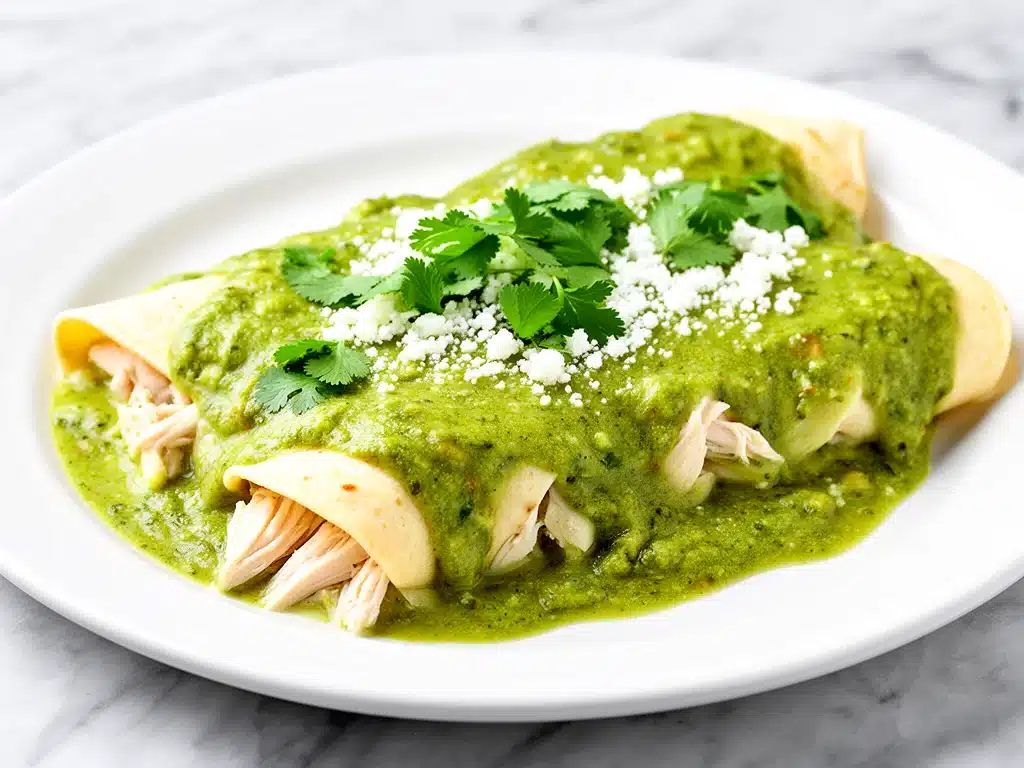
I have a confession to make. For the first ten years of our marriage, I cooked dinner like I was walking on eggshells. Not because my husband was difficult—well, maybe a little—but because I was terrified of burning his tongue. So, everything was mild. Bland, even. Chicken tenders. Plain pasta. Grilled cheese with the crusts cut off (okay, maybe not the crusts, but you get the idea).
Then came that Tuesday in November. We’d just moved into our first house with a kitchen big enough to actually cook, and I was exhausted. I had no energy for delicate flavors. I wanted comfort. I wanted warmth. And I wanted something that made my nose run just a little bit.
I pulled out a can of green chiles and a rotisserie chicken. I didn’t have a recipe. I just threw things into a skillet: cream cheese, sour cream, cumin, and enough green chiles to make a statement. I rolled them into tortillas, drowned them in more sauce, and put them in the oven. When I pulled the pan out, the kitchen smelled like a Tex-Mex restaurant in Austin, and my husband walked in, sniffed the air, and said, “What is that? It smells amazing.”
He took one bite. Then another. Then he asked for the recipe before I’d even plated it. That moment changed everything. It wasn’t just about the food—it was about realizing that our family didn’t need safe. They needed creamy green chile chicken enchiladas that actually had some backbone.
Now, I make these enchiladas at least once a month. They’re my answer to “what’s for dinner” when I’m tired but want to feed people something that feels special. It’s cozy, it’s cheesy, and it’s got that tangy kick that wakes everyone up. If you’ve been searching for a family-friendly Mexican dinner that’s easier than takeout but tastes like you spent all day in the kitchen, you’re in the right place. This is the recipe that won over my picky eaters, my spicy-food-loving in-laws, and honestly, myself.
Why This Recipe Will Become Your New Weeknight Hero
There are about a million reasons I keep coming back to these creamy green chile chicken enchiladas, but let’s be real: it’s not just about the flavor (though that’s huge). It’s about how this recipe fits into real life. Here’s why I think you’ll love it as much as I do.
Stupid Simple Assembly
Seriously, if you can open a can and roll a tortilla, you can make this. I’ve walked my teenage son through it over FaceTime while I was at work. There’s no complex technique here. You mix the filling, you roll, you bake. Done. No fancy skills required.
Uses Up Leftovers
This is the ultimate cleanup dinner. Got half a rotisserie chicken sitting in the fridge? Perfect. Got a bag of shredded cheese? Use it up. I love that this recipe is forgiving. You don’t need to buy a bunch of weird ingredients for one meal. It’s pantry-friendly in the best way possible.
The Sauce is Liquid Gold
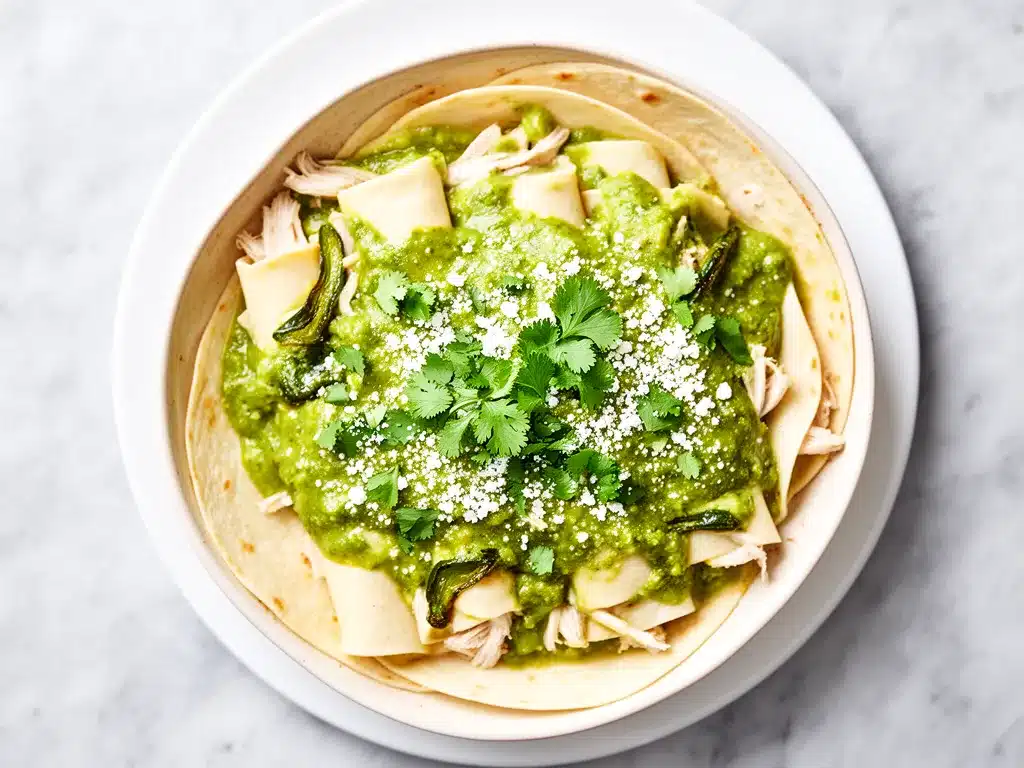
Most enchilada recipes require you to make a separate sauce from scratch, which means more dishes. This one? The sauce is mixed right into the filling. Cream cheese, sour cream, green chiles, spices—it all melts together in the oven to create this incredible, tangy, creamy gravy that soaks into the tortillas. It’s rich without being heavy.
Freezer-Friendly for Busy Nights
Here’s a pro tip: these freeze beautifully. I often double the recipe, assemble two pans, and freeze one. When I have a night where I’m too tired to cook (like, really tired), I just thaw one out and bake it. It saves weeknight dinners more times than I can count.
So basically, this is the recipe that takes the stress out of dinner. No complicated techniques, no weird ingredients, just reliable, delicious food that makes everyone happy. It’s my go-to when I need dinner to just work.
Ingredients You’ll Need
Here’s the best part: you probably have most of this already. I’m particular about a few things here, so stick with me on the specifics, but don’t worry—this isn’t a grocery list that will bankrupt you.
For the Filling
Cooked Chicken (3 cups, shredded / about 450g) — I use rotisserie chicken because it’s fast and flavorful. You can also use grilled chicken breast or even leftover turkey. Just make sure it’s shredded into bite-sized pieces. If you’re boiling your own chicken, save the broth for the sauce later!
Green Chiles (2 cans, 4oz each / 225g) — Look for diced green chiles, like Ro*Tel or El Pato. Do not use fresh chiles unless you want to deal with seeds and membranes. The canned kind is mild, tangy, and perfect for this. Drain them slightly, but don’t squeeze them dry—they bring moisture.
Cream Cheese (8oz block, softened / 225g) — This is the secret to the creamy texture. It needs to be softened to room temperature so it mixes smoothly. Don’t skip this step, or you’ll get lumpy enchiladas. I use full-fat because low-fat doesn’t melt as well.
Sour Cream (1 cup / 240g) — Full-fat sour cream adds that tangy richness. If you’re feeling fancy, you can use Greek yogurt, but the flavor profile changes slightly. I stick with sour cream for that classic Tex-Mex taste.
Shredded Mexican Cheese Blend (2 cups / 200g) — Most grocery stores sell a “Mexican Blend” that usually has Monterey Jack, Cheddar, and Asadero. It melts beautifully. If you can’t find it, mix shredded Monterey Jack and Cheddar yourself. Avoid pre-shredded bags if you can—those anti-caking agents make the sauce grainy.
Spices (1 tsp cumin, 1/2 tsp garlic powder, 1/2 tsp onion powder) — These are pantry staples. Cumin gives it that earthy, warm depth. Garlic and onion powder add savory notes without needing to chop fresh veggies. Don’t skip the cumin—it’s the heart of the flavor.
Flour Tortillas (12 large / 12 pieces) — Use large flour tortillas, about 10-12 inches. Corn tortillas will crack when you roll them with this creamy filling. If you must use corn, warm them up first in a dry skillet to make them pliable.
For the Topping (Optional but Recommended)
Extra Shredded Cheese (1 cup / 100g) — For that gooey, golden top layer.
Fresh Cilantro (1/4 cup, chopped) — Adds freshness and color. It cuts through the richness of the cream cheese.
Green Onions (2 stalks, sliced) — A nice crunch on top. You can also use diced jalapeños if you want extra heat.
Black Beans (1 can, drained / 15oz) — Optional, but I add these for extra fiber and protein. My kids love them, and they blend right in.
Rice (1 cup, cooked / 200g) — Some people mix rice into the filling. I don’t, but if you want to stretch the meal further, stir in some leftover white or brown rice.
Equipment Needed
You don’t need fancy equipment for this. Here’s what I actually use.
Large Mixing Bowl — I use a 5-quart bowl. It needs to be big enough to mix the chicken, cheese, and spices without making a mess. A glass or plastic bowl works best so you can see what’s happening.
9×13 Inch Baking Dish — Standard size. If you have a deep dish, even better, because the sauce can bubble up. I use a ceramic dish because it heats evenly.
Measuring Cups and Spoons — Pretty standard stuff. Dollar store versions work fine. Just make sure your spoons are clean—old cumin smells different than fresh cumin.
Wooden Spoon or Spatula — For mixing the filling. You want to combine everything evenly.
Aluminum Foil — Optional, but I like to cover the enchiladas for the first half of baking to keep them moist. Then I uncover to brown the cheese.
Sharp Knife and Cutting Board — For chopping cilantro and green onions. If you’re using rotisserie chicken, you might not need a knife, but it’s good to have.
How to Make It: Step-by-Step
Alright, let’s make this! I’m walking you through exactly how I do it, including the little tricks I’ve picked up over the years.
Step 1: Prep Your Oven and Pan (5 minutes)
Preheat your oven to 375°F (190°C). Grease your 9×13 inch baking dish with cooking spray or a little olive oil. This prevents sticking and makes cleanup easier. I usually spray it lightly, then add a spoonful of the sauce to the bottom to create a non-stick base.
Step 2: Make the Filling (10 minutes)
In your large mixing bowl, combine the softened cream cheese and sour cream. Use a wooden spoon or spatula to mix them until smooth. This is crucial—if the cream cheese isn’t smooth, your filling will be lumpy. Add the shredded chicken, drained green chiles, black beans (if using), and all the spices. Mix well. Finally, stir in 1.5 cups of the shredded cheese. The mixture should be creamy and chunky. Taste it! If you want more spice, add a pinch of cayenne or some chopped jalapeños.
Step 3: Roll the Enchiladas (15 minutes)
Lay out your tortillas on a clean surface. Scoop about 1/3 cup of filling onto the center of each tortilla. Roll it up tightly, folding in the sides as you go. Place the rolled enchiladas seam-side down in the baking dish. Pack them in snugly—they’ll shrink a bit as they cook. You should fit all 12 tortillas in one pan. If your pan is small, do two batches.
Step 4: Add the Topping (5 minutes)
Sprinkle the remaining 0.5 cup of shredded cheese evenly over the top of the enchiladas. This creates that cheesy, crispy top layer. If you’re feeling fancy, you can drizzle a little more sour cream or hot sauce over the top before baking. I usually just stick to the cheese—it’s classic for a reason.
Step 5: Bake (25-30 minutes)
Place the dish in the preheated oven. Bake uncovered for 25-30 minutes, or until the cheese is melted and bubbly, and the edges of the tortillas are slightly golden. If you’re worried about the top burning, you can cover it loosely with foil for the first 15 minutes, then remove the foil to let the cheese brown. I usually bake it uncovered the whole time—it’s faster and gets better color.
Step 6: Rest and Serve (5 minutes)
Remove the dish from the oven and let it rest for 5 minutes. This helps the filling set so the enchiladas don’t fall apart when you cut them. Sprinkle with fresh cilantro and green onions. Serve immediately with your favorite sides.
Total Time: About 45 minutes (15 minutes active, 30 minutes baking)
Expert Tips & Tricks
Here’s everything I’ve learned from making this dozens of times. These tips will save you from my mistakes.
Don’t Skip the Resting Time
I know it’s tempting to dig in immediately, but let the enchiladas rest for 5 minutes after baking. The filling is hot and loose right out of the oven. Resting allows it to set, making them much easier to serve and eat. I’ve dropped a few on the floor because I was too impatient—don’t be me.
Warm Your Tortillas
If your tortillas are cold and stiff, they might crack when you roll them. Warm them up in a dry skillet for 10 seconds on each side, or wrap them in a damp paper towel and microwave for 20 seconds. This makes them pliable and easy to roll.
Drain the Green Chiles
Green chiles come in liquid, and too much liquid can make your enchiladas soggy. Drain them in a colander and press gently with a paper towel to remove excess moisture. You want the flavor, not the brine.
Use Full-Fat Dairy
I know “low-fat” sounds healthy, but in a recipe like this, fat is flavor. Low-fat cream cheese and sour cream don’t melt the same way and can result in a grainy texture. Trust me on this—it’s worth the calories.
Make It Ahead
You can assemble these enchiladas up to 24 hours in advance. Cover tightly with plastic wrap and refrigerate. When you’re ready to cook, just pop them in the oven. You might need to add 5-10 minutes to the baking time if they’re cold from the fridge.
Variations & Substitutions
Once you’ve nailed the basic version, here’s how you can mix it up. I’ve tried all of these.
Spicy Version
Add 1 diced jalapeño to the filling, or use a spicy green chile blend. You can also add a dash of hot sauce to the mixture. If you like heat, don’t be shy—this recipe stands up to spice.
Veggie-Loaded
Add 1 cup of sautéed bell peppers and onions to the filling. Or toss in some corn kernels for sweetness. This is how I get my kids to eat vegetables without noticing.
Lighter Version
Use low-fat cream cheese and Greek yogurt instead of sour cream. It’s thinner, but still good. I make this when I’m trying to be “healthy,” though I usually go back to the full-fat version the next week.
Shrimp Enchiladas
Swap the chicken for cooked shrimp. It cooks faster, so reduce the baking time by 5 minutes. The creamy sauce pairs beautifully with seafood.
Gluten-Free
Use corn tortillas instead of flour. Make sure they’re warmed up first to prevent cracking. Everything else is naturally gluten-free.
Dairy-Free
Use dairy-free cream cheese and sour cream alternatives. The texture will be different, but it still works. I’ve made this for my lactose-intolerant friend, and she loved it.
Pro Tricks I’ve Learned:
For Extra Flavor — Toast the cumin in a dry pan for 30 seconds before adding it to the filling. It releases more aroma and depth.
For Better Texture — Add a tablespoon of olive oil to the filling. It helps bind everything together and adds richness.
Make-Ahead Strategy — Freeze the assembled enchiladas (unbaked) for up to 3 months. Thaw overnight in the fridge before baking. This is my lifesaver on busy weeknights.
Serving & Storage
How to Serve
I usually serve this straight from the baking dish at the dinner table—it looks rustic and stays warm. But here are other ways I’ve enjoyed it:
Side Dishes:
- Cilantro-lime rice
- Black bean salad
- Simple green salad with avocado
- Corn on the cob
Toppings Bar:
When I have guests, I put out: extra sour cream, hot sauce, diced avocado, fresh cilantro, and lime wedges. Everyone customizes their bowl.
Wine Pairing:
Not a wine expert, but my wine-snob friend says a crisp Pinot Grigio or a light-bodied Malbec works great with this.
Storage Instructions
Refrigerator:
Store leftovers in an airtight container for up to 4 days. The flavors actually get better after a day or two.
Reheating:
Best method: Reheat in the oven at 350°F for 15-20 minutes, covered with foil. This keeps them moist.
Microwave method: Heat in 1-minute intervals, stirring between. Add a splash of water or milk if it’s too dry.
Never works: Trying to reheat in the air fryer. They dry out too fast. Ask me how I know.
Freezing:
These freeze beautifully! Assemble the enchiladas, cover tightly with plastic wrap and foil, and freeze for up to 3 months. Thaw overnight in the fridge before baking. You can also freeze individual portions for quick lunches.
Meal Prep:
Make a big batch on Sunday, store in the fridge, and reheat throughout the week. It tastes way better than takeout and costs less.
Pro tip: If leftovers are drying out, stir in a tablespoon of sour cream or a splash of milk when reheating. Brings back that creamy texture.
Nutrition Information
I’m not a nutritionist, but here’s the breakdown if you’re tracking.
Per Serving (based on 4 servings):
- Calories: 520
- Protein: 35g
- Carbs: 45g
- Fiber: 3g
- Sugar: 2g
- Fat: 22g
- Saturated Fat: 10g
- Cholesterol: 110mg
- Sodium: 680mg
- Calcium: 300mg
What’s Good:
- High protein from chicken and cheese
- Calcium from the dairy
- Can add vegetables to boost nutrition
- More filling than it looks
What to Know:
- Higher in calories from cream cheese and cheese
- Contains dairy and gluten
- Moderate sodium (use low-sodium chiles to reduce)
My Take:
Look, this is comfort food with cream and cheese. It’s not a diet recipe. But it’s way better than takeout, costs less, and I know exactly what’s in it. When I want to make it lighter, I use the Greek yogurt version and load up on vegetables. But usually? I just eat a reasonable portion and enjoy it.
Final Thoughts
So that’s my go-to creamy green chile chicken enchiladas! I’ve probably talked your ear off at this point, but when you make a recipe this often, you have a lot to say about it.
This has saved weeknight dinners more times than I can count. It’s my answer to “what’s for dinner” when I’m tired, don’t want takeout, and still want something that tastes really good. My kids are happy, my husband’s happy, and I’m happy because I’m not stressed about cooking.
Make it yours! Try different add-ins, swap in your favorite vegetables, adjust the spice level. The best recipes are the ones you adapt to your family’s tastes. If you’re looking for more cozy comfort dinners, you might also enjoy my creamy pumpkin alfredo pasta for a vegetarian twist, or my slow cooker apple cider pulled pork for a different kind of comfort.
If you make this, drop a comment and let me know what you think! I love hearing how recipes turn out in your kitchen. And if something doesn’t work, tell me that too—I’m here to help troubleshoot.
Happy cooking! And I hope your kitchen smells half as good as mine does right now.
Frequently Asked Questions
Can I use corn tortillas instead of flour?
You can, but they’re more prone to cracking. If you use corn tortillas, warm them up first in a dry skillet for 10 seconds on each side to make them pliable. Also, make sure your filling isn’t too wet, or the tortillas will get soggy. Flour tortillas are easier for beginners, but corn works if you’re careful.
Why did my enchiladas turn out dry?
Usually means they were baked too long or the oven was too hot. The cheese should be melted and bubbly, not browned and crispy. If you’re baking them for more than 30 minutes, check them. Also, make sure you have enough cream cheese and sour cream in the filling—it acts as a moisture barrier.
Can I make these ahead for a dinner party?
Absolutely! Assemble the enchiladas up to 24 hours in advance. Cover tightly with plastic wrap and refrigerate. When you’re ready to serve, just pop them in the oven. You might need to add 5-10 minutes to the baking time if they’re cold from the fridge. This is perfect for entertaining.
Why did my sauce get watery?
Green chiles come in liquid, and if you don’t drain them well, it can make the filling runny. Make sure to drain and press the chiles with a paper towel. Also, let the enchiladas rest for 5 minutes after baking before serving. This helps the filling set.
Can I freeze these enchiladas?
Yes! These freeze beautifully. Assemble the enchiladas, cover tightly with plastic wrap and foil, and freeze for up to 3 months. Thaw overnight in the fridge before baking. You can also freeze individual portions for quick lunches. Just make sure to thaw them completely before baking to ensure even cooking.
What can I serve with these enchiladas?
I usually serve them with cilantro-lime rice, black bean salad, or a simple green salad. Corn on the cob is also a great side. For drinks, a crisp Pinot Grigio or a light beer works well. It’s a complete meal that’s satisfying and flavorful.
Can I use leftover turkey instead of chicken?
Yes! Leftover turkey works perfectly in this recipe. Just shred it and mix it with the filling. It’s a great way to use up holiday leftovers. The flavors pair beautifully with the green chiles and cream cheese.
Pin This Recipe!
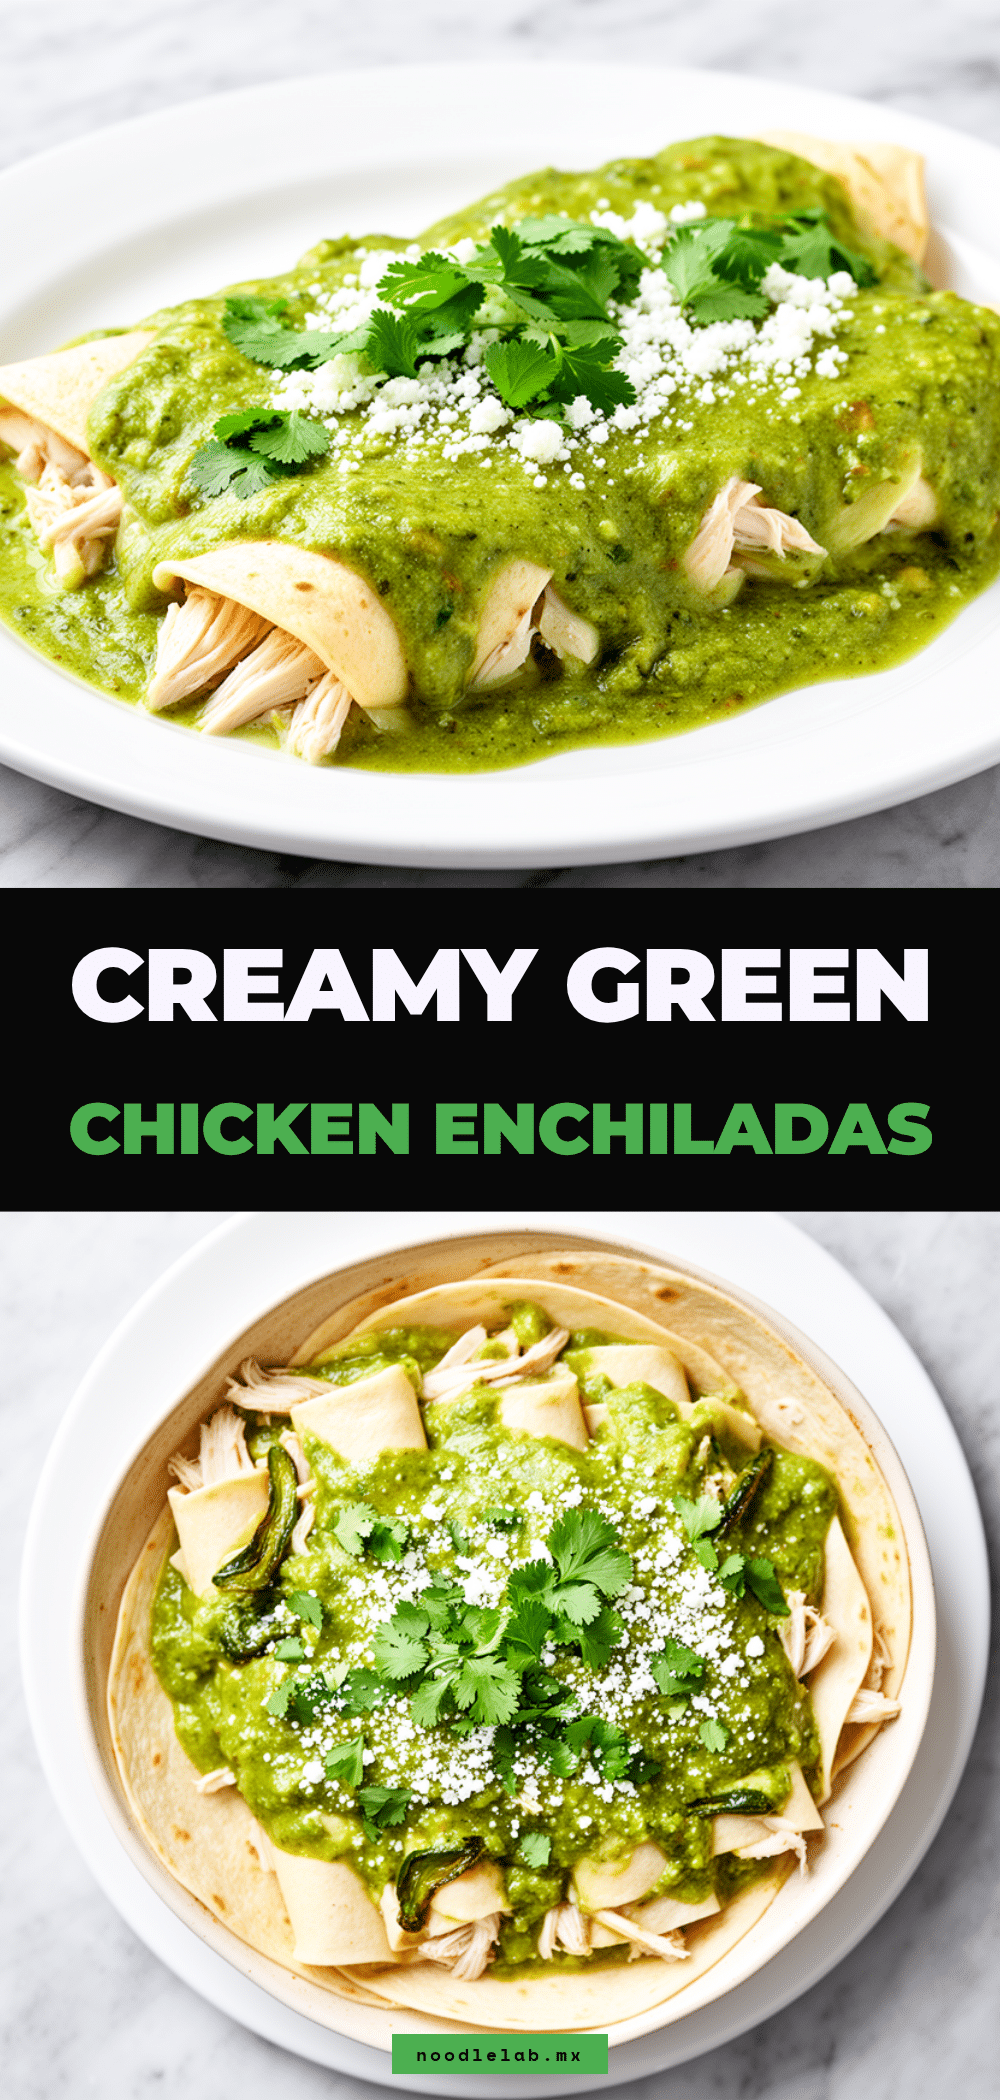
Creamy Green Chile Chicken Enchiladas: Easy Family Favorite
- Total Time: 45 minutes
- Yield: 4 servings 1x
Description
A cozy, creamy Tex-Mex dinner featuring shredded chicken, green chiles, and a rich cheese sauce baked in tortillas. This easy weeknight meal is freezer-friendly and perfect for families.
Ingredients
- 3 cups cooked chicken, shredded (about 450g)
- 2 cans (4oz each) diced green chiles, drained
- 8oz block cream cheese, softened
- 1 cup sour cream
- 2 cups shredded Mexican cheese blend
- 1 tsp cumin
- 1/2 tsp garlic powder
- 1/2 tsp onion powder
- 12 large flour tortillas
- 1 cup extra shredded cheese (for topping)
- 1/4 cup fresh cilantro, chopped
- 2 stalks green onions, sliced
- 1 can (15oz) black beans, drained (optional)
- 1 cup cooked rice (optional)
Instructions
- Preheat oven to 375°F (190°C). Grease a 9×13 inch baking dish with cooking spray or olive oil.
- In a large mixing bowl, combine softened cream cheese and sour cream, mixing until smooth.
- Add shredded chicken, drained green chiles, black beans (if using), and spices (cumin, garlic powder, onion powder) to the bowl. Mix well.
- Stir in 1.5 cups of the shredded cheese until the mixture is creamy and chunky.
- Lay out tortillas and scoop about 1/3 cup of filling onto the center of each. Roll tightly, folding in the sides, and place seam-side down in the baking dish.
- Sprinkle the remaining 0.5 cup of shredded cheese evenly over the top of the enchiladas.
- Bake uncovered for 25-30 minutes, or until cheese is melted and bubbly and edges are golden.
- Remove from oven and let rest for 5 minutes to allow filling to set.
- Sprinkle with fresh cilantro and green onions before serving.
Notes
For best results, ensure cream cheese is softened to room temperature to avoid lumps. Drain green chiles well to prevent soggy enchiladas. Let the dish rest for 5 minutes after baking to help it set. These freeze well for up to 3 months.
- Prep Time: 15 minutes
- Cook Time: 30 minutes
- Category: Main Course
- Cuisine: Mexican
Nutrition
- Serving Size: 3 enchiladas per ser
- Calories: 520
- Sugar: 2
- Sodium: 680
- Fat: 22
- Saturated Fat: 10
- Carbohydrates: 45
- Fiber: 3
- Protein: 35
Keywords: enchiladas, chicken enchiladas, green chile, creamy enchiladas, easy dinner, weeknight meal, tex-mex, family favorite, comfort food


