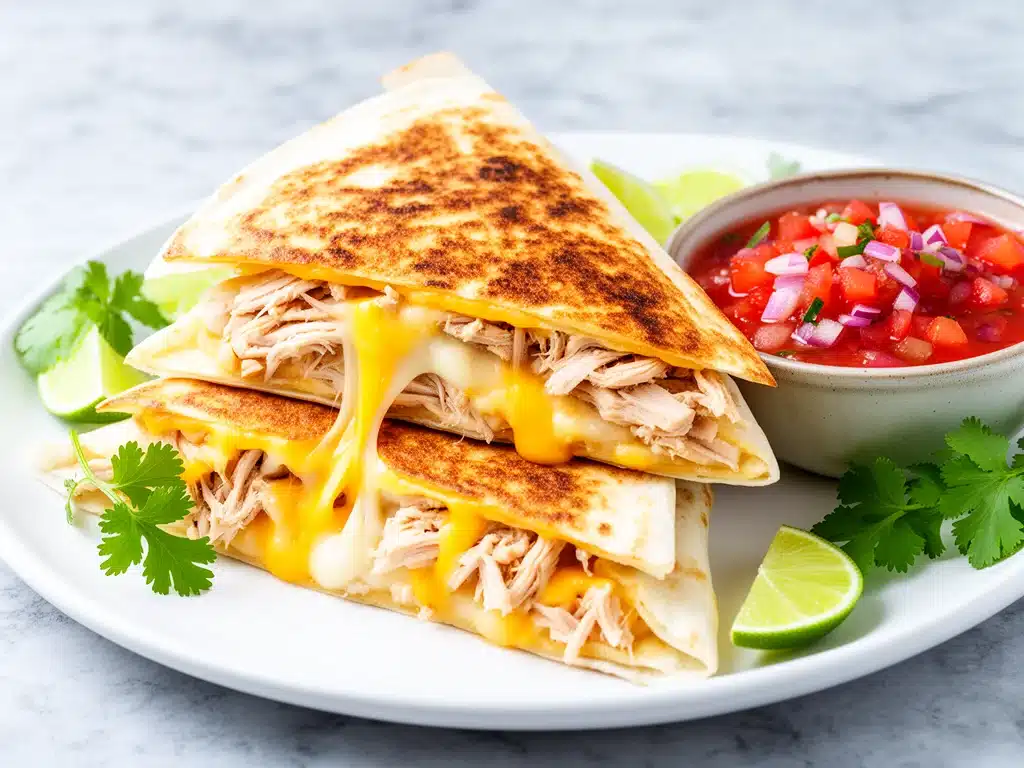
Last Tuesday, I was standing in my kitchen at 6:45 PM, staring into the abyss of my refrigerator. My husband had mentioned something about being “starving,” my teenager had already complained about a “bad day,” and I had exactly zero energy for anything that required more than five active ingredients. We had some leftover rotisserie chicken, a bag of shredded Mexican blend cheese that was slowly turning into a plastic brick in the crisper drawer, and a jar of salsa that had been hiding behind the condiments since last month. I didn’t have the heart to order takeout, and I definitely didn’t want to cook a “real” meal.
So, I threw together what I thought would be a mediocre compromise. I grabbed two tortillas, piled them high with chicken and cheese, and slid them into the pan. The smell that hit the air ten minutes later was pure magic. Crispy, golden, gooey, and smelling like comfort. My kids came running. Not walked. Running. That is the true test of a family dinner. If they sprint to the table, you’ve won.
Those weren’t just quesadillas. They were Cheesy Chicken Quesadillas with Salsa that my whole family now craves. Seriously. We make them at least once a week. Sometimes twice. It’s become our go-to solution for busy weeknights, lazy Sundays, and even impromptu lunch the next day (they’re amazing cold, by the way, though warm is better). I’ve tweaked this recipe dozens of times—adding different spices, swapping cheeses, playing with salsa brands—and I’ve finally landed on the perfect balance. It’s crispy on the outside, melty on the inside, spicy enough to be interesting, and mild enough that even the pickiest eaters won’t complain.
If you’ve been searching for an easy family dinner that actually tastes good and comes together faster than delivery, you need to try this. I promise you, this is one of those recipes that feels like a cheat code for parenting. Let me show you how to make it.
Why You’ll Love This Recipe
There are a million ways to cook chicken, but few are as satisfying as this. I’ve made this for everything from casual Tuesday nights to game-day snacks, and it never fails to hit the spot. Here’s why this cheesy chicken quesadilla recipe has earned a permanent spot in our rotation:
- Under 15 Minutes Active Time — Seriously. If you have pre-cooked chicken (rotisserie is perfect), you can have dinner on the table before the pizza delivery guy even knocks. I’ve timed it. It’s terrifyingly fast.
- Uses Up Leftovers — This is the ultimate “clean out the fridge” meal. Any leftover roasted chicken, grilled steak, or even canned chicken works. It’s your personal kitchen recycling bin, but make it delicious.
- Crispy Perfection — The secret isn’t just the cheese; it’s the technique. I’ll show you how to get that golden, shatteringly crisp tortilla without burning the house down. No soggy middles here.
- Customizable Heat Level — Want it mild? Use mild salsa and Monterey Jack. Want it spicy? Add jalapeños and use hot salsa. You control the fire. My husband likes it hot; my kids like it mild. We both love it.
- Meal Prep Friendly — I often make a big batch on Sunday, store them in the fridge, and reheat them in the air fryer during the week. They stay crispy if you reheat them right. It’s basically free lunch for the next four days.
Real talk: this is the kind of meal that makes everyone happy. The kids get their carbs and cheese, the adults get their protein, and nobody has to argue about what to eat. It’s simple, it’s reliable, and it tastes like something you’d get at a nice taco place, but it costs a fraction of the price.
Ingredients You’ll Need
Here’s the best part: you probably have most of this already. This isn’t a recipe that requires a trip to three different specialty stores. It’s pantry-friendly and fridge-clearing.
For the Filling
Shredded Chicken (3 cups / about 400g) — I use leftover rotisserie chicken because it’s already cooked and seasoned. If you’re cooking from scratch, poach two chicken breasts in broth until done, then shred them. Avoid dry, overcooked chicken; you want it moist.
Mexican Blend Cheese (2 cups / 200g, shredded) — I buy the bag, but honestly, grating your own block is better. A mix of Monterey Jack and Cheddar is classic. Jack melts like a dream, and Cheddar adds flavor. Don’t use pre-shredded cheese if you can help it—it has anti-caking agents that stop it from melting smoothly.
Salsa (½ cup / 120g) — This is key. Use a chunky salsa, not a smooth one. You want bits of tomato and onion for texture. I like a medium heat salsa, but mild works if you’re serving kids. Drain off any excess liquid so your quesadillas don’t get soggy.
Black Beans (1 can / 15oz, drained and rinsed) — Optional, but I add them for fiber and to stretch the meal. It adds a nice creamy texture that contrasts with the crispy tortilla. If you’re strictly meat-and-cheese, skip this.
Corn (½ cup / 75g, frozen or canned) — Sweet corn adds a pop of flavor and color. It’s not traditional in every quesadilla, but I love it. It balances the savory cheese and spicy salsa.
For the Seasoning & Assembly
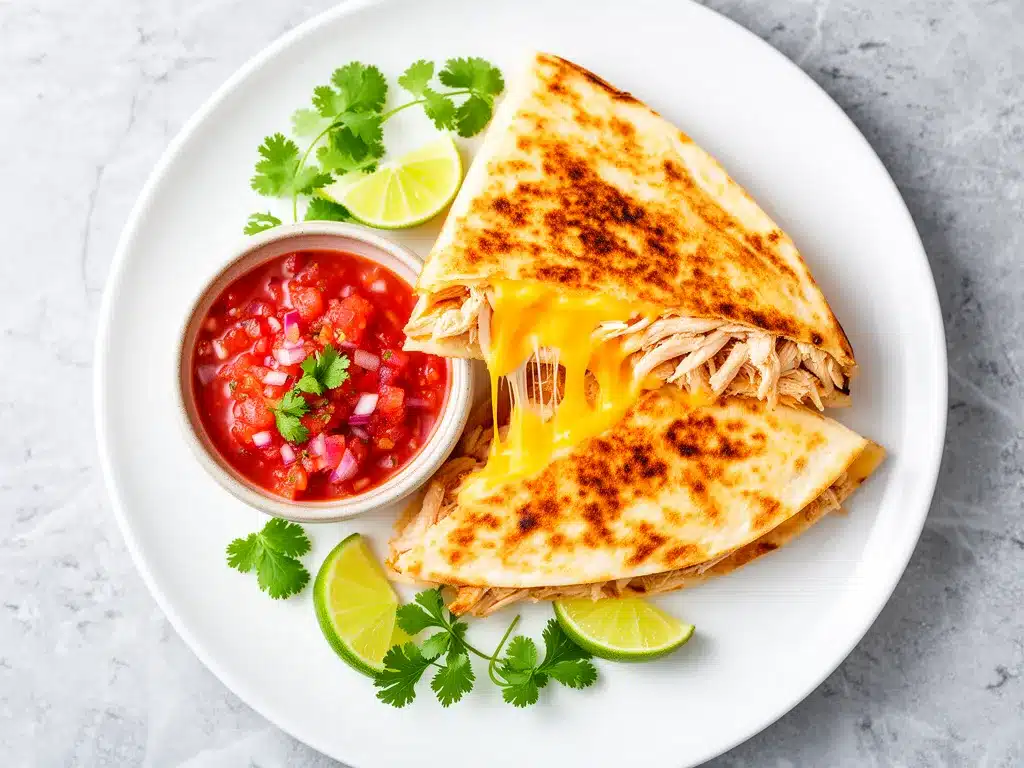
Cumin (1 teaspoon) — Ground cumin is the backbone of that “Mexican” flavor profile. Don’t skip it. It’s warm, earthy, and essential.
Chili Powder (1 teaspoon) — Adds depth and a little kick. Not too hot, just flavorful.
Garlic Powder (½ teaspoon) — Because fresh garlic can burn in the pan too fast, powder gives you consistent flavor without the risk of bitter bits.
Olive Oil or Butter (2 tablespoons) — I use olive oil for a lighter taste, but butter gives that rich, golden crust. Use whichever you prefer.
Flour Tortillas (8 large / 10-inch) — Flour tortillas are mandatory for quesadillas. Corn tortillas are brittle and will crack when you fold them. Look for soft, pliable flour tortillas that don’t tear easily.
Sour Cream & Cilantro — For serving. Because you can’t have a quesadilla without a dollop of cool sour cream and fresh cilantro on top.
Equipment Needed
You don’t need fancy gadgets for this. Here’s what I actually use:
Large Skillet — A 12-inch non-stick or cast-iron skillet is perfect. It needs to be big enough to fit two quesadillas side-by-side if you’re doubling the batch. I use a non-stick because it’s forgiving for beginners.
Spatula — A wide, thin metal spatula is best for flipping. It slides under the tortilla easily. Silicone works too, but metal is more precise.
Sharp Knife & Cutting Board — For chopping cilantro and slicing the quesadillas. A dull knife is dangerous and annoying. Keep it sharp.
Measuring Spoons — For the spices. Consistency is key, especially with cumin and chili powder.
Cutting Board — Obviously. But make sure it’s big enough to cut the quesadillas into wedges without them sliding off.
How to Make It: Step-by-Step
Alright, let’s make this! I’m walking you through exactly how I do it, including the little tricks I’ve picked up over the years.
Step 1: Prep Your Chicken Mixture (5 minutes)
In a medium bowl, combine the shredded chicken, drained black beans, corn, salsa, cumin, chili powder, and garlic powder. Mix it all together until the chicken is evenly coated in the spices and salsa. Taste it—if it needs more salt, add a pinch. The mixture should be moist but not soupy. If it looks too dry, add a tablespoon more salsa.
Step 2: Heat Your Pan (2 minutes)
Place your large skillet over medium heat. Add the olive oil or butter. Let it heat up until the oil shimmers or the butter stops foaming. You want the pan hot enough to crisp the tortilla immediately, but not so hot that it burns in seconds.
Step 3: Assemble the Quesadilla
Place one flour tortilla in the center of the pan. Sprinkle half of your cheese mixture over one half of the tortilla. Then, pile the chicken mixture on top of the cheese. Top with the remaining cheese. This “cheese sandwich” method helps the filling stick to the tortilla so it doesn’t fall out when you flip.
Step 4: The Fold and Cook
Using your spatula, carefully fold the empty half of the tortilla over the filled half. Press down gently with the spatula to flatten it a bit. Cook for 2-3 minutes until the bottom is golden brown and crispy. You’ll hear a sizzle, and the edges will start to brown.
Step 5: The Flip
This is the scary part for beginners, but trust me. Slide your spatula under the quesadilla, lift it, and flip it over in one confident motion. If you’re nervous, you can use two spatulas or a plate (flip onto the plate, then slide back into the pan). Cook the other side for 2-3 minutes until golden and the cheese is fully melted.
Step 6: Repeat and Serve
Remove the quesadilla to a cutting board. Repeat with the remaining tortillas and filling. Once all are cooked, slice each quesadilla into 4-6 wedges. Serve immediately with sour cream, guacamole, and fresh cilantro.
Total Time: About 20 minutes (5 minutes prep, 15 minutes cooking)
Expert Tips & Tricks
Here’s everything I’ve learned from making this dozens of times. These tips will save you from my mistakes.
Don’t Overfill — It’s tempting to pile on tons of filling, but if it’s too heavy, the quesadilla will fall apart. Stick to about ¾ cup of filling per tortilla. Less is more for structural integrity.
Keep the Heat Medium — High heat burns the tortilla before the cheese melts. Medium heat gives you time for the cheese to get gooey and the tortilla to turn golden. Patience pays off.
Drain Your Salsa — Wet salsa = soggy quesadilla. Spoon the salsa into a strainer for a minute to remove excess liquid before mixing it with the chicken.
Double Batch — If you have a big pan, cook two at a time. It saves time. Just make sure they aren’t touching so they crisp evenly.
Crisp Up in the Oven — If you’re feeding a crowd, cook them in the skillet, then transfer to a baking sheet at 400°F (200°C) for 5 minutes. This keeps them warm and crispy without burning.
Variations & Substitutions
Once you’ve nailed the basic version, here’s how you can mix it up. I’ve tried all of these.
Steak Quesadillas — Swap chicken for sliced flank steak. Sear the steak first, then shred it. Pair with pepper jack cheese and jalapeños.
Vegetarian Version — Skip the chicken and add extra beans, corn, and roasted bell peppers. Add some sautéed mushrooms for umami. It’s just as filling.
Spicy Kick — Add diced jalapeños to the filling and use a hot salsa. Top with sliced fresh jalapeños after cooking.
Cajun Style — Swap the Mexican seasoning for Cajun spice. Use a smoked gouda and cheddar blend. It’s a totally different vibe—smoky and bold.
Breakfast Quesadillas — Add scrambled eggs and cooked bacon. Serve with hot sauce. Perfect for weekend brunch.
Serving & Storage
How to Serve: I usually serve these straight from the skillet at the dinner table—it looks rustic and stays warm. But here are other ways I’ve enjoyed them:
- Side Dishes: A simple side salad with lime vinaigrette, Mexican rice, or black bean soup.
- Toppings Bar: When I have guests, I put out sour cream, guacamole, pico de gallo, and hot sauce. Everyone customizes their bowl.
- Wine Pairing: Not a wine expert, but a crisp Sauvignon Blanc or a light Pinot Grigio works great with the richness of the cheese.
Storage Instructions:
Refrigerator: Store in an airtight container for up to 3 days. They will soften in the fridge—this is normal.
Reheating: Best method: Use an air fryer or toaster oven at 350°F (175°C) for 3-5 minutes. This restores the crispiness. Microwave method: It works, but the tortilla will get chewy and soft. If you must microwave, do it in 30-second bursts.
Freezing: Yes, you can freeze them! Assemble the quesadillas but don’t cook them. Wrap tightly in plastic wrap, then foil. Freeze for up to 2 months. Cook from frozen in the oven at 375°F for 20-25 minutes.
Nutrition Information
I’m not a nutritionist, but here’s the breakdown if you’re tracking. Per serving (based on 8 wedges from one large quesadilla, not counting toppings):
| Nutrient | Amount |
|---|---|
| Calories | 320 |
| Protein | 22g |
| Carbs | 28g |
| Fat | 14g |
| Fiber | 3g |
| Sodium | 580mg |
Look, this is comfort food. It’s not a diet recipe. But it’s way better than takeout, costs less, and I know exactly what’s in it. When I want to make it lighter, I use low-fat cheese and skip the sour cream. But usually? I just eat a reasonable portion and enjoy it.
Final Thoughts
So that’s my go-to cheesy chicken quesadillas! I’ve probably talked your ear off at this point, but when you make a recipe this often, you have a lot to say about it. This has saved weeknight dinners more times than I can count. It’s my answer to “what’s for dinner” when I’m tired, don’t want takeout, and still want something that tastes really good. My kids are happy, my husband’s happy, and I’m happy because I’m not stressed about cooking.
Make it yours! Try different add-ins, swap in your favorite vegetables, adjust the spices. The best recipes are the ones you adapt to your family’s tastes. If you make this, drop a comment and let me know what you think! I love hearing how recipes turn out in your kitchen. And if something doesn’t work, tell me that too—I’m here to help troubleshoot.
Happy cooking! And I hope your kitchen smells half as good as mine does right now.
Frequently Asked Questions
Can I use corn tortillas instead of flour?
You can, but they are much more fragile. Corn tortillas crack easily when folded, especially if you’re adding a lot of filling. If you prefer corn, use smaller tortillas and be very gentle. Flour tortillas are just easier for beginners and give that classic soft-yet-crispy texture.
Why did my cheese not melt?
Usually, this means the heat was too high, and the tortilla burned before the cheese had time to melt. Or, you used pre-shredded cheese, which has anti-caking agents. Always grate your own cheese from a block for the best melt. Also, make sure your pan is covered for the last minute of cooking to trap steam and help the cheese melt.
Can I make these ahead of time?
You can assemble them and store them in the fridge for a few hours before cooking. Just cover them tightly with plastic wrap. When you’re ready to eat, cook them as normal. This is great for dinner parties—you can prep everything before guests arrive.
What’s the best salsa for quesadillas?
Chunky salsa is best because it adds texture. I recommend a medium heat salsa for balance. If you’re using a very watery salsa, drain it first. Pico de gallo is also great, but it’s wetter, so use it sparingly or drain it well.
Can I add other vegetables?
Absolutely! Bell peppers, onions, mushrooms, and spinach all work great. Just make sure to sauté them first to remove excess moisture. Raw veggies will release water and make your quesadillas soggy.
How do I reheat leftovers without them getting soggy?
Avoid the microwave if you can. An air fryer or toaster oven is best. Reheat at 350°F for 3-5 minutes. This restores the crispiness. If you must use the microwave, place a paper towel under the quesadilla to absorb moisture, and heat in short bursts.
Can I freeze cooked quesadillas?
Yes, but they lose some crispiness when thawed. It’s better to freeze them uncooked. If you freeze cooked ones, reheat them in the oven or air fryer, not the microwave. They’ll still be tasty, just not as crispy.
Pin This Recipe!
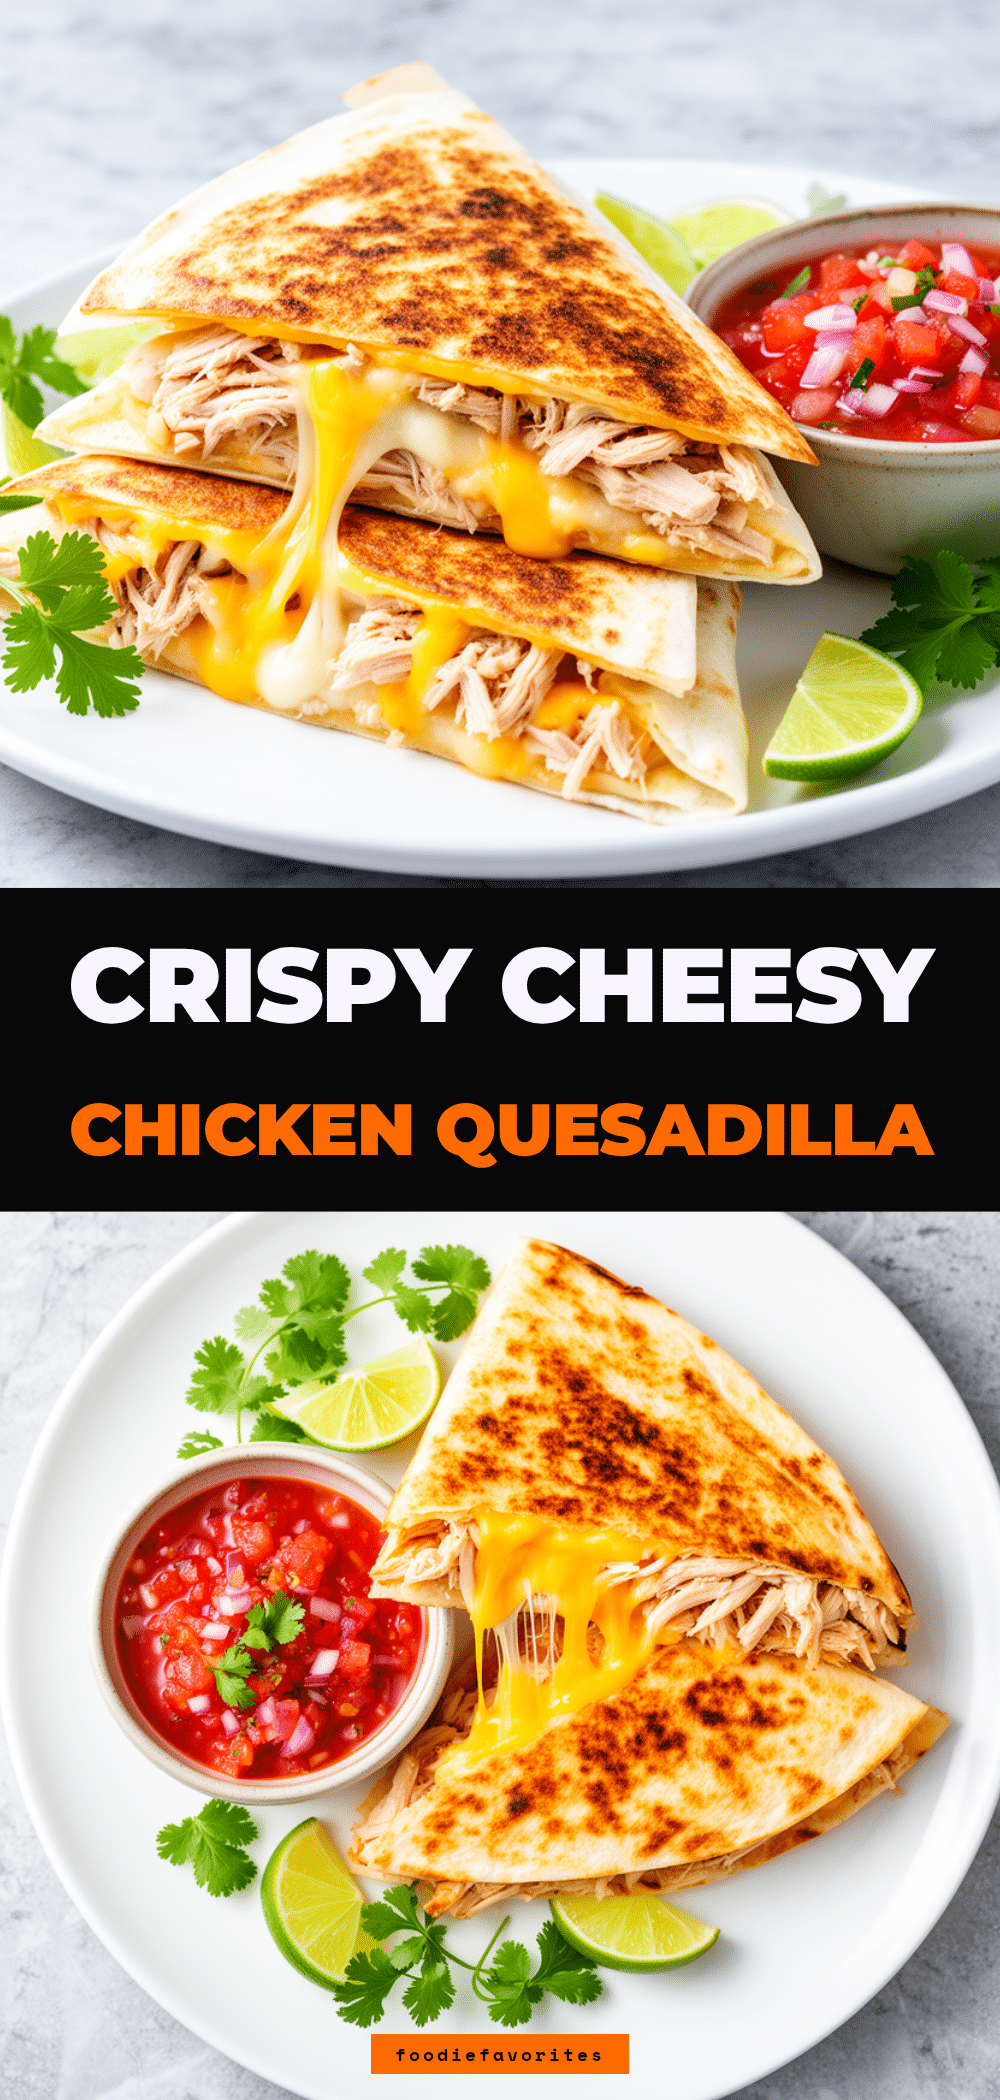
Cheesy Chicken Quesadillas: Easy Family Dinner
- Total Time: 20 minutes
- Yield: 8 servings 1x
Description
Crispy, golden, and melty chicken quesadillas made with leftover rotisserie chicken, Mexican blend cheese, and salsa. A quick, customizable family favorite that comes together in under 20 minutes.
Ingredients
- 3 cups shredded chicken (leftover rotisserie or poached)
- 2 cups shredded Mexican blend cheese (Monterey Jack and Cheddar mix)
- 1/2 cup chunky salsa (drained of excess liquid)
- 1 can (15oz) black beans, drained and rinsed
- 1/2 cup corn (frozen or canned)
- 1 teaspoon ground cumin
- 1 teaspoon chili powder
- 1/2 teaspoon garlic powder
- 2 tablespoons olive oil or butter
- 8 large flour tortillas (10-inch)
- Sour cream and fresh cilantro for serving
Instructions
- In a medium bowl, combine shredded chicken, black beans, corn, salsa, cumin, chili powder, and garlic powder. Mix until evenly coated. Taste and add salt if needed.
- Place a large skillet over medium heat and add olive oil or butter. Heat until the oil shimmers or butter stops foaming.
- Place one tortilla in the center of the pan. Sprinkle half the cheese over one half of the tortilla, pile the chicken mixture on top, and cover with the remaining cheese.
- Fold the empty half of the tortilla over the filling. Press down gently with a spatula.
- Cook for 2-3 minutes until the bottom is golden brown and crispy.
- Flip the quesadilla carefully using a spatula. Cook the other side for 2-3 minutes until golden and cheese is melted.
- Remove to a cutting board and repeat with remaining tortillas and filling.
- Slice each quesadilla into 4-6 wedges and serve immediately with sour cream and cilantro.
Notes
Drain salsa to prevent soggy quesadillas. Use medium heat to ensure cheese melts before tortilla burns. For meal prep, assemble uncooked quesadillas and freeze for up to 2 months. Reheat in air fryer or toaster oven to maintain crispiness.
- Prep Time: 5 minutes
- Cook Time: 15 minutes
- Category: Main Course
- Cuisine: Mexican
Nutrition
- Serving Size: 1 quesadilla (cut in
- Calories: 320
- Sodium: 580
- Fat: 14
- Carbohydrates: 28
- Fiber: 3
- Protein: 22
Keywords: chicken quesadillas, easy dinner, family meals, rotisserie chicken, quick recipes, weeknight dinner, mexican food, cheesy quesadillas


