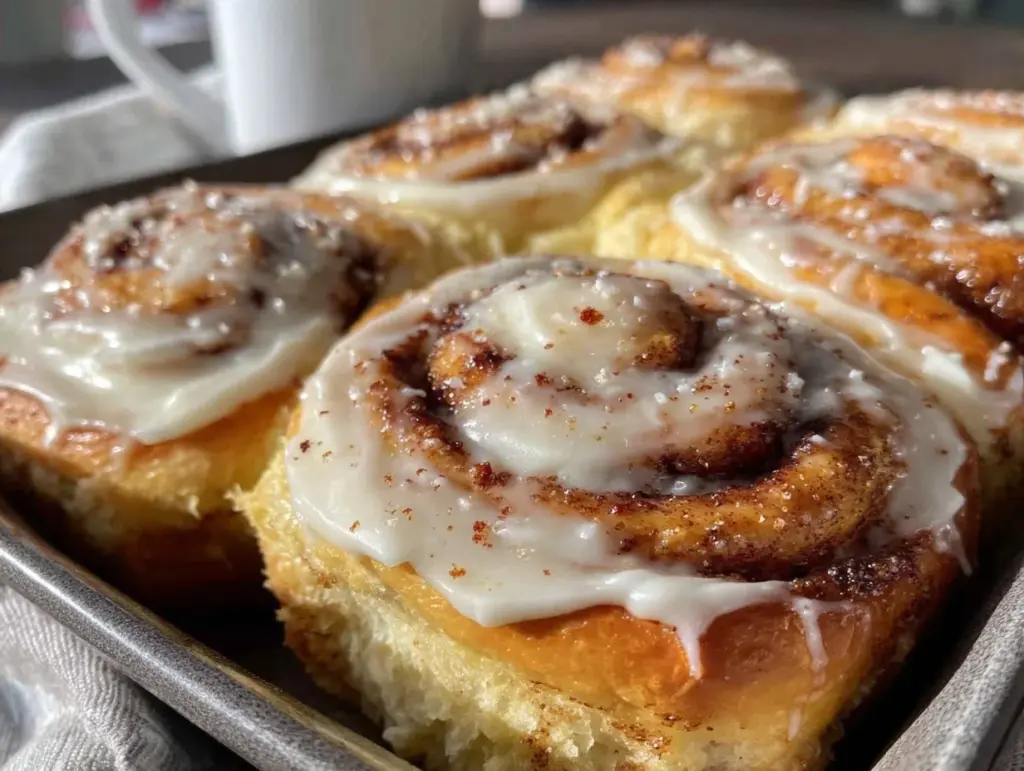
Last Saturday morning, I woke up to the smell of my own anxiety. You know that feeling? You’re lying in bed, staring at the ceiling, mentally calculating if you have enough time to knead dough, let it rise, bake, frost, and clean up before guests arrive at 10 a.m. Spoiler alert: I don’t. I’ve had that panic attack before. I’ve also had the result of that panic attack: sad, dense, slightly burnt cinnamon rolls that tasted like stress.
Then I discovered the overnight method. And honestly? It changed everything.
These overnight cinnamon rolls are the reason I stopped dreading weekend breakfast hosting. I don’t have to wake up at 5 a.m. I don’t have to stand over a rolling pin while my dog begs for scraps. I mix the dough, I pop it in the fridge, and I sleep in. When I wake up, I just pull the tray out, let it come to room temperature, and bake. The house smells like a bakery, my guests think I’m a genius, and I’m still wearing my pajamas.
I’ve tested this specific 6-ingredient version about twelve times now. I’ve tried different flours, different milks, even different brands of butter. This is the version that works every single time. It’s forgiving. It’s simple. It’s the kind of recipe that makes you feel like you’ve finally cracked the code on baking. If you can boil water, you can make these. Seriously. I’ve walked my teenage nephew through it over FaceTime while he was in college, and he nailed it on the first try.
This isn’t just a recipe. It’s your new weekend ritual. It’s the “I can do this” moment you didn’t know you needed. Let’s get into why these rolls are about to become your new obsession.
Why You’ll Love This Recipe
There are a lot of cinnamon roll recipes out there. Some require sourdough starters, some need an hour of active kneading, and some require you to buy expensive specialty ingredients you’ll never use again. This one? It’s the anti-perfectionist’s dream. Here’s why I keep coming back to it:
- Zero Morning Stress — The dough rises overnight in the fridge. This means your morning routine is literally just assembling and baking. No waiting, no watching, no panic. You wake up, you bake, you eat.
- Only 6 Ingredients — I’m not joking. Flour, sugar, butter, milk, yeast, and cinnamon. That’s it. No fancy extracts, no obscure spices, no weird thickeners. If you have a pantry, you have this recipe.
- Beginner-Proof Dough — Most yeast doughs are finicky. They need to be “just right” in texture. This dough is a bit sticky, which is actually a good thing. It stays moist and turns out incredibly soft. You can’t overwork it easily because it’s so forgiving.
- Cream Cheese Frosting That Actually Sticks — Plain icing can slide right off warm rolls. This cream cheese frosting has just enough tang and thickness to cling to the warm cinnamon swirls without making them soggy. It’s the perfect balance of sweet and tart.
- Makes Amazing Leftovers — These freeze beautifully. I bake a batch, let them cool, wrap the leftovers tightly, and freeze them. Reheat one in the microwave for 30 seconds, and it tastes fresh out of the oven. It’s my cheat code for Tuesday morning breakfast.
This recipe is my go-to when I want to impress people without spending my whole Saturday in the kitchen. It’s reliable, it’s delicious, and it’s hard to mess up. Once you make these, you’ll never go back to the tube-from-the-store variety again. Trust me on this one.
Ingredients You’ll Need
Here’s the best part: you probably have most of this already. I’m not asking you to run to three different stores for this. It’s pantry-friendly and straightforward. Let’s look at what you need and why each piece matters.
For the Dough
All-purpose flour (3 ½ cups / 440g) — This is your base. Don’t use bread flour unless you like chewy, dense rolls. You want tender, pillowy soft. All-purpose is the sweet spot. I use Gold Medal, but any standard brand works fine. Just don’t pack it down when you measure; spoon it into the cup and level it off.
Active dry yeast (1 packet / 2 ¼ tsp) — This is what makes them rise. You don’t need fancy instant yeast. Regular active dry yeast works perfectly. Just make sure it’s not expired. If you’re unsure, proof it in warm milk with a pinch of sugar first. If it doesn’t bubble up in 10 minutes, toss it and buy new.
Granulated sugar (¼ cup / 50g) — This feeds the yeast and adds a little sweetness to the dough itself. You can use brown sugar here if you want a slightly more caramel flavor, but white sugar gives that classic cinnamon roll taste.
Whole milk (1 cup / 240ml, warmed) — Warm, not hot. Think bathwater temperature. If it’s too hot, you’ll kill the yeast. If it’s cold, the dough won’t rise properly. I just microwave it for 45 seconds on half power. Whole milk makes the dough richer and softer, but 2% works in a pinch.
Unsalted butter (4 tablespoons / 60g, melted) — This adds flavor and tenderness. Melt it and let it cool slightly before adding so you don’t cook the yeast. Salted butter works too, just reduce the salt in the dough by half.
Egg (1 large) — This binds the dough and adds structure. Room temperature eggs incorporate better, but cold eggs are fine if you’re in a rush. Just mix it in well.
Salt (1 teaspoon) — Crucial for flavor. Yeast doughs can taste flat without enough salt. Don’t skip this.
For the Filling
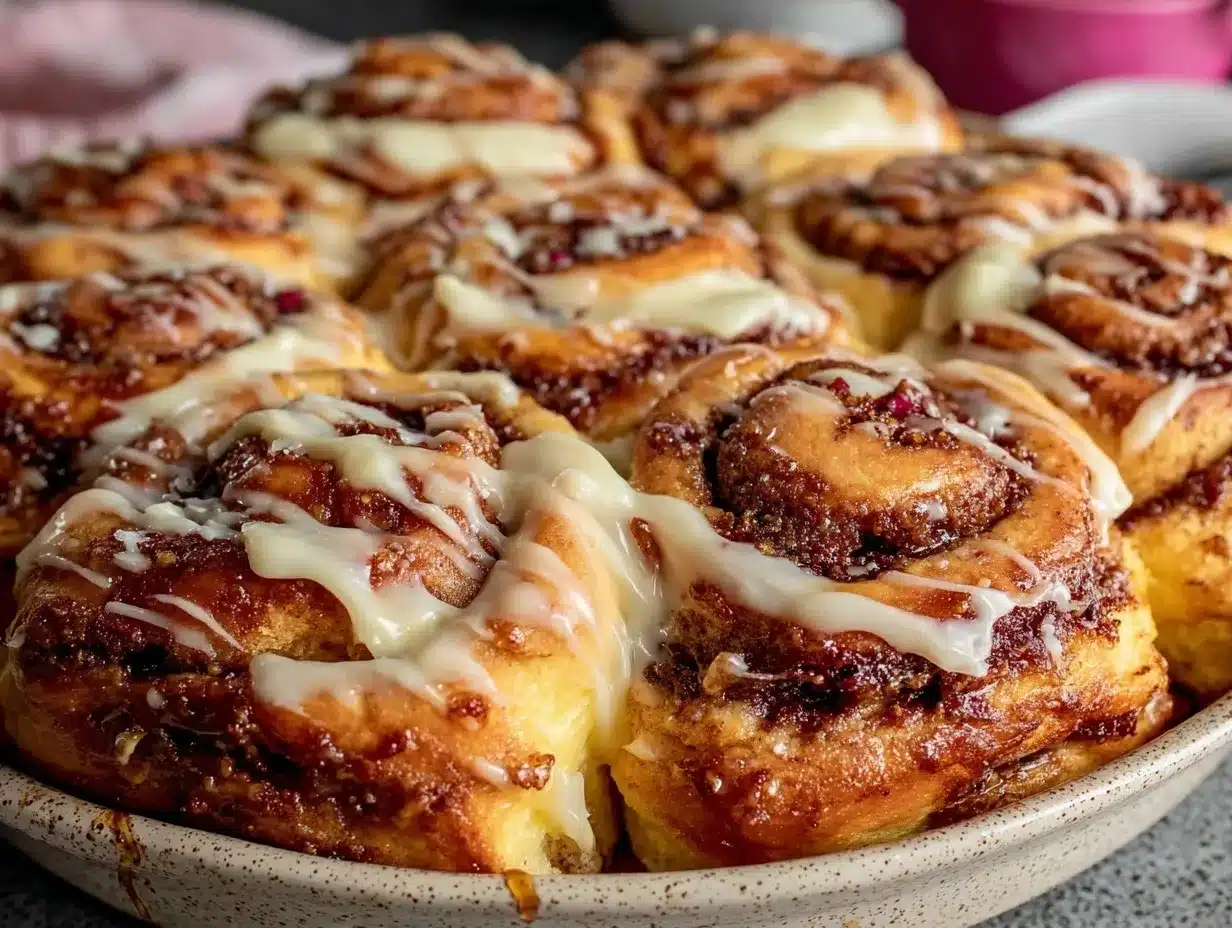
Unsalted butter (½ cup / 115g, softened) — This needs to be soft enough to spread, not melted. If it’s melted, it’ll soak into the dough and you won’t get those distinct layers. Softened is the key.
Brown sugar (1 cup / 200g) — I prefer brown sugar for the filling because it’s moister and has that deep molasses flavor that pairs perfectly with cinnamon.
Ground cinnamon (2 tablespoons) — Yes, two tablespoons. Don’t be shy. This is the star of the show. Use fresh cinnamon if you can; old cinnamon loses its punch. If your jar has been sitting since 2019, buy a new one. It makes a huge difference.
For the Cream Cheese Frosting
Cream cheese (4 oz / 115g, softened) — Full-fat block cream cheese is non-negotiable here. The tub stuff is whipped with air and stabilizers; it won’t frost properly. Buy the block, let it sit out for 30 minutes until it’s soft.
Confectioners’ sugar (1 cup / 120g) — Also known as powdered sugar. Sift this if it’s lumpy. You don’t want gritty frosting.
Milk (1-2 tablespoons) — Just enough to thin the frosting to a drizzle-able consistency.
Vanilla extract (½ teaspoon) — Enhances the sweetness. Pure vanilla, if you can find it.
Equipment Needed
You don’t need fancy gadgets for this. Here’s what I actually use:
9×13 inch baking dish — This is the standard size for this recipe. A metal pan works best because it conducts heat evenly. Glass or ceramic works too, but it might take a minute or two longer to bake.
Stand mixer or hand mixer — Not required, but it saves your arms. I used to mix this by hand for years. It’s doable, but a mixer makes it effortless. If you’re mixing by hand, just be prepared for a little elbow grease.
Rolling pin — Any standard rolling pin works. I like a wooden one because it doesn’t slip around as much.
Sharp knife or dental floss — To cut the rolls. A sharp knife works, but dental floss is a game-changer. Slide the floss under the roll, cross it over the top, and pull. Clean cuts, no squishing. I’m obsessed with this trick.
Small bowl for mixing frosting — Just a regular mixing bowl and a whisk or spatula.
Plastic wrap — To cover the dish for the overnight rise.
How to Make It: Step-by-Step
Alright, let’s make this! I’m walking you through exactly how I do it, including the little tricks I’ve picked up so you don’t have to figure them out the hard way.
Step 1: Make the Dough (10 minutes active)
In the bowl of a stand mixer (or a large bowl if mixing by hand), combine the warm milk, melted butter, egg, sugar, and yeast. Whisk it all together until it’s smooth. Let it sit for about 5 minutes. You should see it get a little foamy on top. This is the yeast waking up and getting ready to work. If it’s not foamy, your yeast might be dead, and you’ll need to start over. Don’t skip this check.
Once it’s foamy, add the salt and start adding the flour. If using a mixer, use the dough hook on low speed. If mixing by hand, use a sturdy spoon. Add the flour gradually. You might not need all of it, or you might need a teaspoon more. The dough should be soft, slightly sticky, and pull away from the sides of the bowl. It shouldn’t be a stiff ball like bread dough. It should feel like a soft pillow. Knead for 5-7 minutes until smooth and elastic. If it’s too sticky, add a tablespoon of flour. If it’s too dry, add a splash of milk.
Step 2: First Rise (1-2 hours)
Grease a large bowl with a little oil or butter. Place the dough inside and turn it once to coat it in grease. Cover it with a damp towel or plastic wrap. Let it rise in a warm, draft-free spot for 1-2 hours, or until it has doubled in size. Mine usually takes about an hour in the winter. If it’s hot in your kitchen, it might only take 45 minutes. Just watch it, not the clock.
Step 3: Shape and Overnight Rise (8 hours or overnight)
Punch the dough down gently to release the air. Turn it out onto a lightly floured surface. Roll it out into a large rectangle, about 12×18 inches. It doesn’t need to be perfect. Just get it into a rough rectangle shape.
Spread the softened butter evenly over the entire surface, leaving a small border at the far edge so the filling doesn’t spill out. Sprinkle the brown sugar and cinnamon mixture evenly over the butter. Start rolling from the long edge closest to you, rolling tightly into a log. Use a little tension to keep it tight. A loose roll will unravel in the oven.
Cut the log into 12 equal pieces. I use dental floss for this (tie a loop, slide under the roll, cross over the top, pull tight). Place the cuts seam-side down in your greased 9×13 baking dish. They should fit snugly.
Now, here’s the magic: Cover the dish tightly with plastic wrap. Place it in the refrigerator. Let it rise slowly overnight. This slow rise develops incredible flavor. You can leave it for up to 16 hours. If you forget and leave it for 18, don’t worry. It’ll still be fine.
Step 4: Bake (35-40 minutes)
When you’re ready to bake, take the rolls out of the fridge. Let them sit on the counter for about 30-45 minutes while your oven preheats to 350°F (175°C). This takes the chill off and helps them rise one last time. They should look puffy and filled with air bubbles.
Bake for 35-40 minutes. They should be golden brown on top. If they’re browning too fast, cover them loosely with foil for the last 10 minutes. Insert a toothpick into the center of a roll; if it comes out clean, they’re done.
Step 5: Frost and Serve
While the rolls bake, make the frosting. Beat the softened cream cheese until smooth. Add the powdered sugar, vanilla, and milk. Beat until creamy and spreadable. If it’s too thick, add another teaspoon of milk. If it’s too thin, add a little more sugar.
Let the rolls cool in the pan for about 10 minutes. They’ll be very hot and gooey. Then, spread the frosting over the warm rolls. The warmth helps the frosting melt slightly into the crevices. Serve immediately. They are best when they’re still warm and gooey.
Expert Tips & Tricks
Here’s everything I’ve learned from making this dozens of times. These tips will save you from my mistakes.
Don’t Rush the Yeast
The most common mistake is using milk that’s too hot. If you’re unsure, use a thermometer. It should be between 105°F and 115°F. If it’s hotter than 120°F, you’re cooking the yeast. If it’s colder than 100°F, it won’t activate. This is the make-or-break step.
Softened Butter is Key
For the filling, your butter must be soft enough to spread like frosting. If you melt it, it soaks into the dough. If it’s too hard, you’ll tear the dough. Take it out of the fridge 30 minutes before you start.
Roll Tight
When rolling the log, use firm, even pressure. If there are air pockets inside the roll, the cinnamon swirl will be loose. Roll it up like a sleeping bag. Tight is right.
Room Temperature Before Baking
Don’t put cold dough straight into the oven. Let it sit on the counter for 30-45 minutes after taking it out of the fridge. This ensures even baking and proper rising.
Frost Warm, Not Hot
If the rolls are too hot, the frosting will melt completely and disappear into the dough. Wait 10 minutes. They should be warm to the touch, not burning your fingers.
Freezing for Later
You can freeze these unbaked! After cutting and placing in the pan, cover tightly with plastic wrap and then foil. Freeze for up to 2 months. When ready to bake, let them thaw and rise on the counter for 4-6 hours, then bake as normal. This is my favorite meal prep hack.
Variations & Substitutions
Once you’ve nailed the basic version, here’s how you can mix it up. I’ve tried all of these.
Maple Pecan Rolls
Add 1 cup of chopped pecans to the cinnamon-sugar filling. Drizzle the frosting with maple syrup instead of vanilla. It’s rich, nutty, and perfect for fall.
Orange Cream Cheese Frosting
Add the zest of one orange to the frosting. It adds a bright, citrusy contrast to the rich dough. It’s like a breakfast version of an orange roll.
Gluten-Free Option
Use a 1:1 gluten-free flour blend. Note that GF dough is often stickier and more delicate. Handle it gently. It might not rise quite as high, but it still tastes great.
Dairy-Free
Use oat milk or almond milk instead of dairy milk. Use vegan butter for the dough and filling. For the frosting, use dairy-free cream cheese blocks (not tubs) and vegan powdered sugar. It works surprisingly well.
Mini Rolls
Cut the log into 24 pieces instead of 12 for individual-sized rolls. Bake time will be reduced to about 20-25 minutes. Great for parties or smaller appetites.
Serving & Storage
How to Serve
I usually serve these straight from the pan. They look rustic and inviting. Pair them with a fresh fruit salad or some crispy bacon. If you want to keep it simple, just serve them with a hot cup of coffee or homemade vanilla chai latte. The spice in the chai complements the cinnamon perfectly.
Storage
Store leftovers in an airtight container at room temperature for up to 2 days. The frosting will soften, but the rolls stay moist. For longer storage, freeze them. Wrap individual rolls tightly in plastic wrap, then place in a freezer bag. They last up to 3 months.
Reheating
To reheat, microwave a roll for 20-30 seconds. If you’re reheating a batch, wrap them in foil and warm in a 300°F oven for 10-15 minutes. This keeps them soft and prevents the frosting from drying out.
Nutrition Information
I’m not a nutritionist, but here’s the breakdown if you’re tracking. Keep in mind, these are rich, comforting rolls, so they’re calorie-dense.
Per Roll (makes 12):**
– Calories: 380
– Protein: 6g
– Carbs: 52g
– Fiber: 1g
– Sugar: 22g
– Fat: 16g
– Saturated Fat: 9g
– Cholesterol: 45mg
– Sodium: 280mg
This is comfort food. It’s not a diet recipe. But it’s homemade, so you know exactly what’s in it. When I make these, I enjoy one or two and savor them. It’s about quality, not quantity.
Final Thoughts
So that’s my go-to overnight cinnamon roll recipe. I’ve probably talked your ear off at this point, but when you make a recipe this often, you have a lot to say about it. These rolls have saved my weekends. They’ve made me look like a baking wizard with zero effort. They’ve been eaten at breakfast, brunch, and yes, even dinner. (Don’t judge me.)
This recipe is for anyone who wants to bake something beautiful but doesn’t want to spend their life in the kitchen. It’s for beginners who are intimidated by yeast. It’s for parents who need a reliable weekend breakfast. It’s for anyone who believes that good things come to those who wait (overnight).
If you make this, drop a comment and let me know how they turned out! I love hearing from you. And if something doesn’t work, tell me that too. I’m here to help. Happy baking, and I hope your kitchen smells amazing.
Frequently Asked Questions
Q: Can I use instant yeast instead of active dry yeast?
A: Yes! Instant yeast works just fine. You can mix it directly into the dry ingredients without proofing it first. You might not need quite as much, so start with 2 teaspoons and see how the dough behaves.
Q: My dough didn’t rise overnight. What happened?
A: This usually means the kitchen was too cold, or the yeast was old. Make sure your fridge is around 37-40°F. If your kitchen is very cold, the dough will rise very slowly, which is actually good for flavor, but it might take longer. If it didn’t rise at all, your yeast might have been dead. Next time, proof it in warm milk first to check.
Q: Can I freeze the unbaked dough?
A: Absolutely. After cutting and placing in the pan, cover tightly with plastic wrap and foil. Freeze for up to 2 months. When ready to bake, let them thaw and rise on the counter for 4-6 hours, then bake as normal. This is my favorite meal prep hack.
Q: Why are my rolls dense instead of fluffy?
A: This usually happens if you add too much flour. Yeast dough should be soft and slightly sticky. If you add flour until it’s stiff, the rolls will be dense. Also, make sure your yeast is active and your milk is the right temperature.
Q: Can I make these in advance and bake them in the morning?
A: Yes! That’s exactly what the overnight method is for. Prepare the dough, shape the rolls, cover, and refrigerate overnight. In the morning, let them sit on the counter for 30-45 minutes while you preheat the oven, then bake. Perfect for busy mornings.
Q: What if I don’t have a 9×13 pan?
A: You can use two 9-inch round pans, but you’ll need to adjust the baking time. They’ll bake faster, so check them at 25 minutes. Just make sure the rolls have enough space to expand.
Pin This Recipe!
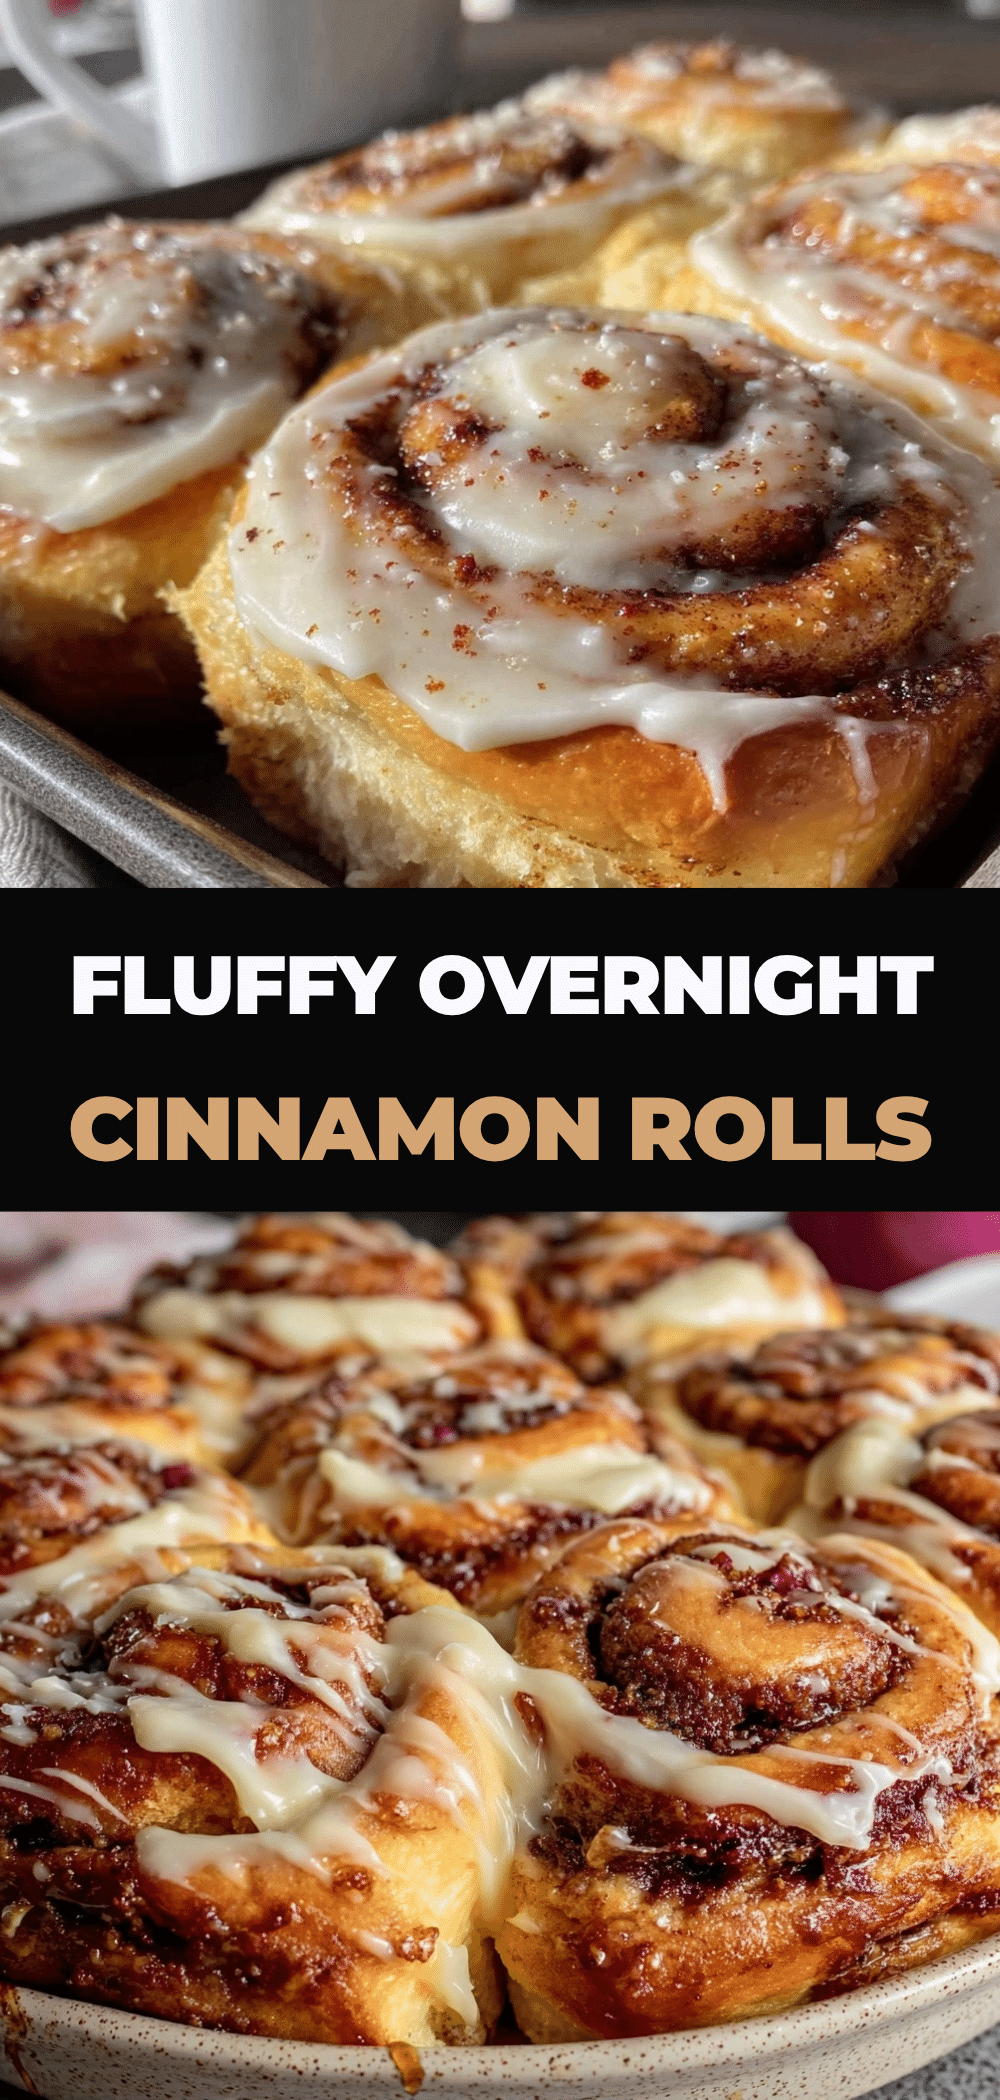

Overnight Cinnamon Rolls: 6-Ingredient Beginner-Friendly Recipe
- Total Time: 10 hours 10 minutes
- Yield: 12 servings 1x
Description
These beginner-friendly overnight cinnamon rolls require only 6 ingredients and minimal morning effort. The dough rises in the fridge overnight, allowing you to wake up, bake, and enjoy fresh, soft rolls with cream cheese frosting without the stress.
Ingredients
- 3 ½ cups all-purpose flour
- 1 packet (2 ¼ tsp) active dry yeast
- ¼ cup granulated sugar
- 1 cup whole milk, warmed
- 4 tablespoons unsalted butter, melted
- 1 large egg
- 1 teaspoon salt
- ½ cup unsalted butter, softened (for filling)
- 1 cup brown sugar
- 2 tablespoons ground cinnamon
- 4 oz full-fat block cream cheese, softened (for frosting)
- 1 cup confectioners’ sugar
- 1–2 tablespoons milk (for frosting)
- ½ teaspoon vanilla extract
Instructions
- In a stand mixer bowl or large bowl, combine warm milk, melted butter, egg, sugar, and yeast. Whisk until smooth and let sit for 5 minutes until foamy.
- Add salt and gradually add flour. Mix using a dough hook on low speed or by hand until the dough is soft, slightly sticky, and pulls away from the sides. Knead for 5-7 minutes until smooth and elastic.
- Place dough in a greased bowl, turning to coat. Cover with a damp towel or plastic wrap and let rise in a warm spot for 1-2 hours until doubled in size.
- Punch dough down and roll out onto a floured surface into a 12×18 inch rectangle.
- Spread softened butter evenly over the dough, leaving a small border. Sprinkle with brown sugar and cinnamon mixture.
- Roll the dough tightly into a log from the long edge. Cut into 12 equal pieces using dental floss or a sharp knife.
- Place rolls seam-side down in a greased 9×13 inch baking dish. Cover tightly with plastic wrap and refrigerate overnight (up to 16 hours).
- Remove rolls from the fridge and let sit on the counter for 30-45 minutes while preheating the oven to 350°F (175°C).
- Bake for 35-40 minutes until golden brown. If browning too fast, cover loosely with foil for the last 10 minutes.
- While rolls bake, beat cream cheese until smooth. Add powdered sugar, vanilla, and milk, beating until creamy and spreadable.
- Let baked rolls cool in the pan for 10 minutes. Spread frosting over warm rolls and serve immediately.
Notes
Ensure milk is between 105°F and 115°F to activate yeast without killing it. Use full-fat block cream cheese for frosting, not tub-style. Rolls can be frozen unbaked for up to 2 months or baked and frozen for up to 3 months. For gluten-free option, use a 1:1 gluten-free flour blend.
- Prep Time: 30 minutes
- Cook Time: 40 minutes
- Category: Breakfast
- Cuisine: American
Nutrition
- Serving Size: 1 roll
- Calories: 380
- Sugar: 22
- Sodium: 280
- Fat: 16
- Saturated Fat: 9
- Carbohydrates: 52
- Fiber: 1
- Protein: 6
Keywords: overnight cinnamon rolls, beginner baking, easy breakfast, yeast dough, cream cheese frosting, make ahead breakfast


