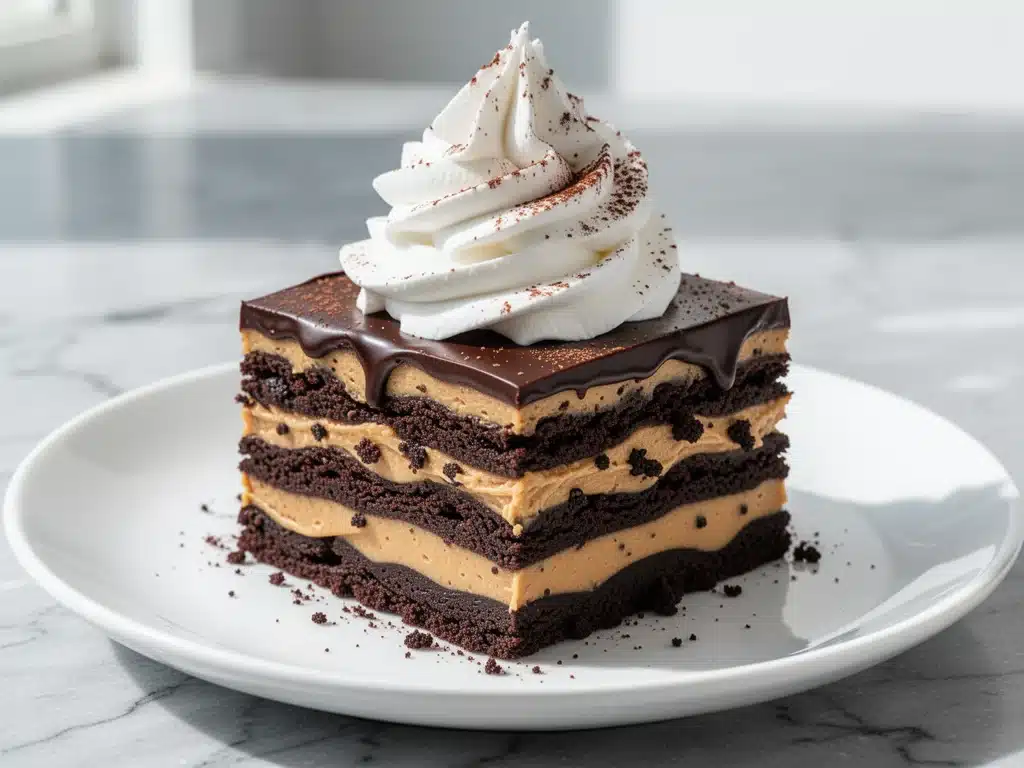
I have to confess something. For years, I was the person who rolled her eyes at “lasagna” desserts. You know the ones—those layered creations that sound more like a science experiment than a sweet treat. I preferred my desserts with structure, with crisp edges, with the kind of integrity that comes from actual baking. A cake should rise. A tart should hold its shape. Why would I want a dessert that sits in a fridge and might collapse if you look at it wrong?
Then came the Tuesday that changed everything. My husband, a man who generally views dessert as an optional afterthought unless it involves peanut butter, came home from work stressed out of his mind. He didn’t want a complicated dinner. He didn’t want to stand over a stove. He just wanted something that tasted like a hug and tasted like it came from a high-end candy shop, but with zero effort.
I looked at my pantry. I had chocolate pudding, peanut butter, cookies, and cream. I threw together what I thought would be a mediocre, messy compromise. I called it the No-Bake Chocolate Peanut Butter Lasagna with Whipped Cream. I expected him to take one bite and politely push it to the side. Instead, he took a second bite. Then a third. Then he asked for the recipe.
That was two years ago. I’ve made this no-bake chocolate peanut butter lasagna probably thirty times since then. It’s become our go-to for potlucks, last-minute guests, and days when I just want to treat myself without turning my kitchen into a flour bomb. It’s not just “easy.” It’s genuinely, undeniably delicious. The layers are distinct but harmonious, the texture is creamy and crunchy in equal measure, and it tastes like you spent hours at a patisserie.
If you’ve ever been intimidated by baking or just want a dessert that practically makes itself, this is the one. I’ve tweaked the ratios, tested different cookie types, and even tried substituting ingredients to see what works. What I’m sharing with you today is the perfected version—the one that actually works every single time. No dry layers. No sad, runny pudding. Just pure, rich, chocolate-peanut butter heaven.
Why You’ll Love This Recipe
There are about ten reasons I keep making this dessert, but if you’re looking for the big ones, here’s why this no-bake chocolate peanut butter lasagna has earned a permanent spot in my rotation:
- Stupid Simple — Seriously, if you can spread butter on toast, you can make this. There’s no mixing bowls to wash, no oven to preheat, and no timing anxiety. It’s just layering. I’ve made this while holding a baby and while video-calling my mom. It works.
- Lightning Fast Prep — You’re looking at about 20 minutes of active work. The rest is just waiting for the fridge to do its job. This is perfect for those nights when you decide you want dessert but don’t want to spend an hour in the kitchen.
- Crowd-Pleaser — I’ve served this to my health-conscious sister (who ate two slices and didn’t even care), my gluten-free friend (using gluten-free cookies), and my chocolate-obsessed nephew. Everyone loves it. It appeals to all kinds of sweet teeth.
- Makes Amazing Leftovers — In fact, it’s better the next day. The cookies soften just enough to become cake-like, and the flavors meld together overnight. I deliberately make a double batch because I know the leftovers will be gone by morning.
- Budget-Smart — You probably already have most of these ingredients. It uses pantry staples and inexpensive dairy. It tastes like a $12 slice from a fancy cafe, but it costs less than $5 to make at home.
This is my go-to when I need a dessert that just works. No complicated techniques, no weird ingredients, just reliable, delicious food that makes everyone happy. And honestly? It’s the closest thing I’ve found to a “cheat day” that doesn’t feel like a cheat.
Ingredients You’ll Need
Here’s the best part: you probably have most of this already. This recipe relies on simple, accessible ingredients that come together to create something far more complex than the sum of its parts. I’m particular about three things here—the quality of your peanut butter, the type of cookie, and the fat content of your cream—but everything else is standard.
For the Cookie Base
Nilla Wafers (1 package, about 40-50 cookies) — This is non-negotiable. I’ve tried using vanilla wafers, and they’re too thin and soggy. I’ve tried using chocolate chip cookies, and they’re too dense. Nilla Wafers have the perfect balance of crunch and sweetness that holds up to the creamy layers. Use the standard package. Don’t skimp.
Butter (2 tablespoons, melted) — This helps the cookies stick together slightly and adds a rich, savory note that balances the sweetness. I use unsalted butter so I can control the salt, but salted works fine if you adjust the seasoning in the cream layer.
For the Chocolate Pudding Layer
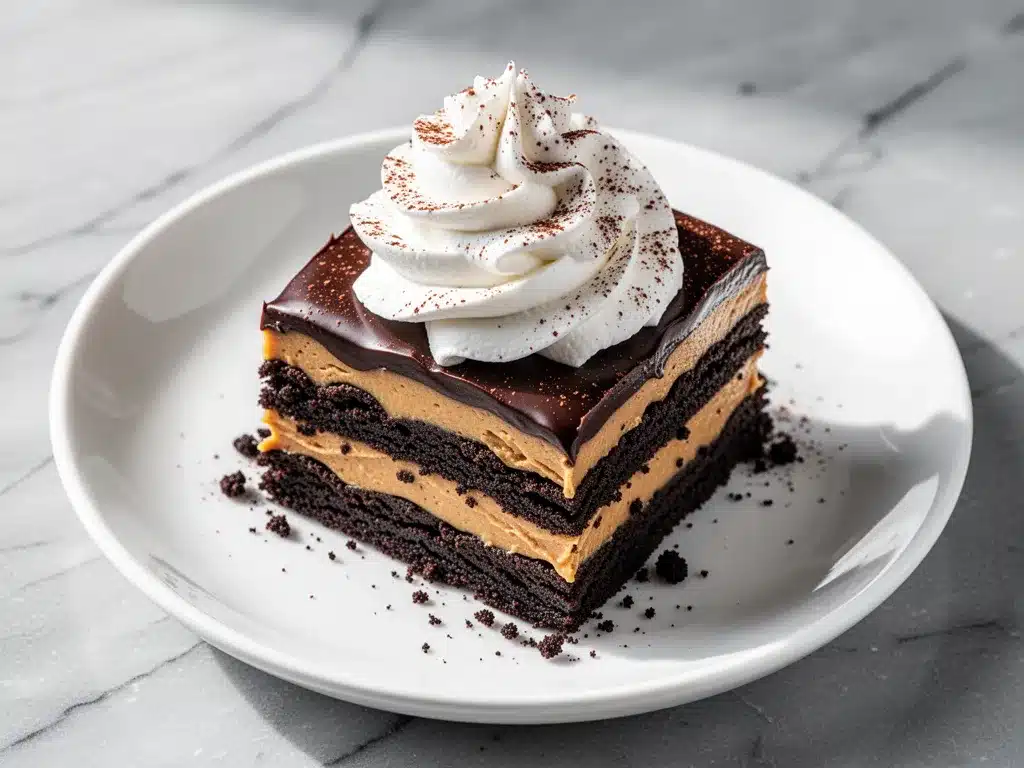
Instant Vanilla Pudding Mix (1 box, 3.4 oz) — Yes, box mix. Hear me out. Homemade pudding takes time and tempering. This box mix, when combined with cold milk, creates a thick, stable layer that sets perfectly in the fridge. I use the vanilla kind because it provides a neutral canvas for the chocolate and peanut butter. Do not use the “fast” version if you can help it; the regular instant sets better.
Whole Milk (2 cups, cold) — Use cold milk for the pudding. It helps the powder dissolve quickly and prevents clumping. Don’t use skim milk here; you need the fat for that rich, creamy texture.
Chocolate Syrup (½ cup) — Not chocolate sauce for pancakes (which is too thin), but actual chocolate syrup, like Hershey’s. It’s thicker and adds that deep, cocoa flavor. This is what turns the vanilla pudding into the chocolate layer.
For the Peanut Butter Cream Layer
Heavy Whipping Cream (2 cups, cold) — This is crucial. You need heavy cream to whip into stiff peaks. Half-and-half won’t work. Light cream won’t work. You need the high fat content to create that light, airy texture that contrasts with the dense pudding.
Cream Cheese (8 oz, softened) — Full-fat block cream cheese is mandatory. The tub stuff has too much water and air, which will make your filling runny. Soften it to room temperature before mixing, or you’ll get lumpy bits in your smooth filling.
Peanut Butter (½ cup) — I use creamy, smooth peanut butter like Jif or Skippy. Natural peanut butter can be oily and separate, which might affect the texture. If you must use natural, make sure it’s well-stirred and not too oily. The goal is a smooth, uniform layer.
Vanilla Extract (1 teaspoon) — Just a splash to round out the flavors.
For the Topping
Whipped Cream (additional 1 cup, optional) — For the top layer, you can whip up more heavy cream with a little sugar, or just use store-bought whipped cream for convenience. I like to dollop it on top for that classic lasagna presentation.
Chocolate Shavings or Crushed Peanuts — For garnish. I usually grate a chocolate bar over the top for a fancy look, but crushed peanuts add a nice crunch. Both work.
Equipment Needed
You don’t need fancy equipment for this. Here’s what I actually use.
9×13 Inch Baking Dish — A glass or ceramic dish works best because you can see the layers as you assemble. I use a Pyrex dish because it’s easy to clean and doesn’t react with the acidic cream cheese.
Hand Mixer or Stand Mixer — You need to whip the heavy cream and mix the cream cheese smoothly. A hand mixer is perfect for this. A whisk will work, but it will take you forever and your arms will hurt. Trust me, use a mixer.
Large Mixing Bowls — You’ll need two large bowls. One for the pudding mixture and one for the cream cheese mixture. I use 4-quart bowls to give myself enough room to mix without splattering.
Spatula — A rubber spatula is essential for folding the whipped cream into the cream cheese mixture. You want to be gentle to keep the air in the cream. A metal spoon will deflate it.
Measuring Cups and Spoons — Standard stuff. Dollar store versions work fine for this, as precision isn’t as critical as in baking.
Box Grater — For the chocolate shavings. A microplane works too if you want fine shavings, but a box grater gives you bigger, more dramatic flakes.
How to Make It: Step-by-Step
Alright, let’s make this! I’m walking you through exactly how I do it, including the little tricks I’ve picked up.
Step 1: Prep Your Base (5 minutes)
Take your Nilla Wafers and arrange them in a single layer in the bottom of your 9×13 dish. You might need to break a few cookies to fit the corners. Drizzle the melted butter over the cookies. This step is quick, but don’t skip the butter—it adds richness and helps the layer hold together.
Step 2: Make the Chocolate Pudding Layer (5 minutes)
In a large bowl, whisk together the instant vanilla pudding mix and the cold milk. Whisk vigorously for about 2 minutes until it thickens. Then, stir in the chocolate syrup until it’s completely combined and uniform in color. Pour this mixture over the cookie layer and spread it out evenly with your spatula. You want a smooth, flat layer. Smooth it out like you’re frosting a cake, but gentler.
Step 3: Whip the Cream (5 minutes)
In a separate large bowl, whip the heavy cream with the vanilla extract until you form stiff peaks. This means when you lift the beaters, the cream stands up straight. Don’t over-whip it into butter, but don’t under-whip it either. It needs to be stable enough to hold its shape.
Step 4: Mix the Peanut Butter Cream (5 minutes)
In a third bowl (or clean your first bowl), beat the softened cream cheese until it’s smooth and creamy. Add the peanut butter and mix until fully incorporated. Then, gently fold in the whipped heavy cream. Use a spatula and fold slowly—lift from the bottom and turn over. You’re trying to keep the air in the cream. This mixture should be light, fluffy, and pale beige.
Step 5: Assemble the Lasagna (5 minutes)
Spread the peanut butter cream mixture evenly over the chocolate pudding layer. Smooth it out carefully. Then, add a second layer of Nilla Wafers on top. If you’re doing three layers, repeat the pudding and cream steps. If you’re doing two layers, skip the second pudding layer and go straight to the topping.
Step 6: Top and Chill (4+ hours)
For the top, you can add a final layer of whipped cream, or just leave it as is. I like to dollop whipped cream on top and then drizzle with a little extra chocolate syrup. Sprinkle with chocolate shavings or crushed peanuts. Cover the dish with plastic wrap or a lid and refrigerate for at least 4 hours, preferably overnight. This chilling time is what allows the cookies to soften and the flavors to meld.
Total Time: About 20 minutes active, plus 4+ hours chilling.
Expert Tips & Tricks
Here’s everything I’ve learned from making this dozens of times. These tips will save you from my mistakes.
Don’t Rush the Chilling
This is the most important tip. If you cut into this right out of the fridge, it will be a mess. The cookies need time to absorb the moisture from the pudding and cream. I know the temptation is strong, but wait at least 4 hours. Overnight is best. The texture transforms from “layered ingredients” to “cohesive dessert.”
Softened Cream Cheese is Key
If your cream cheese is cold and firm, you’ll get lumps. Soften it on the counter for 30 minutes before you start. If you forget, you can microwave it in 5-second bursts, but be careful not to melt it. Lumpy cream cheese ruins the smooth texture of the filling.
Whip the Cream Properly
Your heavy cream should be cold, and your bowl should be cold. If your kitchen is hot, put your bowl in the fridge for 10 minutes before whipping. This helps the cream whip faster and hold its shape better. If you over-whip, it’ll turn grainy. Stop when you see stiff peaks.
Choose Your Cookie Wisely
Nilla Wafers are the gold standard here. They’re sturdy enough to not dissolve completely but soft enough to become cake-like. If you use chocolate chip cookies, they’re too thick and don’t absorb the moisture well. If you use graham crackers, they’re too crumbly and don’t have the right sweetness.
Layer Thickness Matters
Try to keep your layers even. If one layer is much thicker than the others, your slices will be uneven. Use a spatula to smooth each layer before adding the next. This also makes it easier to slice later.
Variations & Substitutions
Once you’ve nailed the basic version, here’s how you can mix it up. I’ve tried all of these.
Strawberry Cream Variation
Swap the chocolate pudding for vanilla, and fold in 1 cup of mashed fresh strawberries into the cream cheese layer. Top with fresh strawberry slices. It’s lighter and more refreshing.
Double Chocolate
Use chocolate pudding mix instead of vanilla, and use chocolate cookies instead of Nilla Wafers. This is for the true chocoholic. It’s intense and rich.
Gluten-Free Version
Simply use gluten-free vanilla wafers. Most brands work well, but check the texture. Some GF cookies are more fragile, so handle them gently.
Low-Sugar Option
Use sugar-free pudding mix and sugar-free peanut butter. It’s not quite as sweet, but it still tastes great. I’ve made this for my diabetic aunt, and she loved it.
Mini Lasagna Cups
Instead of a 9×13 dish, use mason jars or small cups. Layer the ingredients in the cups for individual servings. These are perfect for potlucks because everyone gets their own portion, and there’s no cutting involved.
Serving & Storage
How to Serve:
I usually serve this straight from the fridge. It’s best when it’s cold and firm. Use a sharp knife to cut slices, and wipe the knife between cuts for clean edges. If you’re serving it at a party, I like to add a final dollop of whipped cream and a sprinkle of peanuts right before serving for a fresh look.
Side Dishes:
This dessert is rich and sweet, so it pairs well with something light. I like to serve it with a simple green salad or some fresh fruit. If you’re having a dessert-only gathering, it stands on its own beautifully.
Storage Instructions:
Refrigerator: Store in an airtight container or covered with plastic wrap for up to 5 days. It actually gets better after day 2.
Freezing: I don’t recommend freezing this. The whipped cream and pudding can separate and become watery when thawed. It’s best enjoyed fresh from the fridge.
Reheating: Don’t reheat it! This is a no-bake dessert meant to be eaten cold. Reheating will melt the layers and make a mess.
Nutrition Information
I’m not a nutritionist, but here’s the breakdown if you’re tracking. Keep in mind that this is a rich, indulgent dessert, so portion control is key.
Per Serving (based on 12 servings):
- Calories: 380
- Protein: 6g
- Carbs: 45g
- Fiber: 1g
- Sugar: 32g
- Fat: 20g
- Saturated Fat: 10g
- Cholesterol: 45mg
- Sodium: 250mg
What’s Good: It’s a decent source of calcium from the dairy. The peanut butter adds some protein and healthy fats.
What to Know: It’s high in sugar and saturated fat. It’s not a diet food, but it’s a treat. When I want to make it lighter, I use less whipped cream and more fresh fruit on top.
Final Thoughts
So that’s my go-to no-bake chocolate peanut butter lasagna! I’ve probably talked your ear off at this point, but when you make a recipe this often, you have a lot to say about it.
This has saved dessert nights more times than I can count. It’s my answer to “what’s for dessert” when I’m tired, don’t want to bake, and still want something that tastes really good. My kids are happy, my husband’s happy, and I’m happy because I’m not stressed about cooking.
Make it yours! Try different cookies, swap the peanut butter for almond butter, or add different toppings. The best recipes are the ones you adapt to your family’s tastes. If you make this, drop a comment and let me know what you think! I love hearing how recipes turn out in your kitchen.
Happy cooking! And I hope your kitchen smells half as good as mine does right now.
Frequently Asked Questions
Can I use homemade whipped cream instead of store-bought?
Absolutely! In fact, I recommend it. Homemade whipped cream tastes infinitely better. Just whip 2 cups of heavy cream with 2 tablespoons of powdered sugar and 1 teaspoon of vanilla until stiff peaks form. It’s easy and worth the extra 5 minutes.
Why did my lasagna turn out runny?
This usually happens if you didn’t chill it long enough, or if your cream cheese wasn’t fully softened and mixed smooth. Also, make sure you’re using heavy cream, not light cream, to whip the filling. If it’s runny, put it back in the fridge for a few more hours. It might set up.
Can I make this a day ahead?
Yes! This is actually better when made a day ahead. The flavors meld together overnight, and the cookies soften perfectly. I usually make it the night before a party so I don’t have to stress in the morning.
Can I use almond butter instead of peanut butter?
Yes, almond butter works great. It will have a slightly different flavor, but it’s still delicious. Just make sure it’s smooth and not too oily.
How do I store leftovers?
Cover the dish tightly with plastic wrap or transfer slices to an airtight container. Store in the fridge for up to 5 days. It will stay creamy and delicious.
Can I freeze this dessert?
I don’t recommend it. The dairy components (cream and pudding) can separate and become watery when thawed. It’s best enjoyed fresh from the fridge.
Is there a way to make this less sweet?
You can reduce the amount of chocolate syrup in the pudding layer, or use unsweetened cocoa powder instead. You can also use sugar-free pudding mix. It will be less sweet but still flavorful.
Pin This Recipe!
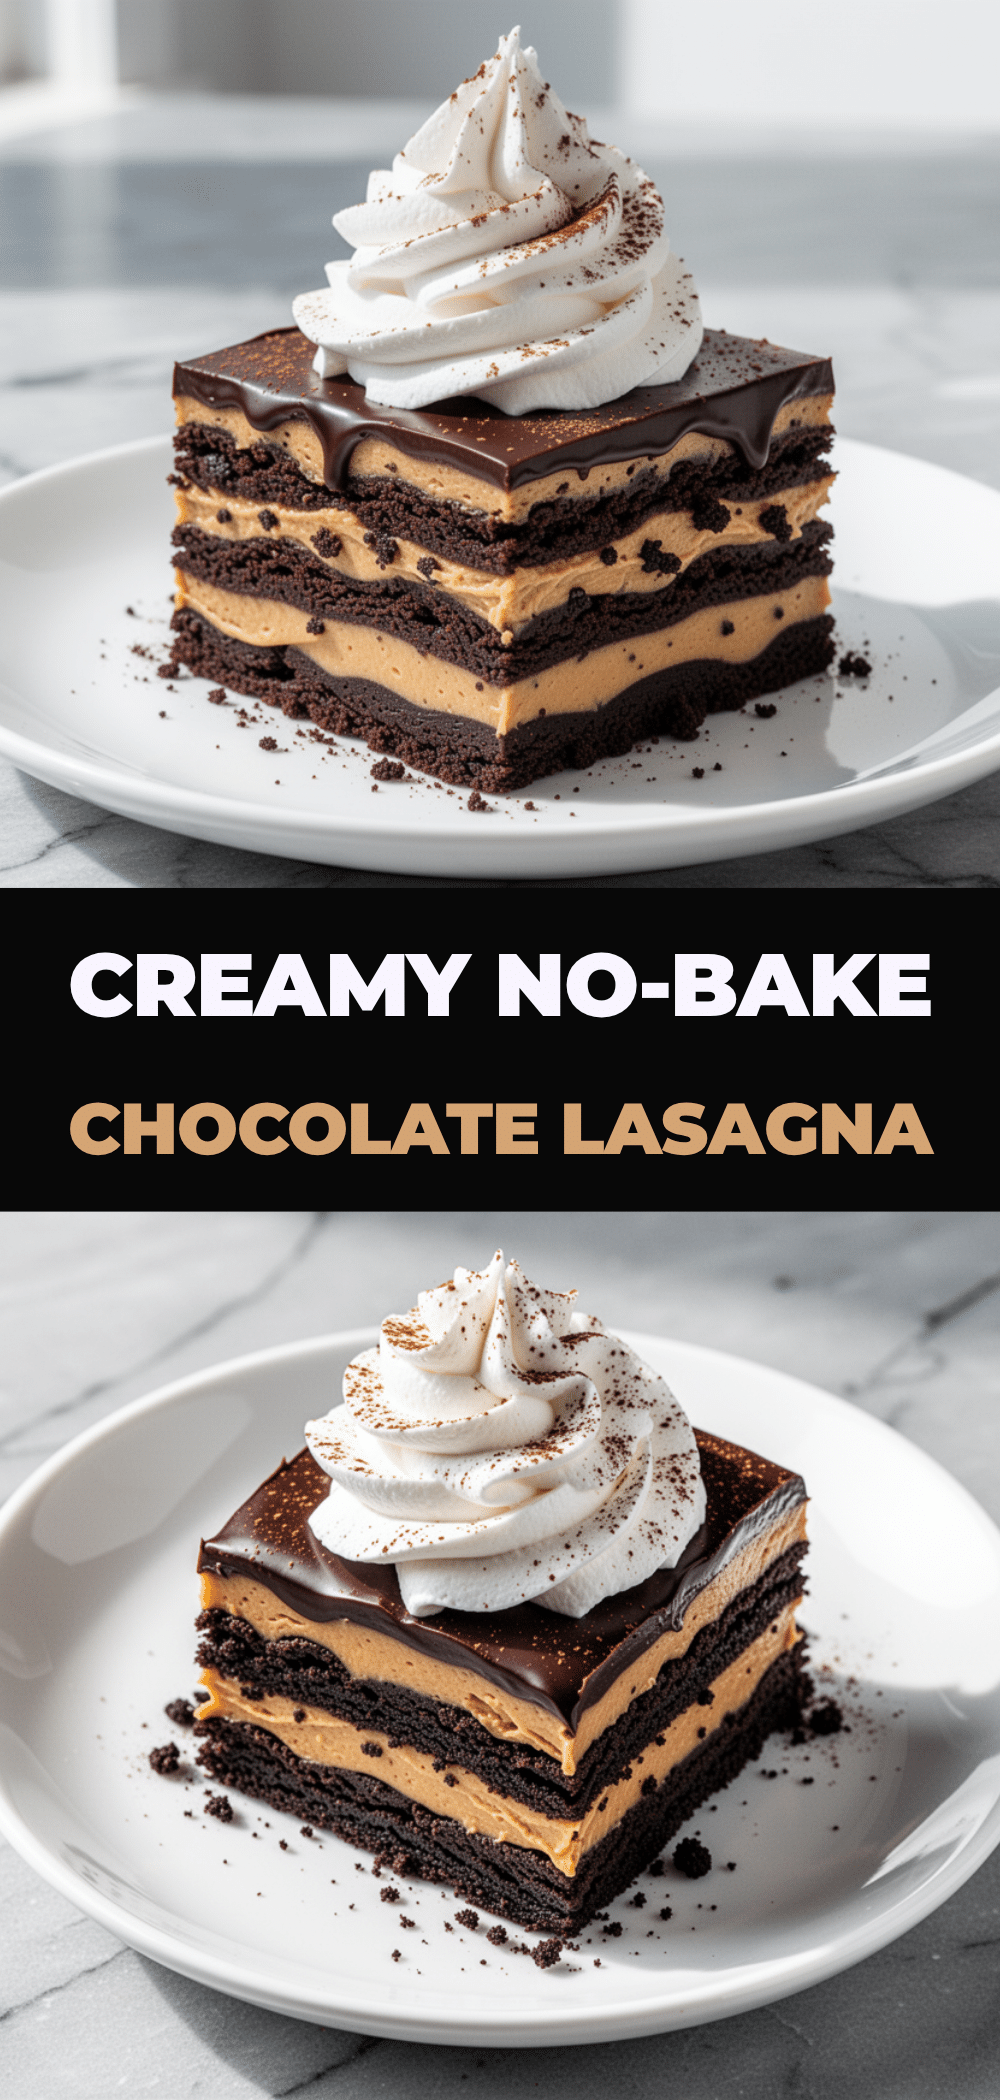
No-Bake Chocolate Peanut Butter Lasagna
- Total Time: 4 hours 20 minutes
- Yield: 12 servings 1x
Description
A simple, no-bake layered dessert featuring Nilla Wafers, chocolate pudding, and a creamy peanut butter whipped cream filling. It requires only 20 minutes of active prep time and results in a rich, crowd-pleasing treat.
Ingredients
- 1 package (40-50 cookies) Nilla Wafers
- 2 tablespoons unsalted butter, melted
- 1 box (3.4 oz) instant vanilla pudding mix
- 2 cups cold whole milk
- ½ cup chocolate syrup
- 2 cups cold heavy whipping cream
- 8 oz full-fat block cream cheese, softened
- ½ cup creamy peanut butter
- 1 teaspoon vanilla extract
- 1 cup additional heavy whipping cream (for topping, optional)
- Chocolate shavings or crushed peanuts (for garnish)
Instructions
- Arrange Nilla Wafers in a single layer in the bottom of a 9×13 inch baking dish. Drizzle melted butter over the cookies.
- In a large bowl, whisk instant vanilla pudding mix and cold milk vigorously for 2 minutes until thickened. Stir in chocolate syrup until combined. Pour over the cookie layer and spread evenly.
- In a separate large bowl, whip 2 cups heavy cream with vanilla extract until stiff peaks form.
- In another bowl, beat softened cream cheese until smooth. Add peanut butter and mix until incorporated. Gently fold in the whipped cream until light and fluffy.
- Spread the peanut butter cream mixture evenly over the chocolate pudding layer. Add a second layer of Nilla Wafers on top.
- Top with additional whipped cream, drizzle with chocolate syrup, and sprinkle with chocolate shavings or crushed peanuts.
- Cover and refrigerate for at least 4 hours, preferably overnight, to allow layers to set and flavors to meld.
Notes
Ensure cream cheese is fully softened to avoid lumps. Use heavy cream, not light cream, for proper whipping. The dessert must chill for at least 4 hours to set properly. Do not freeze as the dairy may separate upon thawing.
- Prep Time: 20 minutes
- Cook Time: 0 minutes
- Category: Dessert
- Cuisine: American
Nutrition
- Serving Size: 1 slice
- Calories: 380
- Sugar: 32
- Sodium: 250
- Fat: 20
- Saturated Fat: 10
- Carbohydrates: 45
- Fiber: 1
- Protein: 6
Keywords: no-bake dessert, chocolate peanut butter lasagna, easy dessert, crowd-pleaser, 5-ingredient dessert, Nilla Wafer dessert, make-ahead dessert


