Last Tuesday night, I was standing in my kitchen at 7:30 PM, staring into the abyss of my open refrigerator. The light flickered on, illuminating a lone bell pepper that had been hiding behind a jar of pickles for three days, a half-empty container of Greek yogurt, and a rotisserie chicken that was definitely past its prime. I had zero energy for chopping, zero interest in ordering takeout, and definitely zero patience for complicated recipes that required twelve different ingredients I didn’t have.
I was tired. My kids were hangry. And I needed dinner on the table in under 30 minutes.
So, I did what any exhausted parent does: I improvised. I pulled out those peppers, shredded the chicken, mixed it with some buffalo sauce and a little bit of cream cheese (because I was feeling fancy), and stuffed them. I threw them in the oven, grabbed a glass of wine, and waited. When they came out, golden and bubbling, my husband took one bite and said, “Can we make this every week?”
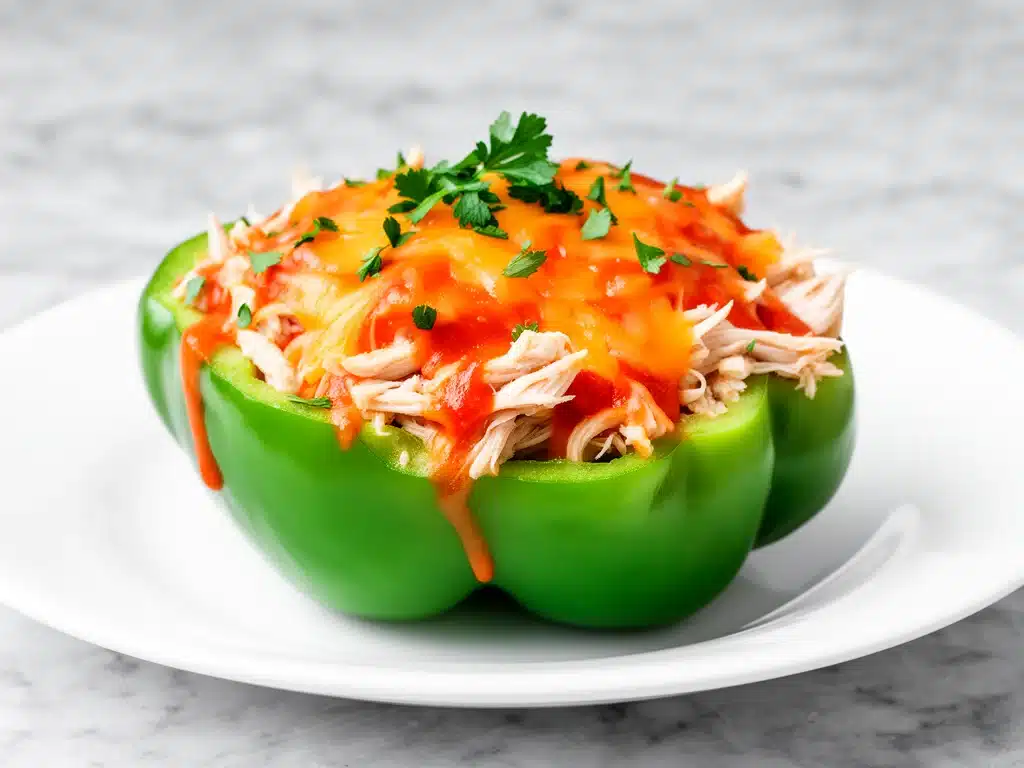
That was the birth of my go-to High Protein Buffalo Chicken Stuffed Peppers. What started as a desperate pantry raid turned into one of our favorite weeknight meals. It’s spicy, it’s creamy, it’s packed with protein, and it tastes like comfort food without the heavy carb load that usually leaves me feeling sluggish. I’ve made this recipe at least fifteen times in the last six months, tweaking the heat level and the cheese ratio until it was absolutely perfect. Now, it’s a staple in our rotation, right up there with our creamy pumpkin alfredo pasta for cozy vibes, but way faster to throw together.
If you’re looking for a dinner that’s good for you but doesn’t taste like “diet food,” this is it. The whole family loves it, even the picky eaters, because the buffalo sauce does all the heavy lifting for flavor. Let me show you how easy it is to make.
Why You’ll Love This Recipe
There are a lot of stuffed pepper recipes out there, but this High Protein Buffalo Chicken Stuffed Peppers version hits a sweet spot that most don’t. It’s not just about the nutrition (though that’s a huge plus); it’s about the flavor profile and the sheer ease of execution. Here’s why this dish has earned a permanent spot in my weekly meal plan:
Spicy Meets Creamy — The tangy kick of buffalo sauce balanced by the cool, rich cream cheese and Greek yogurt is addictive. It’s like a buffalo wing in pepper form. I’ve served this to friends who claim they “don’t like spicy food,” and they always go back for seconds because the creaminess tames the heat just enough.
Packed with Protein — Between the shredded chicken, Greek yogurt, and cheese, each pepper is loaded with protein. This keeps us full for hours, which means fewer snack attacks in the afternoon. It’s perfect for post-workout dinners or just for anyone trying to eat cleaner without sacrificing taste.
Low Carb & Gluten-Free Friendly — By skipping the rice or quinoa base that most stuffed peppers use, we cut the carbs significantly. The peppers act as the vessel, making this naturally gluten-free. It’s a great way to sneak more vegetables into your diet without feeling like you’re eating a salad.
Super Fast Cleanup — Because everything is stuffed inside the peppers, you’re really just washing one baking dish (and maybe a mixing bowl). Compared to making a slow cooker apple cider pulled pork where you have to manage multiple pots and pans, this is a breeze. I can have dinner ready while my kids finish their homework.
Kid-Approved Flavor — My kids usually turn their noses up at plain vegetables, but the buffalo sauce makes these peppers irresistible to them. It’s a win-win: they’re eating veggies, they’re getting protein, and they’re happy. If I can get them excited about dinner, I’m doing something right.
Ingredients You’ll Need
Here’s the best part: you probably have most of these ingredients already. This recipe relies on simple, accessible foods that you can grab at any grocery store. I’m particular about a few choices, though, so pay attention to the details below.
Bell Peppers (4 large) — I prefer red or orange peppers because they’re sweeter and tenderize nicely in the oven. Green peppers are more bitter and take longer to cook. Look for peppers that are firm and shiny, with no soft spots. If you can’t find large ones, you can use smaller ones and adjust the cooking time.
Rotisserie Chicken (2 cups, shredded / about 300g) — This is my secret weapon. Using pre-cooked chicken saves so much time. If you don’t have one, you can boil or bake chicken breasts and shred them. Just make sure it’s fully cooked and cooled enough to handle.
Buffalo Sauce (½ cup / 120ml) — I use Frank’s RedHot or a similar cayenne-based sauce. If you like it extra spicy, mix in some Sriracha or hot sauce. Avoid the “wings” sauce which is often too thick and vinegary; you want a smooth sauce that mixes well with the cream cheese.
Cream Cheese (4 oz / 115g, softened) — This is the base of the creamy filling. Make sure it’s softened to room temperature so it mixes smoothly with the other ingredients. If it’s cold, you’ll get lumps.
Greek Yogurt (½ cup / 120g) — I use plain, non-fat or 2% Greek yogurt. It adds tang and protein without the heaviness of extra cream cheese. Don’t use sour cream unless you want to double the fat content; yogurt gives that authentic buffalo wing dip vibe.
Shredded Mozzarella Cheese (1 cup / 100g) — Mozzarella melts beautifully and has a mild flavor that lets the buffalo sauce shine. I buy a block and shred it myself because pre-shredded cheese has anti-caking agents that prevent it from melting as smoothly.
Ranch Seasoning Packet (1 packet / 1 oz) — This is optional but highly recommended. It adds that classic ranch flavor that pairs so well with buffalo chicken. If you don’t have a packet, you can use 1 teaspoon of dried dill, 1 teaspoon of garlic powder, and ½ teaspoon of onion powder.
Garlic (2 cloves, minced) — Fresh garlic is a must. Jarred garlic just doesn’t have the same punch. If you’re in a huge rush, you can skip it, but it really rounds out the flavor.
Green Onions (2-3, sliced) — For garnish. They add a nice crunch and fresh color on top. Don’t skip this step; it makes the dish look restaurant-quality.
Optional Add-ins:
- Celery (½ cup, finely diced) — Adds crunch and authenticity to the buffalo flavor profile.
- Blue Cheese Crumbles (¼ cup) — If you’re a blue cheese lover, mix this into the filling or sprinkle on top.
- Avocado (½, diced) — For serving on the side, adds healthy fats and creaminess.
Equipment Needed
You don’t need fancy equipment for this. Here’s what I actually use in my everyday kitchen.
Baking Dish — I use a 9×13 inch glass baking dish. It’s the perfect size for four large peppers. You can also use a ceramic casserole dish, just make sure it’s deep enough to hold the peppers upright without tipping over.
Mixing Bowl — A medium-sized bowl for combining the chicken, sauce, and cheeses. Any size works as long as it’s big enough to mix comfortably.
Fork — For shredding the chicken if you’re using a rotisserie bird. Or just use two forks to pull it apart. It’s surprisingly therapeutic.
Knife & Cutting Board — For slicing the tops off the peppers and mincing the garlic. Make sure your knife is sharp; dull knives are dangerous and frustrating.
Measuring Cups and Spoons — Standard stuff. I keep a basic set from the dollar store, and they work just fine.
Aluminum Foil — Optional, but I like to loosely cover the dish for the first half of baking to keep the peppers from drying out too much. It’s not strictly necessary, but it helps.
Spatula — For scooping the filling into the peppers. A small spoon works too if you don’t have a spatula handy.
How to Make It: Step-by-Step
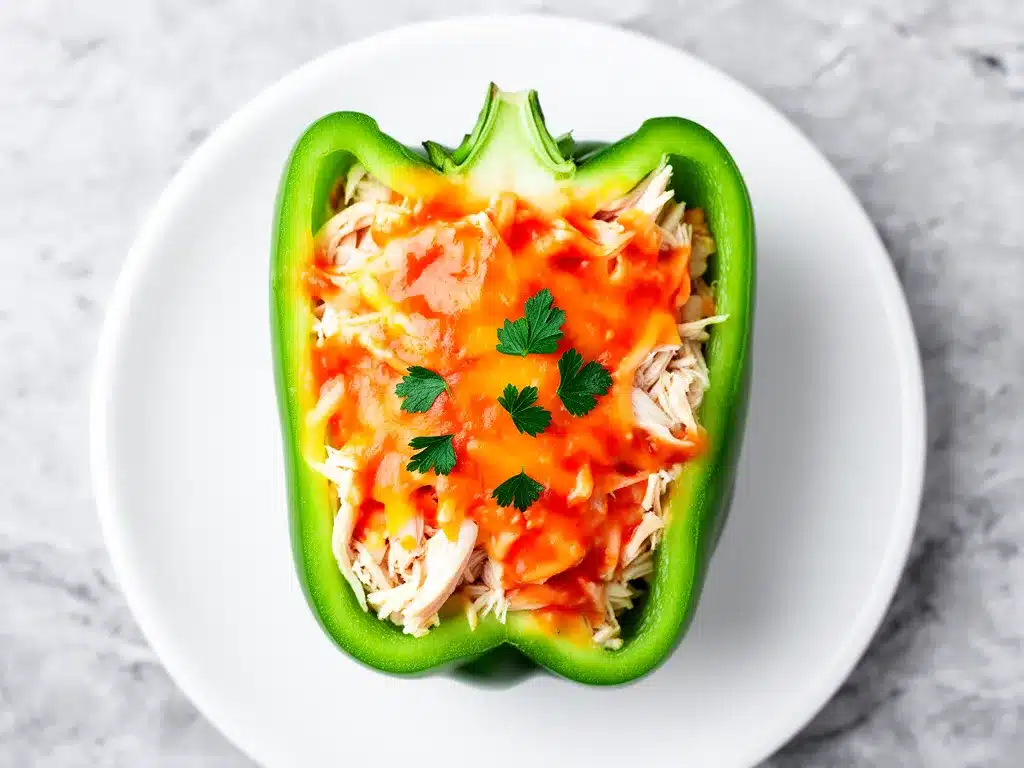
Alright, let’s make this! I’m walking you through exactly how I do it, including the little tricks I’ve picked up over time. It’s simple, but there are a few key steps to get that perfect texture.
Step 1: Prep the Peppers (5 minutes)
Preheat your oven to 375°F (190°C). Wash your bell peppers thoroughly. Using a sharp knife, slice about ½ inch off the top of each pepper. Remove the seeds and membranes from the inside. Be careful not to cut through the bottom; you want the peppers to be hollow cups. If the peppers are very thick-walled, you can slice a tiny bit off the bottom so they sit flat, but it’s not always necessary.
Step 2: Pre-Cook the Peppers (Optional but Recommended) (10 minutes)
I like to par-cook the peppers so they’re tender before I add the filling. Place the hollowed peppers upright in your baking dish. You can add a splash of water to the bottom of the dish to create steam. Cover loosely with foil and bake for 10 minutes. This step ensures the peppers aren’t crunchy when you eat them. If you prefer al dente peppers, you can skip this and bake them for the full time with the filling.
Step 3: Make the Filling (5 minutes)
While the peppers are par-cooking, make the filling. In a mixing bowl, combine the shredded chicken, softened cream cheese, Greek yogurt, buffalo sauce, minced garlic, and ranch seasoning. Mix until smooth and creamy. The mixture should be thick enough to hold its shape but loose enough to scoop. If it’s too thick, add a tablespoon of milk or more yogurt.
Step 4: Stuff the Peppers (5 minutes)
Remove the peppers from the oven (if you par-cooked them) and let them cool for a minute. Generously stuff each pepper with the chicken mixture. Don’t be shy; pack it in. You can mound it slightly on top. Sprinkle the shredded mozzarella cheese evenly over the top of each pepper. The cheese will melt and create a delicious, golden crust.
Step 5: Bake Until Bubbly (15-20 minutes)
Place the stuffed peppers back in the oven, uncovered. Bake for 15-20 minutes, or until the cheese is melted, bubbly, and slightly browned, and the peppers are tender when pierced with a fork. Keep an eye on the cheese so it doesn’t burn. If you want extra crispiness, you can broil for the last 2 minutes, but watch it like a hawk—broilers move fast.
Step 6: Garnish and Serve
Take the dish out of the oven and let it rest for 5 minutes. This helps the filling set slightly so it doesn’t spill out when you bite. Garnish with sliced green onions and a drizzle of extra buffalo sauce if you like more heat. Serve warm alongside a simple green salad or some celery sticks.
Expert Tips & Tricks
Here’s everything I’ve learned from making this dozens of times. These tips will save you from my mistakes and ensure your stuffed peppers turn out perfectly every time.
Don’t Skip the Ranch Seasoning
I know it sounds odd to add ranch to buffalo chicken, but it’s the secret ingredient. The herbs in the ranch (dill, parsley, garlic) complement the cayenne in the buffalo sauce beautifully. It adds depth that plain yogurt and cream cheese lack. If you don’t have a packet, make your own blend.
Use Room Temperature Cream Cheese
This is crucial. If your cream cheese is cold, it will form lumps in the filling that won’t melt properly. Soften it on the counter for 30 minutes or microwave it in 10-second bursts until pliable. It should be easy to whip with a fork.
Par-Cook for Tender Peppers
Raw bell peppers can be tough and bitter, even after 20 minutes of baking. Par-cooking them for 10 minutes ensures they’re tender and sweet. It’s a small step that makes a huge difference in texture.
Customize the Heat Level
Buffalo sauce varies wildly by brand. Start with ½ cup, taste the filling mixture, and add more if you want it spicier. Remember, the cream cheese and yogurt will mellow the heat slightly, so you can afford to be a bit bold.
Make-Ahead Strategy
You can assemble these peppers up to 24 hours in advance. Stuff them, cover tightly with plastic wrap, and refrigerate. When you’re ready to cook, take them out of the fridge and add 5-10 minutes to the baking time since they’ll be cold. This is perfect for busy weeknights.
Variations & Substitutions
Once you’ve nailed the basic version, here’s how you can mix it up. I’ve tried all of these, and they all work great.
Turkey Version
Swap the chicken for shredded rotisserie turkey. It’s slightly leaner and has a milder flavor, so you might want to add a bit more buffalo sauce or hot sauce to compensate.
Shrimp Buffalo Stuffed Peppers
Use cooked, peeled shrimp instead of chicken. Toss them gently with the sauce and cheese mixture so they don’t break apart. Shrimp cooks faster, so reduce the baking time by 5 minutes to avoid overcooking the shrimp.
Vegan Option
Use shredded jackfruit or canned chickpeas (mashed slightly) instead of chicken. Use vegan cream cheese and vegan mozzarella. The buffalo sauce is usually vegan, but check the label. It’s surprisingly good, though the texture is different.
Blue Cheese Twist
Swap the mozzarella for crumbled blue cheese. This is for the true buffalo wing fans. It’s stronger and saltier, so go easy on the salt if you add any. My friend who is lactose-intolerant loves this version with dairy-free blue cheese crumbles.
Low-Carb Rice Addition
If you want a bit more bulk, mix in ½ cup of cauliflower rice into the filling. It adds volume without the carbs and blends seamlessly with the chicken.
Serving & Storage
How to Serve:
I usually serve these straight from the baking dish at the dinner table—it looks rustic and stays warm. But here are other ways I’ve enjoyed them:
- With Celery Sticks — Classic buffalo wing accompaniment. Great for dipping.
- With Ranch Dressing — For dipping the peppers if you want extra creaminess.
- With a Side Salad — A simple arugula salad with lemon vinaigrette cuts through the richness.
Storage Instructions:
Store leftovers in an airtight container in the refrigerator for up to 4 days. The peppers will soften further as they sit, which is normal.
Reheating:
Best method: Reheat in the oven at 350°F for 10-15 minutes until warm throughout. This keeps the texture good.
Microwave method: Heat in 30-second intervals, stirring if possible, or just heating the pepper until warm. It might get a bit soggy, but it’s still tasty.
Avoid: Don’t reheat in the microwave for too long, or the cheese will seize up and become rubbery.
Freezing:
Honestly, I don’t recommend freezing these. The bell peppers become watery and mushy when thawed, and the dairy filling can separate. It’s best to make them fresh or store in the fridge for a few days.
Nutrition Information
I’m not a nutritionist, but here’s the breakdown if you’re tracking. This is per serving (1 stuffed pepper, based on 4 servings).
Calories: 320
Protein: 28g
Carbs: 12g
Fiber: 3g
Sugar: 6g
Fat: 18g
Saturated Fat: 9g
Cholesterol: 75mg
Sodium: 650mg
What’s Good:
- High protein content from chicken and dairy.
- Low carb, making it keto-friendly.
- Good source of Vitamin C from the bell peppers.
What to Know:
Sodium can be high depending on the buffalo sauce and ranch seasoning used. If you’re watching salt, look for low-sodium buffalo sauce and make your own ranch seasoning blend.
My Take:
Look, this is comfort food with a protein boost. It’s not a diet recipe, but it’s way better than takeout buffalo wings. When I want to make it lighter, I use extra Greek yogurt and less cream cheese. But usually? I just eat one or two peppers and enjoy it.
Final Thoughts
So that’s my go-to High Protein Buffalo Chicken Stuffed Peppers! I’ve probably talked your ear off at this point, but when you make a recipe this often, you have a lot to say about it.
This has saved weeknight dinners more times than I can count. It’s my answer to “what’s for dinner” when I’m tired, don’t want takeout, and still want something that tastes really good. My kids are happy, my husband’s happy, and I’m happy because I’m not stressed about cooking.
Make it yours! Try different add-ins, swap in your favorite vegetables, adjust the garlic (though more is always better in my opinion). The best recipes are the ones you adapt to your family’s tastes.
If you make this, drop a comment and let me know what you think! I love hearing how recipes turn out in your kitchen. And if something doesn’t work, tell me that too—I’m here to help troubleshoot.
Happy cooking! And I hope your kitchen smells half as good as mine does right now.
Frequently Asked Questions
Q: Can I use green peppers instead of red?
A: You can, but green peppers are more bitter and have a tougher texture. They’ll take longer to cook tender. If you use green peppers, I definitely recommend the par-cooking step to soften them up. Red or orange peppers are sweeter and cook faster.
Q: Why did my filling fall out of the peppers?
A: This usually happens if the peppers are too thin or if the filling is too loose. Make sure you pack the filling in firmly. If the peppers are very wide, you can cut a small slice off the bottom to help them sit flat, or build a “wall” of filling higher up inside the pepper to keep it contained.
Q: Can I make these ahead of time?
A: Yes! Assemble them up to 24 hours in advance. Cover and refrigerate. When you’re ready to bake, take them out of the fridge and add 5-10 minutes to the baking time since they’ll be cold. This is perfect for meal prep or busy nights.
Q: Is this recipe gluten-free?
A: Yes, naturally. Just make sure your buffalo sauce and ranch seasoning packet are certified gluten-free, as some brands may contain wheat-based additives. Most Frank’s RedHot and simple ranch blends are GF, but always check the label.
Q: Can I freeze these?
A: I don’t recommend freezing them. The bell peppers become watery and mushy when thawed, and the dairy filling can separate and become grainy. It’s best to enjoy them fresh or store in the fridge for up to 4 days.
Q: How do I reheat leftovers?
A: The best way is in the oven at 350°F for 10-15 minutes. This keeps the texture good. You can use the microwave, but heat in short bursts to avoid rubbery cheese. Don’t try to reheat them in the air fryer unless you’re careful, as the peppers might dry out.
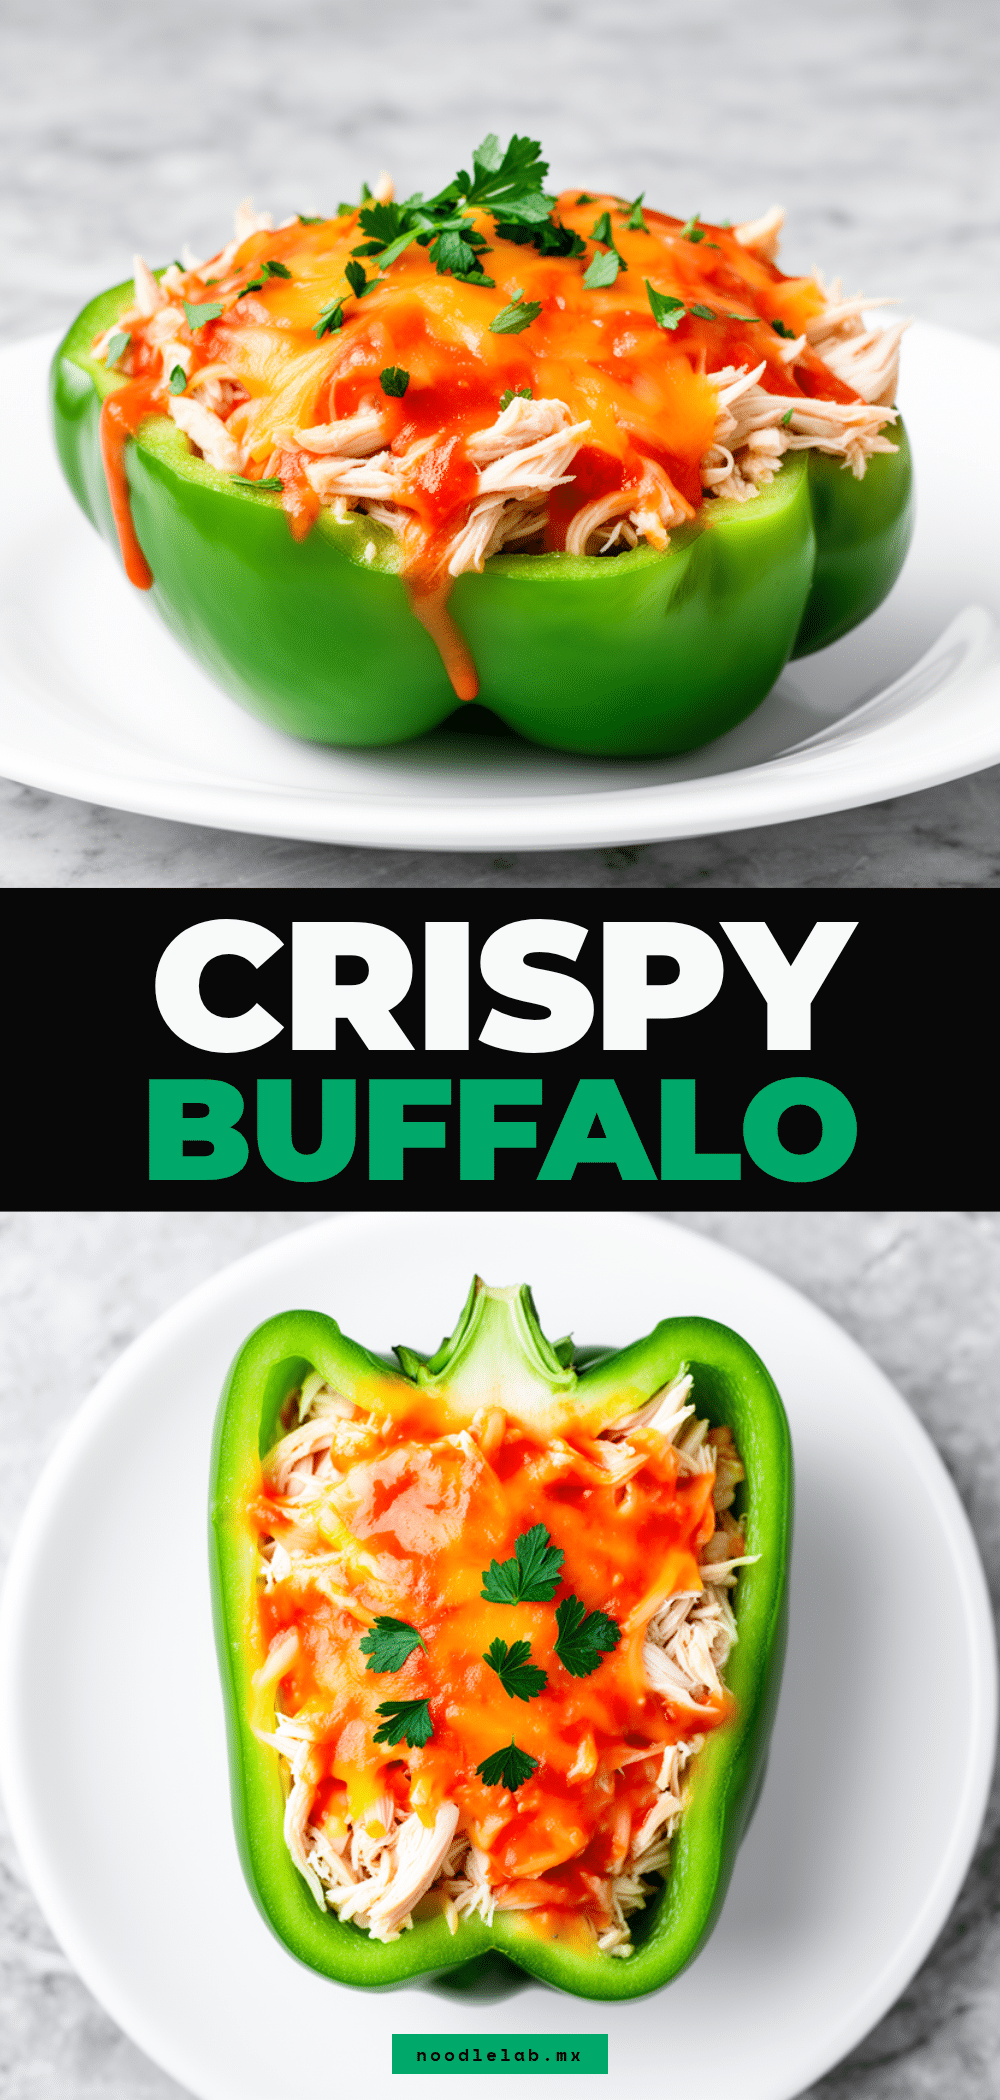
Pin This Recipe!
High Protein Buffalo Chicken Stuffed Peppers
- Total Time: 40 minutes
- Yield: 4 servings 1x
Description
A quick, spicy, and creamy weeknight dinner featuring bell peppers stuffed with a high-protein mixture of rotisserie chicken, buffalo sauce, cream cheese, and Greek yogurt, baked until golden and bubbly.
Ingredients
- 4 large bell peppers (red or orange preferred)
- 2 cups shredded rotisserie chicken (about 300g)
- 1/2 cup buffalo sauce (e.g., Frank’s RedHot)
- 4 oz cream cheese, softened
- 1/2 cup plain Greek yogurt (non-fat or 2%)
- 1 cup shredded mozzarella cheese
- 1 packet ranch seasoning (1 oz)
- 2 cloves garlic, minced
- 2–3 green onions, sliced (for garnish)
- Optional: 1/2 cup finely diced celery
- Optional: 1/4 cup blue cheese crumbles
- Optional: 1/2 avocado, diced
Instructions
- Preheat oven to 375°F (190°C).
- Wash bell peppers and slice about 1/2 inch off the top. Remove seeds and membranes to create hollow cups.
- Optional: Place peppers upright in a baking dish with a splash of water, cover loosely with foil, and bake for 10 minutes to par-cook.
- In a mixing bowl, combine shredded chicken, softened cream cheese, Greek yogurt, buffalo sauce, minced garlic, and ranch seasoning. Mix until smooth.
- Remove peppers from oven (if par-cooked) and let cool slightly. Stuff each pepper generously with the chicken mixture.
- Sprinkle shredded mozzarella cheese evenly over the top of each stuffed pepper.
- Bake uncovered for 15-20 minutes until cheese is melted, bubbly, and peppers are tender.
- Let rest for 5 minutes before serving. Garnish with sliced green onions.
Notes
Use room temperature cream cheese to avoid lumps. Par-cooking the peppers ensures they are tender. You can assemble these up to 24 hours in advance and refrigerate; add 5-10 minutes to baking time if cooking from cold. Do not freeze as peppers become watery.
- Prep Time: 15 minutes
- Cook Time: 25 minutes
- Category: Main Course
- Cuisine: American
Nutrition
- Serving Size: 1 stuffed pepper
- Calories: 320
- Sugar: 6
- Sodium: 650
- Fat: 18
- Saturated Fat: 9
- Carbohydrates: 12
- Fiber: 3
- Protein: 28
Keywords: buffalo chicken, stuffed peppers, high protein, low carb, gluten-free, weeknight dinner, easy recipe, family favorite


