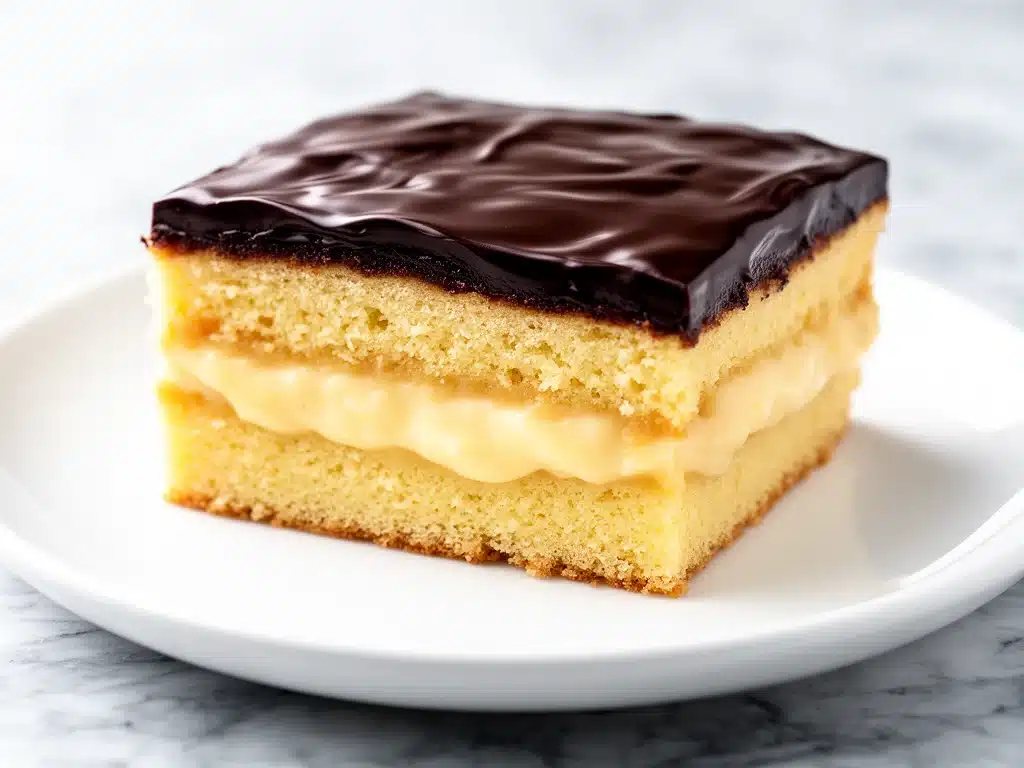
One chilly Sunday afternoon, I found myself craving something nostalgic but impressive enough to serve when friends popped over unexpectedly. I wanted the kind of dessert that sparks conversation without making me sweat in the kitchen. That’s when I dusted off my grandmother’s old recipe for Classic Boston Cream Pie with Silky Custard. This recipe has been in my family for decades, and honestly, I’ve made it so many times that I’m pretty sure the neighbors think I moonlight as a pastry chef.
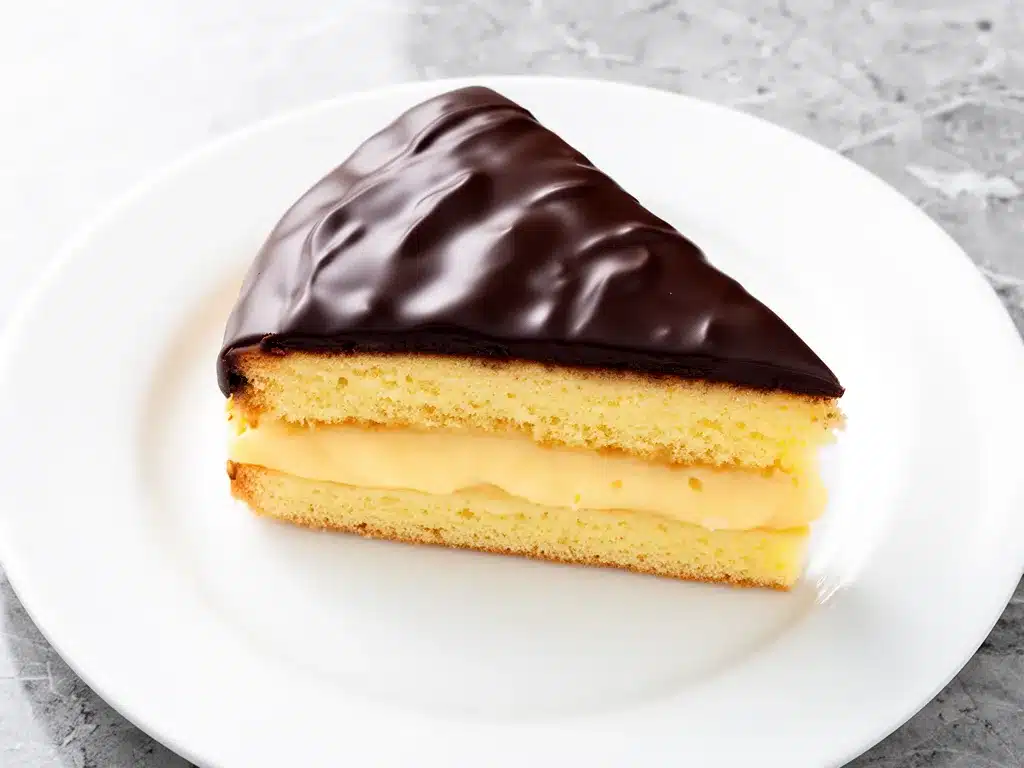
Here’s the thing about Boston Cream Pie: despite the name, it’s not really a pie at all. It’s a layered sponge cake filled with the creamiest custard and topped with a glossy chocolate ganache that’s just… magic. I’ve tested this recipe more than 20 times (not exaggerating), tweaking it until the custard is perfectly smooth and the cake stays light and tender every single time.
What makes this Classic Boston Cream Pie with Silky Custard stand out? It’s the kind of dessert everyone always asks for seconds of, the one that makes you want to lick the spatula, and the one that somehow feels as special as a fancy bakery creation but can be made right in your home kitchen. I’m sharing my step-by-step method so you can nail it too.
Why You’ll Love This Recipe
Honestly, this Classic Boston Cream Pie has completely changed my dessert game. If you’re someone who thinks custards are tricky or that making a layered cake is a big production—trust me, you’re in the right place.
- Silky Smooth Custard Every Time — I’ve figured out how to get that custard thick but not rubbery, creamy but not runny. My family’s picky, and they give this custard two thumbs up.
- Light and Tender Sponge Cake — No dense or dry cake here. The recipe yields a soft, airy cake that soaks up just enough of the custard’s richness without collapsing under the ganache.
- Decadent Chocolate Ganache — The glossiest, richest chocolate topping that sets with a slight snap. It’s the perfect balance to the creamy custard and light sponge.
- Impresses Every Time — I’ve made this for casual dinners, birthday celebrations, and even holiday gatherings. People always ask, “Did you buy this?” and I get to proudly say “Nope, made it myself.”
- Made From Scratch — No box mixes or pre-made puddings. This recipe uses simple ingredients but feels like a showstopper.
This Boston Cream Pie is my secret weapon when I want to wow guests but keep things manageable in the kitchen. It’s a classic for a reason, and now you can make it your own.
Ingredients You’ll Need
Here’s the best part: most of these ingredients are pantry staples or easy to find at any grocery store. I’m picky about getting the custard just right, so I’ll tell you exactly what works.
For the Sponge Cake:
- All-purpose flour (1 cup / 120g) — Provides structure without weighing the cake down. I sift mine to keep it light.
- Baking powder (1 teaspoon) — Helps the cake rise evenly.
- Salt (¼ teaspoon) — Balances sweetness.
- Unsalted butter (4 tablespoons / 56g, softened) — Adds richness. I always use unsalted so I can control the salt.
- Granulated sugar (¾ cup / 150g) — Sweetens and tenderizes. I don’t recommend substituting with brown sugar here.
- Large eggs (3, room temperature) — Essential for structure and moisture. Room temperature eggs beat better and help the cake rise.
- Vanilla extract (1 teaspoon) — Pure is best for flavor depth.
- Whole milk (¼ cup / 60ml, room temperature) — Makes the batter smooth and moist.
For the Silky Custard Filling:
- Whole milk (2 cups / 480ml) — Full-fat for creamy custard.
- Granulated sugar (½ cup / 100g) — Sweetness without overpowering.
- Egg yolks (4 large) — The secret to that luscious texture.
- Cornstarch (3 tablespoons) — Thickens the custard without grit.
- Unsalted butter (2 tablespoons / 28g) — Added at the end for smoothness and richness.
- Vanilla extract (1 ½ teaspoons) — For that classic vanilla custard flavor.
For the Chocolate Ganache:
- Heavy cream (¾ cup / 180ml) — Makes the ganache silky.
- Semi-sweet chocolate chips (6 ounces / 170g) — Or chopped chocolate bars. I prefer good quality chocolate for the best flavor.
- Unsalted butter (1 tablespoon / 14g) — Adds shine and smooth finish.
If you want to get fancy, you can add fresh berries on the side or a dusting of powdered sugar, but the classic version is perfection as is.
Equipment Needed
You don’t need any fancy gadgets for this Classic Boston Cream Pie. Here’s what I use:
- 9-inch round cake pans (2) — I love using non-stick pans, but if you only have one pan, just bake in batches.
- Mixing bowls — One large and one medium for the batter and custard prep.
- Whisk and electric mixer — You can whisk by hand, but an electric mixer makes the sponge cake fluffier.
- Medium saucepan — For heating milk and making custard.
- Heatproof bowl — To prepare the custard mixture before combining with hot milk.
- Rubber spatula — For folding and scraping bowls.
- Fine mesh sieve — Optional but recommended to strain your custard for extra smoothness.
- Offset spatula or butter knife — For spreading custard and ganache evenly.
- Cooling rack — To cool cake layers before assembly.
How to Make It: Step-by-Step
Alright, let’s get to the fun part! I’m walking you through my tried-and-true method for making this Classic Boston Cream Pie with Silky Custard. I’m including the little tricks I’ve learned that make all the difference.
Step 1: Make the Sponge Cake (30-35 minutes)
- Preheat your oven to 350°F (175°C). Grease and flour two 9-inch round cake pans or line them with parchment paper.
- In a medium bowl, whisk together the flour, baking powder, and salt. Set aside.
- In a large bowl, beat the butter and sugar with an electric mixer on medium speed until light and fluffy (about 3-4 minutes). This is key for a tender cake.
- Add the eggs one at a time, beating well after each addition. Mix in the vanilla extract.
- Reduce mixer speed to low and alternately add the flour mixture and milk, starting and ending with flour. Mix until just combined—don’t overmix or the cake will be tough.
- Divide the batter evenly between the pans and smooth the tops with a spatula.
- Bake for 20-25 minutes, or until a toothpick inserted in the center comes out clean and the cakes spring back when lightly pressed.
- Cool in the pans for 10 minutes, then run a knife around edges and invert onto cooling racks. Let cool completely before assembling.
Step 2: Prepare the Silky Custard (20 minutes plus chilling)
- In a medium saucepan, heat the milk over medium heat just until it starts to steam (don’t let it boil).
- While the milk heats, whisk the egg yolks, sugar, and cornstarch in a heatproof bowl until smooth and pale.
- Slowly pour about half of the hot milk into the egg mixture, whisking constantly to temper the eggs (so they don’t scramble).
- Pour the tempered mixture back into the saucepan with the remaining milk.
- Cook over medium-low heat, whisking constantly, until the custard thickens and comes to a gentle boil. This usually takes 3-5 minutes. It should coat the back of a spoon.
- Remove from heat and whisk in the butter and vanilla extract.
- Strain the custard through a fine mesh sieve into a bowl to remove any lumps.
- Cover the surface with plastic wrap to prevent a skin from forming, and chill in the refrigerator for at least 2 hours (or overnight for best texture).
Step 3: Make the Chocolate Ganache (10 minutes)
- Heat the heavy cream in a small saucepan just until it simmers.
- Place the chocolate chips in a heatproof bowl.
- Pour the hot cream over the chocolate and let it sit for 2 minutes to soften.
- Stir gently until smooth and glossy.
- Stir in the butter until fully incorporated.
- Set aside at room temperature until thickened but still pourable.
Step 4: Assemble the Boston Cream Pie (10 minutes)
- Place one sponge cake layer on your serving plate.
- Spread the chilled custard evenly over the top, using an offset spatula for a smooth finish.
- Top with the second cake layer and gently press down.
- Pour the chocolate ganache over the top, letting it drip down the sides. Use a spatula to spread it evenly if needed.
- Refrigerate for at least 30 minutes to let the ganache set before serving.
Pro tip: If you want to get fancy, serve with fresh berries or a dusting of powdered sugar. I love how the tart berries cut through the richness.
Expert Tips & Tricks
- Temper your eggs carefully when making custard to avoid scrambled bits. Pour hot milk slowly while whisking nonstop.
- Don’t skip the chilling step for custard—it lets the flavors meld and the texture to firm up perfectly.
- Use room temperature ingredients for the sponge cake. Cold eggs or butter can make the batter curdle.
- Beat the butter and sugar well—this is what creates a light cake crumb.
- Strain the custard through a sieve for that silky texture everyone raves about.
- Allow the ganache to cool to a thick but pourable consistency before pouring. Too warm and it will run off; too cold and it won’t spread smoothly.
- Slice with a sharp serrated knife for clean cuts without tearing the cake.
- Make this ahead! The custard can be made a day before, and the cake layers keep well wrapped overnight.
Variations & Substitutions
Once you’ve got the classic Boston Cream Pie down, here are some fun twists I’ve tried that turned out great:
- Vanilla Bean Custard — Scrape the seeds from one vanilla bean into the milk before heating for extra luxury.
- Espresso Ganache — Add 1 tablespoon espresso powder to the ganache for a mocha flavor.
- Gluten-Free — Use a gluten-free all-purpose flour blend in the cake. I’ve used Cup4Cup with good results.
- Fruit Filling — Layer fresh sliced strawberries or raspberries between the custard and top cake layer for brightness.
- Dairy-Free — Substitute coconut milk for cream and use dairy-free chocolate chips. Use a vegan butter alternative in custard.
- Mini Cakes — Use cupcake pans to make individual servings. Adjust baking time to 15-18 minutes.
Serving & Storage
I usually slice this Boston Cream Pie into generous wedges and serve it chilled or at room temperature. It’s rich, so a little goes a long way.
Serving suggestions: Pair it with a cup of coffee or a glass of dessert wine for an indulgent treat. I’ve also served it alongside a simple green salad after a big meal to balance things out.
Storing: Keep leftovers covered tightly in the fridge for up to 3 days. The custard and ganache hold up well, but the sponge can dry out if left uncovered.
Reheating: I don’t recommend reheating since the custard loses its texture. Instead, just enjoy it cold or at room temp.
For occasions when you want a cozy fall dessert that’s a bit less formal, I love pairing this with creamy pumpkin Alfredo pasta for dinner and finishing with something sweet like no-bake chocolate peanut butter bars.
Nutrition Information
I’m not a nutritionist, but here’s the rough breakdown per serving (assuming 8 servings):
| Nutrient | Amount |
|---|---|
| Calories | 420 |
| Protein | 6g |
| Carbohydrates | 45g |
| Fat | 24g |
| Saturated Fat | 14g |
| Sugar | 28g |
| Cholesterol | 120mg |
| Sodium | 180mg |
This dessert is rich and indulgent, thanks to the butter, cream, and eggs in the custard and ganache. It’s a treat worth savoring rather than everyday eating. Adding fresh fruit on the side can boost vitamins and fiber.
Final Thoughts
So that’s my Classic Boston Cream Pie with Silky Custard—a dessert that’s worth every minute of prep. I’ve probably told you more than you wanted to know about custards and ganache, but when you make a recipe this often, you can’t help but share all your secrets.
This pie has saved me on so many occasions, from last-minute dinner parties to just a Sunday treat that feels special. It’s approachable enough for home cooks but impressive enough to wow anyone at your table. Plus, it’s a fun way to remind yourself that homemade desserts can be absolutely stunning.
Make it yours—add your favorite twists, experiment with flavors, or keep it classic. And if you try it, please leave a comment and tell me how it turned out! If you have questions or hit a snag, I’m here to help you troubleshoot.
Happy baking! I hope your kitchen smells half as amazing as mine does right now.
Frequently Asked Questions
Q: Can I use store-bought vanilla pudding instead of making custard from scratch?
A: You could, but honestly, the homemade custard is what makes this Boston Cream Pie special. Store-bought pudding lacks the richness and smooth texture that fresh custard delivers. If you’re pressed for time, try a high-quality pudding and add a splash of vanilla extract and a bit of softened butter to mimic the custard’s creaminess.
Q: Why did my custard turn out lumpy or grainy?
A: This usually happens if the eggs scrambled or the custard cooked too quickly. To avoid this, always temper the eggs by slowly whisking in hot milk before returning the mixture to the heat. Cook over medium-low heat and stir constantly. If lumps form, strain the custard through a sieve to smooth it out.
Q: How long can I store the assembled Boston Cream Pie?
A: It’s best eaten within 2-3 days. Keep it tightly covered in the fridge to prevent the cake from drying out. The custard and ganache keep well, but the sponge cake is delicate.
Q: Can I substitute the chocolate ganache with fudge or frosting?
A: Ganache has a silky texture that balances the custard perfectly, but if you prefer, a chocolate fudge sauce or even a rich chocolate buttercream can work. Just keep in mind the texture and sweetness will change.
Q: Can I make this dessert gluten-free?
A: Yes, use a 1:1 gluten-free flour blend for the sponge cake. I recommend blends that contain xanthan gum for structure. The custard and ganache are naturally gluten-free.
Q: What’s the best way to slice this cake cleanly?
A: Use a sharp serrated knife and wipe the blade clean between slices to prevent crumbs and custard from smearing. Chilling the cake briefly before slicing helps it hold together better.
Q: Can I freeze Boston Cream Pie?
A: I don’t recommend freezing this dessert because the custard doesn’t freeze well and separates upon thawing. It’s best made fresh or stored in the fridge.
Pin This Recipe!
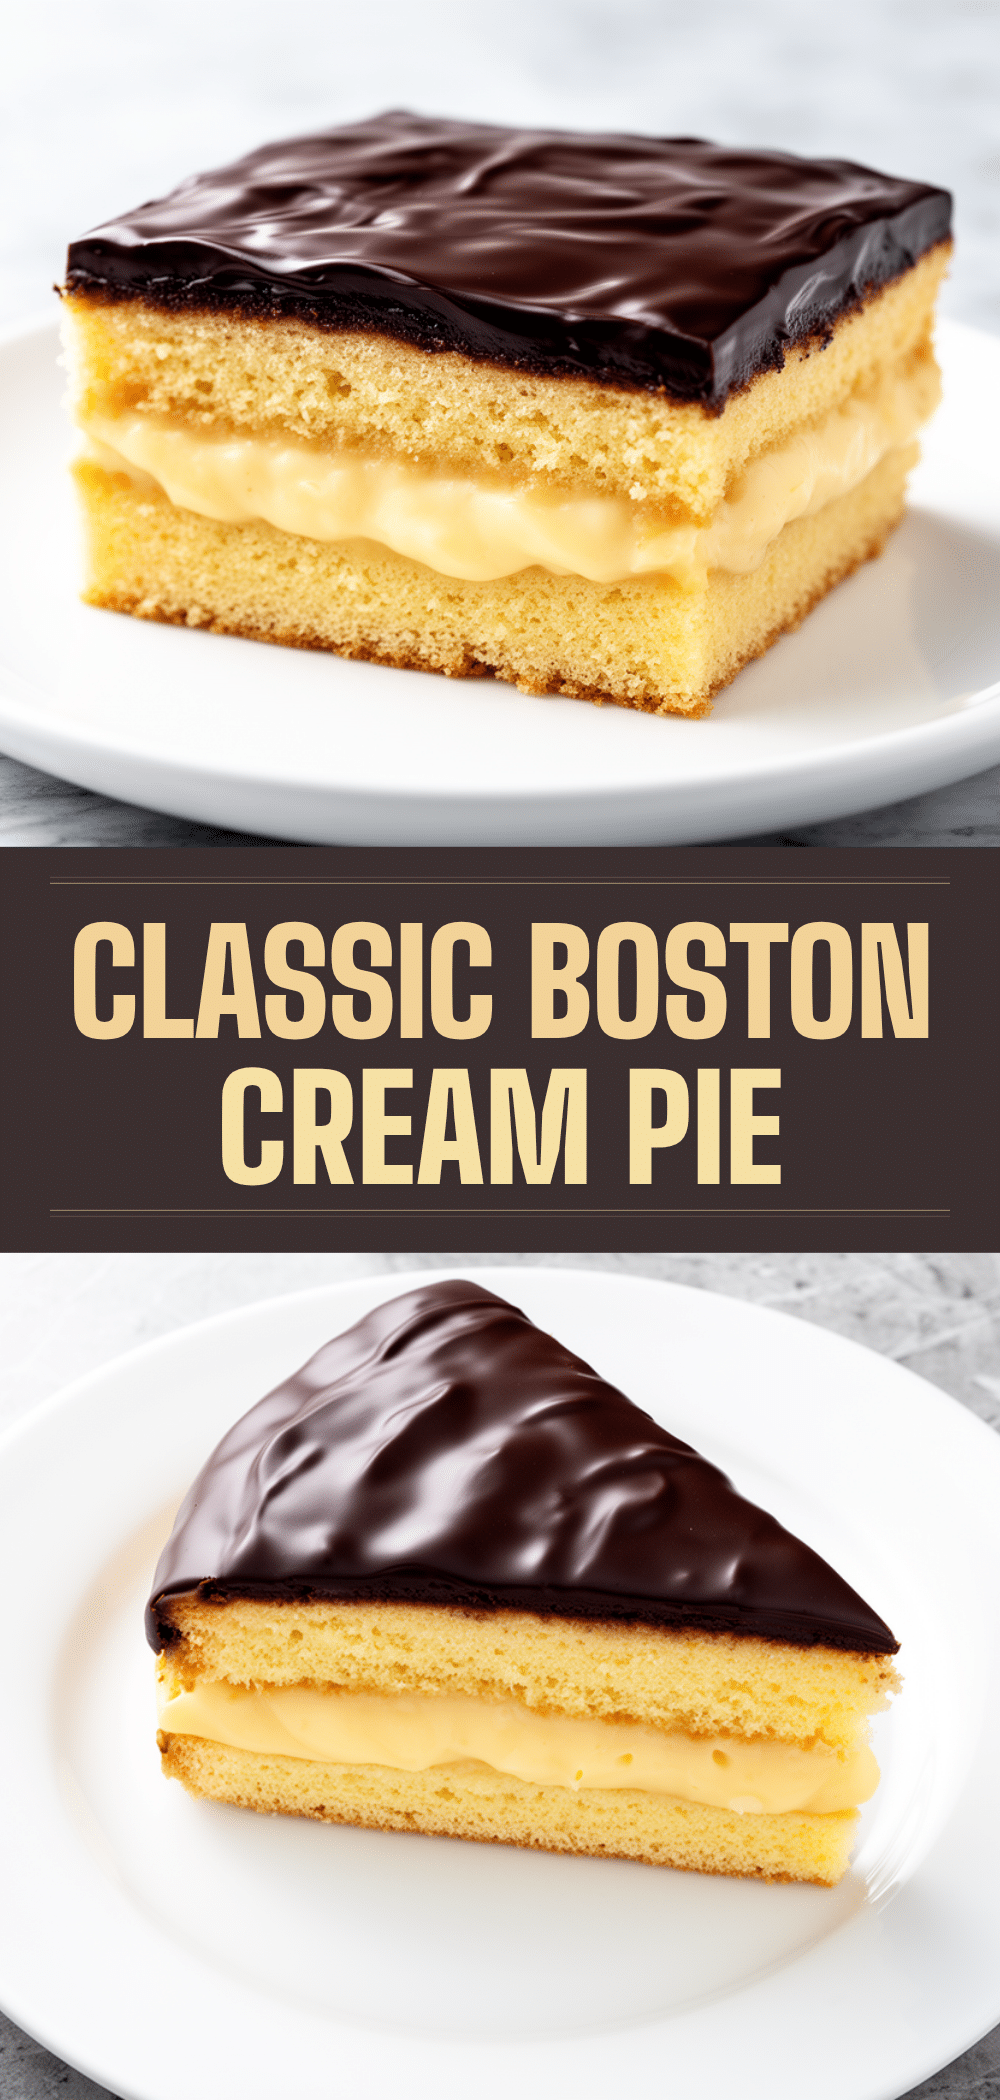

Classic Boston Cream Pie with Silky Custard
- Total Time: 2 hours 45 minutes
- Yield: 8 servings 1x
Description
A nostalgic layered sponge cake filled with silky smooth custard and topped with a glossy chocolate ganache, perfect for impressing guests with a homemade bakery-quality dessert.
Ingredients
- 1 cup (120g) all-purpose flour
- 1 teaspoon baking powder
- 1/4 teaspoon salt
- 4 tablespoons (56g) unsalted butter, softened
- 3 large eggs, room temperature
- 3/4 cup (150g) granulated sugar
- 1 teaspoon vanilla extract
- 1/4 cup (60ml) whole milk, room temperature
- 2 cups (480ml) whole milk
- 1/2 cup (100g) granulated sugar
- 4 large egg yolks
- 3 tablespoons cornstarch
- 2 tablespoons (28g) unsalted butter
- 1 1/2 teaspoons vanilla extract
- 3/4 cup (180ml) heavy cream
- 6 ounces (170g) semi-sweet chocolate chips
- 1 tablespoon (14g) unsalted butter
Instructions
- Preheat oven to 350°F (175°C). Grease and flour two 9-inch round cake pans or line with parchment paper.
- In a medium bowl, whisk together flour, baking powder, and salt. Set aside.
- In a large bowl, beat butter and sugar with an electric mixer on medium speed until light and fluffy, about 3-4 minutes.
- Add eggs one at a time, beating well after each addition. Mix in vanilla extract.
- Reduce mixer speed to low and alternately add flour mixture and milk, starting and ending with flour. Mix until just combined; do not overmix.
- Divide batter evenly between pans and smooth tops with a spatula.
- Bake for 20-25 minutes or until a toothpick inserted in the center comes out clean and cakes spring back when lightly pressed.
- Cool in pans for 10 minutes, then invert onto cooling racks and let cool completely.
- Heat 2 cups whole milk in a medium saucepan over medium heat until steaming but not boiling.
- In a heatproof bowl, whisk egg yolks, sugar, and cornstarch until smooth and pale.
- Slowly pour about half of the hot milk into the egg mixture, whisking constantly to temper the eggs.
- Pour tempered mixture back into saucepan with remaining milk.
- Cook over medium-low heat, whisking constantly, until custard thickens and comes to a gentle boil, about 3-5 minutes. It should coat the back of a spoon.
- Remove from heat and whisk in 2 tablespoons unsalted butter and 1 1/2 teaspoons vanilla extract.
- Strain custard through a fine mesh sieve into a bowl to remove lumps.
- Cover surface with plastic wrap to prevent skin formation and chill in refrigerator for at least 2 hours or overnight.
- Heat heavy cream in a small saucepan until it simmers.
- Place chocolate chips in a heatproof bowl and pour hot cream over them. Let sit for 2 minutes.
- Stir gently until smooth and glossy.
- Stir in 1 tablespoon unsalted butter until fully incorporated.
- Set ganache aside at room temperature until thickened but still pourable.
- Place one sponge cake layer on serving plate.
- Spread chilled custard evenly over the top using an offset spatula.
- Top with second cake layer and gently press down.
- Pour chocolate ganache over the top, letting it drip down the sides. Spread evenly if needed.
- Refrigerate for at least 30 minutes to let ganache set before serving.
Notes
Temper eggs carefully to avoid scrambling; chill custard to firm up texture; use room temperature ingredients for best cake texture; strain custard for smoothness; allow ganache to cool to pourable consistency before spreading; slice with a sharp serrated knife; make ahead for convenience.
- Prep Time: 20 minutes
- Cook Time: 35 minutes
- Category: Dessert
- Cuisine: American
Nutrition
- Serving Size: 1 slice (1/8 of cake
- Calories: 420
- Sugar: 28
- Sodium: 180
- Fat: 24
- Saturated Fat: 14
- Carbohydrates: 45
- Protein: 6
Keywords: Boston Cream Pie, custard, chocolate ganache, sponge cake, classic dessert, homemade, layered cake


