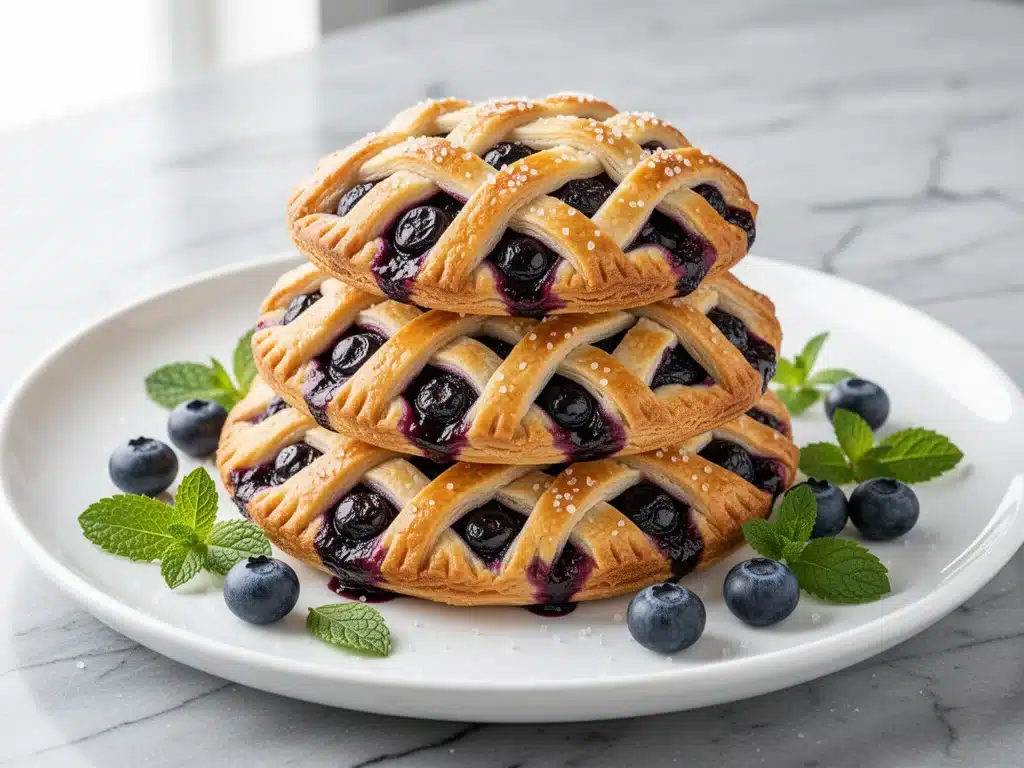
There is a specific moment in every gathering where the chatter stops, forks stop clinking, and everyone just stares at the plate. That’s when I make my homemade blueberry hand pies. I don’t mean those sad, frozen, microwaveable pastries you grab in the frozen aisle. I’m talking about warm, flaky, buttery pockets of pastry filled with a bursting, jammy blueberry filling that leaks slightly onto your fingers, forcing you to eat it fast before it burns your tongue.
Last weekend, I brought these to a casual potluck. I had planned to make something fancy, like that honey roasted pear custard tart I’ve been tweaking, but life got busy. I decided to whip up these hand pies instead because they’re forgiving and fun. Ten minutes after I set the tray down, my friend Sarah was asking me for the recipe. Then Mark. Then the host. By the time I got home, I had five different people asking me to send them the link.
It’s funny how a little pocket pie can cause such a stir. But here’s the thing—these aren’t hard to make. In fact, I think they’re easier than most cakes. The secret isn’t in some complicated technique; it’s in the lattice crust. That crisscross pattern isn’t just for show. It lets the steam escape so the filling doesn’t make the bottom soggy, and it gives you that satisfying snap when you bite into it. Plus, it looks like you spent hours when you really only spent about forty-five minutes.
If you’ve ever been intimidated by pie crust, let me stop you right now. You don’t need to be a pastry chef. You just need cold butter, a little patience, and a willingness to get a little messy. These homemade blueberry hand pies with a buttery lattice crust are the perfect balance of sweet and tart, and they freeze beautifully if you want to make a double batch. I’ve made this recipe dozens of times, and it has never failed me. So, let’s get into the kitchen.
Why You’ll Love This Recipe
I’ve tested a lot of dessert recipes over the years, from small batch fudgy brownies to complex holiday cakes, but these hand pies hold a special place in my heart. They are the ultimate crowd-pleaser because they combine nostalgia with a bit of gourmet flair. Here is why this recipe keeps coming back to the top of my list:
- Zero Pie Skills Required — Seriously. You don’t need to roll out a perfect circle. You just cut rectangles. If you can use a cookie cutter or a knife, you can make these. I’ve made these for my teenage nephew, and he managed to create a beautiful lattice top without burning the kitchen down.
- Perfectly Portable — Unlike a traditional pie that needs a plate and a fork, these are handheld. Perfect for picnics, lunchboxes, or eating while walking around a party. I love that they don’t make a mess unless you overfill them (which, honestly, is part of the charm).
- Make-Ahead Friendly — You can make the dough and filling days in advance. I often prep the dough on Sunday and bake them Tuesday night. They taste just as good, if not better, the next day as the flavors meld together.
- Freezer Friendly — This is my secret weapon. I freeze unbaked hand pies on a tray, then bag them. When I have guests, I pull them out, brush with egg wash, and bake. They come out fresh and hot in 20 minutes. It’s like magic.
- Customizable — Blueberries are my go-to, but you can swap in strawberries, peaches, or even rhubarb. The lattice crust works with any fruit filling. It’s like having a recipe that grows with the seasons.
The best part? They smell incredible while baking. There is nothing quite like the scent of buttery pastry and cooking berries filling your house. It makes everyone in the neighborhood think you’re a genius baker, even if you’re just using store-bought dough or a simple homemade crust.
Ingredients You’ll Need
Before we start, let’s talk about what goes into these beauties. I’m particular about a few things here, mostly because I’ve learned the hard way that shortcuts can ruin the texture. You want flaky, tender crust and a filling that is sweet but not cloying.
For the Buttery Lattice Crust
All-purpose flour (2 ½ cups / 315g) — The base of your crust. Don’t try to swap this for whole wheat unless you want a dense, tough pie. For this recipe, you want light and flaky. I use Gold Medal flour because it’s consistent.
Unsalted butter (1 cup / 225g, very cold) — This is non-negotiable. Cold butter creates steam pockets in the dough, which creates flakiness. If your butter is soft, your crust will be tough. I keep my butter in the freezer for 10 minutes before grating it if I’m in a rush.
Vegetable oil (3-4 tablespoons / 45-60ml) — This is my little secret. While most recipes use only ice water, adding a little oil helps tenderize the crust. It keeps it from becoming too chewy. I use a neutral oil like canola or vegetable.
Ice water (4-6 tablespoons / 60-90ml) — Just enough to bring the dough together. If you add too much, the gluten develops and you get a rubbery crust. Add it one tablespoon at a time.
Salt (1 teaspoon) — Enhances the flavor and balances the sweetness. Don’t skip it.
Egg wash (1 egg beaten with 1 tablespoon water) — For that golden, shiny finish. Optional but highly recommended for that bakery look.
For the Blueberry Filling
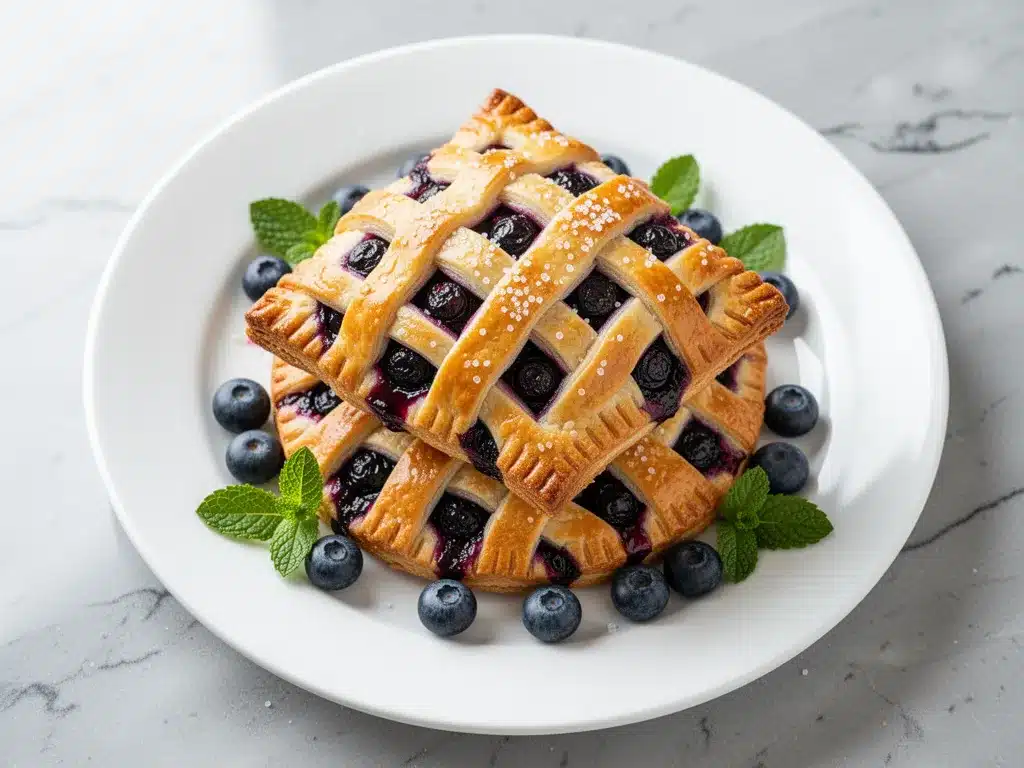
Fresh or frozen blueberries (4 cups / 600g) — Fresh is best when in season, but frozen works perfectly fine. If you use frozen, do not thaw them first, or you’ll get a watery mess. I actually prefer frozen because they tend to be sweeter and more intense in flavor.
Granulated sugar (½ cup / 100g) — Adjust based on how sweet your berries are. If they’re tart, go up to ¾ cup. If they’re super sweet, ⅓ cup is fine.
Cornstarch (2 tablespoons / 15g) — This thickens the juices. If you skip this, you’ll have blueberry soup inside your pie, not a filling. Cornstarch is the hero here.
Lemon juice (1 tablespoon / 15ml) — Brightens up the flavor and cuts through the sweetness. It makes the blueberries taste like blueberries, not just sugar.
Lemon zest (1 teaspoon) — Adds a floral aroma that pairs perfectly with berries. I always grate the lemon before juicing it.
Vanilla extract (1 teaspoon) — Just a touch to round out the flavors.
Optional: Turbinado sugar — For sprinkling on top before baking. It gives that crunchy, sparkly finish that looks so professional.
Equipment Needed
You don’t need a fancy kitchen to make these. Here’s what I actually use on my counter:
Large mixing bowl — For combining the dough. A glass or metal bowl works best so you can see the texture.
Pastry cutter or food processor — I love using a food processor for speed. It keeps the butter cold because you’re working fast. If you don’t have one, a pastry cutter or even two forks works, but it takes more arm strength.
Rolling pin — Any standard rolling pin works. I prefer a wooden one because it doesn’t stick.
Sharp knife or pizza cutter — For cutting the dough into strips. A pizza cutter is my favorite because it glides through the dough without squishing it.
Baking sheets — Two large sheets. I line them with parchment paper for easy cleanup. Parchment paper is worth every penny.
Small bowl and fork — For the egg wash.
Pastry brush — Optional, but helps you get an even coat of egg wash. A clean paintbrush works in a pinch.
How to Make It: Step-by-Step
Alright, let’s make these! I’m walking you through exactly how I do it, including the little tricks I’ve picked up over the years. This process is hands-on but very forgiving.
Step 1: Make the Dough (10 minutes)
Start by preparing your butter. Cut it into small cubes and put it back in the fridge or freezer for 10 minutes. You want it ice-cold. In a large bowl, whisk together the flour and salt. Add the cold butter cubes. If you’re using a food processor, pulse until the mixture looks like coarse crumbs with some pea-sized pieces of butter remaining. If you’re doing it by hand, use a pastry cutter to mash the butter into the flour until you get that same texture.
Pro Tip: Those pea-sized pieces of butter are crucial. They create the flaky layers. Don’t over-mix until it’s all fine crumbs.
Step 2: Hydrate the Dough (5 minutes)
Gradually add the ice water and vegetable oil. Add the water one tablespoon at a time, gently mixing with a spatula or your hands. Stop when the dough just starts to come together. It should look shaggy and dry in spots, but when you squeeze a handful, it should hold its shape. Don’t add too much water! Over-hydrated dough is sticky and hard to work with.
Divide the dough in half. Flatten each half into a disk, wrap tightly in plastic wrap, and refrigerate for at least 30 minutes. This relaxes the gluten and re-chills the butter, which is essential for a tender crust.
Step 3: Prepare the Filling (5 minutes)
While the dough chills, mix your blueberries, sugar, cornstarch, lemon juice, lemon zest, and vanilla in a bowl. Toss gently until the berries are evenly coated. Let this sit while the dough chills so the sugar can start to dissolve. You’ll see some juices come out, which is good—that’s the syrup that will thicken into the filling.
Step 4: Roll and Cut the Dough (10 minutes)
Preheat your oven to 375°F (190°C). Line two baking sheets with parchment paper. Take one disk of dough out of the fridge. On a lightly floured surface, roll it out into a rectangle about 1/8-inch thick. It doesn’t need to be perfect, but try to keep it even.
Using a knife or pizza cutter, trim the edges to make them straight. Then, cut the rectangle into 4-inch squares. You should get about 8-10 squares from each disk, depending on your rolling size. Keep the scraps for later if you want to make small lattice cookies.
Step 5: Fill and Lattice (15 minutes)
This is the fun part. Place a spoonful of the blueberry filling (about 2-3 tablespoons) in the center of each square. Be careful not to overfill, or it will burst during baking. Leave a 1-inch border around the edges.
Now, for the lattice. Cut strips from the remaining dough or the scraps. You’ll need about 3-4 strips per pie. Drape them over the filling in a crisscross pattern. Press the ends of the strips firmly onto the base square to seal them. You can crimp the edges with a fork or just press them with your fingers.
Visual Cue: The filling should look like a little blueberry volcano peeking through the lattice. If you see too much filling exposed, add a tiny bit more dough on top.
Step 6: Bake to Golden Perfection (20-25 minutes)
Brush the tops with egg wash and sprinkle with turbinado sugar if using. This gives them that shiny, sparkly finish. Bake for 20-25 minutes, or until the crust is deep golden brown and the filling is bubbling through the lattice. The bubbling is your sign that the cornstarch has activated and the filling is thick.
Let them cool on the baking sheet for at least 10 minutes. This allows the filling to set. If you cut into them hot, the filling will run out. Patience is key here!
Expert Tips & Tricks
Here’s everything I’ve learned from making these dozens of times. These tips will save you from my mistakes.
Keep Everything Cold
The #1 rule of pie crust. Warm butter = tough crust. If your dough starts to look soft and greasy while you’re working, put it back in the fridge for 10 minutes. I keep a glass of ice water nearby to cool my hands if they get too warm.
Don’t Skip the Cornstarch
I know some people try to use flour or arrowroot, but cornstarch gives the clearest, glossiest gel. It’s the best for berries. Make sure you mix it well with the sugar before adding it to the berries, or you’ll get little white clumps of raw starch.
Use a Cookie Scoop
For consistent filling amounts, use a small cookie scoop or ice cream scoop. It ensures every hand pie has the same ratio of crust to filling. No more dry edges or leaking centers.
Freeze Before Baking
If you’re making these ahead, freeze the unbaked pies on the baking sheet for an hour, then bag them. When you’re ready to bake, you can bake them from frozen, just add 5 minutes to the baking time. This prevents the butter from melting too quickly in the oven.
Watch the Oven
Ovens vary. Check them at 20 minutes. If the tops are browning too fast, tent them with aluminum foil. You want the inside to cook through without burning the outside.
Variations & Substitutions
Once you’ve nailed the basic version, here’s how you can mix it up. I’ve tried all of these.
Strawberry Rhubarb Hand Pies
Swap the blueberries for chopped rhubarb and strawberries. Add an extra tablespoon of sugar because rhubarb is tart. The pink and red colors look stunning through the lattice.
Apple Cinnamon Hand Pies
Use diced apples (Granny Smith works best) with cinnamon, nutmeg, and a little brown sugar. Add a teaspoon of lemon juice to prevent browning. This tastes like fall in your hands.
Chocolate Chip Banana
For a non-fruit version, mash a ripe banana and mix with chocolate chips and a dash of cinnamon. It’s like a pie version of banana bread. Kids love this one.
Gluten-Free Option
You can use a 1:1 gluten-free flour blend for the crust. Just make sure it contains xanthan gum, or add ½ teaspoon. The texture will be slightly more tender and less chewy, which actually works well for hand pies.
Vegan Version
Replace the butter with cold vegan butter (like Earth Balance) and use the oil method. For the egg wash, mix 1 tablespoon aquafaba (chickpea water) with a splash of milk. It browns beautifully.
Serving & Storage
These are best served slightly warm, but they’re delicious at room temperature too. I usually serve them with a scoop of vanilla ice cream or a dollop of whipped cream. The contrast of hot pie and cold cream is amazing.
Storage:
Store leftovers in an airtight container at room temperature for up to 2 days. If your kitchen is hot, keep them in the fridge. They’ll stay fresh for 3-4 days.
Reheating:
To reheat, warm them in the oven at 350°F for 5-10 minutes. This restores the flakiness. The microwave will make the crust soft and chewy, which I don’t recommend for these.
Freezing:
As mentioned, you can freeze unbaked pies for up to 3 months. You can also freeze baked pies. Wrap them tightly in plastic wrap and foil. Thaw at room temperature and warm in the oven before serving.
Nutrition Information
I’m not a nutritionist, but here’s the breakdown if you’re tracking. These are indulgent treats, so enjoy them in moderation!
Per Hand Pie (based on 10 pies):
– Calories: 280
– Protein: 3g
– Carbs: 35g
– Fiber: 2g
– Sugar: 18g
– Fat: 14g
– Saturated Fat: 7g
– Cholesterol: 25mg
– Sodium: 120mg
These are higher in calories due to the butter and sugar, but they provide a nice energy boost. If you’re watching sugar, reduce the sugar in the filling to ¼ cup and use unsweetened applesauce as a thickener instead of cornstarch (though the texture will change).
Final Thoughts
So that’s my homemade blueberry hand pies with a buttery lattice crust! I’ve probably talked your ear off at this point, but when you make a recipe this often, you have a lot to say about it. These pies have saved me at potlucks, brought joy to my family on lazy Sundays, and even helped me make friends with neighbors.
They are proof that you don’t need to be a professional baker to make something that looks and tastes amazing. It’s about technique, temperature, and a little bit of love. Make these, mess up a few, learn from it, and then make them again. That’s how you get good.
If you make these, drop a comment and let me know how they turned out! I love hearing how recipes turn out in your kitchen. And if something doesn’t work, tell me that too—I’m here to help troubleshoot. Happy baking!
Frequently Asked Questions
Can I use store-bought pie crust?
Absolutely! If you’re short on time, a high-quality refrigerated pie crust works fine. Just roll it out and cut it into squares. The flavor won’t be quite as rich as homemade, but it’s still delicious. I’ve used this method when I’m running late, and it still gets compliments.
Why did my filling turn out runny?
Usually, this means you didn’t use enough thickener or you didn’t bake it long enough. Make sure you’re using cornstarch and that the filling is bubbling visibly through the lattice when you take them out. Bubbling means the starch has gelatinized. If it’s still runny after cooling, you can brush them with a little extra cornstarch slurry and bake for 5 more minutes.
Can I freeze the baked pies?
Yes, but they lose some flakiness upon reheating. They’re best eaten fresh or day-old. If you freeze them, wrap them tightly to prevent freezer burn. Reheat in the oven to restore crispness.
What if I don’t have turbinado sugar?
Regular granulated sugar works, but it won’t have the same crunchy texture. You can also use coarse sugar or even just a sprinkle of regular sugar. It’s mostly for aesthetics.
How do I prevent the lattice from falling apart?
Make sure you press the edges of the lattice strips firmly onto the base dough. You can also use a little water or egg wash on the edges before pressing to help them stick. If the dough is too warm, it will be sticky and hard to handle, so keep it cold.
Can I make these in an air fryer?
Yes! You can fit 2-3 hand pies in a standard air fryer basket. Cook at 350°F for 8-10 minutes, checking halfway through. Keep an eye on them because air fryers can brown quickly. They come out crispy and delicious!
Pin This Recipe!
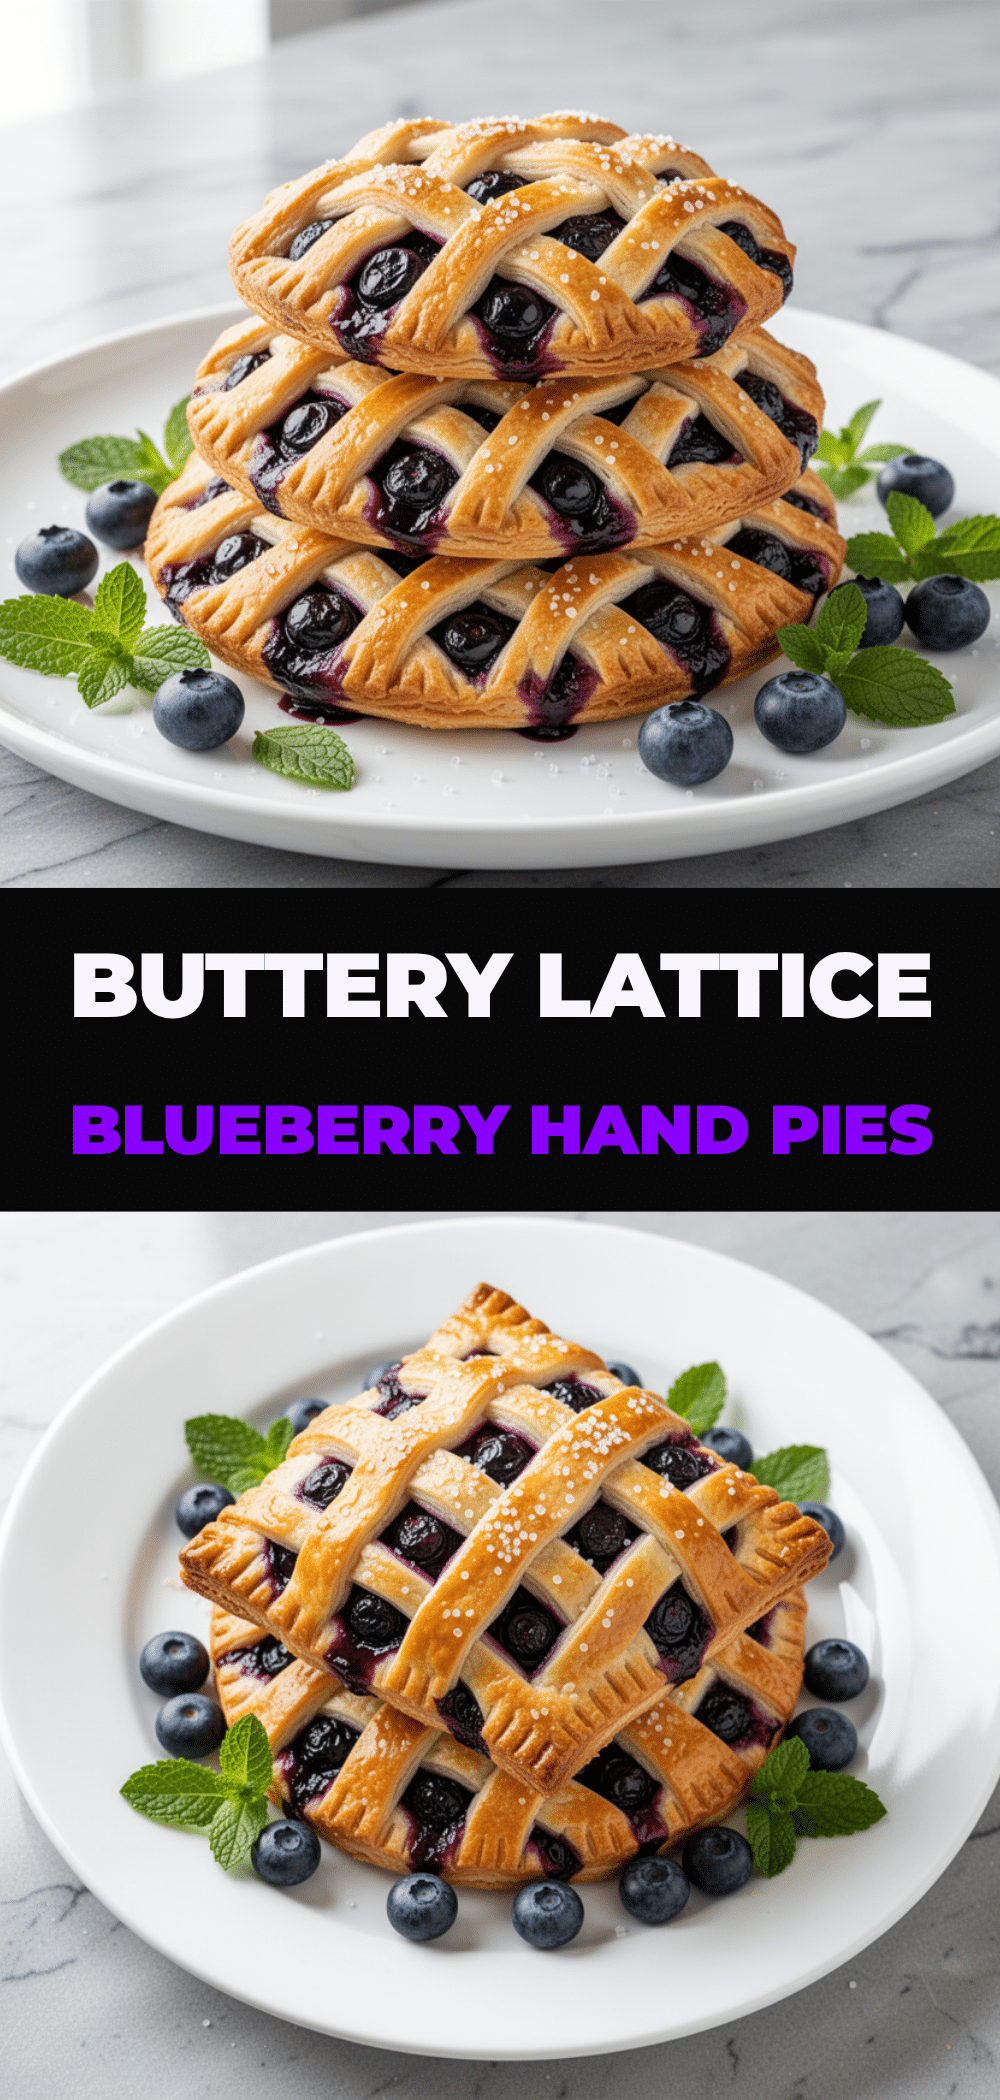
Homemade Blueberry Hand Pies: Best Easy Recipe
- Total Time: 65 minutes
- Yield: 10 servings 1x
Description
Warm, flaky, buttery pockets of pastry filled with a bursting, jammy blueberry filling. These easy-to-make hand pies feature a decorative lattice crust and are perfect for potlucks or freezing ahead.
Ingredients
- 2 ½ cups (315g) all-purpose flour
- 1 cup (225g) unsalted butter, very cold
- 3–4 tablespoons vegetable oil
- 4–6 tablespoons ice water
- 1 teaspoon salt
- 1 egg beaten with 1 tablespoon water (for egg wash)
- 4 cups (600g) fresh or frozen blueberries
- ½ cup (100g) granulated sugar
- 2 tablespoons (15g) cornstarch
- 1 tablespoon (15ml) lemon juice
- 1 teaspoon lemon zest
- 1 teaspoon vanilla extract
- Turbinado sugar (optional, for sprinkling)
Instructions
- Prepare the butter by cutting it into small cubes and chilling in the fridge or freezer for 10 minutes until ice-cold.
- In a large bowl, whisk together the flour and salt. Add the cold butter cubes.
- Using a food processor or pastry cutter, mix until the mixture resembles coarse crumbs with some pea-sized pieces of butter remaining.
- Gradually add the ice water and vegetable oil, one tablespoon at a time, mixing gently until the dough just starts to come together and holds its shape when squeezed.
- Divide the dough in half, flatten into disks, wrap in plastic wrap, and refrigerate for at least 30 minutes.
- While the dough chills, mix blueberries, sugar, cornstarch, lemon juice, lemon zest, and vanilla in a bowl. Toss to coat and let sit.
- Preheat oven to 375°F (190°C) and line two baking sheets with parchment paper.
- Roll one disk of dough into a rectangle about 1/8-inch thick on a lightly floured surface.
- Trim edges and cut the rectangle into 4-inch squares (yielding 8-10 squares per disk).
- Place 2-3 tablespoons of blueberry filling in the center of each square, leaving a 1-inch border.
- Cut strips from remaining dough or scraps. Drape 3-4 strips over each filling in a crisscross lattice pattern.
- Press the ends of the strips firmly onto the base square to seal. Crimp edges with a fork if desired.
- Brush tops with egg wash and sprinkle with turbinado sugar if using.
- Bake for 20-25 minutes until the crust is deep golden brown and the filling is bubbling through the lattice.
- Cool on the baking sheet for at least 10 minutes before serving to allow the filling to set.
Notes
Keep all ingredients, especially butter, very cold to ensure a flaky crust. Do not over-hydrate the dough. If using frozen blueberries, do not thaw them first. The filling must bubble visibly through the lattice to ensure the cornstarch has activated. For best results, let pies cool completely to prevent runny filling.
- Prep Time: 40 minutes
- Cook Time: 25 minutes
- Category: Dessert
- Cuisine: American
Nutrition
- Serving Size: 1 hand pie
- Calories: 280
- Sugar: 18
- Sodium: 120
- Fat: 14
- Saturated Fat: 7
- Carbohydrates: 35
- Fiber: 2
- Protein: 3
Keywords: blueberry hand pies, lattice crust, homemade pastry, easy dessert, make-ahead dessert, freezer friendly, berry pie


