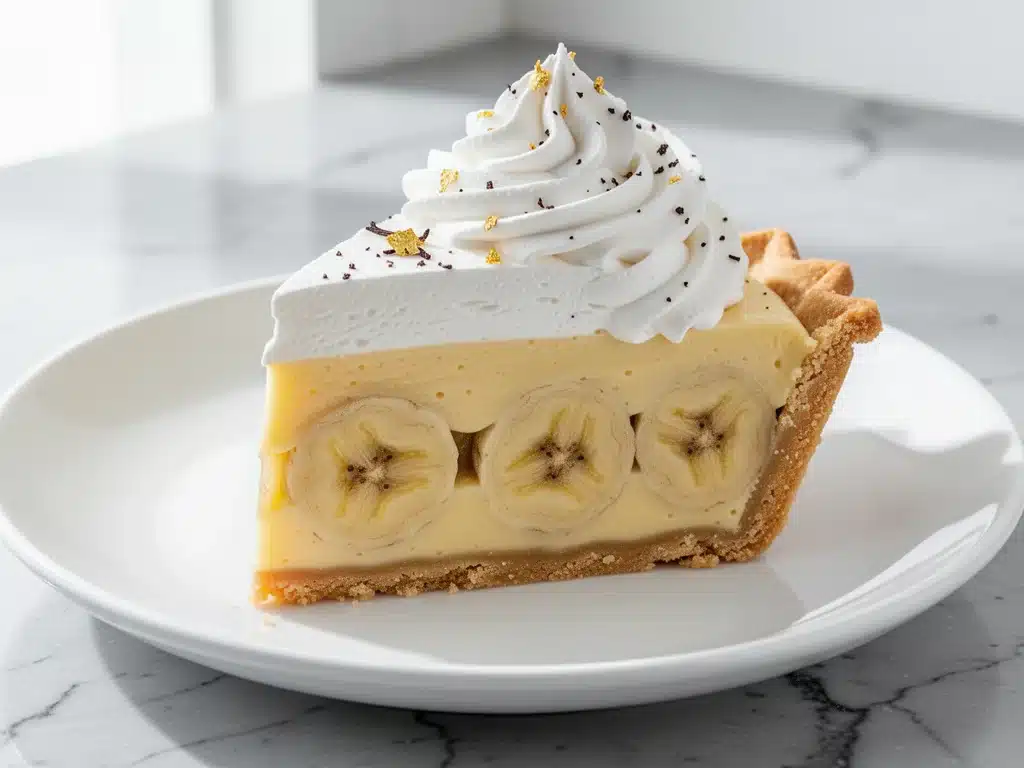
Every July, my family would pack up the car for the annual trip to Lake Michigan, and without fail, my aunt Clara would show up with a pie. Not just any pie. She’d bring a banana cream pie so impossibly smooth, so deeply vanilla and rich, that the other desserts on the table might as well have been cardboard.
I remember sitting at that wobbly picnic table, watching her slice it. The knife would glide through the crust like it was cutting butter. The filling would hold its shape perfectly, glossy and pale yellow, topped with a cloud of whipped cream and three perfect banana slices. It was summer on a plate.
For years, I tried to replicate it. I bought the instant pudding boxes. I used stale bananas. I rushed the chilling time. And every time, I ended up with a soggy crust, watery filling, or bananas that turned brown before dinner. I was ready to give up. I was ready to buy the box mix forever.
Then, last summer, I decided to stop guessing and start understanding. I spent two weekends testing different custard techniques, crust ratios, and banana treatments. I burned a few batches of crust. I over-whipped half the cream. But on the third attempt, I got it. That first bite? It tasted exactly like Aunt Clara’s. Better, actually, because now I know exactly why it works.
This ultra-creamy banana cream pie isn’t just a dessert; it’s a lesson in patience and technique. It’s the kind of pie that stops conversations at the dinner table. It’s the kind of dessert people ask for the recipe for, then make it for their own families. And the best part? Once you know the tricks, it’s surprisingly simple. No fancy equipment needed. Just good ingredients and a little bit of love.
Why You’ll Love This Banana Cream Pie Recipe
I’ve made this pie for housewarming parties, holiday dinners, and random Tuesday nights when I just needed something sweet. Here’s why it keeps coming back to the menu:
- Actually Creamy, Not Gummy — Most homemade banana cream pies turn out rubbery or watery. This one uses a true pastry cream base, cooked properly, so it’s silky and rich. I’ve compared it side-by-side with store-bought versions, and there’s no contest.
- Crust That Stays Crunchy — The enemy of banana cream pie is a soggy bottom. I use a vanilla wafer crust pressed with butter and baked lightly. It stays crisp even after chilling for 24 hours. Trust me on this.
- No Soggy Banana Slices — I’ve solved the biggest complaint about banana pies: brown, mushy fruit on top. By treating the bananas with a little lemon juice and layering them correctly, they stay bright and fresh-tasting.
- Make-Ahead Friendly — This pie actually needs to be made ahead. It tastes better on day two. I make it the morning of a party, and it’s ready by dinner. No last-minute stress.
- Impressive but Simple — It looks like something from a high-end bakery, but the technique is straightforward. If you can whisk and mix, you can make this. I’ve taught my teenage nephews to make it, and they nailed it.
This is my go-to dessert when I want to impress without spending hours in the kitchen. It’s reliable, delicious, and always a crowd-pleaser.
Ingredients You’ll Need
Here’s the thing about banana cream pie: the quality of your ingredients matters more than the complexity of the recipe. You don’t need twenty items, but you do need the right ones.
For the Vanilla Wafer Crust
Vanilla wafers (2.5 cups / 250g, finely crushed) — Don’t use sandwich cookies. Use plain vanilla wafers. I buy Nilla Wafers or a store brand, but make sure they’re the plain kind. Crush them in a food processor or put them in a bag and smash them with a rolling pin.
Unsalted butter (6 tablespoons / 85g, melted) — This binds the crust. Use real butter, not margarine. Margarine has too much water and makes a greasy crust. Melt it completely before mixing.
Granulated sugar (2 tablespoons / 25g) — Just a little sweetness to complement the wafers. If you like a sweeter crust, you can add up to 3 tablespoons.
Salt (¼ teaspoon) — Crucial. It balances the sweetness and enhances the vanilla flavor. Don’t skip it.
For the Ultra-Creamy Filling
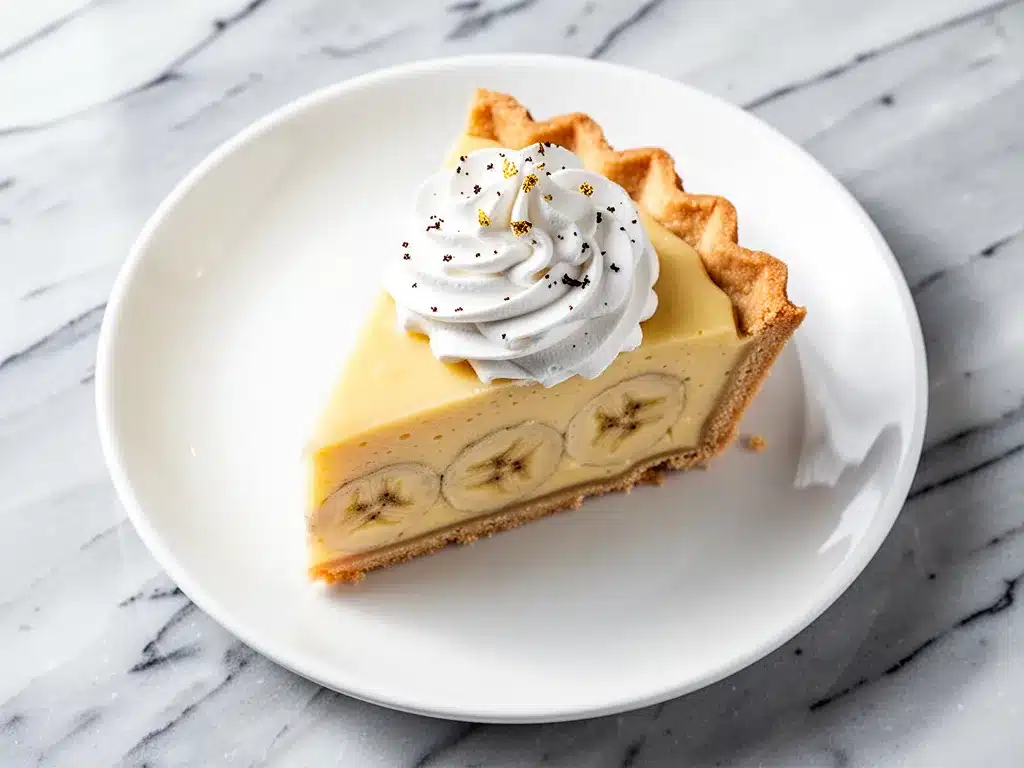
Whole milk (2 cups / 480ml) — Full-fat milk is non-negotiable here. Skim milk makes a thin, watery custard. I use 2% if I’m being lazy, but whole milk is best.
Heavy cream (1 cup / 240ml) — This adds richness and body to the custard. It makes the filling luxurious. Don’t substitute with half-and-half unless you want a thinner result.
Egg yolks (4 large) — We use only yolks for that rich, yellow color and silky texture. Save the whites for brown butter chocolate chip cookies or an omelet.
Granulated sugar (½ cup / 100g) — This sweetens the custard. Adjust to taste, but I find this amount balances the bananas perfectly.
Unflavored gelatin (1 teaspoon / 3g) — This is the secret weapon. It stabilizes the custard so it holds its shape when sliced. It doesn’t make it taste like gelatin; it just gives it that professional, sliceable texture. Bloom it in cold water first.
Cornstarch (3 tablespoons / 25g) — The primary thickener. It works with the gelatin to create a smooth, stable custard.
Unsalted butter (2 tablespoons / 30g) — Added at the end for extra gloss and richness.
Vanilla extract (2 teaspoons) — Use pure vanilla extract, not imitation. The flavor is the star here. I use Nielsen-Massey or a good quality store brand.
For the Topping
Heavy whipping cream (1.5 cups / 360ml) — Cold cream whips best. Whip it to stiff peaks for that classic pie-top look.
Confectioners’ sugar (2 tablespoons / 15g) — Sweetens the whipped cream slightly.
Vanilla extract (1 teaspoon)
Fresh bananas (2-3 ripe but firm bananas) — Slice just before assembling to prevent browning. Look for bananas with yellow skins and a few brown spots—sweet but not mushy.
Equipment Needed
You don’t need a fancy kitchen for this. Here’s what I actually use:
9-inch pie dish — Glass or ceramic works best so you can see the bottom crust browning. Metal works too but can brown too fast.
Medium saucepan — For cooking the custard. A heavy-bottomed pot prevents scorching. I use a 3-quart saucepan.
Whisk — Essential for smooth custard. A silicone whisk is nice because it doesn’t scratch the pot.
Food processor — For crushing the wafers quickly. Alternatively, a zip-top bag and rolling pin work fine.
Stand mixer or hand mixer — For whipping the cream. Hand mixer works if you have strong arms.
Pastry brush — Optional, but helpful for wetting the gelatin.
Instant-read thermometer — Not strictly necessary, but helpful to ensure the custard reaches the right temperature (170°F / 77°C).
How to Make It: Step-by-Step
Alright, let’s make this! I’m walking you through exactly how I do it, including the little tricks I’ve picked up over the years.
Step 1: Make the Crust (10 minutes)
Preheat your oven to 350°F (175°C). Crush your vanilla wafers until they’re fine crumbs. Mix them with the melted butter, sugar, and salt. Press the mixture firmly into the bottom and up the sides of your pie dish. Use the bottom of a glass to pack it down evenly. Bake for 8-10 minutes until it smells toasty. Let it cool completely. This step is crucial—if the crust is warm, the filling will melt into it.
Step 2: Bloom the Gelatin (5 minutes)
While the crust bakes, sprinkle the gelatin over 2 tablespoons of cold water in a small bowl. Let it sit for 5 minutes. It will turn into a spongy mass. This is called “blooming” and it ensures the gelatin dissolves smoothly later.
Step 3: Cook the Custard (15 minutes)
In your saucepan, whisk together the sugar and cornstarch. Gradually whisk in the milk and heavy cream until smooth. Place over medium heat and cook, whisking constantly, until the mixture thickens and begins to bubble. This takes about 5-7 minutes. Don’t stop whisking, or you’ll get lumps.
Once it’s thick and bubbling, remove from heat. Whisk in the bloomed gelatin until completely dissolved. Then, whisk in the egg yolks one at a time, tempering them by adding a little hot custard to the yolks first, then pouring the yolk mixture back into the pot. This prevents scrambled eggs. Cook for another minute, stirring constantly.
Remove from heat and stir in the vanilla and 2 tablespoons of butter. The butter makes the custard glossy. Strain the custard through a fine-mesh sieve into a clean bowl to remove any potential lumps. This step is optional but recommended for ultra-smooth texture.
Step 4: Chill the Custard (1 hour)
Press plastic wrap directly onto the surface of the custard to prevent a skin from forming. Refrigerate for at least 1 hour, or until cool to the touch. This step is important—it cools the custard so it doesn’t melt the whipped cream later.
Step 5: Whip the Cream (5 minutes)
In a cold bowl, whip the heavy cream, confectioners’ sugar, and vanilla until stiff peaks form. Don’t over-whip, or it will become grainy. Keep it in the fridge until you’re ready to assemble.
Step 6: Assemble the Pie (10 minutes)
Spread half of the cooled custard into the cooled crust. Slice the bananas and arrange them in a single layer over the custard. Top with the remaining custard. Smooth the top with a spatula. Chill for 30 minutes to set.
Before serving, spread the whipped cream over the top. Garnish with additional banana slices if desired. Chill for at least 1 hour before slicing. This final chill is what makes the pie slice cleanly.
Expert Tips & Tricks
Here’s everything I’ve learned from making this pie dozens of times. These tips will save you from my mistakes.
Don’t Skip the Gelatin
I know it sounds weird, but gelatin is what makes this pie sliceable. Without it, the custard is more like a pudding that spills out. The gelatin doesn’t change the taste; it just gives it structure. Use unflavored gelatin, not lemon Jell-O.
Temper the Eggs
Adding hot custard to raw eggs can scramble them. To avoid this, whisk a ladle of the hot custard into the yolks first, then pour the yolk mixture back into the pot. This gradually raises the temperature of the yolks.
Use Firm Bananas
Ripe bananas are sweeter, but overripe bananas are mushy. Look for bananas that are yellow with a few brown spots. They’re sweet but still hold their shape when sliced.
Prevent Browning
Bananas turn brown quickly due to oxidation. Toss the sliced bananas with a little lemon juice before layering them. The acid slows down the browning process without affecting the taste.
Chill Everything
Cold cream whips better. Cold crust holds the filling better. Cold custard doesn’t melt the whipped cream. Keep your pie in the fridge as much as possible.
Strain the Custard
If you want restaurant-quality smoothness, strain the custard through a sieve. It removes any tiny bits of cooked egg or undissolved cornstarch.
Variations & Substitutions
Once you’ve mastered the basic version, here’s how you can mix it up. I’ve tried all of these.
Chocolate Banana Cream Pie
Add 2 ounces of melted chocolate to the custard at the end. It’s rich and decadent. Great for chocolate lovers.
Coconut Banana Cream Pie
Replace the vanilla wafers with crushed coconut macaroons. Use coconut milk instead of half the heavy cream. Top with toasted coconut flakes.
Gluten-Free Version
Use gluten-free vanilla wafers or a gluten-free graham cracker crust. Everything else is naturally gluten-free.
Dairy-Free Option
Use coconut cream instead of heavy cream. Use dairy-free butter in the crust. The texture will be slightly different, but still delicious. I’ve made this for friends with dairy allergies, and they loved it.
No-Bake Crust
If you don’t want to bake the crust, press the mixture into the dish and chill for 30 minutes. It will be softer but still tasty.
Serving & Storage
How to Serve:
Serve chilled. I usually slice it into 8 wedges. Garnish with a dollop of whipped cream and a banana slice. It’s beautiful and simple.
Side Dishes:
This pie is rich, so it pairs well with light sides. I serve it with a simple green salad or some fresh berries. It’s also great on its own with a cup of coffee or tea.
Storage:
Store in the refrigerator, covered with plastic wrap or in an airtight container, for up to 3 days. The crust may soften slightly after 2 days, but the flavor remains great.
Freezing:
This pie doesn’t freeze well. The custard can become watery when thawed, and the whipped cream loses its texture. It’s best made fresh or stored in the fridge for a few days.
Pro Tip:
If you’re serving this at a party, make it the day before. It tastes better after chilling overnight, and the flavors meld together nicely.
Nutrition Information
I’m not a nutritionist, but here’s the breakdown if you’re tracking. This is a rich dessert, so enjoy in moderation.
Per Serving (based on 8 servings):
- Calories: 450
- Protein: 6g
- Carbs: 45g
- Fiber: 2g
- Sugar: 30g
- Fat: 28g
- Saturated Fat: 16g
- Cholesterol: 120mg
- Sodium: 250mg
What’s Good:
– Contains calcium from the milk and cheese (if added)
– Bananas provide potassium
– Can be made with less sugar if desired
What to Know:
– High in calories and sugar due to cream and wafers
– Contains dairy and gluten
– Moderate sodium
My Take:
Look, this is a decadent dessert. It’s not a health food. But it’s homemade, so you know exactly what’s in it. When I make it for my family, I serve small slices. It’s rich enough that you don’t need much. And the joy it brings is worth every calorie.
Final Thoughts
So that’s my ultra-creamy banana cream pie! I’ve probably talked your ear off at this point, but when you make a recipe this often, you have a lot to say about it.
This pie has saved many a dinner party. It’s my answer to “what’s for dessert” when I want something impressive but don’t want to stress. My kids love it, my friends ask for it, and I love making it. It’s a recipe that brings people together.
Make it yours! Try different toppings, swap in your favorite cookies, or add a layer of caramel. The best recipes are the ones you adapt to your tastes.
If you make this, drop a comment and let me know what you think! I love hearing how recipes turn out in your kitchen. And if something doesn’t work, tell me that too—I’m here to help troubleshoot.
Happy baking! And I hope your kitchen smells as good as mine does right now.
Frequently Asked Questions
Can I use instant pudding mix instead of making custard?
You can, but the texture and taste won’t be the same. Instant pudding is thicker and has a different mouthfeel. My homemade custard is smoother and more vanilla-forward. If you’re short on time, you can use instant pudding as a shortcut, but I recommend the homemade version for the best results.
Why did my custard get lumpy?
Lumps usually happen if you don’t whisk enough while cooking, or if you add the eggs too quickly. Always whisk constantly over medium heat. When adding eggs, temper them first by mixing a little hot custard into the yolks before pouring them back into the pot.
Can I make this pie ahead?
Yes! In fact, it’s better made ahead. Make it up to 24 hours in advance. Store it in the fridge. The crust will stay crisp, and the flavors will meld together. Just add the whipped cream right before serving.
Why did my bananas turn brown?
Bananas oxidize quickly. To prevent this, toss the sliced bananas with a little lemon juice before layering them. Also, make sure the custard is cool before adding the bananas. Heat can accelerate browning.
Can I freeze this pie?
I don’t recommend freezing this pie. The custard can become watery when thawed, and the whipped cream loses its texture. It’s best made fresh or stored in the fridge for up to 3 days.
What kind of bananas should I use?
Use ripe but firm bananas. They should be yellow with a few brown spots. Avoid overripe bananas, which are mushy and can make the pie soggy. Avoid green bananas, which are not sweet enough.
Can I use a different crust?
Yes! You can use graham crackers, chocolate wafers, or even a shortbread crust. Just adjust the sugar and butter accordingly. The vanilla wafer crust is classic, but feel free to experiment.
Pin This Recipe!
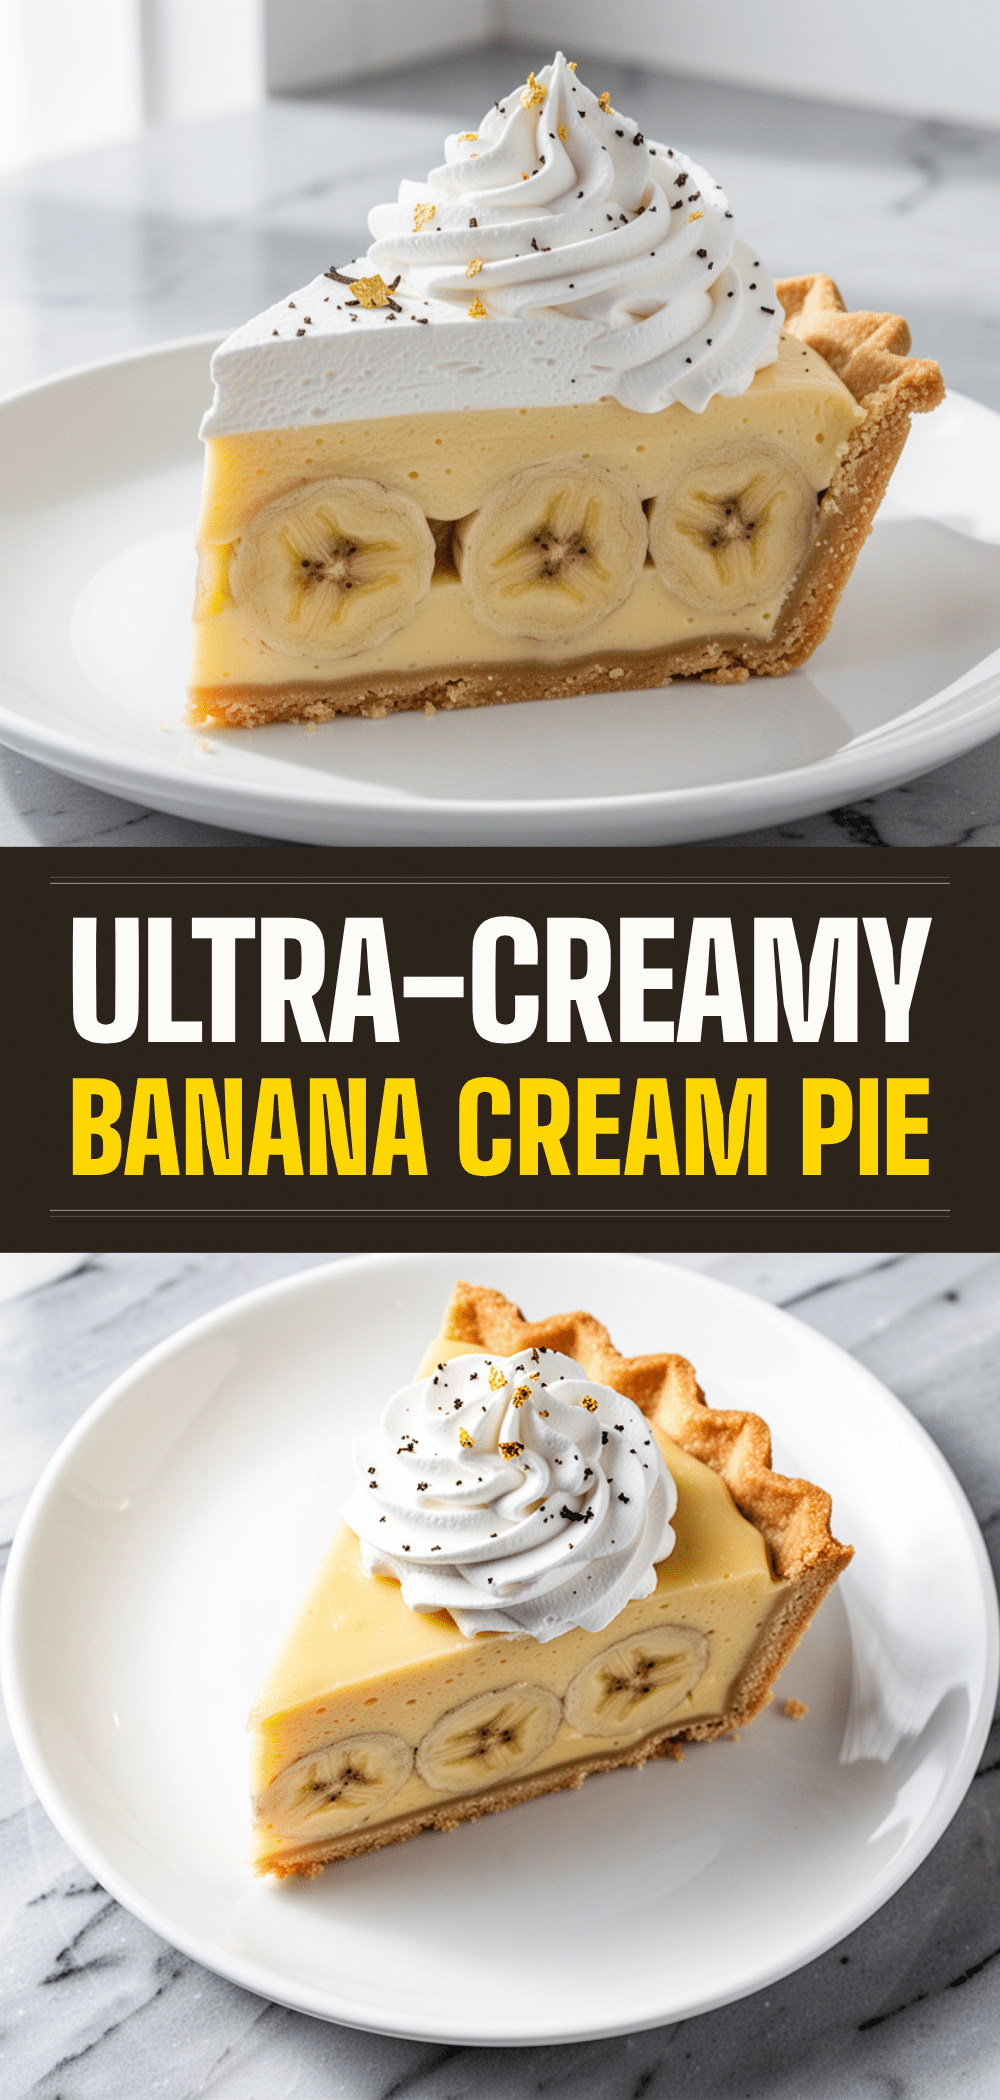

Ultra-Creamy Banana Cream Pie: Easy Homemade Dessert
- Total Time: 45 minutes
- Yield: 8 servings 1x
Description
An ultra-creamy banana cream pie with a crunchy vanilla wafer crust, silky pastry cream filling stabilized with gelatin, and fresh whipped cream topping. This make-ahead dessert is rich, impressive, and surprisingly simple to make.
Ingredients
- 2.5 cups (250g) vanilla wafers, finely crushed
- 6 tablespoons (85g) unsalted butter, melted
- 2 tablespoons (25g) granulated sugar
- 1/4 teaspoon salt
- 2 cups (480ml) whole milk
- 1 cup (240ml) heavy cream
- 4 large egg yolks
- 1/2 cup (100g) granulated sugar
- 1 teaspoon (3g) unflavored gelatin
- 2 tablespoons cold water (for blooming gelatin)
- 3 tablespoons (25g) cornstarch
- 2 tablespoons (30g) unsalted butter
- 2 teaspoons vanilla extract
- 1.5 cups (360ml) heavy whipping cream, cold
- 2 tablespoons (15g) confectioners’ sugar
- 1 teaspoon vanilla extract
- 2–3 ripe but firm bananas
Instructions
- Preheat oven to 350°F (175°C). Crush vanilla wafers into fine crumbs.
- Mix crushed wafers with melted butter, 2 tablespoons sugar, and salt. Press firmly into the bottom and sides of a 9-inch pie dish.
- Bake crust for 8-10 minutes until toasted. Let cool completely.
- Sprinkle gelatin over 2 tablespoons of cold water in a small bowl and let sit for 5 minutes to bloom.
- In a medium saucepan, whisk together 1/2 cup sugar and cornstarch. Gradually whisk in milk and 1 cup heavy cream.
- Cook over medium heat, whisking constantly, until mixture thickens and bubbles (5-7 minutes).
- Remove from heat and whisk in bloomed gelatin until dissolved.
- Temper egg yolks by whisking a small amount of hot custard into them, then pour yolk mixture back into the pot. Cook for 1 more minute, stirring constantly.
- Remove from heat and stir in 2 teaspoons vanilla and 2 tablespoons butter. Strain custard through a fine-mesh sieve.
- Press plastic wrap directly onto the surface of the custard and refrigerate for at least 1 hour until cool.
- In a cold bowl, whip 1.5 cups heavy cream, 2 tablespoons confectioners’ sugar, and 1 teaspoon vanilla until stiff peaks form.
- Spread half of the cooled custard into the cooled crust.
- Slice bananas and arrange in a single layer over the custard.
- Top with remaining custard and smooth with a spatula. Chill for 30 minutes.
- Spread whipped cream over the top. Garnish with banana slices if desired.
- Chill for at least 1 hour before slicing to allow the pie to set cleanly.
Notes
For best results, make the pie ahead of time as it tastes better after chilling overnight. Use ripe but firm bananas to prevent mushiness. Toss banana slices with a little lemon juice to prevent browning. Ensure the custard is completely cool before adding whipped cream to prevent melting.
- Prep Time: 35 minutes
- Cook Time: 10 minutes
- Category: Dessert
- Cuisine: American
Nutrition
- Serving Size: 1 slice (1/8 of pie)
- Calories: 450
- Sugar: 30
- Sodium: 250
- Fat: 28
- Saturated Fat: 16
- Carbohydrates: 45
- Fiber: 2
- Protein: 6
Keywords: banana cream pie, homemade dessert, vanilla wafer crust, pastry cream, make-ahead dessert, easy baking, creamy pie


