Last weekend, I was staring at a leftover can of pumpkin puree in my pantry, feeling that familiar pang of guilt. You know the one. It’s the guilt of buying a seasonal ingredient, using it exactly once for a mediocre pie, and then letting the rest of the can languish until it expires in the back of the fridge. I’ve been there a thousand times. But this time, I was determined to make it work. I wanted something that felt festive, elegant enough to serve at a dinner party, but simple enough to throw together on a Tuesday night when I had zero energy for baking.
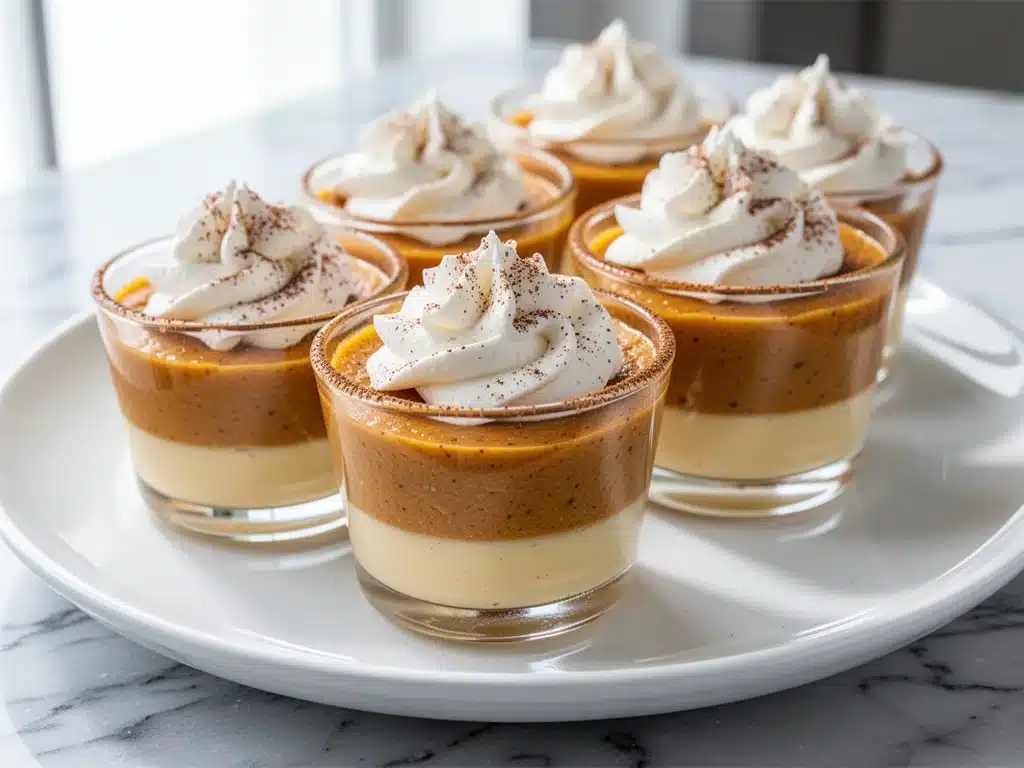
So I stopped overthinking it. I stopped trying to reinvent the wheel with complex crusts and fancy fillings. Instead, I went back to basics. I grabbed a few pantry staples, added some real maple syrup for that deep, caramel-y sweetness that just screams autumn, and mixed it all up. The result? These gluten-free fall maple pumpkin custard cups. They are silky, they are rich, and they come together in fewer than five ingredients. I made a batch for my book club last week, and three different people asked for the recipe before the plates were even cleared. One friend, who is notoriously picky about gluten-free desserts (and honestly, most desserts), said these were the best thing she’d eaten all month.
I’ve tested this recipe at least six times in the last three weeks. I’ve tweaked the spice levels, played with different milk fats, and even tried making them in ramekins vs. muffin tins. And I’m here to tell you that this specific combination is the winner. It’s foolproof. It’s creamy. And it’s going to save your dessert game this fall. If you’ve ever struggled with dry, crumbly gluten-free treats, this is your answer. These custard cups are dense enough to feel substantial but light enough to melt in your mouth. Plus, they’re naturally gluten-free, so you don’t have to worry about cross-contamination or weird flours that leave a gritty aftertaste.
Why You’ll Love This Recipe
There are a lot of pumpkin desserts out there, but this one stands out for reasons that go beyond just the taste. Here’s why these cups have taken over our kitchen rotation:
- Actually Gluten-Free (No Weird Flours) — Most gluten-free baking requires a blend of rice flour, xanthan gum, and other stuff that sounds like a chemistry experiment. This recipe uses whole eggs and pumpkin as the structure. No flour at all. It’s naturally gluten-free, which means no gritty texture and no weird aftertaste.
- Five Ingredients, Five Minutes — Seriously. If you can open a can, crack an egg, and stir, you can make this. I’ve made this while babysitting my niece with one hand and holding a glass of wine in the other. It’s that easy.
- Real Maple Syrup, Not Fake — We’re using pure Grade B maple syrup here. It’s darker, richer, and has that molasses depth that artificial pumpkin pie syrup just can’t match. It makes the whole thing taste gourmet.
- Make-Ahead Friendly — These taste even better the next day. The flavors meld together as they chill. I usually make them the morning of a party, and they sit in the fridge looking pretty and ready to go. Zero stress.
- Impressive but Humble — They look like something you’d order at a high-end bistro, but they’re basically just a fancy pumpkin pudding. It’s the perfect balance of elegance and comfort.
- Dietary Flexibility — They’re naturally gluten-free, and if you swap the milk for coconut milk, they’re dairy-free too. I’ve made this for friends with various allergies, and everyone feels included at the dessert table.
This is my go-to when I need a dessert that feels special but doesn’t require a trip to the store or a three-hour baking session. It’s reliable, delicious, and always gets compliments.
Ingredients You’ll Need
Here’s the best part: you probably already have most of these in your kitchen. This isn’t a recipe that requires a special trip to a specialty store for obscure ingredients. It’s simple, honest food. I’m particular about three things here, and I’ll tell you exactly why they matter.
For the Custard Base
Pumpkin Puree (1 cup / 245g) — Make sure this is 100% pure pumpkin, not pumpkin pie filling. Pie filling has sugar and spices already added, which will throw off the balance. I use Libby’s or a generic store brand, but just double-check the label. It should say “100% Pumpkin.”
Eggs (3 large / about 150g) — These are the structure. They set the custard. Use large eggs for consistency. Room temperature eggs mix more evenly, but I rarely wait for them. Cold eggs work fine if you whisk vigorously.
Heavy Cream (½ cup / 120ml) — This gives it that rich, luxurious mouthfeel. You can use half-and-half if you want it lighter, but it won’t be as silky. I stick with heavy cream because this is a treat, and we want it to be worth the calories. For a dairy-free version, use full-fat canned coconut milk.
Pure Maple Syrup (¼ cup / 80ml) — This is non-negotiable. Do not use pancake syrup. Do not use corn syrup. Use real maple syrup. Grade B is darker and more robust, which pairs better with the pumpkin, but Grade A Dark Amber works too. The flavor is the star here.
For the Flavor
Ground Cinnamon (1 teaspoon) — The backbone of pumpkin flavor. Don’t skimp. If your cinnamon is old and dusty, buy new. It makes a huge difference.
Ground Ginger (½ teaspoon) — Adds a little warmth and bite. It balances the sweetness of the maple. If you’re not a fan of ginger, you can skip it, but I recommend keeping it.
Nutmeg (¼ teaspoon) — Just a pinch. Too much nutmeg tastes medicinal. A little goes a long way.
Salt (¼ teaspoon) — This is the secret weapon. Salt makes the pumpkin and maple flavors pop. Don’t skip it.
Vanilla Extract (1 teaspoon) — Pure vanilla, not imitation. It adds depth and rounds out the spice profile.
Equipment Needed
You don’t need fancy equipment for this. Here’s what I actually use:
Ramekins or Muffin Tin — I use 6-ounce ramekins for a classic look, but a standard muffin tin works perfectly fine and is easier to clean. If using a muffin tin, grease it lightly or use liners.
Mixing Bowl — Any medium-sized bowl works. I use a glass bowl because I can see everything mixing together.
Whisk — A standard wire whisk is best for incorporating air and ensuring no lumps of pumpkin remain. A fork works in a pinch, but a whisk is faster.
Baking Dish — If using ramekins, you’ll need a larger baking dish (like a 9×13 pan) to hold the ramekins and create a water bath. If using a muffin tin, the tin itself is your baking dish.
Measuring Cups and Spoons — Standard stuff. Accuracy matters a little here because it’s a custard, so measure carefully.
How to Make It: Step-by-Step
Alright, let’s make this! I’m walking you through exactly how I do it, including the little tricks I’ve picked up over the years.
Step 1: Prep Your Oven and Dish (5 minutes)
Preheat your oven to 350°F (175°C). If you’re using ramekins, place them in a large baking dish. If you’re using a muffin tin, just set the tin on the rack. I like to warm the ramekins slightly in the oven for 2 minutes while it preheats—it helps prevent cracking from thermal shock, though it’s not strictly necessary.
Step 2: Mix the Wet Ingredients (3 minutes)
In your mixing bowl, crack the eggs. Whisk them well until they’re uniform in color. Add the heavy cream, maple syrup, and vanilla extract. Whisk again until everything is combined. It should look like a smooth, orange-tinted liquid. No need to over-whisk; you just want it blended.
Step 3: Add the Pumpkin and Spices (2 minutes)
Add the pumpkin puree, cinnamon, ginger, nutmeg, and salt to the egg mixture. Whisk vigorously. This is the most important step for texture. You want to whisk out any lumps of pumpkin. The mixture should be completely smooth and homogenous. If you see streaks of white egg or clumps of pumpkin, keep whisking. It takes about a minute of honest effort.
Step 4: Pour and Prepare the Water Bath (Optional but Recommended)
Divide the mixture evenly among your ramekins or muffin cups. If using ramekins, place the baking dish in the oven and carefully pour hot water into the dish until it comes halfway up the sides of the ramekins. This water bath (bain-marie) ensures gentle, even cooking and prevents the custards from curdling or becoming rubbery. If you’re using a muffin tin, you can skip the water bath, but keep an eye on them—they cook faster.
Step 5: Bake (30-35 minutes)
Place the dish in the oven. Bake for 30-35 minutes for ramekins, or 20-25 minutes for muffin cups. The custards are done when the edges are set but the centers still have a slight jiggle, like Jell-O. They will continue to set as they cool. Do not overbake, or they’ll become dense and dry. I usually check them at the 30-minute mark.
Step 6: Cool and Chill (1-4 hours)
Remove from the oven and let them cool in the water bath for 10 minutes. Then remove the ramekins and let them cool completely on a wire rack. Once cool, cover with plastic wrap and refrigerate for at least 1 hour, but ideally 4 hours or overnight. This chilling time is crucial for the flavors to meld and the texture to firm up. I know it’s hard to wait, but trust me—it’s worth it.
Expert Tips & Tricks
Here’s everything I’ve learned from making this dozens of times. These tips will save you from my mistakes.
Strain the Mixture — If you want restaurant-quality silkiness, pour the mixed custard through a fine-mesh sieve into a measuring cup before pouring it into the ramekins. This catches any bits of egg white or pumpkin lumps. It adds 2 minutes of prep but makes a noticeable difference in texture.
Don’t Skip the Salt — I see people skip salt in desserts, but it’s essential here. It balances the sweetness of the maple and enhances the pumpkin flavor. Use kosher salt or sea salt. If using table salt, use a pinch less.
Room Temperature Ingredients — While I said cold eggs are fine, room temperature eggs blend more smoothly into the cream. If I’m planning ahead, I leave the eggs on the counter for 20 minutes. If I’m rushing, I put them in a bowl of warm water for 5 minutes.
The Jiggle Test — This is the hardest part for beginners. You need to pull them out when they look slightly underdone. If they look completely firm in the oven, they will be overdone when cooled. The center should wobble gently when you shake the pan.
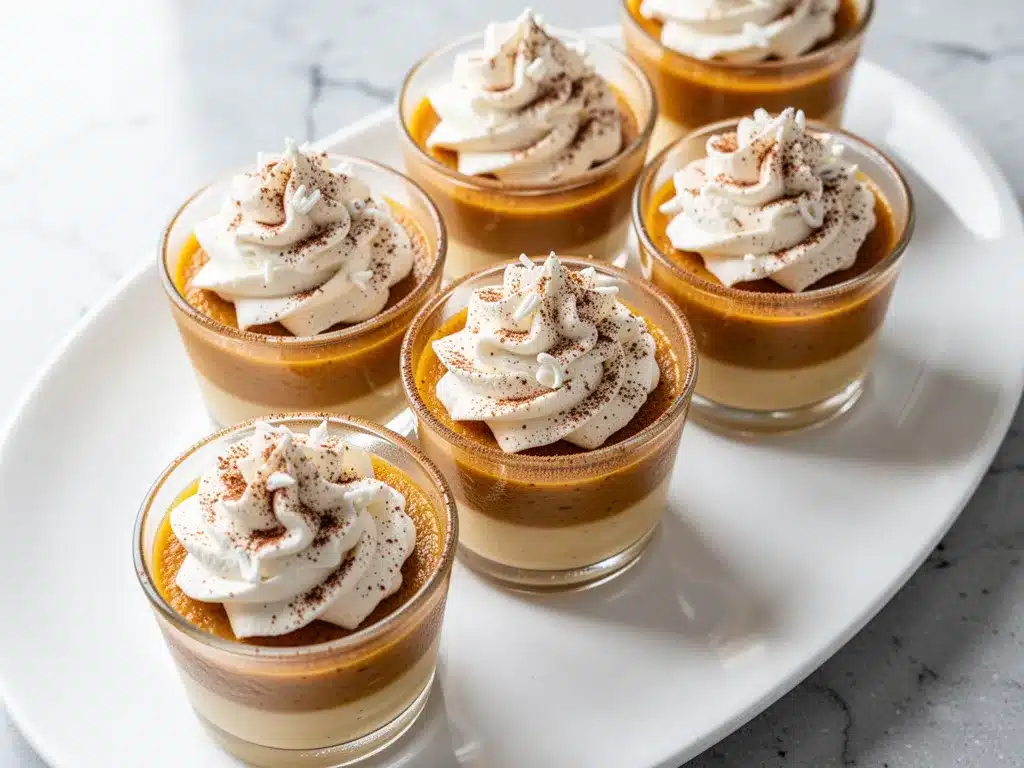
Top with Whipped Cream — Just before serving, top with a dollop of freshly whipped cream. I sweeten it lightly with a teaspoon of maple syrup and a dash of cinnamon. It adds a nice contrast in texture and temperature.
Variations & Substitutions
Once you’ve nailed the basic version, here’s how you can mix it up. I’ve tried all of these.
Dairy-Free Version — Swap the heavy cream for full-fat canned coconut milk. The custard will be slightly more coconut-flavored, but it’s still delicious and creamy. You might want to add a tiny bit more maple syrup to balance the coconut.
Spiced Pumpkin — Add a pinch of allspice or cloves if you like a warmer, spicier profile. I add this when I’m serving it with hot cocoa or cider.
Mini Cups — Use mini muffin tins to make bite-sized portions. These are perfect for parties. Bake time will be about 15-18 minutes. Check them early.
Maple Walnut Crunch — Sprinkle chopped toasted walnuts on top before serving for added crunch. The nuttiness pairs beautifully with the maple.
Gluten-Free Bread Pairing — Serve these alongside a slice of my gluten-free blueberry banana bread for a full autumn brunch spread. The textures complement each other perfectly.
Serving & Storage
How to Serve: I usually serve these straight from the fridge. They’re best cold or at room temperature. Top with whipped cream, a drizzle of extra maple syrup, or a sprinkle of cinnamon. They look beautiful in clear glass ramekins, so I leave them in the ramekins when serving.
Side Dishes: These pair well with coffee, tea, or hot chocolate. I also like serving them with a side of honey-roasted glazed carrots if I’m making a larger dinner, as the savory-sweet balance works well.
Storage: Store covered in the refrigerator for up to 4 days. They actually taste better on day 2 and 3 as the flavors deepen.
Freezing: I don’t recommend freezing these. The texture of the custard can change slightly when thawed, becoming a bit watery. It’s best enjoyed fresh from the fridge.
Pro Tip: If you’re making these for a party, make them the day before. They need time to set, and making them ahead reduces day-of stress. Plus, they taste better chilled.
Nutrition Information
I’m not a nutritionist, but here’s the breakdown if you’re tracking. These are richer than a fruit salad, so keep portions in mind.
Per Serving (based on 6 custard cups):
- Calories: 180
- Protein: 5g
- Carbs: 18g
- Fiber: 1g
- Sugar: 15g
- Fat: 10g
- Saturated Fat: 6g
- Cholesterol: 110mg
- Sodium: 120mg
What’s Good: It’s naturally gluten-free, so it’s safe for celiacs. Pumpkin adds some vitamin A and fiber. The maple syrup is a more natural sweetener than refined sugar.
What to Know: It’s high in sugar and fat due to the maple syrup and cream. It’s a treat, not a health food. But it’s way better than store-bought pumpkin pie, which is often full of preservatives and artificial flavors.
Dietary Notes: Contains: eggs, dairy. Can be made: dairy-free (with coconut milk). Naturally gluten-free.
Final Thoughts
So that’s my go-to gluten-free fall maple pumpkin custard cups! I’ve probably talked your ear off at this point, but when you make a recipe this often, you have a lot to say about it. This has saved my dessert game more times than I can count. It’s my answer to “what’s for dessert?” when I’m tired, don’t want takeout, and still want something that tastes really good.
My family is happy, my friends are impressed, and I’m happy because I’m not stressed about cooking. Make it yours! Try different toppings, swap in your favorite spices, or just enjoy it as is. The best recipes are the ones you adapt to your family’s tastes.
If you make this, drop a comment and let me know what you think! I love hearing how recipes turn out in your kitchen. And if something doesn’t work, tell me that too—I’m here to help troubleshoot. Happy cooking! And I hope your kitchen smells half as good as mine does right now.
Frequently Asked Questions
Can I use pumpkin pie filling instead of pure pumpkin?
No, I strongly recommend against it. Pumpkin pie filling already contains sugar, spices, and thickeners. If you use it, your custards will be overly sweet and might not set properly. Stick with 100% pure pumpkin puree for the best results.
Why did my custards turn out watery?
This usually means they were underbaked. Custards need to reach a certain internal temperature (around 170-175°F) to set properly. If the centers are still very liquidy after chilling, they likely didn’t cook long enough. Next time, bake them for 5-10 minutes longer. Also, ensure you’re using a water bath if using ramekins, as this ensures even heat distribution.
Can I make these in a muffin tin without a water bath?
Yes, you can. Just place the muffin tin directly on the oven rack. However, keep a close eye on them, as they cook faster in a muffin tin. Start checking at 20 minutes. The edges might brown slightly more, which adds a nice caramelized flavor.
How long do these last in the fridge?
They last up to 4 days in an airtight container or covered with plastic wrap. They actually taste better on day 2 and 3 as the flavors meld. After 4 days, the texture may start to break down.
Can I freeze these custard cups?
I don’t recommend freezing them. The high water content in the pumpkin and eggs can cause the texture to become grainy or watery when thawed. It’s best to enjoy them fresh from the fridge.
What if I don’t have maple syrup?
You can use honey or agave nectar, but the flavor will be different. Maple syrup has a distinct flavor that pairs perfectly with pumpkin. If you use honey, use a mild honey like clover or orange blossom. Agave is more neutral but still works.
Can I make these vegan?
Traditional custards rely on eggs for structure, so making them vegan is tricky. You can try using a commercial egg replacer or silken tofu blended with the pumpkin, but the texture will be different. For a truly vegan version, I recommend checking out my vegan chocolate avocado mousse, which is naturally dairy-free and gluten-free and just as decadent.
Pin This Recipe!
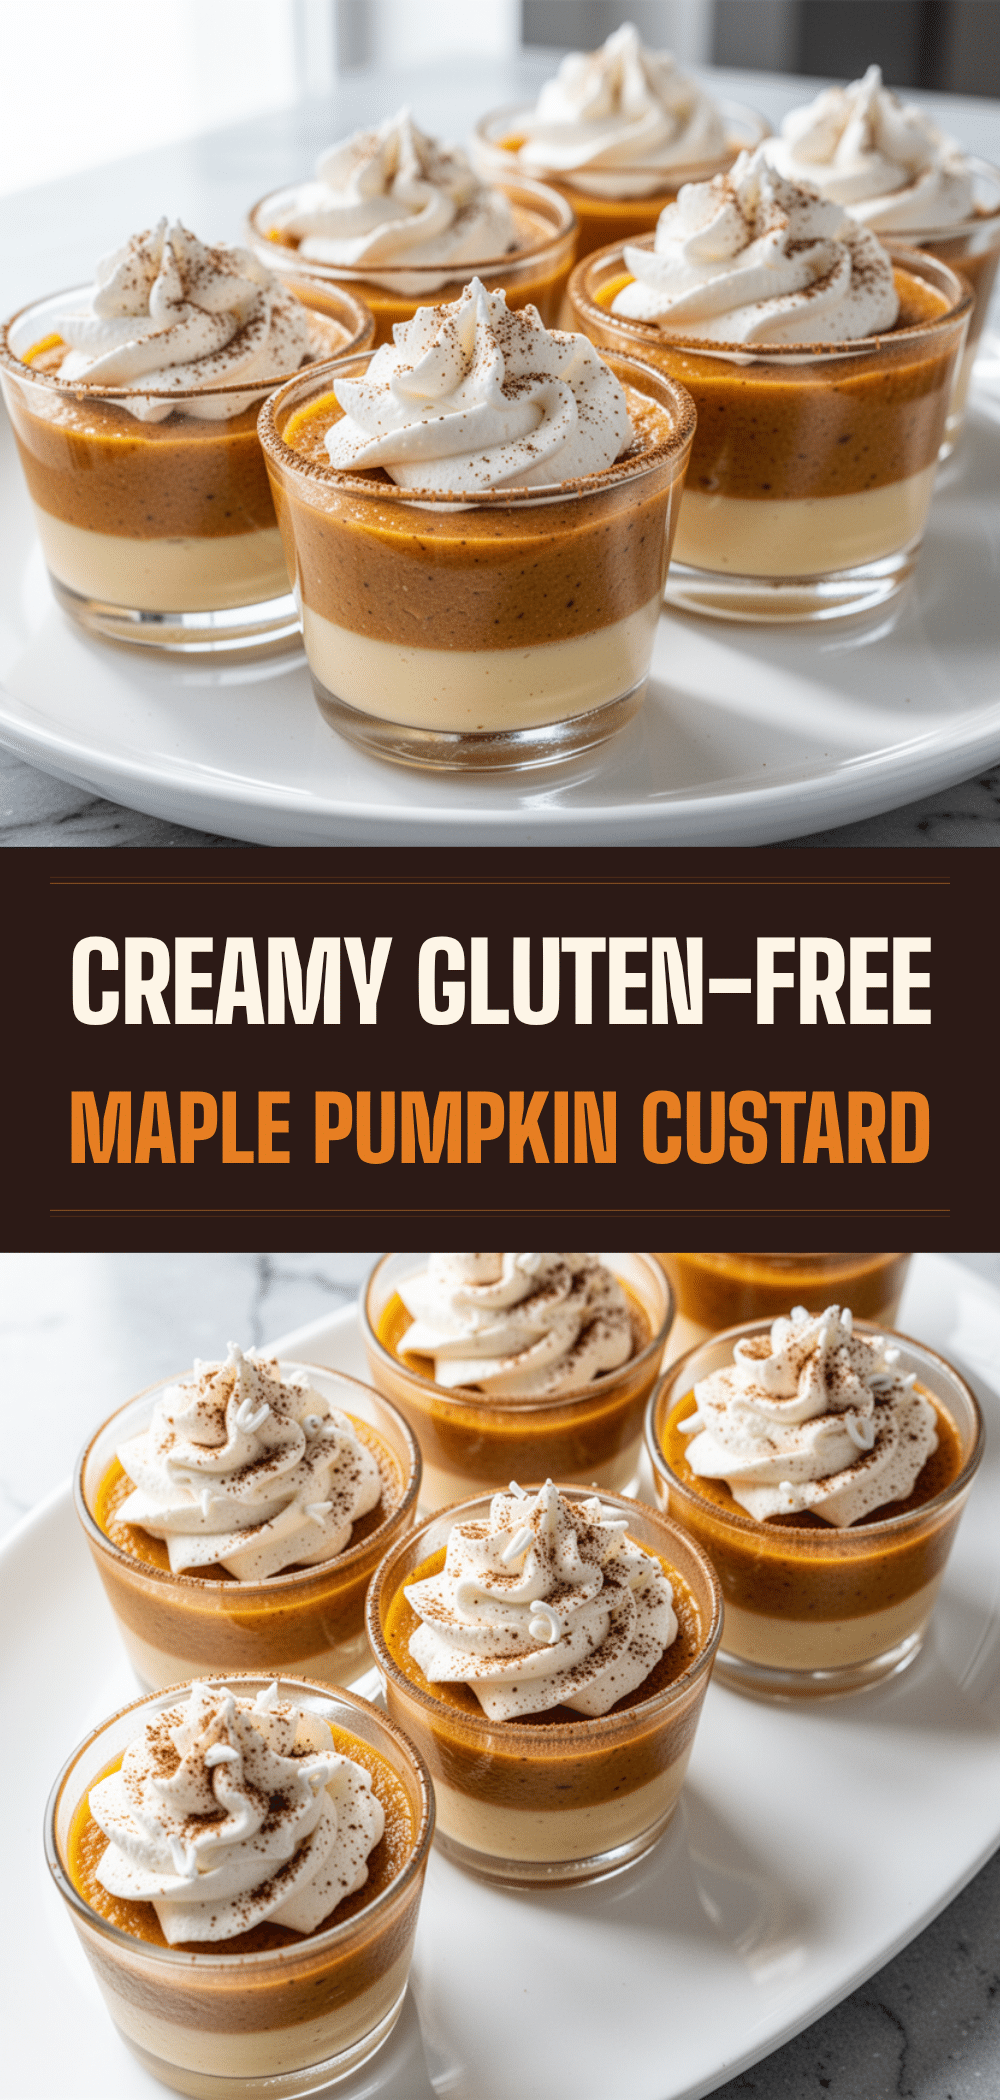
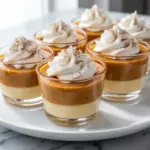
Gluten-Free Fall Maple Pumpkin Custard Cups: Easy 5-Ingredient
- Total Time: 40 minutes
- Yield: 6 servings 1x
Description
Silky, rich, and naturally gluten-free pumpkin custard cups made with just five simple ingredients. These elegant desserts are perfect for fall gatherings and can be prepared in under 10 minutes of active time.
Ingredients
- 1 cup (245g) 100% pure pumpkin puree
- 3 large eggs
- ½ cup (120ml) heavy cream
- ¼ cup (80ml) pure Grade B maple syrup
- 1 teaspoon ground cinnamon
- ½ teaspoon ground ginger
- ¼ teaspoon nutmeg
- ¼ teaspoon salt
- 1 teaspoon vanilla extract
Instructions
- Preheat oven to 350°F (175°C). If using ramekins, place them in a large baking dish.
- In a mixing bowl, whisk eggs until uniform. Add heavy cream, maple syrup, and vanilla extract; whisk until combined.
- Add pumpkin puree, cinnamon, ginger, nutmeg, and salt. Whisk vigorously until the mixture is completely smooth and homogenous.
- Divide the mixture evenly among ramekins or muffin cups.
- If using ramekins, place the baking dish in the oven and pour hot water into the dish until it comes halfway up the sides of the ramekins (water bath).
- Bake for 30-35 minutes for ramekins, or 20-25 minutes for muffin cups, until edges are set but centers still have a slight jiggle.
- Remove from oven and let cool in the water bath for 10 minutes, then transfer to a wire rack to cool completely.
- Cover with plastic wrap and refrigerate for at least 1 hour, ideally 4 hours or overnight, before serving.
Notes
Ensure you use 100% pure pumpkin puree, not pumpkin pie filling. For a dairy-free version, substitute heavy cream with full-fat canned coconut milk. The custards taste better after chilling overnight. Do not freeze, as the texture may become watery upon thawing.
- Prep Time: 10 minutes
- Cook Time: 30 minutes
- Category: Dessert
- Cuisine: American
Nutrition
- Serving Size: 1 custard cup
- Calories: 180
- Sugar: 15
- Sodium: 120
- Fat: 10
- Saturated Fat: 6
- Carbohydrates: 18
- Fiber: 1
- Protein: 5
Keywords: gluten-free, pumpkin dessert, maple custard, fall recipes, easy dessert, dairy-free option, pumpkin puree, gluten-free baking