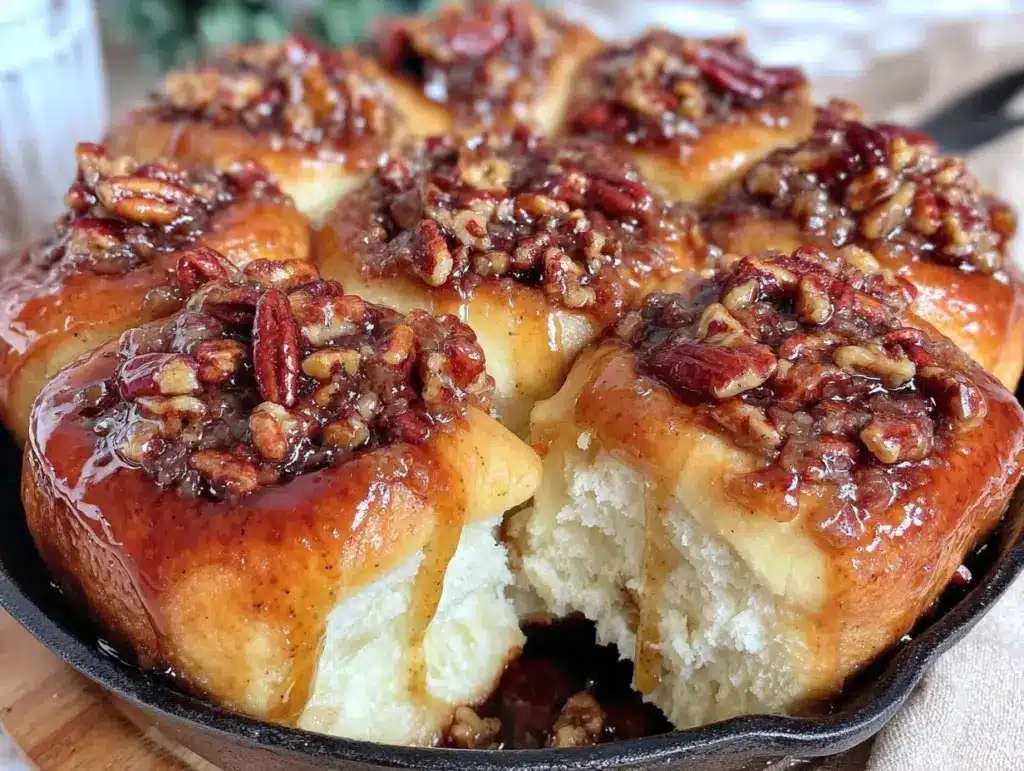
I have a confession to make. For years, I was terrified of yeast. Not just nervous—actually terrified. The idea of waiting an hour for dough to rise, only to have it collapse or turn into a dense brick, felt like a personal betrayal. I stuck to quick breads. I mastered banana bread. I even got comfortable with soft glazed maple donuts because, well, no rising required. But then I tried a sticky bun that changed everything. It wasn’t just sweet; it was deeply, warmly spiced with brown butter, sticky with real maple, and studded with toasted pecans that cracked when you bit into them.
That first bite made me realize I’d been overcomplicating things. I thought baking had to be complicated to be good. I was wrong. These Fall Maple Pecan Sticky Buns are the antidote to my yeast anxiety. They are forgiving. They are beautiful. And honestly? They are the only weekend baking project you need to tackle this autumn. If you can mix flour and milk, you can make these. I’ve tested this recipe so many times that I’ve forgotten what failure feels like, and I’m pretty sure you won’t fail either.
There’s something magical about the smell of brown butter and maple syrup drifting through the house on a Saturday morning. It’s cozy without being heavy. It’s indulgent without being pretentious. My family doesn’t even need coffee with these. The sweetness is balanced by the toasty, nutty depth of the pecans and the rich, caramelized brown butter glaze that pools at the bottom of the pan. It’s sticky, it’s messy, and it’s absolutely worth the cleanup.
Why You’ll Love This Sticky Bun Recipe
Okay, so why are these different from every other sticky bun recipe out there? Why should you choose this one over the box mix or the fancy bakery version? Here’s the real talk.
Zero Yeast Anxiety Required
Most yeast doughs feel like they have a mind of their own. This one doesn’t. It’s a soft, enriched dough that rises beautifully, but it’s incredibly tolerant. Did you let it rise a little too long? No problem. Did you let it sit in the fridge overnight instead of baking it in the morning? Even better. The cold rise actually deepens the flavor. It’s a no-fail structure that builds your confidence.
Brown Butter Glaze (The Secret Weapon)
Most sticky buns use a simple sugar glaze. These use brown butter. You know that nutty, toasted flavor you get in those soft brown butter blondies? That same complex, toasty richness goes into the glaze here. It cuts through the sweetness of the maple syrup and adds a savory depth that makes the buns taste expensive, even though they cost pennies to make.
Minimal Ingredients, Maximum Flavor
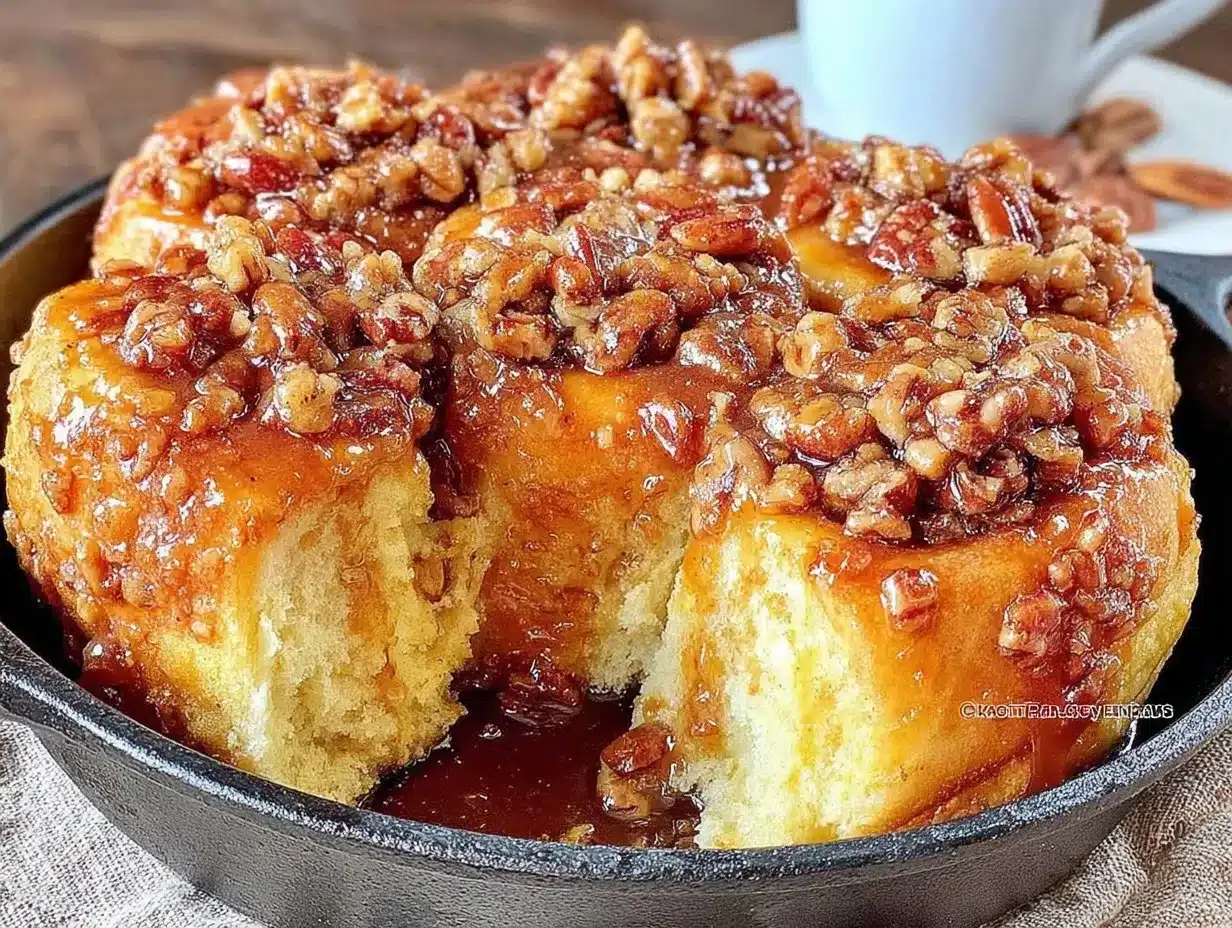
You don’t need a dozen weird ingredients. You need flour, yeast, milk, butter, eggs, maple syrup, and pecans. That’s it. No fancy extracts, no obscure flours. Just honest, pantry-friendly ingredients that come together to create something spectacular. It’s the “if you can only make one thing, make this” kind of recipe.
Make-Ahead Friendly
This is the best part. You can mix the dough on Friday night, let it rise, punch it down, and put it in the fridge overnight. Then, on Saturday morning, you just let it warm up, bake it, and glaze it. You wake up to fresh baked buns without lifting a finger until it’s almost time to eat. It’s the ultimate lazy-but-impressive weekend move.
Ingredients You’ll Need
Here’s the best part: you probably have most of this already. I’m being specific about three things, and I’ll tell you why they matter.
For the Dough
Active Dry Yeast (2 ¼ teaspoons / 1 packet) — This is your leavening agent. Make sure it’s not expired. If you’re worried, proof it in warm milk with a pinch of sugar first. It should get foamy in 5-10 minutes. If it doesn’t, your yeast is dead, and you need new stuff.
Whole Milk (1 cup / 240ml) — Warm, not hot. Think “baby bottle temperature.” If it’s too hot, it kills the yeast. If it’s too cold, it won’t activate. I use whole milk for richness, but 2% works in a pinch.
All-Purpose Flour (3 ½ to 4 cups / 420-480g) — Don’t over-flour. Start with 3 ½ cups and add more only if the dough is still sticky. The humidity in your kitchen matters. If it’s a rainy day, you might need an extra quarter cup. If it’s dry, you might need less.
Unsalted Butter (¼ cup / 57g, melted) — This adds richness and softness to the crumb. Let it cool slightly before adding so it doesn’t cook the eggs.
Eggs (2 large, room temperature) — Room temp eggs incorporate better into the dough. If you forget, just put them in a bowl of warm water for 5 minutes.
Sugar (¼ cup / 50g) — Just enough to feed the yeast and add slight sweetness. Brown sugar works too and adds a deeper molasses note.
Salt (1 teaspoon) — Crucial for flavor. Don’t skip it.
For the Filling
Brown Sugar (1 cup / 200g) — Packed. This creates the sticky caramel base. Light brown is fine, but dark brown has more molasses flavor, which pairs beautifully with maple.
Ground Cinnamon (2 teaspoons) — Use fresh cinnamon. Old cinnamon tastes dusty and weak. If yours is from 2022, toss it and buy new.
Butter (3 tablespoons / 42g, softened) — Softened, not melted. You’re spreading this onto the dough, so it needs to be pliable.
Pecans (1 cup / 100g, chopped) — Toast them first! I know it’s an extra step, but toasting pecans releases their oils and makes them infinitely more flavorful. It’s worth the 5 minutes.
For the Brown Butter Glaze
Unsalted Butter (¼ cup / 57g) — You’ll actually brown this butter. Watch it closely. It goes from perfect to burnt in seconds.
Maple Syrup (¼ cup / 60ml) — Real maple syrup, not “pancake syrup.” Look for Grade A or Grade B. The darker the syrup, the stronger the flavor. I like Grade B for this because it’s robust.
Powdered Sugar (1 ½ cups / 180g) — Sifted, if possible, to avoid lumps.
Heavy Cream (2-3 tablespoons / 30-45ml) — To thin the glaze to a drizzle-able consistency.
Salt (¼ teaspoon) — To balance the sweetness.
Equipment Needed
You don’t need fancy gadgets. Here’s what I actually use.
9×13 Inch Baking Pan — A metal pan is best for even browning. Glass or ceramic works but might result in softer bottoms. Grease it well with butter or cooking spray.
Mixer (Optional) — I use a stand mixer with a dough hook because I’m lazy. But you can absolutely do this by hand. It takes a bit more arm strength, but it’s very doable.
Measuring Cups and Spoons — Be accurate with the yeast and salt. Flour can be scooped loosely or packed. Spoon it into the cup and level it off for best results.
Small Saucepan — For browning the butter for the glaze. A light-colored pan helps you see the color changes.
Whisk — For mixing the glaze and the brown sugar filling.
Pastry Brush — For brushing melted butter onto the dough before adding the filling. Or just use your fingers.
How to Make It: Step-by-Step
Alright, let’s make these! I’m walking you through exactly how I do it, including the little tricks I’ve picked up.
Step 1: Make the Dough
In the bowl of a stand mixer (or a large bowl if mixing by hand), combine the warm milk, yeast, and sugar. Let it sit for 5-10 minutes until it’s foamy. If you don’t see foam, your yeast might be dead. Start over.
Add the melted butter, eggs, salt, and 3 ½ cups of flour. Mix on low speed with the dough hook until combined. Then, increase to medium-low and knead for 5-7 minutes. The dough should be smooth, elastic, and slightly tacky but not sticky. If it’s sticking to the sides, add flour one tablespoon at a time. Don’t add too much, or the buns will be dense.
Step 2: First Rise
Lightly grease a clean bowl with oil or butter. Place the dough in the bowl, turning it once to coat the top. Cover with plastic wrap or a damp towel. Let it rise in a warm, draft-free spot for 1-1.5 hours, or until doubled in size. A warm oven (turned off) with the light on is perfect.
Step 3: Prep the Pan and Filling
While the dough rises, melt the 3 tablespoons of butter for the filling. Chop the pecans. If you haven’t toasted them, spread them on a baking sheet and toast at 350°F (175°C) for 5-7 minutes until fragrant. Let them cool slightly.
In a small bowl, mix the brown sugar and cinnamon. Set aside.
Grease your 9×13 inch baking pan generously with butter. Spread the brown sugar and cinnamon mixture evenly across the bottom of the pan. Sprinkle the toasted pecans over the sugar.
Step 4: Shape the Buns
Punch down the risen dough to release air. Turn it out onto a lightly floured surface. Roll it into a rectangle, roughly 12×16 inches. It doesn’t have to be perfect, but try to keep the edges even.
Brush the dough with the melted butter (the 3 tablespoons from the filling step). Sprinkle the brown sugar-cinnamon mixture evenly over the buttered dough. Press it in gently.
Starting from the long side, roll the dough up tightly into a log. Pinch the seam to seal. Cut the log into 12 equal pieces. I use a sharp knife or dental floss (yes, dental floss!) for clean cuts without squishing the dough.
Place the buns cut-side up into the prepared pan. They should be snug against each other.
Step 5: Second Rise
Cover the pan loosely with plastic wrap. Let the buns rise again for 30-45 minutes. They should look puffy and fill the pan. If you’re doing the overnight method, cover tightly and refrigerate now. Bring to room temperature and let rise before baking.
Step 6: Bake
Preheat your oven to 350°F (175°C). Bake the buns for 25-30 minutes, or until they are golden brown on top. If they brown too quickly, tent them with foil.
Remove from the oven. Let them cool in the pan for 5-10 minutes. This is crucial for the glaze to stick and for the caramel to set slightly.
Step 7: Make the Brown Butter Glaze
While the buns bake, make the glaze. Melt the ¼ cup of butter in a small saucepan over medium heat. Swirl the pan constantly. The butter will foam, then settle, and then you’ll see brown bits at the bottom and smell a nutty aroma. This is brown butter. Immediately remove from heat to stop cooking.
Whisk in the maple syrup, powdered sugar, salt, and heavy cream. Whisk until smooth. It will be thick. Add more cream if you want a thinner drizzle.
Pour the warm glaze over the warm buns. Let it soak in. Invert the pan onto a serving platter (carefully!) or just serve them right in the pan. I usually serve them in the pan because it’s rustic and keeps them warm.
Expert Tips & Tricks
Here’s everything I’ve learned from making this dozens of times. These tips will save you from my mistakes.
Toast Your Pecans
I cannot stress this enough. Raw pecans in baked goods taste flat. Toasting them unlocks a deep, nutty flavor that complements the maple perfectly. It takes 5 minutes and makes a huge difference.
Don’t Over-Flour
Yeast doughs are supposed to be slightly tacky. If you add too much flour, you’ll end up with dense, bread-like buns instead of soft, pillowy sticky buns. Trust the dough. If it’s a little sticky, flour your hands and work with it.
Watch the Brown Butter
Burnt butter tastes bitter and will ruin your glaze. Once you see the brown bits and smell the nuts, get it off the heat. The residual heat will continue to cook it slightly. Err on the side of under-browned.
The Overnight Option
This recipe is incredibly flexible. After shaping the buns, cover the pan tightly with plastic wrap and refrigerate for up to 24 hours. The next morning, take them out, let them rise at room temperature for 1-2 hours until puffy, then bake as directed. This is my favorite way to do it.
Use Dental Floss for Cutting
If you’re worried about squishing the dough when you cut it with a knife, try this trick. Slide a piece of unflavored dental floss under the dough log, cross the ends over the top, and pull tight. It cuts cleanly without compressing the layers.
Variations & Substitutions
Once you’ve nailed the basic version, here’s how you can mix it up. I’ve tried all of these.
Maple Pecan with Cream Cheese Swirl
Add a layer of sweetened cream cheese before rolling the dough. Spread 4oz of softened cream cheese mixed with 1 tablespoon sugar over the buttered dough before adding the cinnamon sugar. It adds a tangy contrast to the sweet glaze.
Walnut Version
Swap pecans for walnuts. Same toast, same amount. Walnuts have a slightly more bitter, earthy flavor that pairs well with the maple.
Gluten-Free
Use a 1-to-1 gluten-free flour blend with xanthan gum. The dough might be stickier, so you may need a bit more flour. The results are softer but still delicious.
Maple Bourbon
Add 1 tablespoon of bourbon to the brown butter glaze. It adds a warm, oaky note that’s perfect for fall. Skip it if you’re baking for kids.
No Maple Syrup?
You can use honey, but the flavor will be different. Honey is floral and less earthy. It still works, but real maple syrup is the star here.
Serving & Storage
How to Serve
Serve warm. These are best eaten the day they’re made, while the glaze is still soft and the buns are still pillowy. I usually serve them straight from the pan with a big dollop of whipped cream or a slice of sharp cheddar cheese on the side. The salty cheese cuts the sweetness beautifully.
Storage
Store leftovers in an airtight container at room temperature for up to 2 days. The glaze will harden slightly, but it will soften again when reheated. Do not refrigerate unless necessary, as it will dry them out.
Reheating
Microwave individual buns for 10-15 seconds to soften the glaze. Or warm the whole pan in a 300°F oven for 10 minutes. Avoid the microwave for the whole pan, as it will make the buns tough.
Freezing
These don’t freeze well after baking because the glaze gets weird. You can freeze the unbaked, shaped buns on a baking sheet, then transfer to a bag. When ready to bake, thaw overnight in the fridge, let rise, and bake as directed. Or freeze the baked buns (without glaze) and add fresh glaze when reheating.
Nutrition Information
I’m not a nutritionist, but here’s the breakdown if you’re tracking. This is per bun (based on 12 buns), including the glaze.
| Nutrient | Amount |
|---|---|
| Calories | 380 |
| Protein | 6g |
| Carbs | 52g |
| Fat | 16g |
| Fiber | 2g |
| Sugar | 32g |
Look, these are sticky buns. They’re supposed to be sweet and rich. They’re a treat, not a health food. But they’re made with real ingredients, no preservatives, and you know exactly what’s in them. That’s better than most store-bought options. Enjoy a bun, enjoy the moment, and don’t stress the numbers too much.
Final Thoughts
So that’s my go-to Fall Maple Pecan Sticky Buns! I’ve probably talked your ear off at this point, but when you make a recipe this often, you have a lot to say about it. These buns have saved my weekends. They’re my answer to “I want to bake something special but I don’t want to stress” when the leaves are turning and the air is crisp.
My kids love them. My husband pretends he’s too cool for baked goods until he smells the brown butter, and then he’s a goner. They’re sticky, they’re sweet, and they’re deeply comforting. Make them for your family, make them for a brunch, or just make them for yourself because you deserve a warm, gooey treat on a Saturday morning.
If you make this, drop a comment and let me know what you think! I love hearing how recipes turn out in your kitchen. And if something doesn’t work, tell me that too—I’m here to help troubleshoot. Happy baking! And I hope your kitchen smells half as good as mine does right now.
Frequently Asked Questions
Can I use instant yeast instead of active dry?
Yes! Instant yeast can be mixed directly with the dry ingredients. You don’t need to proof it in the milk first, though you can if you want to check it’s alive. Use the same amount (2 ¼ teaspoons). The dough might rise slightly faster, so keep an eye on it.
Why did my buns turn out dense?
This usually happens if you over-floured the dough or if your yeast was dead. Make sure your milk was warm but not hot when you added the yeast. Also, don’t be afraid to let the dough rise until it’s visibly doubled. Under-risen dough leads to dense buns.
Can I make these ahead and freeze them?
As mentioned, baked sticky buns don’t freeze well due to the glaze. However, you can freeze the unbaked, shaped buns. Place the pan in the freezer until solid, then transfer to a bag. Thaw in the fridge overnight, let rise, and bake. The texture will be almost as good as fresh.
What if I don’t have a stand mixer?
You can mix and knead this dough by hand. It will take about 10-12 minutes of kneading on a floured surface. It’s a bit of work, but it’s very doable. The dough should be soft and slightly tacky, not stiff.
Can I use light brown sugar instead of dark?
Yes, light brown sugar works fine. Dark brown sugar has more molasses, which gives a deeper, richer flavor. If you use light, the buns will be slightly sweeter and less complex, but still delicious.
Why is my glaze too thick?
Brown butter can sometimes thicken the glaze as it cools. Just add more heavy cream, one teaspoon at a time, until you reach the desired drizzling consistency. It’s better to thin it out than to have it clumpy.
Pin This Recipe!
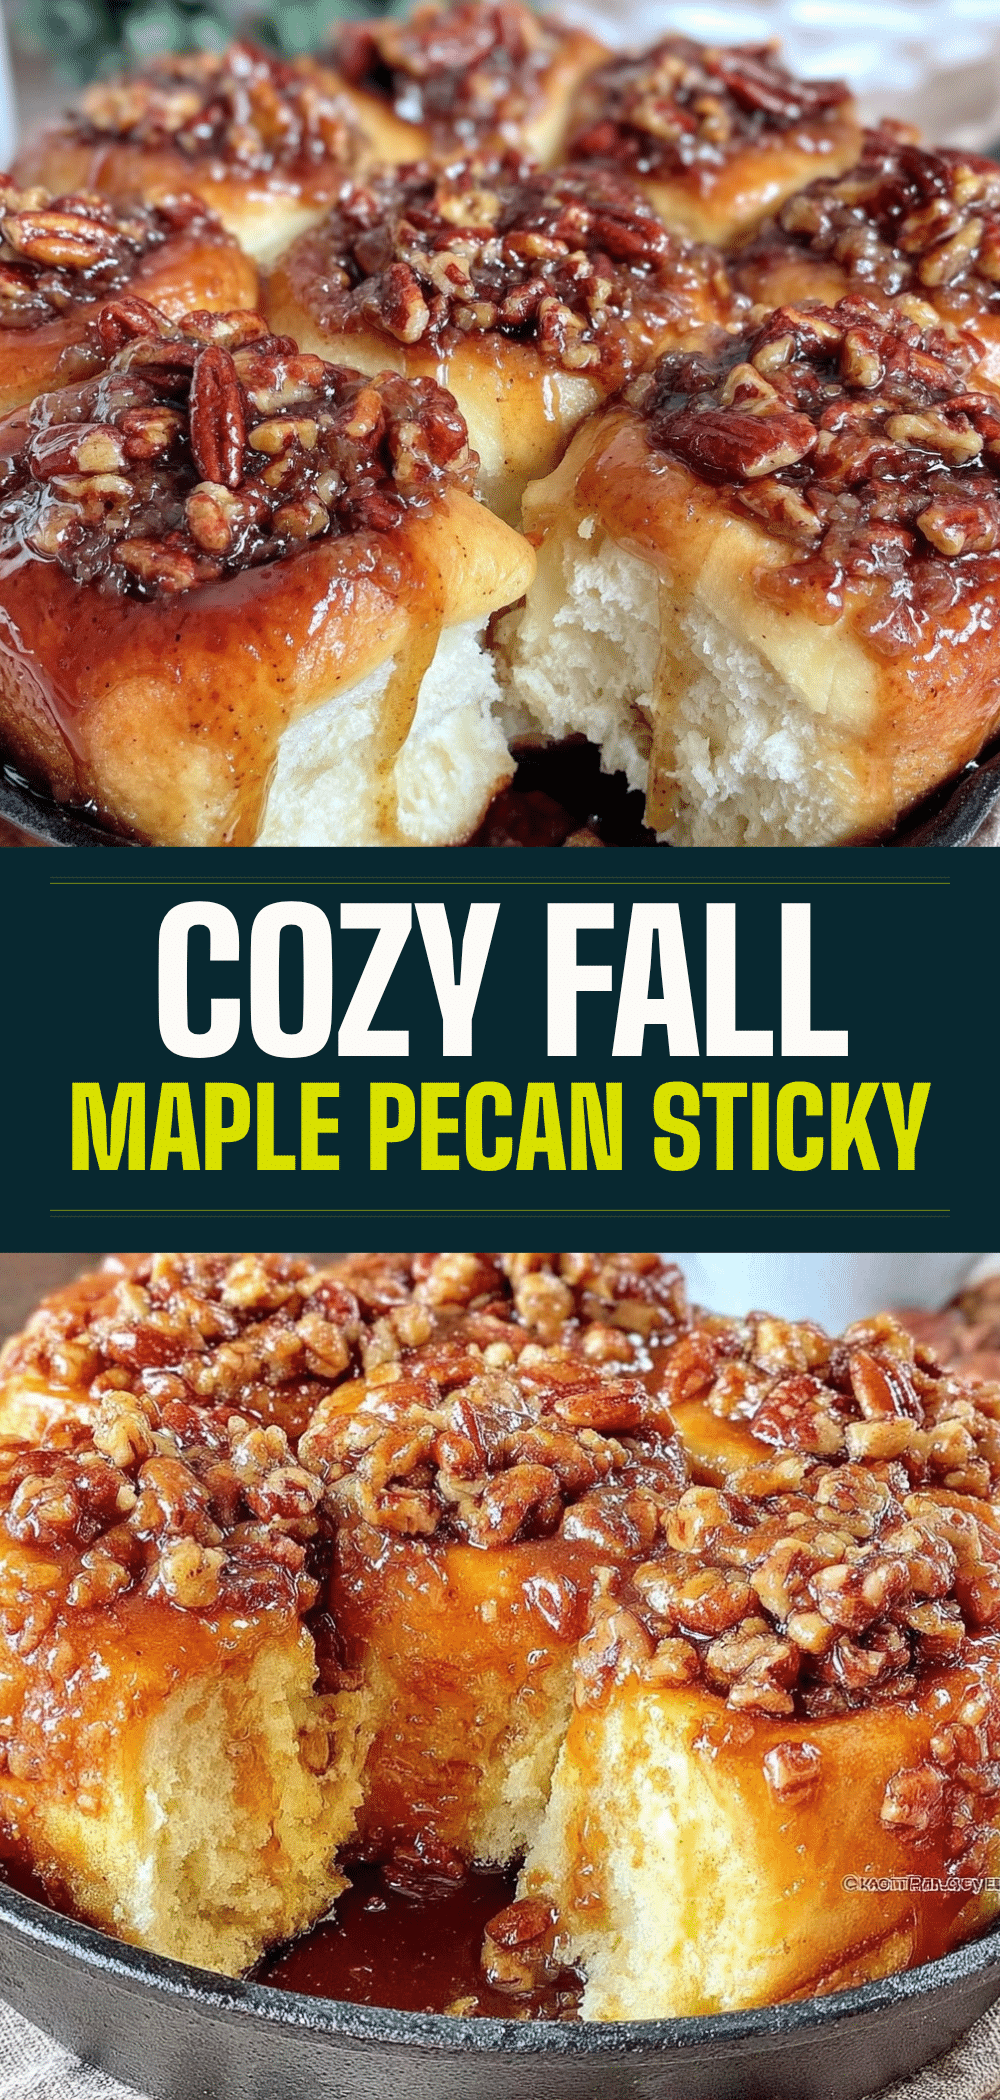
Fall Maple Pecan Sticky Buns: The Easy, No-Fail Recipe
- Total Time: 1 hour 30 minutes
- Yield: 12 servings 1x
Description
These forgiving, no-fail sticky buns feature a soft enriched dough, a rich brown butter glaze, real maple syrup, and toasted pecans. Perfect for weekend baking with make-ahead options.
Ingredients
- 2 ¼ teaspoons active dry yeast (1 packet)
- 1 cup whole milk, warm
- 3 ½ to 4 cups all-purpose flour
- ¼ cup unsalted butter, melted
- 2 large eggs, room temperature
- ¼ cup sugar
- 1 teaspoon salt
- 1 cup brown sugar, packed
- 2 teaspoons ground cinnamon
- 3 tablespoons butter, softened (for filling)
- 1 cup pecans, chopped and toasted
- ¼ cup unsalted butter (for glaze)
- ¼ cup maple syrup
- 1 ½ cups powdered sugar, sifted
- 2–3 tablespoons heavy cream
- ¼ teaspoon salt (for glaze)
Instructions
- Proof yeast: In a mixer bowl, combine warm milk, yeast, and sugar. Let sit for 5-10 minutes until foamy.
- Make dough: Add melted butter, eggs, salt, and 3 ½ cups flour. Mix on low, then knead on medium-low for 5-7 minutes until smooth and slightly tacky. Add more flour if needed.
- First rise: Place dough in a greased bowl, cover, and let rise in a warm spot for 1-1.5 hours until doubled.
- Prep pan: Grease a 9×13 inch baking pan. Mix brown sugar and cinnamon, spread on pan bottom, and sprinkle with toasted pecans.
- Shape buns: Punch down dough, roll into a 12×16 inch rectangle. Brush with softened butter, sprinkle with cinnamon-sugar mixture. Roll into a log, cut into 12 pieces, and place cut-side up in the pan.
- Second rise: Cover and let rise for 30-45 minutes until puffy. (Or refrigerate overnight for make-ahead).
- Bake: Preheat oven to 350°F (175°C). Bake for 25-30 minutes until golden brown.
- Make glaze: While buns bake, brown ¼ cup butter in a saucepan until nutty. Remove from heat. Whisk in maple syrup, powdered sugar, salt, and heavy cream until smooth.
- Finish: Pour warm glaze over warm buns. Let cool 5-10 minutes before serving or inverting onto a platter.
Notes
Toast pecans for better flavor. Do not over-flour the dough to keep buns soft. Brown butter carefully as it burns quickly. Can be made ahead by refrigerating shaped buns overnight.
- Prep Time: 30 minutes
- Cook Time: 30 minutes
- Category: Breakfast
- Cuisine: American
Nutrition
- Serving Size: 1 bun
- Calories: 380
- Sugar: 32
- Sodium: 350
- Fat: 16
- Saturated Fat: 8
- Carbohydrates: 52
- Fiber: 2
- Protein: 6
Keywords: sticky buns, maple pecan buns, brown butter glaze, yeast dough, fall baking, weekend baking, make-ahead breakfast


