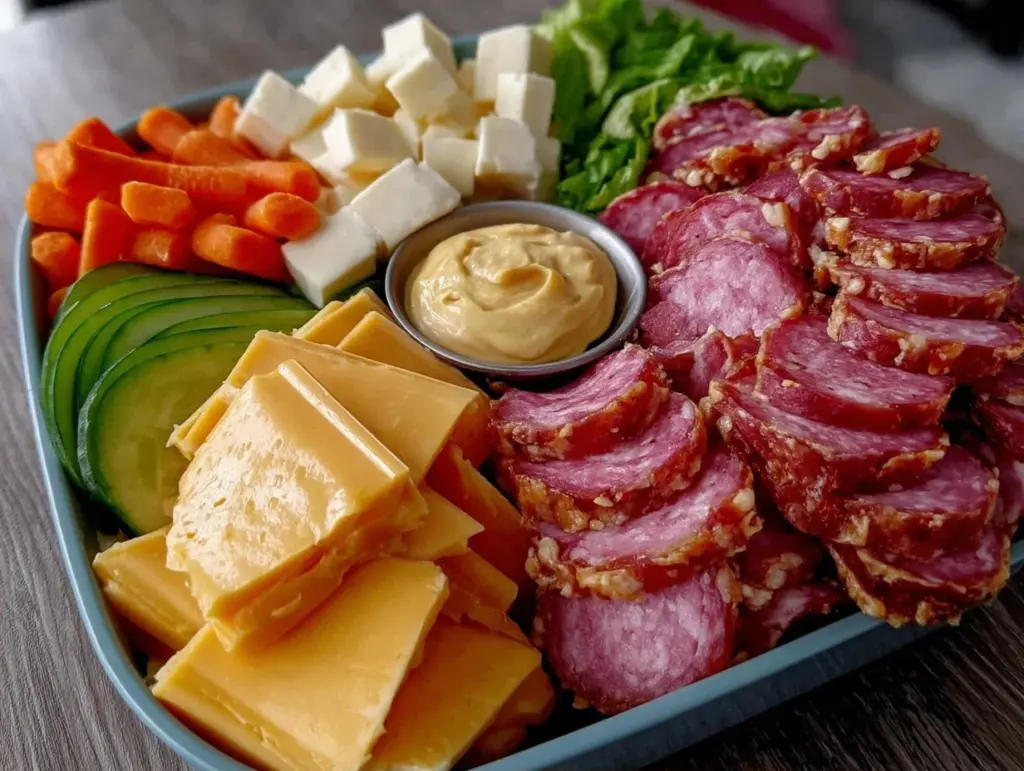
Last August, I watched my son stare into the abyss of a Tupperware container that contained a sad sandwich and a few limp grapes. He looked at me with that specific, hollow-eyed resignation that only a third-grader can muster. “Mom,” he said, “can I just have cereal?”
I didn’t argue. I just nodded, because I knew he was right. The sandwich was soggy. The grapes were boring. And honestly? I was tired of trying to make lunch look like a Pinterest board when I was rushing out the door with one shoe on.
But I didn’t want him eating cereal for lunch every day. So, I threw together what I thought would be a mediocre compromise. I grabbed some deli ham, shredded some cheese, tossed in some crunchy chickpeas, and added a quick honey-mustard drizzle. I packed it all into a bowl because, let’s be real, bento boxes are annoying to assemble when you’re running late.
Twenty minutes later, he came home. “Did you eat the lunch?” I asked, bracing for rejection.
“Yeah,” he said. “It was actually really good. Can we have this again?”
That was three months ago. Now, this Back to School Ham and Cheese Lunch Box Bento Bowl is the only thing he asks for. And here’s the best part: it takes less time to pack than it does to make a sandwich. There’s no bread to get soggy. No crusts to trim. Just fresh, crunchy, savory layers that stay perfect until lunchtime. If you can only make one lunch for the next six months, make this. You really can’t mess it up.
Why You’ll Love This Bento Bowl
There are about ten reasons I keep making this, but they all boil down to one thing: it works. It works for picky eaters. It works for hungry growing kids. And it works for parents who want to feel like they’re providing something nutritious without spending an hour in the kitchen.
Here’s why this ham and cheese bowl has replaced sandwiches in our house:
- Zero Sogginess — Seriously. No bread means no wet, torn-up lunch. The chickpeas stay crunchy, the veggies stay crisp, and the cheese stays distinct. It tastes fresh at 12:30 PM just like it did at 7:30 AM.
- Stupid Simple Assembly — If you can open a package and pour something into a bowl, you can make this. I don’t even chop the veggies anymore; I just buy the pre-cut stuff. It saves time and mental energy.
- Packed with Protein — Ham and cheese give you a serious protein punch, which keeps kids full through afternoon math class. The chickpeas add extra fiber and crunch, making it feel like a real meal, not a snack.
- Customizable for Picky Eaters — My son hates olives but loves pickles. My daughter loves grapes but hates ham. Because it’s a bowl, you can swap ingredients without breaking the recipe. It’s forgiving. It’s flexible.
- Make-Ahead Friendly — I pack five of these on Sunday night. They stack in the fridge, ready to grab. No morning stress. No “I forgot my lunch” panic. Just grab and go.
This is my go-to when I need lunch to just work. No complicated techniques, no weird ingredients, just reliable, delicious food that makes everyone happy.
Ingredients You’ll Need
Here’s the best part: you probably have most of this already. I’m particular about three ingredients here, and I’ll tell you exactly why. The rest is pantry basics and deli counter staples.
For the Base
Deli Ham (6 ounces / 170g) — I use thick-cut honey ham. It has more flavor and holds up better than the thin, salty stuff. If you can’t find thick-cut, just use a little more of the thin stuff. Don’t skimp on quality here; it’s the star.
Shredded Cheddar Cheese (1 cup / 100g) — Sharp cheddar is best because the flavor cuts through the richness of the ham. I buy the bag of pre-shredded cheese when I’m being lazy, but block cheese tastes better. Either works. I use sharp cheddar because mild cheese gets lost in the bowl.
Chickpeas (1 can, 15oz / 425g, drained and rinsed) — This is the secret weapon. They add crunch and protein without changing the flavor profile. I keep a can in the pantry just for this. You can use edamame if you prefer, but chickpeas are cheaper and crunchier.
For the Crunch and Color
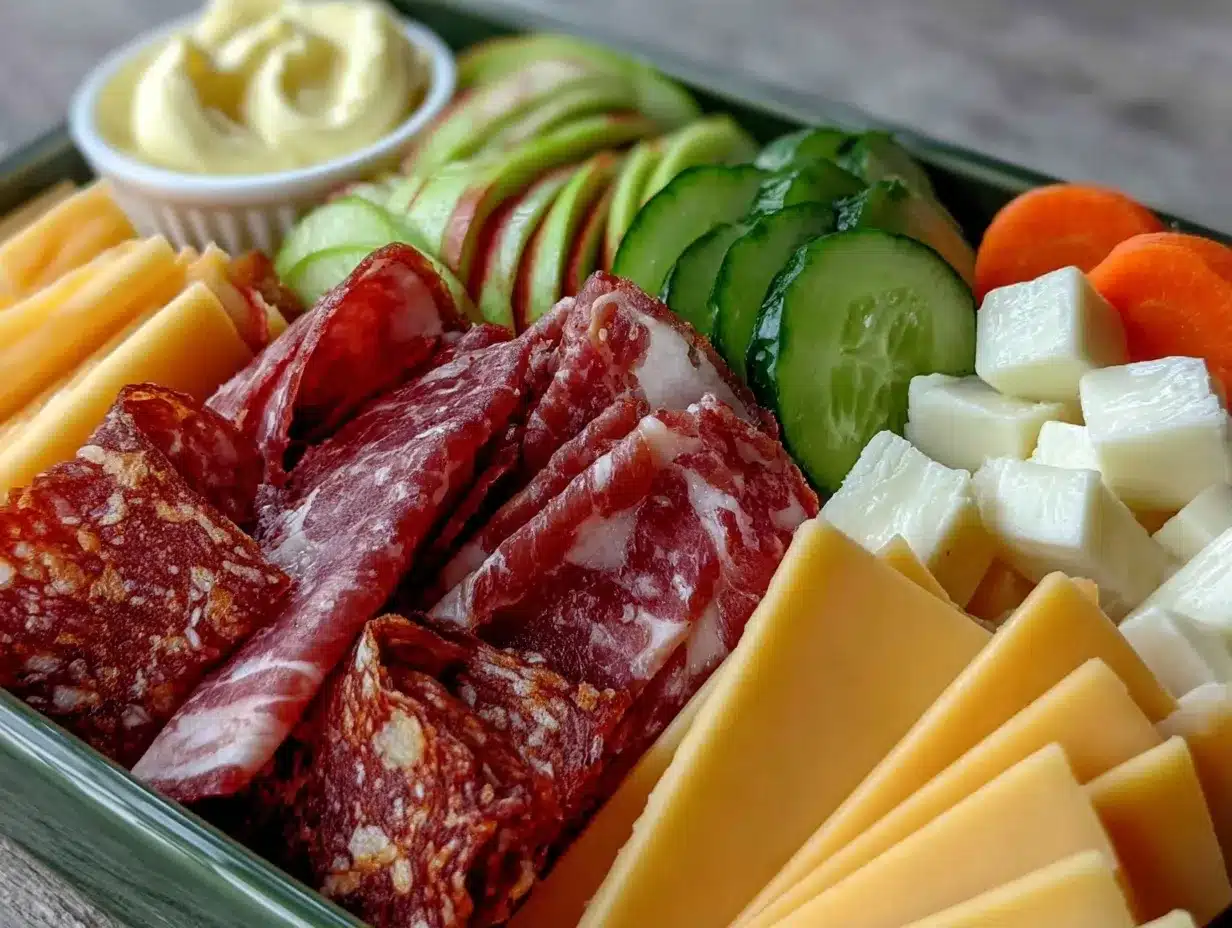
Red Bell Pepper (1 medium, diced / about 150g) — Sweet, crisp, and colorful. I buy pre-diced peppers from the produce section to save time. Yellow peppers work too, but red looks prettier in the bowl.
Celery (2 stalks, diced / about 100g) — Adds that essential snap. I know some people hate celery, but it balances the softness of the ham and cheese. If your kids hate it, skip it or grate it finely so it disappears.
Grapes (1 cup, halved / 150g) — Red or green grapes. Halving them makes them easier to eat with a fork. They add a sweet pop that contrasts with the savory ham. I use them because they last all week in the fridge and kids love them.
For the Dressing
Mayonnaise (2 tablespoons / 30g) — I use regular mayo, not the light stuff. It creates a creamy binder for the bowl. If you hate mayo, use Greek yogurt. It’s tangier, but still works.
Dijon Mustard (1 teaspoon) — Adds a little zing. Don’t skip it. It wakes up the whole dish.
Honey (1 teaspoon) — Just a little to balance the mustard. I use regular honey. Maple syrup works too if you want a different vibe.
Salt and Pepper — To taste. I usually add a pinch of salt because the ham is already salty.
Equipment Needed
You don’t need fancy equipment for this. Here’s what I actually use.
Bento Box or Lunch Containers — I use compartmentalized bento boxes because they keep the wet dressing separate from the dry ingredients until lunchtime. If you don’t have one, any airtight container works. I have a set from Target that’s been through the dishwasher 500 times and still looks new.
Small Mixing Bowl — For tossing the ham, cheese, chickpeas, and veggies. Any bowl works. I use a small one so I don’t spill.
Fork or Whisk — For mixing the dressing. A fork is fine. I don’t overthink this.
Knife and Cutting Board — For dicing the pepper and celery. If you buy pre-cut veggies, you don’t need these. But I like cutting my own because it tastes fresher.
Measuring Spoons — For the dressing. You can eyeball it, but measuring ensures it’s consistent. I have a set from the dollar store that works fine.
Colander — For rinsing the chickpeas. Or just dump them in the sink and rinse under the tap. I do this when I’m lazy.
How to Make It: Step-by-Step
Alright, let’s make this! I’m walking you through exactly how I do it, including the little tricks I’ve picked up.
Step 1: Prep Your Ingredients (5 minutes)
Before you start assembling, drain and rinse the chickpeas. Pat them dry with a paper towel. This is important—if they’re wet, they’ll make the bowl soggy. I know it seems like extra work, but it makes a huge difference. Dice the bell pepper and celery. Halve the grapes. Slice the ham into strips or bite-sized pieces.
Step 2: Make the Dressing (2 minutes)
In a small bowl, whisk together the mayonnaise, Dijon mustard, honey, salt, and pepper. It should be smooth and creamy. Taste it. If it needs more salt, add a pinch. If it’s too thick, add a teaspoon of water or milk. I usually just mix it and move on. It doesn’t need to be perfect.
Step 3: Toss the Bowl Base (3 minutes)
In a larger bowl, combine the sliced ham, shredded cheese, dried chickpeas, diced pepper, and celery. Pour the dressing over the top. Toss everything together until everything is lightly coated. Don’t overmix. You want the ingredients to stay distinct, not mushy.
Step 4: Pack the Bento Box (2 minutes)
Divide the mixture evenly among your bento boxes or containers. Add the halved grapes to a separate compartment. If you don’t have compartments, just pile the grapes on top or on the side. Close the lid tightly.
Step 5: Store or Serve
These are best eaten the same day. If you’re packing them for school, keep them in the fridge until lunchtime. They’ll stay fresh and crunchy for up to 24 hours. After that, the veggies might get a little soft, but they’re still good.
Total Time: About 10-15 minutes for 4 servings.
Expert Tips & Tricks
Here’s everything I’ve learned from making this dozens of times. These tips will save you from my mistakes.
Pat Those Chickpeas Dry
This is the #1 tip. Wet chickpeas make the whole bowl soggy. I forgot this once and the lunch was a mess. Now I always pat them dry with a paper towel. It takes 30 seconds but makes a huge difference.
Don’t Overdress
You don’t need a lot of dressing. The ham and cheese are already rich. A light coating is enough. If you add too much, the chickpeas get soggy and the veggies lose their crunch. Less is more.
Use Sharp Cheese
Mild cheese gets lost in the bowl. Sharp cheddar has enough flavor to stand up to the ham and mustard. I’ve tried mild cheese before, and it tastes bland. Stick with sharp.
Pre-Cut Veggies Are Your Friend
I know some people think pre-cut veggies are expensive, but they save time. I buy pre-diced peppers and celery from the produce section. It’s worth the extra dollar to avoid chopping.
Keep the Dressing Separate
If you’re packing these for school, consider keeping the dressing in a small separate container. Let the kids mix it in themselves. It keeps the veggies crisp until they’re ready to eat. I do this for my son because he likes it crunchy.
Variations & Substitutions
Once you’ve nailed the basic version, here’s how you can mix it up. I’ve tried all of these.
Turkey Club Version
Swap ham for sliced turkey. Add a strip of bacon and some lettuce. It’s like a club sandwich in a bowl. My husband loves this version.
Spicy Kick
Add a pinch of cayenne pepper to the dressing. Or use pepper jack cheese instead of cheddar. It adds a little heat without being overwhelming.
Asian-Inspired
Swap ham for sliced roast pork. Use soy sauce and sesame oil instead of mayo and mustard. Add shredded carrots and cucumber. It’s a totally different vibe but still easy.
Vegetarian Option
Skip the ham. Add extra chickpeas and some roasted red peppers. Add a handful of spinach. It’s still filling and delicious. I make this when I want a lighter lunch.
Gluten-Free
This recipe is naturally gluten-free. Just make sure your ham and cheese don’t have added starch. Most deli meats are safe, but check the label.
Serving & Storage
How to Serve:
I usually pack these in the morning and send them to school. But if you’re eating them at home, serve them with a side of fruit or a piece of bread. They’re filling on their own, but a little extra helps.
Side Dishes:
– Apple slices
– Carrot sticks
– A piece of fruit
– Crackers
Storage Instructions:
Refrigerator:
Store in an airtight container for up to 2 days. The veggies might get a little soft after 24 hours, but they’re still good. The flavor actually gets better after a few hours as everything melds together.
Freezing:
Don’t freeze this. The veggies will get mushy when thawed. The ham and cheese might separate. Make it fresh or store in the fridge for up to 2 days.
Meal Prep:
I pack five of these on Sunday night. They stack in the fridge, ready to grab. It saves me so much time during the week. I just grab one and go.
Nutrition Information
I’m not a nutritionist, but here’s the breakdown if you’re tracking.
Per Serving (based on 4 servings):
| Nutrient | Amount |
|---|---|
| Calories | 320 |
| Protein | 18g |
| Carbs | 22g |
| Fiber | 4g |
| Sugar | 8g |
| Fat | 16g |
| Saturated Fat | 5g |
| Cholesterol | 45mg |
| Sodium | 680mg |
What’s Good:
– High protein from ham and cheese
– Fiber from chickpeas and veggies
– No added sugar (except the honey in the dressing)
– More filling than it looks
What to Know:
– Higher in sodium from the ham
– Contains dairy
– Moderate calories
My Take:
“Look, this is a savory lunch with ham and cheese. It’s not a diet recipe. But it’s way better than a sandwich, costs less, and I know exactly what’s in it. When I want to make it lighter, I use turkey instead of ham and less mayo. But usually? I just eat a reasonable portion and enjoy it.”
Final Thoughts
So that’s my go-to Back to School Ham and Cheese Lunch Box Bento Bowl! I’ve probably talked your ear off at this point, but when you make a recipe this often, you have a lot to say about it.
This has saved my sanity more times than I can count. It’s my answer to “what’s for lunch?” when I’m tired, don’t want to make a sandwich, and still want something that tastes really good. My kids are happy, and I’m happy because I’m not stressed about packing lunch.
Make it yours! Try different add-ins, swap in your favorite veggies, adjust the dressing. The best recipes are the ones you adapt to your family’s tastes.
If you make this, drop a comment and let me know what you think! I love hearing how recipes turn out in your kitchen. And if something doesn’t work, tell me that too—I’m here to help troubleshoot.
Happy packing! And I hope your kids love this as much as mine do.
Frequently Asked Questions
Q: Can I use cooked chicken instead of ham?
A: Absolutely! Leftover rotisserie chicken works great. I use it when I have it on hand. Just chop it up and toss it in. It’s a bit leaner than ham, so you might want to add a little extra cheese or mayo.
Q: My veggies are getting soggy—what happened?
A: Usually means you didn’t dry the chickpeas enough, or you added too much dressing. Make sure the chickpeas are dry before tossing. Also, don’t add the dressing until right before eating if you’re packing them for school. Keep the dressing separate.
Q: Can I make this ahead for the week?
A: Yes, but only for 2 days. After that, the veggies get soft. I pack 2-3 at a time and make fresh ones for the rest of the week. It’s worth it for the crunch.
Q: Why did my bowl turn out dry?
A: You probably didn’t add enough dressing. The ham and cheese are dry on their own. Add more mayo or a splash of milk to the dressing until it coats everything nicely. It should be creamy, not dry.
Q: Can I use Greek yogurt instead of mayo?
A: Yes, but it will be tangier. I use half mayo and half yogurt sometimes. It’s a good compromise if you want a lighter version. Just taste it first.
Q: How do I reheat leftovers?
A: You don’t. This is a cold lunch. Reheating it will make the ham rubbery and the veggies mushy. Eat it cold or at room temperature.
Q: Can I double this recipe?
A: Yes! Double everything and use a bigger bowl. The cooking times stay the same. I do this when I’m meal-prepping for the week. Just make sure your container is big enough.
Pin This Recipe!

Back to School Ham and Cheese Bento Bowl
- Total Time: 10-15 minutes
- Yield: 4 servings 1x
Description
A foolproof, no-soggy lunch bowl featuring deli ham, sharp cheddar, crunchy chickpeas, and fresh veggies tossed in a creamy honey-mustard dressing. Perfect for busy school mornings.
Ingredients
- 6 ounces thick-cut honey ham, sliced into strips or bite-sized pieces
- 1 cup shredded sharp cheddar cheese
- 1 can (15oz / 425g) chickpeas, drained, rinsed, and patted dry
- 1 medium red bell pepper, diced
- 2 stalks celery, diced
- 1 cup grapes, halved
- 2 tablespoons mayonnaise
- 1 teaspoon Dijon mustard
- 1 teaspoon honey
- Salt and pepper to taste
Instructions
- Drain and rinse the chickpeas, then pat them completely dry with a paper towel to prevent sogginess.
- Dice the bell pepper and celery. Halve the grapes. Slice the ham into strips or bite-sized pieces.
- In a small bowl, whisk together the mayonnaise, Dijon mustard, honey, salt, and pepper until smooth and creamy.
- In a larger bowl, combine the sliced ham, shredded cheese, dried chickpeas, diced pepper, and celery.
- Pour the dressing over the mixture and toss gently until everything is lightly coated. Avoid overmixing to keep ingredients distinct.
- Divide the mixture evenly among bento boxes or lunch containers.
- Add the halved grapes to a separate compartment or on the side.
- Close lids tightly and refrigerate until ready to eat.
Notes
[‘Patting chickpeas dry is crucial to prevent the bowl from becoming soggy.’, ‘Use sharp cheddar for better flavor contrast with the ham.’, ‘For picky eaters, keep dressing separate in a small container to maintain crunch.’, ‘Do not freeze this recipe as vegetables will become mushy upon thawing.’, ‘Store in the refrigerator for up to 2 days.’]
- Prep Time: 10 minutes
- Cook Time: 0 minutes
- Category: Lunch
- Cuisine: American
Nutrition
- Serving Size: 1 bowl (approx. 1/4
- Calories: 320
- Sugar: 8
- Sodium: 680
- Fat: 16
- Saturated Fat: 5
- Carbohydrates: 22
- Fiber: 4
- Protein: 18
Keywords: school lunch, bento bowl, ham and cheese, kid-friendly lunch, meal prep, no sandwich lunch, healthy lunch for kids


