Okay, real talk. For years, Brussels sprouts were the vegetable I quietly pushed to the side of my plate. You know the type. The ones that arrive at the dinner table looking like tiny, green cabbage heads, steamed to a sad, sulfurous mush, and tasting like regret. I’m talking about the kind that makes your breath smell for three days and leaves everyone wondering why they’re supposed to eat “healthy” food that tastes like sadness.
I remember one specific Thanksgiving about ten years ago. My aunt made a batch of Brussels sprouts that were essentially boiled in their own juices. I took one bite, immediately took a huge gulp of water, and made a silent vow: Never again. I stuck to the mashed potatoes. I stuck to the rolls. I stuck to the safety of carbs.
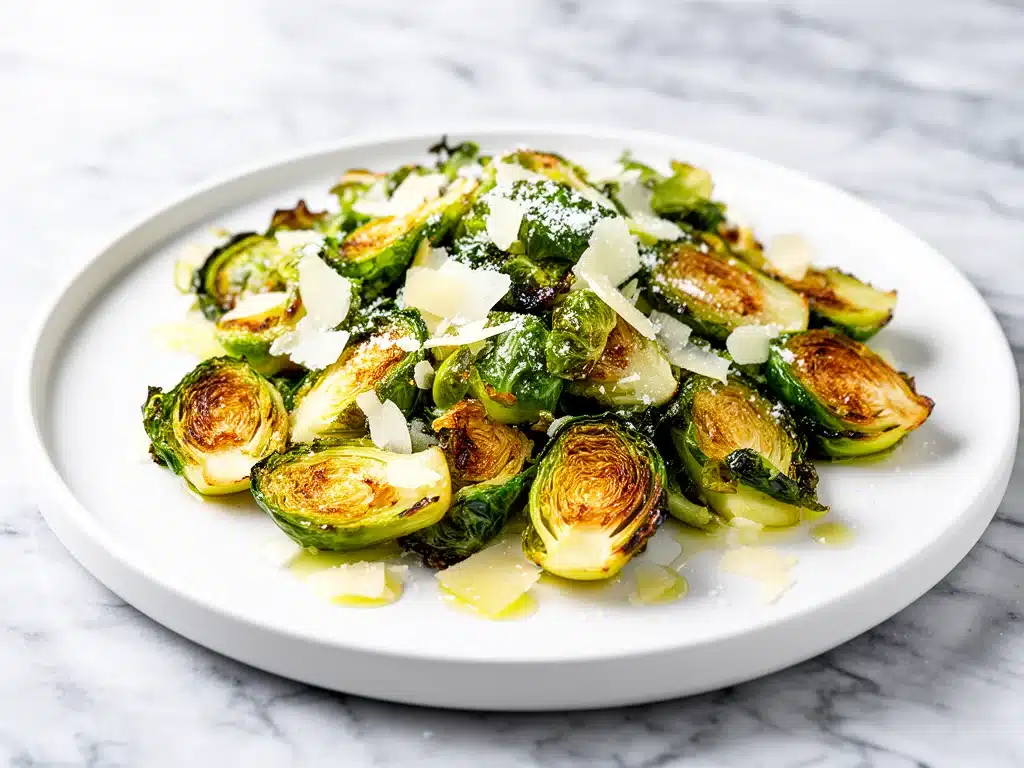
But last month, I was scrolling through Pinterest at 11 PM, trying to distract myself from the fact that I had no idea what to make for Sunday dinner, when I stumbled across a photo of smashed Brussels sprouts. They looked nothing like the sad, steamed ones of my past. They were golden brown, crispy at the edges, glistening with garlic butter, and dusted with what looked like heaven in powder form—Parmesan cheese.
I was skeptical. Smashed? As in, physically crushed with a fork? It sounded a bit aggressive for a vegetable. But I was desperate. I had a bag of sprouts in my fridge that needed to be used, and I wanted something that didn’t require a ton of effort. So, I bought a bag. I preheated my oven. I smashed them. And I threw them in the oven with olive oil, garlic, and Parmesan.
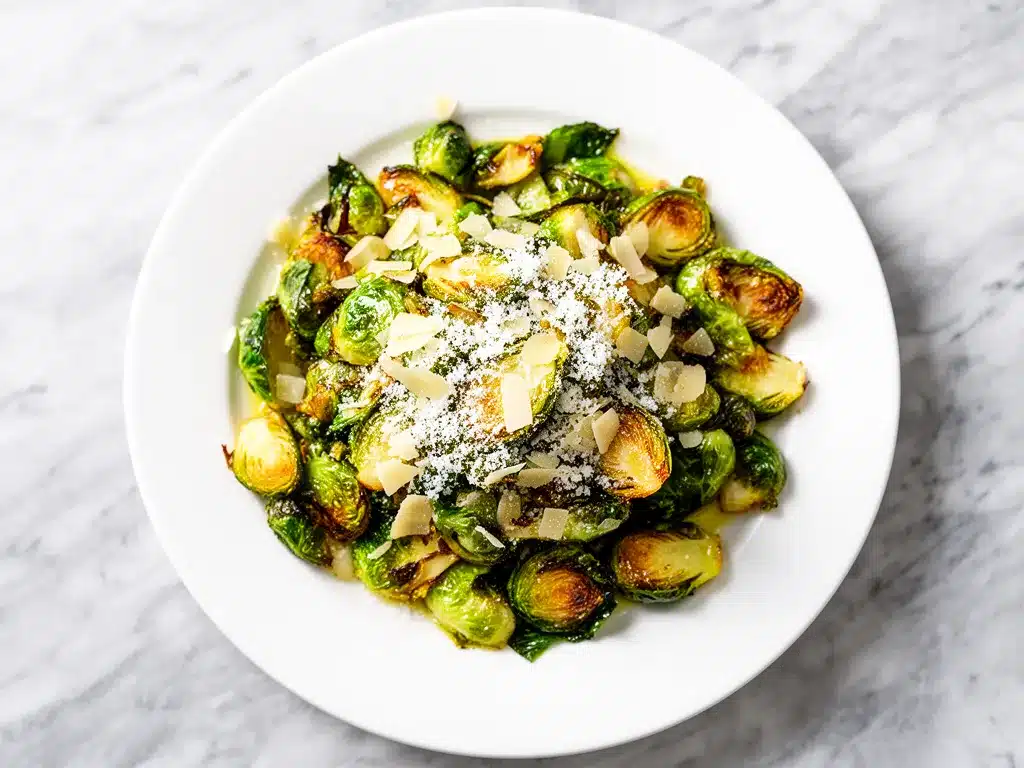
When the timer went off, the smell that hit me wasn’t sulfur. It was nutty, savory, garlicky perfection. The edges were crispy like bacon bits. The centers were tender but not mushy. And that Parmesan? It caramelized into these little crispy, cheesy shards that I practically licked off my fingers.
I ate them straight from the baking sheet while the rest of the family set the table. I couldn’t help myself. By the time dinner started, the plate was empty. My husband looked at the empty plate, then at me, then at the oven, and said, “Are you going to make those again?”
I’ve made them at least six times since then. Six. They’ve become my go-to side dish for everything from casual Tuesday tacos to fancy date nights. They’re easy, they’re cheap, and they convert even the biggest vegetable haters. If you’ve been avoiding Brussels sprouts because of a bad experience in the past, this is your redemption arc. This recipe for Crispy Garlic Parmesan Smashed Brussels Sprouts is the only way you’ll ever eat them again, and honestly? You’ll want to make them on repeat.
Why You’ll Love This Recipe
There’s a reason this side dish has taken over my weeknight rotation. It’s not just about the taste, though that’s a huge part of it. It’s about how easy it is to get restaurant-quality results without the restaurant effort.
- Crispy Without Deep Frying — Seriously. The smashing technique creates more surface area, which means more crispy edges. You get that fried texture without needing a pot of oil or an air fryer. Just a baking sheet and an oven. It’s magic.
- Five Ingredients Only — I’m not exaggerating. You need Brussels sprouts, olive oil, garlic, Parmesan, and salt/pepper. That’s it. No weird spices you’ll use once and forget. No fancy sauces. Just good, simple food.
- Ready in 30 Minutes — From chopping to clean-up, this is a 30-minute meal. The oven does the heavy lifting while you relax or prep other parts of dinner. It’s perfect for those nights when you’re tired and just want good food.
- Even Kids Will Eat Them — I know, I know. Getting kids to eat green vegetables is like herding cats. But the crispy texture and the salty Parmesan make these irresistible. My niece, who usually picks vegetables off her plate, asked for the “crunchy green things” last week. That’s a win.
- Perfect Pairing — These sprouts go with literally everything. They’re amazing with slow cooker apple cider pulled pork because the sweetness balances the savory sprouts. They’re also great with roasted chicken, fish, or even just on their own if you’re having a light night.
This recipe has saved me from ordering takeout more times than I can count. It’s reliable, delicious, and always makes people happy. If you’re looking for a side dish that actually gets eaten, this is it.
Ingredients You’ll Need
Here’s the best part: you probably have most of this already in your kitchen. This recipe relies on high-quality, simple ingredients. There’s no need for fancy substitutions or hard-to-find items. Just grab these five things and you’re good to go.
For the Sprouts
Brussels sprouts (1.5 pounds / 680g) — Look for firm, bright green sprouts. Avoid ones that are yellowing or have loose leaves. Smaller sprouts tend to be sweeter, but medium-sized ones work great too. You can leave the large ones whole or cut them in half before smashing.
Extra virgin olive oil (3 tablespoons / 45ml) — Use a good quality oil here. It’s one of the main flavors, so don’t skimp on the quality. I keep a bottle in my pantry that I know is fresh. If your oil smells a bit off, it’ll affect the taste of the sprouts.
Garlic (4-5 cloves, minced / about 2 tablespoons) — Yes, fresh garlic. No jarred stuff. Jarred garlic has a metallic taste that doesn’t work well with the delicate sweetness of the sprouts. Mince it finely so it sticks to the sprouts and doesn’t burn. If you’re worried about burning, you can add the garlic halfway through cooking.
Parmesan cheese (½ cup / 50g, freshly grated) — This is non-negotiable. Buy a block of Parmigiano-Reggiano and grate it yourself. Pre-grated cheese has anti-caking agents that prevent it from melting properly. You want those crispy, cheesy bits, not clumpy, powdery cheese. Grating it takes about two minutes.
Salt and black pepper — Kosher salt is best for seasoning. Use about 1 teaspoon of salt and ½ teaspoon of black pepper. Taste as you go. The Parmesan is salty, so start with less salt and add more if needed.
Optional Add-ins
Balsamic glaze — A drizzle of balsamic glaze after baking adds a nice sweet-tart contrast. I love this if I’m serving these with roasted chicken.
Lemon zest — A little lemon zest added right before serving brightens everything up and cuts through the richness of the cheese.
Red pepper flakes — If you like a little heat, sprinkle these on before baking. It adds a nice kick that balances the savory flavors.
Equipment Needed
You don’t need any fancy gadgets for this. Just basic kitchen tools you probably already own.
Baking sheet — I use a large rimmed baking sheet. Make sure it’s big enough to fit the sprouts in a single layer. If you overcrowd the pan, they’ll steam instead of roast, and you won’t get that crispy texture. I use a half-sheet pan (18×13 inches).
Pastry brush or spoon — For brushing the olive oil over the sprouts. A silicone pastry brush works great, but a regular spoon works too. You just need to coat them evenly.
Measuring cups and spoons — Standard stuff. I use a 1-cup measuring cup for the Parmesan and a tablespoon for the oil.
Knife and cutting board — For trimming the sprouts. A sharp chef’s knife makes this much easier. If your knife is dull, you’ll struggle with the tough stems.
Garlic press or grater — I use a garlic press for convenience, but mincing it by hand works too. Just make sure it’s fine enough to stick to the sprouts.
Box grater — For grating the Parmesan. A microplane works well if you want really fine shreds, but a box grater is fine too.
Tongs — For tossing the sprouts in the oil and garlic. Tongs make it easier to handle hot veggies.
Colander — For washing the sprouts. Just rinse them under cold water and pat dry. Wet sprouts won’t roast properly.
Oven mitts — For handling the hot baking sheet. Don’t skip these. I’ve learned this the hard way.
How to Make It: Step-by-Step
Alright, let’s make these crispy, garlicky, cheesy sprouts. It’s simpler than you think, but there are a few tricks to getting that perfect crispy texture.
Step 1: Prep the Sprouts (5 minutes)
Start by washing the Brussels sprouts in a colander under cold water. Shake off the excess water, then pat them dry with a paper towel. You want them as dry as possible before adding oil. Wet sprouts = steamed sprouts, and we want crispy, not steamed.
Trim the ends of the sprouts. Cut off about half an inch from the stem end. If the sprouts are large, cut them in half. If they’re small, you can leave them whole. The key is to make sure they’re uniform in size so they cook evenly.
Step 2: Smash Them (2 minutes)
This is the fun part. Take a fork, a spatula, or even the bottom of a glass, and gently press down on each sprout. You’re not trying to mash them into paste. You just want to flatten them slightly and create some rough edges. This exposes more surface area, which means more crispy bits. Do this for all the sprouts. It’s surprisingly satisfying.
Step 3: Season and Coat (2 minutes)
Place the smashed sprouts on your baking sheet. Drizzle the olive oil over them. Use your hands or tongs to toss them until they’re evenly coated. You want every nook and cranny to have a bit of oil. Sprinkle with salt and pepper. Toss again to distribute the seasoning.
Step 4: Roast (15 minutes)
Preheat your oven to 400°F (200°C). Once it’s hot, place the baking sheet in the oven. Roast the sprouts for 15 minutes. This is the first stage of cooking. You’re looking for the sprouts to start getting tender and slightly browned on the edges.
Step 5: Add Garlic and Parmesan (10 minutes)
After 15 minutes, take the baking sheet out of the oven. Sprinkle the minced garlic over the sprouts. Be careful not to add the garlic too early, or it will burn and taste bitter. Then, sprinkle the grated Parmesan cheese evenly over the top. Return the baking sheet to the oven and roast for another 10 minutes.
Watch them closely during this last stage. You want the cheese to melt and turn golden brown, and the garlic to become fragrant. If the cheese starts to burn, you can cover the pan loosely with foil. But usually, 10 minutes is perfect.
Step 6: Serve (2 minutes)
Remove the baking sheet from the oven. Let the sprouts cool for a minute or two. The cheese will crisp up as it cools. Taste one to check the seasoning. Add more salt or pepper if needed. Serve immediately while they’re hot and crispy. They’re best fresh out of the oven.
Total Time: About 30 minutes (5 minutes prep, 25 minutes cooking)
Expert Tips & Tricks
Here’s everything I’ve learned from making these dozens of times. These tips will save you from common mistakes and ensure perfect results every time.
Don’t Overcrowd the Pan — This is the most important tip. If the sprouts are touching each other, they’ll steam instead of roast. Give them space. If you have a lot of sprouts, use two baking sheets. Crowding is the enemy of crispiness.
Dry Sprouts Thoroughly — I can’t stress this enough. Wet sprouts don’t crisp up. After washing, pat them dry with paper towels. If you’re in a hurry, you can even let them air dry for 10 minutes. It makes a huge difference.
Use Fresh Parmesan — Pre-grated Parmesan has anti-caking agents that prevent it from melting properly. You want those crispy, cheesy bits. Grate your own from a block. It’s worth the extra two minutes.
Add Garlic Late — Garlic burns easily at 400°F. If you add it at the beginning, it’ll turn black and bitter. Add it halfway through cooking, after the sprouts have roasted for 15 minutes. This ensures the garlic is fragrant and golden, not burnt.
Don’t Skip the Smash — The smashing technique creates more surface area, which means more crispy edges. If you skip this step, you’ll just have roasted Brussels sprouts, which are good, but not as good as smashed ones. The rough edges hold the cheese and oil better.
Check for Doneness — The sprouts are done when they’re tender inside and crispy outside. Insert a fork into the center of a sprout. It should go in easily. If it’s still hard, roast for another 5 minutes.
Variations & Substitutions
Once you’ve mastered the basic version, here’s how you can mix it up. I’ve tried all of these, and they’re all delicious.
Balsamic Glaze Drizzle — Drizzle balsamic glaze over the sprouts after baking. The sweet-tart flavor pairs beautifully with the savory Parmesan. I love this with roasted chicken.
Lemon Pepper — Add lemon zest and extra black pepper before serving. The citrus brightens up the dish and cuts through the richness. Great for spring dinners.
Red Pepper Flakes — Sprinkle red pepper flakes before baking for a spicy kick. I add this when I want a little heat. It’s amazing with the cheesy crunch.
Almond Slivers — Toast some sliced almonds in a pan and sprinkle them over the sprouts after baking. Adds a nice nutty crunch. Great for holiday dinners.
Truffle Oil — Drizzle a little truffle oil over the sprouts after baking. It’s fancy and delicious. I use this for date nights or special occasions.
Dietary Modifications:
Vegan — Use nutritional yeast instead of Parmesan. It has a similar cheesy flavor. Use olive oil instead of butter (if you use butter). The rest of the recipe stays the same.
Gluten-Free — This recipe is naturally gluten-free. Just make sure your Parmesan is certified gluten-free if you’re sensitive.
Lower-Carb — This recipe is already low-carb. Just make sure you’re not adding any high-carb toppings like breadcrumbs or sugary glazes.
Serving & Storage
How to Serve:
I usually serve these straight from the baking sheet. It looks rustic and they stay warm. But here are other ways I’ve enjoyed them:
Side Dishes:
- Creamy pumpkin alfredo pasta — The sprouts add a nice crunch to the creamy pasta.
- Roasted chicken or turkey
- Grilled steak or pork chops
- Fish tacos
Storage:
Refrigerator:
Store leftovers in an airtight container for up to 3 days. The sprouts will lose some crispiness, but they’re still good reheated.
Reheating:
Best method: Reheat in the oven at 400°F for 5-10 minutes. This restores the crispiness. Microwave doesn’t work well—it makes them soggy. If you must microwave, do it in short bursts and let them cool before eating.
Freezing:
These don’t freeze well. The texture becomes mushy after thawing. Make them fresh for best results.
Meal Prep:
You can prep the sprouts ahead of time. Wash, trim, and smash them, then store in the fridge in a container with a paper towel. When you’re ready to cook, just add oil and seasonings and roast as directed.
Nutrition Information
I’m not a nutritionist, but here’s the breakdown if you’re tracking. This is per serving based on 4 servings.
| Nutrient | Amount |
|---|---|
| Calories | 180 |
| Protein | 8g |
| Carbs | 12g |
| Fiber | 4g |
| Sugar | 3g |
| Fat | 12g |
| Saturated Fat | 3g |
| Sodium | 320mg |
What’s Good:
- High in fiber from the Brussels sprouts
- Good source of protein from the Parmesan
- Low in sugar
- Contains healthy fats from olive oil
What to Know:
- Contains dairy (Parmesan)
- Can be made vegan with nutritional yeast
- Naturally gluten-free
My Take:
Look, this is a healthy side dish with some cheese and oil. It’s not diet food, but it’s way better than fried vegetables. It’s nutrient-dense, filling, and delicious. When I want to make it lighter, I use less oil and less cheese. But usually? I just eat a reasonable portion and enjoy it.
Final Thoughts
So that’s my go-to Crispy Garlic Parmesan Smashed Brussels Sprouts! I’ve talked your ear off at this point, but when you make a recipe this often, you have a lot to say about it.
This has saved me from boring side dishes more times than I can count. It’s my answer to “what’s for dinner?” when I want something healthy but delicious. My family loves them, my friends love them, and I love them because they’re so easy to make.
Make it yours! Try different add-ins, swap in your favorite herbs, adjust the garlic. The best recipes are the ones you adapt to your tastes.
If you make this, drop a comment and let me know what you think! I love hearing how recipes turn out in your kitchen. And if something doesn’t work, tell me that too—I’m here to help troubleshoot.
Happy cooking! And I hope your kitchen smells half as good as mine does right now.
Frequently Asked Questions
Q: Can I use frozen Brussels sprouts?
A: You can, but fresh sprouts are much better for this recipe. Frozen sprouts release a lot of water and don’t crisp up as well. If you must use frozen, thaw them completely and pat them very dry before smashing and roasting. But fresh is definitely preferred.
Q: Why did my sprouts turn out soggy?
A: This usually happens if the pan was overcrowded or the sprouts weren’t dry enough. Make sure you’re not packing them into the pan. Give them space. Also, pat them dry after washing. Wet sprouts steam instead of roast.
Q: Can I make this ahead for a dinner party?
A: Sort of. You can prep the sprouts ahead of time—wash, trim, and smash them. Store them in the fridge in a container with a paper towel. When you’re ready to cook, just add oil and seasonings and roast as directed. But don’t roast them ahead of time, or they’ll lose their crispiness.
Q: Why did my garlic burn?
A: Garlic burns easily at 400°F. If you added it at the beginning, it likely burned. Add the garlic halfway through cooking, after the sprouts have roasted for 15 minutes. This ensures the garlic is fragrant and golden, not burnt.
Q: Can I use pre-grated Parmesan?
A: You can, but it’s not recommended. Pre-grated Parmesan has anti-caking agents that prevent it from melting properly. You want those crispy, cheesy bits. Grate your own from a block. It’s worth the extra two minutes.
Q: How do I reheat leftovers?
A: Best method: Reheat in the oven at 400°F for 5-10 minutes. This restores the crispiness. Microwave doesn’t work well—it makes them soggy. If you must microwave, do it in short bursts and let them cool before eating.
Q: Can I double this recipe?
A: Absolutely! Double everything and use two baking sheets. Make sure you’re not overcrowding the pans. The cooking times stay the same. I do this when I’m feeding a crowd.
Pin This Recipe!
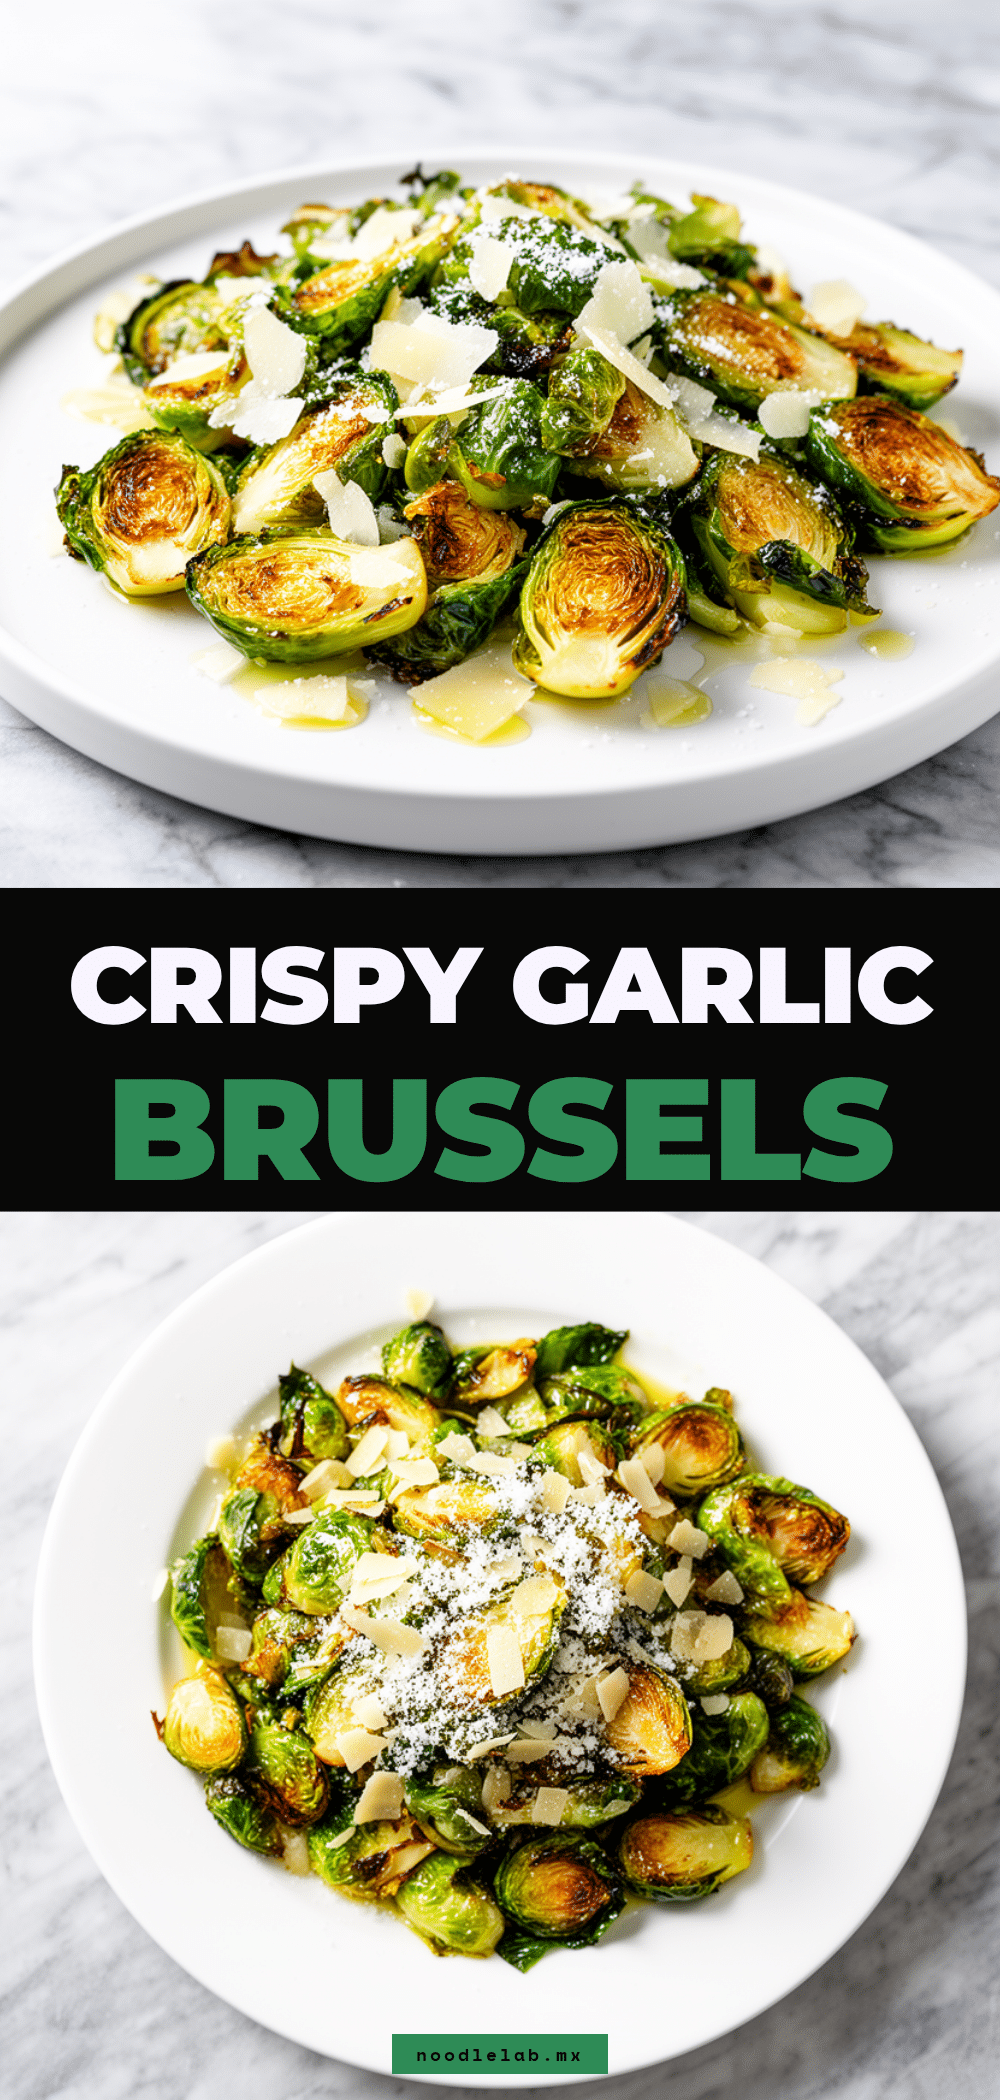
Crispy Garlic Parmesan Smashed Brussels Sprouts: 5-Ingredient Side
- Total Time: 30 minutes
- Yield: 4 servings 1x
Description
A simple, crispy side dish made with just five ingredients. Smashing the Brussels sprouts creates more surface area for maximum crunch, while garlic and Parmesan add savory flavor.
Ingredients
- 1.5 pounds Brussels sprouts
- 3 tablespoons extra virgin olive oil
- 4–5 cloves garlic, minced
- ½ cup freshly grated Parmesan cheese
- 1 teaspoon kosher salt
- ½ teaspoon black pepper
Instructions
- Wash the Brussels sprouts in a colander under cold water and pat them completely dry with paper towels.
- Trim about half an inch from the stem end of each sprout. If large, cut in half; if small, leave whole.
- Place sprouts on a baking sheet and gently press down on each one with a fork or spatula to flatten them slightly (smash them).
- Drizzle olive oil over the sprouts and toss with tongs or hands to coat evenly. Sprinkle with salt and pepper and toss again.
- Preheat oven to 400°F (200°C). Roast the sprouts for 15 minutes.
- Remove the baking sheet from the oven. Sprinkle minced garlic and grated Parmesan cheese evenly over the sprouts.
- Return to the oven and roast for another 10 minutes, or until the cheese is melted, golden brown, and crispy.
- Let cool for 1-2 minutes before serving immediately.
Notes
Do not overcrowd the pan to ensure crispiness. Pat sprouts dry thoroughly before roasting. Add garlic halfway through cooking to prevent burning. Use freshly grated Parmesan for best melting and crisping results.
- Prep Time: 5 minutes
- Cook Time: 25 minutes
- Category: Side Dish
- Cuisine: American
Nutrition
- Serving Size: Approximately 1/4 of
- Calories: 180
- Sugar: 3
- Sodium: 320
- Fat: 12
- Saturated Fat: 3
- Carbohydrates: 12
- Fiber: 4
- Protein: 8
Keywords: Brussels sprouts, smashed Brussels sprouts, garlic Parmesan, crispy vegetables, healthy side dish, easy dinner, gluten-free, low-carb


