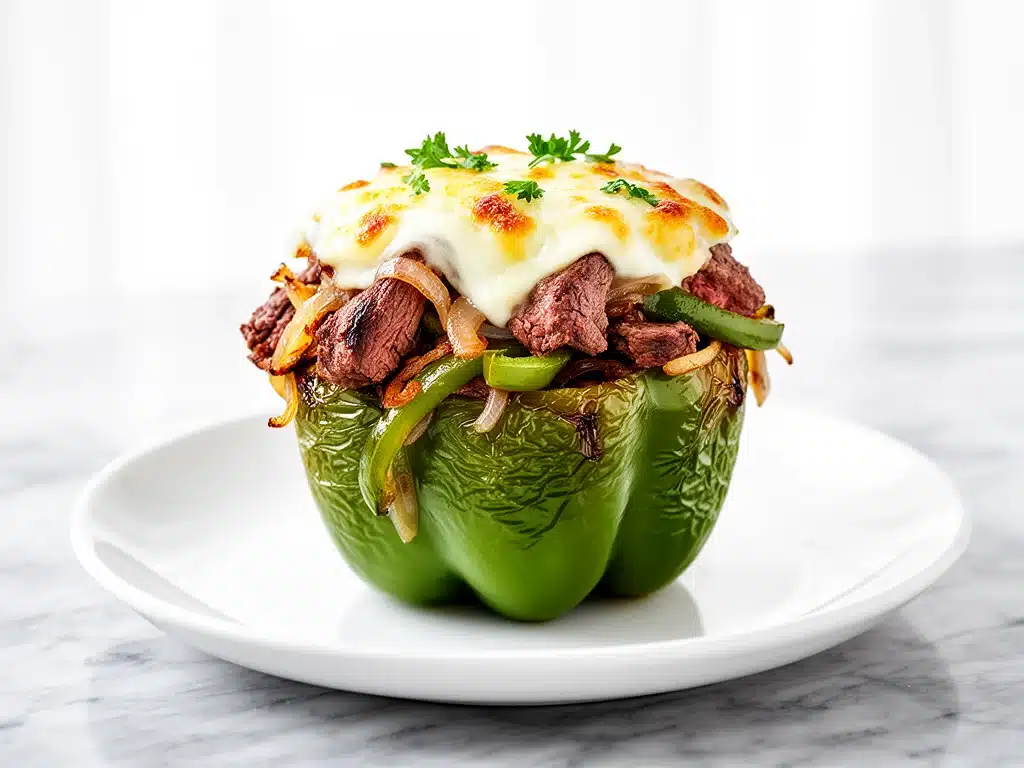
There is a specific kind of panic that sets in around 5:30 PM on a Tuesday. You’re staring into the fridge, the light flickering, while your kids are hovering like hungry vultures asking, “What’s for dinner?” I was in that exact spot last month, exhausted, with zero energy for anything complicated. I had a bag of bell peppers that were starting to get soft, some leftover steak from a slow cooker apple cider pulled pork recipe I’d made the weekend before (yes, I repurposed the leftovers—don’t judge me), and a block of provolone cheese I needed to use up.
I didn’t want to make a sandwich. I didn’t want to make a salad. I wanted something that tasted like a cheat day but looked like I actually tried. So, I chopped the peppers, stuffed them with steak, onions, peppers, and enough cheese to make a dairy farmer proud, and threw them in the oven. Twenty minutes later, the smell of caramelized onions and melting cheese filled the house. My kids didn’t just eat them; they devoured them. Then they asked for seconds.
This is how I discovered Cheesy Philly Cheesesteak Stuffed Peppers. It’s basically the flavor profile of a classic cheesesteak sandwich, but deconstructed, baked into a vegetable, and made easy enough for a busy weeknight. It’s hearty, it’s creamy, it’s savory, and it uses ingredients you probably already have. I’ve made this recipe about a dozen times since that Tuesday, tweaking the cheese blend and the pepper size, and I can confidently say this is the best way to eat peppers without feeling like you’re dieting.
Let’s be real: stuffed peppers usually feel like a project. They take forever to prep, and sometimes the peppers end up mushy or under-seasoned. But this version? It’s fast. It’s forgiving. And the result is so good that my husband, who usually complains about “healthy” dinners, asked me to put this on the weekly rotation. It’s comfort food, elevated by the crispy edges of the peppers and the gooey, salty cheese. If you’re looking for a meal that checks all the boxes—quick, delicious, family-approved—keep reading. I’m sharing my exact method, plus a few tricks to keep the peppers from turning into sad, watery bowls.
Why You’ll Love This Recipe
Okay, so why should you make these instead of just ordering takeout or making another batch of creamy pumpkin alfredo pasta (which is also delicious, don’t get me wrong)? Here’s the deal:
It’s Basically a Cheesesteak in Disguise — You get all the savory, cheesy, beefy goodness of a Philly cheesesteak, but wrapped in a sweet, crisp bell pepper. It’s the perfect compromise for anyone who loves meat but wants to sneak in a vegetable. My kids think they’re eating mini burgers. I know they’re eating peppers. Win-win.
Stupid Simple Prep — I know, I keep saying this, but it’s true. You don’t need to boil the peppers first. You don’t need to make a complicated rice filling. You just chop, mix, stuff, and bake. I have made this for my teenage son over FaceTime while I was at work. He didn’t burn the house down. That’s how easy it is.
Lightning Fast — From start to finish, you’re looking at about 30-35 minutes. The active time is maybe 15 minutes while you chop and mix. The rest is just the oven doing the work. I make this on nights when I get home at 7 PM, put the kids to bed, and still have time to relax because dinner is already cooking.
Pantry and Fridge Friendly — You probably have 80% of these ingredients already. Bell peppers, ground beef (or sliced steak), onion, garlic, cheese. If you have a jar of marinara or some Worcestershire sauce, even better. It’s a great way to use up random veggies and leftover meat.
Makes Amazing Leftovers — And yes, it reheats well. I deliberately make extra for lunch. The flavors actually meld together overnight, making the next day’s lunch taste even more like a cheesesteak. Just pop it in the microwave for 2 minutes.
This is my go-to when I need dinner to just work. No complicated techniques, no weird ingredients, just reliable, delicious food that makes everyone happy. Even my picky eater (who usually only eats bread and cheese) loved these.
Ingredients You’ll Need
Here’s the best part: this list is short. I’m particular about three ingredients here, and I’ll tell you exactly why. You don’t need a specialty store for this; your local grocery store will have everything.
Bell Peppers (4 large, any color) — I use a mix of red, yellow, and green. Red and yellow are sweeter and milder, which kids usually prefer. Green has a bit of a bitter edge, so I use less of those. Make sure they’re firm and stand up straight. If they’re too soft, they’ll collapse in the oven. I buy mine from the organic section because I eat the skins, but conventionally grown ones work fine too.
Ground Beef (1 pound / 450g) — I use 80/20 ground beef. Yes, it’s fatty. Good. That fat carries flavor. If you use lean beef, the filling will be dry. You can also use sliced ribeye steak, thinly sliced, if you want to feel fancy. But ground beef is easier to mix and cheaper. I always buy the fresh ground beef from the counter, not the pre-packaged stuff, because it tastes better.
Yellow Onion (1 medium, diced / about 200g) — Sweet onions work too, but yellow gives better depth. White onions are too sharp for this. Dice them small so they cook down quickly and integrate into the beef mixture.
Garlic (4 cloves, minced / about 2 tablespoons) — Yes, four cloves. Don’t skimp. Fresh only—no jarred garlic in this recipe. The flavor is just not the same, and in a simple dish like this, the garlic shines.
Provolone Cheese (1 cup / 100g, shredded) — This is the classic cheesesteak cheese. Buy the block and shred it yourself. Pre-shredded cheese has anti-caking agents that prevent it from melting smoothly. I learned this the hard way with a grainy, separated sauce. Grate your own—it takes 3 minutes and makes a huge difference.
White American Cheese (4 slices) — This is the secret weapon. It’s what gives Philly cheesesteaks that gooey, stretchy texture. You can find it in the deli section. If you can’t find it, use regular American cheese or even mozzarella, but the White American is the real deal.
Beef Broth (½ cup / 120ml) — I use low-sodium so I can control the salt. It adds moisture and depth to the beef filling. Vegetable broth works for a vegetarian version.
Worcestershire Sauce (1 teaspoon) — This adds that umami punch that makes it taste like a steakhouse. It’s a small amount, but it changes everything. If you don’t have it, soy sauce works in a pinch.
Optional Add-ins: Sliced Mushrooms (½ cup) — I throw these in whenever I have them. They add an earthy flavor and make the filling feel more substantial. Hot Sauce (to taste) — If you like a kick, add a few dashes of Frank’s RedHot or your favorite hot sauce to the beef mixture.
Equipment Needed
You don’t need fancy equipment for this. Here’s what I actually use.
9×13 Inch Baking Dish — I use a ceramic one because it heats evenly. A glass dish works too, but keep an eye on it so the cheese doesn’t burn. I have an ancient Pyrex dish from college that still works fine.
Large Skillet — 12-inch works best for cooking the beef and onions. I prefer stainless steel or cast iron, but non-stick works too. Just make sure it’s big enough to cook the meat in a single layer.
Sharp Knife — For chopping onions and garlic. Dull knives make you cry more—learned this the hard way. Also, you need a sharp knife to cut the tops off the peppers cleanly.
Cutting Board — Any size works. I use plastic for easier cleanup.
Wooden Spoon — For stirring the beef. Silicone works too. Don’t use metal on non-stick.
Measuring Cups and Spoons — Pretty standard stuff. Dollar store versions work fine.
Optional but nice: Vegetable Peeler — Sometimes the tops of the peppers are hard to cut through with a knife. A peeler can help remove the stem cleanly.
How to Make It: Step-by-Step
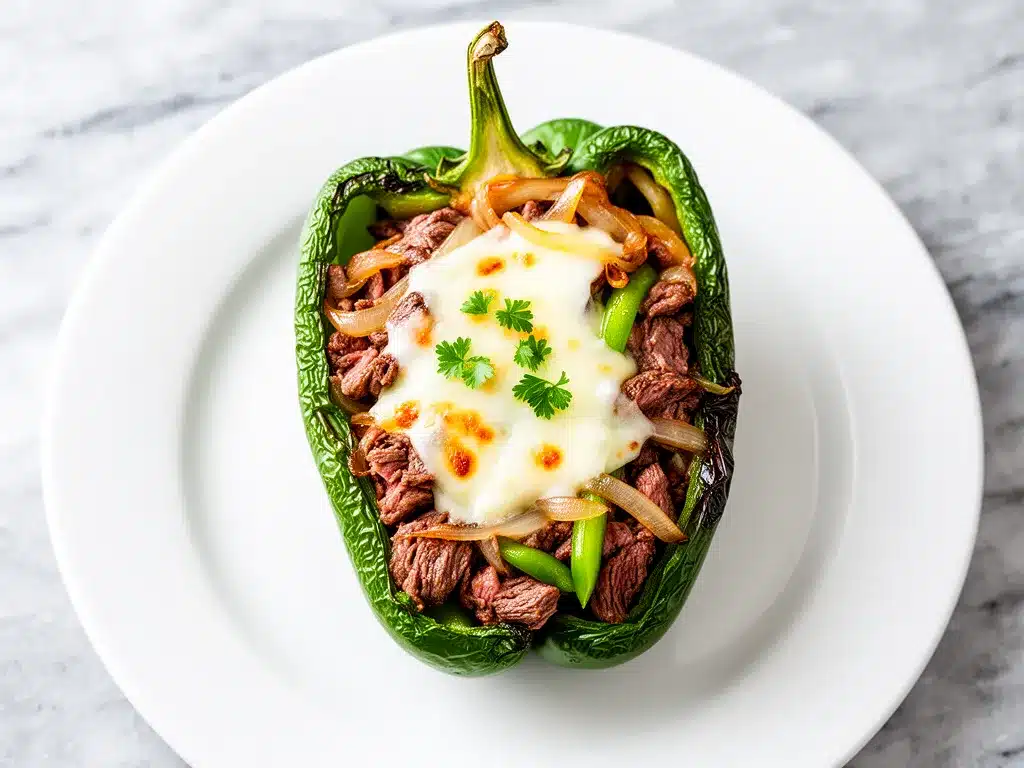
Alright, let’s make this! I’m walking you through exactly how I do it, including the little tricks I’ve picked up. This process is straightforward, but attention to detail matters.
Step 1: Prep the Peppers (5 minutes)
Preheat your oven to 375°F (190°C). Take your bell peppers and wash them. Using a sharp knife, cut off the tops (about 1 inch from the stem). Remove the seeds and white membranes inside. Be careful not to cut through the bottom or sides—you want them to hold their shape. If the peppers are leaning or wobbly, trim a tiny bit off the bottom so they sit flat. Place them upright in your baking dish. This is crucial; if they tip over, the filling spills out.
Step 2: Cook the Beef Filling (8-10 minutes)
While the oven heats, heat a large skillet over medium-high heat. Add the ground beef. Break it up with a wooden spoon as it cooks. You want it browned, not steamed. This takes about 5-6 minutes. Once the beef is browned, drain any excess grease if there’s a lot of it. I leave a little bit for flavor, but if there’s a pool of fat, drain it. Add the diced onion and minced garlic to the pan. Cook for 2-3 minutes until the onion is soft and translucent. Add the beef broth, Worcestershire sauce, salt, and pepper. Stir to combine. Let it simmer for 1-2 minutes so the flavors meld. Remove from heat.
Step 3: Assemble the Stuffed Peppers (5 minutes)
Take your beef mixture and divide it evenly among the four pepper boats. Pack it in gently. Now, the cheese. I like to mix half of the shredded Provolone into the beef mixture, then spoon it into the peppers. Top each pepper with the remaining Provolone and a slice of White American cheese. The cheese should mound slightly on top. If you’re adding mushrooms, toss them into the beef mixture before stuffing.
Step 4: Bake (15-20 minutes)
Place the baking dish in the oven. Bake for 15-20 minutes. You’ll know they’re done when the peppers are tender-crisp (they should give a little when you poke them with a fork, but not be mushy) and the cheese is bubbly and golden. If you want extra browning, broil for the last 1-2 minutes. Watch it closely—cheese burns fast. I learned this the hard way with a blackened, bitter mess. Never leave the broiler unattended.
Step 5: Serve
Let them cool for 5 minutes before serving. The filling will be hot, and the peppers will settle a bit. Serve with a side of crusty bread or a simple green salad. Drizzle with hot sauce if you like heat.
Total Time: About 30-35 minutes (15 minutes active, 20 minutes hands-off)
Troubleshooting: If the peppers are too hard after 20 minutes, cover the dish with foil and bake for another 5-10 minutes. If the cheese is browning too fast, lower the rack to the middle position.
Expert Tips & Tricks
Here’s everything I’ve learned from making this dozens of times. These tips will save you from my mistakes.
Don’t Overcook the Peppers — The biggest mistake people make is baking them too long. You want them tender, not mushy. They should still hold their shape. If you like softer peppers, pre-boil them for 3 minutes before stuffing, but I prefer the texture of raw-stuffed peppers. They have a slight crunch that contrasts with the soft beef.
Use Good Cheese — I can’t stress this enough. Cheap pre-shredded cheese won’t melt right. It’ll be stringy and weird. Buy a block of Provolone and shred it yourself. It melts smoothly and tastes milky and rich. The White American cheese is non-negotiable for that authentic cheesesteak texture.
Season the Beef Well — The beef mixture needs to be seasoned generously. Peppers are mild, so the filling needs to carry the flavor. Taste the beef mixture before stuffing. If it tastes bland, add more salt, pepper, or Worcestershire sauce. It’s easier to fix before baking than after.
Drain the Grease — Ground beef releases a lot of fat. If you don’t drain it, the peppers will sit in a pool of grease, and the bottom will get soggy. Drain the beef after browning, but before adding the onions. This keeps the filling flavorful but not greasy.
Common Mistakes (and how to avoid them):
- Mistake: Peppers are too raw — Fix: Bake longer or pre-boil for 3 minutes.
- Mistake: Filling spills out — Fix: Pack the filling gently, and make sure the peppers are sitting flat. Don’t overstuff them.
- Mistake: Cheese is burnt — Fix: Broil for only 1-2 minutes, and watch it like a hawk.
Pro Tricks I’ve Learned:
- For Extra Flavor — Add a pinch of garlic powder and onion powder to the beef mixture. It boosts the savory notes.
- For Better Texture — Let the peppers cool for 5 minutes after baking. This allows the filling to set slightly, making them easier to eat without falling apart.
- Make-Ahead Strategy — You can assemble these ahead of time and refrigerate them for up to 24 hours before baking. Just add 5 minutes to the baking time if they’re cold from the fridge.
Variations & Substitutions
Once you’ve nailed the basic version, here’s how you can mix it up. I’ve tried all of these.
Turkey Version — Swap ground beef for ground turkey. It’s leaner, so add a tablespoon of olive oil to the pan to keep it moist. It’s lighter but still delicious.
Vegetarian Version — Use meatless ground beef or crumbled tofu. Add more mushrooms and onions for texture. Use vegetable broth instead of beef broth. It’s surprisingly hearty.
Spicy Version — Add diced jalapeños to the beef mixture. Use pepper jack cheese instead of Provolone. Top with hot sauce. This is for the heat lovers in your family.
Italian Style — Swap the beef for Italian sausage. Use marinara sauce instead of beef broth. Top with mozzarella. It’s like a stuffed pepper lasagna.
Dietary Modifications:
- Gluten-Free — This recipe is naturally gluten-free, as long as you check your Worcestershire sauce (some brands contain malt vinegar). Use certified GF soy sauce if needed.
- Dairy-Free — Use dairy-free cheese shreds. Note: They don’t melt the same way, so the texture will be different. I use Violife or Daiya, which melt reasonably well.
- Lower-Carb — This is already low-carb, as the peppers are the only vegetable. It’s keto-friendly if you use the right cheese.
Serving & Storage
How to Serve: I usually serve these straight from the baking dish at the dinner table—it looks rustic and stays warm. But here are other ways I’ve enjoyed them:
- With a side of garlic bread (obviously)
- With a simple green salad with balsamic vinaigrette
- With roasted asparagus or green beans
Toppings Bar: When I have guests, I put out: extra Provolone, hot sauce, fresh parsley, and sliced jalapeños. Everyone customizes their bowl.
Storage Instructions:
Refrigerator: Store in an airtight container for up to 4 days. The peppers will soften slightly in the fridge—totally normal.
Reheating: Best method: Reheat in the oven at 350°F for 10-15 minutes. This keeps the peppers from getting soggy. Microwave method: Heat in 30-second intervals, stirring between. It works, but the texture might be softer. Never works: Trying to reheat in the microwave without covering it. It dries out fast.
Freezing: Honestly, these don’t freeze well because the peppers can get mushy when thawed. The cheese also separates. Make them fresh or store in the fridge for up to 4 days.
Pro tip: If leftovers are drying out, sprinkle a little water on them before reheating in the oven. It creates steam and keeps them moist.
Nutrition Information
I’m not a nutritionist, but here’s the breakdown if you’re tracking.
Per Serving (based on 4 servings):
- Calories: 380
- Protein: 28g
- Carbs: 12g
- Fiber: 3g
- Sugar: 6g
- Fat: 24g
- Saturated Fat: 12g
- Cholesterol: 90mg
- Sodium: 650mg
What’s Good: High in protein from the beef and cheese. Good source of Vitamin C from the peppers. Lower in carbs than a sandwich.
What to Know: Higher in calories from the cheese and beef. Contains dairy. Moderate sodium (use low-sodium broth to reduce).
My Take: Look, this is comfort food. It’s not a diet recipe. But it’s way better than takeout, costs less, and I know exactly what’s in it. When I want to make it lighter, I use turkey and less cheese. But usually? I just eat a reasonable portion and enjoy it.
Final Thoughts
So that’s my go-to Cheesy Philly Cheesesteak Stuffed Peppers! I’ve probably talked your ear off at this point, but when you make a recipe this often, you have a lot to say about it.
This has saved weeknight dinners more times than I can count. It’s my answer to “what’s for dinner” when I’m tired, don’t want takeout, and still want something that tastes really good. My kids are happy, my husband’s happy, and I’m happy because I’m not stressed about cooking.
Make it yours! Try different add-ins, swap in your favorite vegetables, adjust the garlic (though more is always better in my opinion). The best recipes are the ones you adapt to your family’s tastes.
If you make this, drop a comment and let me know what you think! I love hearing how recipes turn out in your kitchen. And if something doesn’t work, tell me that too—I’m here to help troubleshoot.
Happy cooking! And I hope your kitchen smells half as good as mine does right now.
Frequently Asked Questions
Q: Can I use different colored peppers?
A: Absolutely! I use a mix of red, yellow, and green. Red and yellow are sweeter and milder, which kids usually prefer. Green has a bit of a bitter edge, so I use less of those. Just make sure they’re firm and stand up straight.
Q: Why did my peppers turn out mushy?
A: Usually means you baked them too long. Peppers should be tender-crisp, not soft. If you like softer peppers, pre-boil them for 3 minutes before stuffing, but I prefer the texture of raw-stuffed peppers. They have a slight crunch that contrasts with the soft beef.
Q: Can I make this ahead for a dinner party?
A: Sort of. Assemble the peppers up to 2 days ahead and store in the fridge. Bake them right before serving. If they’re cold from the fridge, add 5 minutes to the baking time. It won’t be quite as good as fresh, but it’s close and saves you stress during the party.
Q: Can I use ground turkey instead of beef?
A: Yes, but it’s leaner. Add a tablespoon of olive oil to the pan to keep it moist. It’s lighter but still delicious. I’ve made this with turkey for my friends who are watching their fat intake, and they loved it.
Q: What cheese is best for this recipe?
A: Provolone is the classic choice for cheesesteaks. White American cheese adds that gooey, stretchy texture. You can use mozzarella or cheddar, but the flavor won’t be quite the same. I recommend sticking to Provolone and American for the authentic taste.
Q: How do I reheat leftovers without it getting dry?
A: Add a splash of water to the baking dish and cover with foil. Reheat in the oven at 350°F for 10-15 minutes. This creates steam and keeps the peppers moist. Microwave sort of works but tends to dry it out.
Q: Can I double this recipe?
A: Absolutely! Double everything and use a larger baking dish. The cooking times stay the same. I do this when I’m meal-prepping or feeding a crowd. Just make sure your dish is big enough for the peppers to sit flat.
Pin This Recipe!
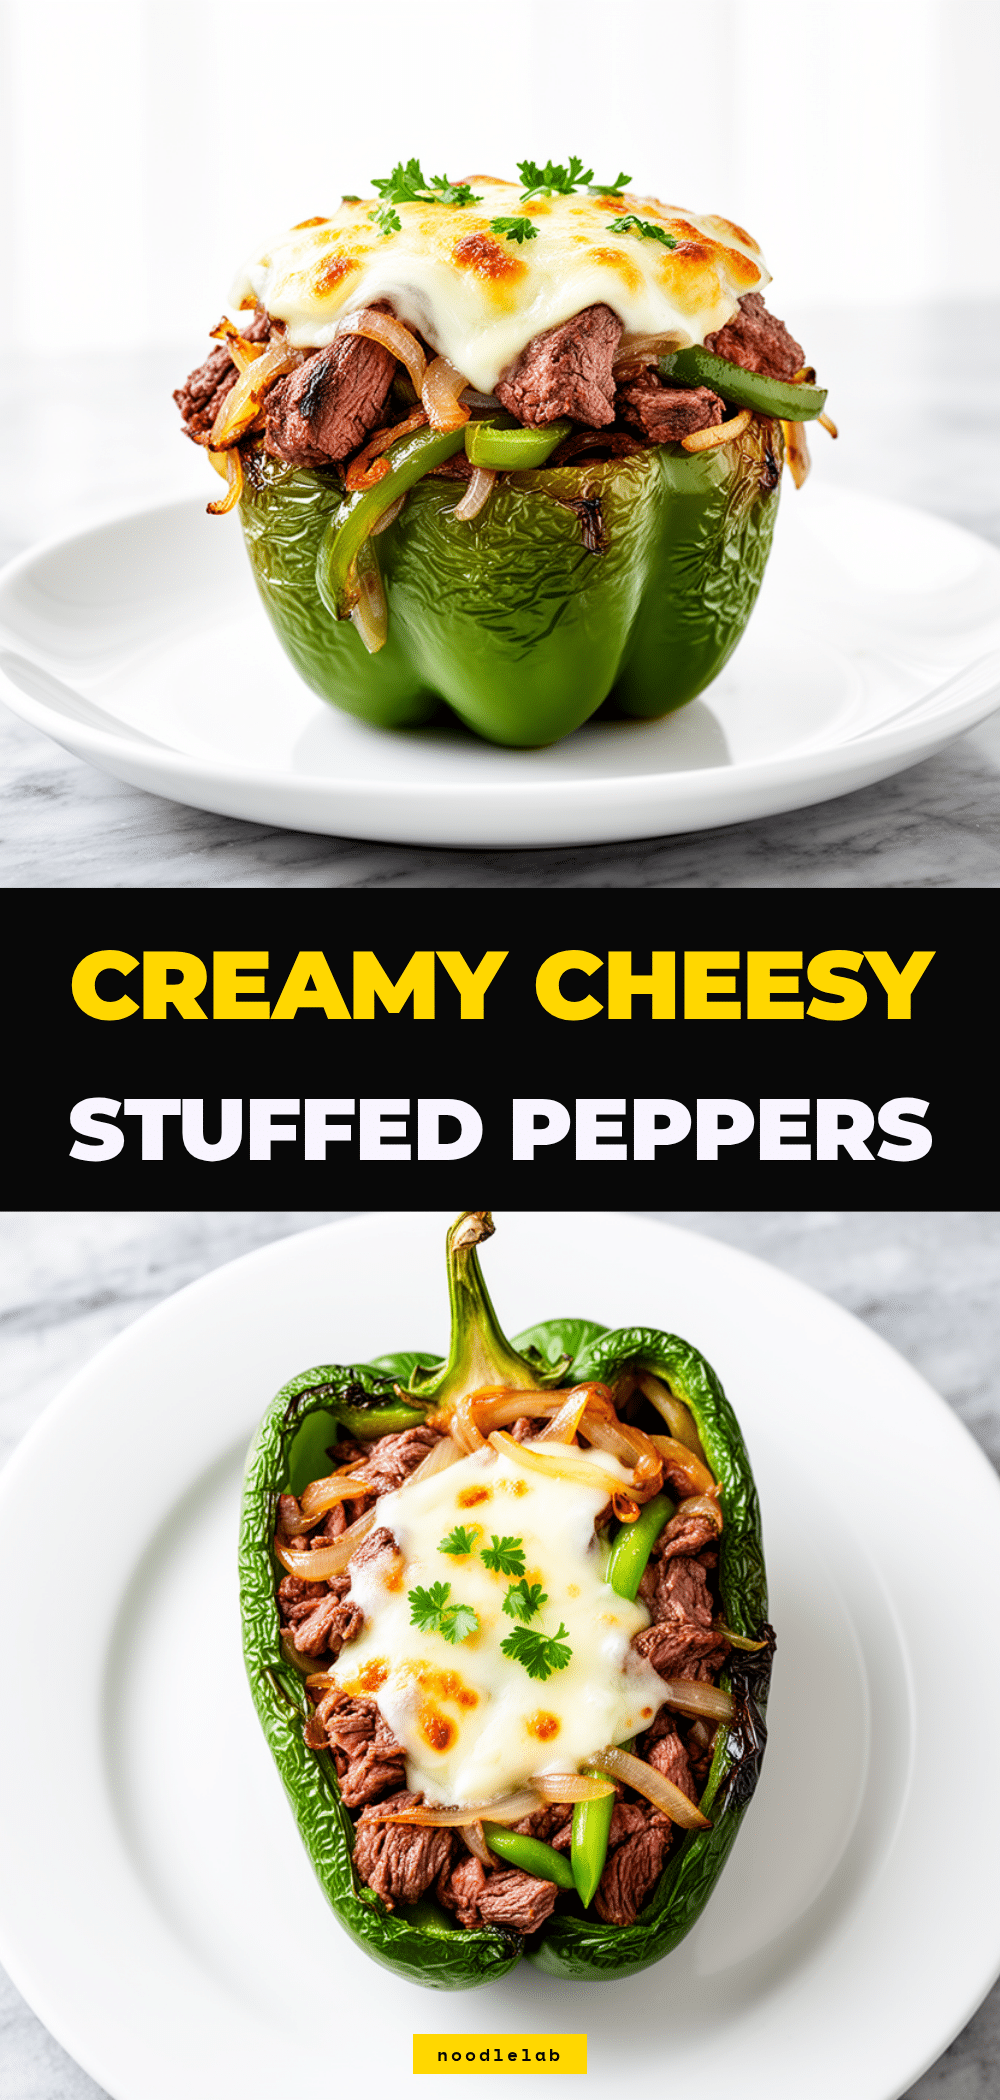
Cheesy Philly Cheesesteak Stuffed Peppers
- Total Time: 35 minutes
- Yield: 4 servings 1x
Description
A quick and easy weeknight meal that combines the savory flavors of a Philly cheesesteak with tender bell peppers, baked to perfection with melted provolone and white American cheese.
Ingredients
- 4 large bell peppers (any color, firm)
- 1 pound (450g) ground beef (80/20)
- 1 medium yellow onion, diced
- 4 cloves garlic, minced
- 1 cup (100g) provolone cheese, shredded
- 4 slices white American cheese
- 1/2 cup (120ml) low-sodium beef broth
- 1 teaspoon Worcestershire sauce
- Salt and pepper to taste
- Optional: 1/2 cup sliced mushrooms
- Optional: Hot sauce to taste
Instructions
- Preheat oven to 375°F (190°C).
- Wash bell peppers and cut off the tops (about 1 inch from the stem). Remove seeds and white membranes. Trim a tiny bit off the bottom if needed so they sit flat, then place upright in a 9×13 inch baking dish.
- Heat a large skillet over medium-high heat. Add ground beef and break it up with a wooden spoon. Cook for 5-6 minutes until browned. Drain excess grease if necessary, leaving a little for flavor.
- Add diced onion and minced garlic to the skillet. Cook for 2-3 minutes until onion is soft and translucent.
- Stir in beef broth, Worcestershire sauce, salt, and pepper. Simmer for 1-2 minutes to meld flavors, then remove from heat.
- Mix half of the shredded provolone into the beef mixture. Divide the filling evenly among the four peppers, packing it in gently.
- Top each pepper with the remaining shredded provolone and a slice of white American cheese.
- Bake for 15-20 minutes until peppers are tender-crisp and cheese is bubbly and golden. Optionally broil for 1-2 minutes for extra browning, watching closely.
- Let cool for 5 minutes before serving.
Notes
Do not overcook the peppers; they should be tender-crisp, not mushy. Use block provolone and shred it yourself for better melting. Ensure peppers sit flat in the dish to prevent filling from spilling. If making ahead, assemble and refrigerate for up to 24 hours, adding 5 minutes to baking time if cold from the fridge.
- Prep Time: 15 minutes
- Cook Time: 20 minutes
- Category: Main Course
- Cuisine: American
Nutrition
- Serving Size: 1 stuffed pepper
- Calories: 380
- Sugar: 6
- Sodium: 650
- Fat: 24
- Saturated Fat: 12
- Carbohydrates: 12
- Fiber: 3
- Protein: 28
Keywords: stuffed peppers, philly cheesesteak, easy dinner, weeknight meals, comfort food, beef recipes, cheesy peppers, quick meals


