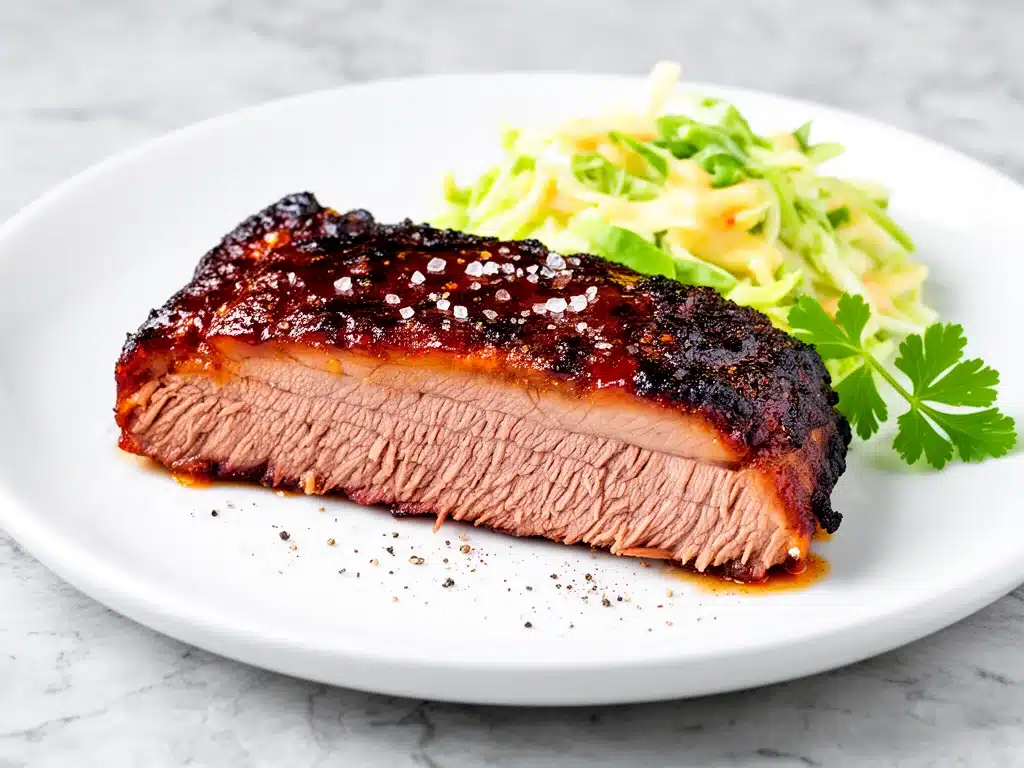
It was a Tuesday in November, the kind of gray, drizzly afternoon that makes you want to hibernate under three blankets. My husband had come home from work with that specific slump in his shoulders that means he’s had a long day, and my daughter was complaining that everything I cooked was “too plain.” I was staring at the fridge, feeling that familiar evening dread, when I remembered the three-pound beef brisket sitting in the back of my freezer, buried under a bag of frozen peas.
I’ve always been intimidated by brisket. It’s expensive, it’s tough, and for years, I treated it like a high-stakes gamble. I’d try to rush it, sear it, throw it in the oven for two hours, and end up with something that tasted like shoe leather. I almost threw it out. But then I remembered my uncle’s backyard—how he’d let that thing sit in the smoker for twelve hours while we played cards in the cold. I didn’t have a smoker. I didn’t have time for twelve hours. But I did have a slow oven and a jar of BBQ sauce.
I decided to try something reckless: slow roast it at a low temperature with a glaze that would actually stick. I set the timer for 8 hours and went to take a nap. When I woke up, the smell was incredible. Not just “cooking dinner” smell, but that deep, savory, meaty aroma that fills the whole house and makes everyone come running. I pulled it out, brushed on more glaze, and watched the juices run clear.
My husband took one bite and closed his eyes. My daughter stopped complaining. We ate it with mashed potatoes, and for the first time in months, the table was quiet except for the sound of forks scraping plates. That night, I realized that brisket isn’t about fighting the meat; it’s about giving it time to become tender. This slow roasted beef brisket with BBQ glaze has been on our dinner rotation ever since. It’s my answer to “what’s for dinner?” when I’m tired, it’s budget-friendly, and it turns out every single time. I’ve made it at least a dozen times since that rainy Tuesday, tweaking the glaze until it was perfect.
Why You’ll Love This Brisket Recipe
There are about ten reasons I keep making this, but here are the big ones that have converted my skeptical family into brisket believers.
Stupidly Tender — Seriously, you can cut it with a fork. The low-and-slow method breaks down all that tough connective tissue without drying it out. I’ve pulled briskets that were so tender they fell apart before I even got them on the plate.
Set It and Forget It — Once that glaze is on, you’re done for the day. I don’t need to babysit it. I can clean the kitchen, help with homework, or just sit down. It’s the ultimate hands-off dinner for busy weeknights or lazy weekends.
Flavor That Penetrates — Most people think BBQ means surface-level sauce. This glaze caramelizes and seeps into the meat during the long cook. Every bite is flavored, not just coated. It’s deep, smoky, and sweet without being cloying.
Feeds a Crowd for Less — Brisket is cheaper per pound than steaks or chicken breasts. This recipe easily feeds 6-8 people. It’s perfect for potlucks, family gatherings, or just when you want leftovers for sandwiches all week.
Leftover Gold — The magic happens on day two. Shred the leftovers and put them on sandwiches, tacos, or over rice. The flavors deepen overnight. I deliberately make extra because the leftovers are almost as good as the fresh batch.
This is my go-to when I need dinner to just work. No complicated techniques, no weird ingredients, just reliable, delicious food that makes everyone happy. If you’ve never tried cooking brisket at home, this is the way to start.
Ingredients You’ll Need
Here’s the best part: you probably have most of this already. I’m particular about three ingredients here, and I’ll tell you exactly why.
For the Brisket
Beef Brisket (3-4 pounds / 1.5-2 kg) — Look for a “flat cut” or a mix of flat and point. The flat is leaner and easier to slice; the point is fattier and more flavorful. I usually buy a flat because it’s easier to handle. Don’t go for the cheapest option—look for some marbling. You want fat, not just lean meat.
Coarse Black Pepper (2 tablespoons) — This is the backbone of the rub. Don’t use ground pepper; it burns. Coarse gives you those nice crunchy bits. I buy it in bulk because I use it everywhere.
Smoked Paprika (1 tablespoon) — This is non-negotiable. It gives that authentic BBQ flavor without a smoker. Sweet paprika is too bland; smoked is the key. If you can’t find smoked, mix regular paprika with a pinch of cumin.
Garlic Powder (1 tablespoon) — Yes, powder. Fresh garlic burns at low temps. Powder infuses evenly. Don’t skimp—it’s essential.
Onion Powder (1 tablespoon) — Adds savory depth. Another pantry staple.
Brown Sugar (2 tablespoons) — Helps the glaze caramelize and balances the salt. Light or dark works; I prefer dark for deeper flavor.
Salt (1 tablespoon) — Kosher salt is best because it’s easier to control. Table salt is too salty by volume. Season generously.
Vegetable Oil (2 tablespoons) — Helps the rub stick and prevents sticking to the pan. Olive oil can smoke at high temps, so stick with neutral oils.
For the BBQ Glaze
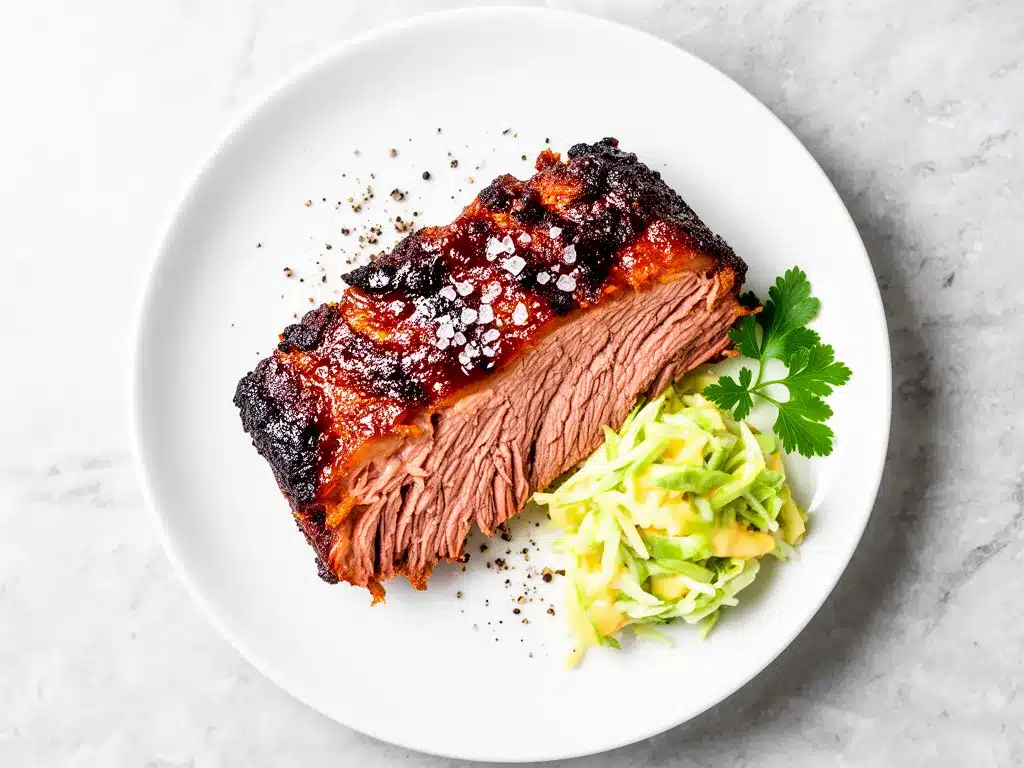
BBQ Sauce (1 cup / 240ml) — Use your favorite. I like sweet and smoky. Avoid the “thin” sauces; you want something thick and rich. If your sauce is too sweet, add a splash of vinegar.
Apple Cider Vinegar (2 tablespoons) — Cuts the sweetness and adds tang. It balances the heavy meat. Don’t skip it.
Worcestershire Sauce (1 tablespoon) — Adds umami and depth. It’s the secret ingredient that makes it taste “restaurant-quality.”
Hot Sauce (1 teaspoon, optional) — Just a kick. I use Tabasco or Frank’s. If you like it spicy, add more.
Mustard (1 teaspoon) — Yellow or Dijon. It emulsifies the sauce and adds another layer of flavor.
Equipment Needed
You don’t need fancy equipment for this. Here’s what I actually use.
Large Roasting Pan or Dutch Oven — I use a 6-quart Dutch oven. It needs to fit the brisket comfortably with some room for the glaze. My ancient roasting pan from college still works fine.
Aluminum Foil — Heavy-duty foil is best. You’ll need to cover the brisket for most of the cook. Regular foil might tear.
Meat Thermometer — This is crucial. You want to know when it’s done, not guess. Instant-read thermometers are cheap and worth every penny.
Sharp Knife — For slicing against the grain. Dull knives make you cry more—learned this the hard way.
Brush — For applying the glaze. Silicone brushes are easier to clean than bristle ones.
Mixing Bowl — For mixing the rub and glaze.
Wooden Spoon — For stirring the glaze if you’re heating it on the stove.
Optional but nice:
– Meat Tongs — Makes handling the hot brisket safer.
– Cutting Board — Any size works. I use plastic for easier cleanup.
How to Make It: Step-by-Step
Alright, let’s make this! I’m walking you through exactly how I do it, including the little tricks I’ve picked up.
Step 1: Prep the Brisket (10 minutes)
Remove the brisket from the fridge and pat it dry with paper towels. Moisture is the enemy of good crust. Trim any large chunks of hard fat, but leave a thin layer (about 1/4 inch) to keep it moist. Place it on a cutting board.
Step 2: Make the Rub (5 minutes)
In a small bowl, mix the coarse black pepper, smoked paprika, garlic powder, onion powder, brown sugar, and salt. Mix well. This is your dry rub. The brown sugar will help caramelize later.
Step 3: Season the Meat (5 minutes)
Drizzle the vegetable oil over the brisket and rub it all over. Then, generously apply the rub to every side, including the edges. Press it in so it sticks. Don’t be shy with the seasoning—you want a flavorful crust.
Step 4: Prepare the Glaze (5 minutes)
In a separate bowl, whisk together the BBQ sauce, apple cider vinegar, Worcestershire sauce, hot sauce, and mustard. Taste it. It should be tangy, sweet, and a little spicy. Adjust as needed. If you’re using a thick sauce, you might need to thin it slightly with a little water.
Step 5: The Long Roast (6-7 hours)
Preheat your oven to 300°F (150°C). Place the seasoned brisket in your roasting pan or Dutch oven. Pour about 1 cup of water or beef broth into the bottom of the pan (not over the meat) to create steam. Cover tightly with heavy-duty aluminum foil. This traps the moisture and tenderizes the meat.
Roast for 6-7 hours. Do not open the oven during this time. The low heat slowly breaks down the collagen. If you open it, you lose heat and time.
Step 6: Glaze and Finish (30 minutes)
After 6-7 hours, check the internal temperature. It should be around 195-205°F (90-96°C) for fork-tender meat. If it’s not there yet, cover and cook for another hour. Once tender, remove the foil.
Brush half of the BBQ glaze over the brisket. Increase the oven temperature to 400°F (200°C) or switch to broil for the last 10-15 minutes. Watch it closely! You want the glaze to bubble and caramelize, not burn. Brush with the remaining glaze halfway through this step.
Step 7: Rest and Slice (30 minutes)
This is the hardest part: wait. Remove the brisket from the oven and let it rest, loosely covered with foil, for at least 30 minutes. This allows the juices to redistribute. If you cut it immediately, all the juice runs out, and you get dry meat.
After resting, slice against the grain. This means you’re cutting perpendicular to the direction of the muscle fibers. It makes each bite tender. Serve with extra glaze on the side.
Expert Tips & Tricks
Here’s everything I’ve learned from making this dozens of times. These tips will save you from my mistakes.
Against the Grain is Everything
This is the #1 tip. Look at the direction the muscle fibers run. Cut perpendicular to them. If you cut with the grain, you’re chewing through long, tough fibers. Against the grain, each piece is short and tender. It’s a game-changer.
Don’t Rush the Rest
I know it’s tempting to dig in. But resting is crucial. If you cut too soon, the meat will be dry. Thirty minutes is minimum. If you can wait 45, even better. The meat will stay warm.
Check Temperature, Not Time
Ovens vary. Time is a guide; temperature is the truth. Aim for 195-205°F. If you pull it at 170°F, it’ll be tough. If you go over 210°F, it might dry out. Use a thermometer.
Glaze Wisely
BBQ sauce has sugar. Sugar burns. That’s why you add it at the end. If you glaze at the beginning, it’ll char and taste bitter. Save it for the last 30 minutes.
Save the Juices
Don’t throw away the liquid in the pan! It’s liquid gold. Skim off the excess fat, and use the rest to make gravy or pour over the meat. It’s packed with flavor.
Common Mistakes (and how to avoid them):
- Mistake: Meat is dry Fix: You didn’t rest it, or you cut it against the grain wrong. Also, ensure you had enough fat layer.
- Mistake: Glaze is burnt Fix: Oven was too hot, or you glazed too early. Lower temp or add glaze later.
- Mistake: Meat is tough Fix: Not cooked long enough. Brisket needs time. Check temp.
Variations & Substitutions
Once you’ve nailed the basic version, here’s how you can mix it up. I’ve tried all of these.
Spicy BBQ Version
Add 2 teaspoons of cayenne pepper to the rub and double the hot sauce in the glaze. For my friends who like heat, this is the way to go.
Honey Garlic Glaze
Swap the BBQ sauce for a mix of honey, soy sauce, and minced garlic. It’s sweeter and more Asian-inspired. My kids love this version.
Mustard-Based Glaze
Mix yellow mustard, brown sugar, and apple cider vinegar. This is more traditional in some Southern styles. Tangy and sharp.
Smoked Salt Rub
Replace regular salt with smoked salt. Adds another layer of smoke without a smoker. I love this for a subtle flavor boost.
Vegetarian Swap
Use a large portobello mushroom or a block of firm tofu. Marinate it in the same rub and glaze. It won’t be the same texture, but it’s a good meat-free option.
Dietary Modifications:
- Gluten-Free Check your BBQ sauce and Worcestershire sauce. Many contain gluten. Use certified GF versions.
- Low-Sodium Use low-sodium BBQ sauce and reduce salt in the rub. You can always add more.
- Dairy-Free This recipe is naturally dairy-free. Just check your BBQ sauce for hidden dairy.
Serving & Storage
How to Serve:
I usually serve this straight from the cutting board. It looks rustic and stays warm. But here are other ways I’ve enjoyed it:
- BBQ Sandwiches Shred the meat and pile it on brioche buns with coleslaw. Classic.
- Mashed Potatoes Pour the pan juices over creamy mashed potatoes. Comfort food at its finest.
- Green Beans Simple steamed green beans with butter. Balances the richness.
- Cornbread Sweet cornbread is perfect for soaking up the glaze.
Toppings Bar:
When I have guests, I put out: extra BBQ sauce, shredded cheddar, pickled jalapeños, chopped green onions. Everyone customizes their bowl.
Storage Instructions:
Refrigerator: Store in an airtight container for up to 4 days. The meat will get firmer in the fridge—totally normal.
Reheating: Best method: Slice the meat, add a splash of broth or water, and cover with foil. Warm in the oven at 300°F until heated through. This keeps it moist.
Microwave method: Heat in 30-second intervals, stirring between. Add a splash of water if it’s too dry.
Never works: Trying to reheat it uncovered. It’ll dry out. Ask me how I know.
Freezing: Brisket freezes well! Slice or shred it, store in freezer bags with some juices. Thaw in the fridge overnight. Reheat gently. It stays moist for up to 3 months.
Meal Prep: Make the brisket on Sunday. Slice it, store in the fridge. Reheat slices for lunch during the week. It’s faster than cooking every day.
Nutrition Information
I’m not a nutritionist, but here’s the breakdown if you’re tracking.
Per Serving (based on 8 servings):
- Calories: 380
- Protein: 35g
- Carbs: 12g
- Fiber: 1g
- Sugar: 9g
- Fat: 22g
- Saturated Fat: 8g
- Cholesterol: 110mg
- Sodium: 650mg
What’s Good: High protein, filling, savory.
What to Know: Higher in fat and sodium due to the brisket and BBQ sauce. Use low-sodium sauce to reduce sodium. The fat is mostly saturated, but it’s part of the flavor.
My Take: Look, this is comfort food. It’s not a diet recipe. But it’s way better than takeout, costs less, and I know exactly what’s in it. When I want to make it lighter, I trim more fat and use less sauce. But usually? I just eat a reasonable portion and enjoy it.
Final Thoughts
So that’s my slow roasted beef brisket with BBQ glaze! I’ve probably talked your ear off at this point, but when you make a recipe this often, you have a lot to say about it.
This has saved weeknight dinners more times than I can count. It’s my answer to “what’s for dinner” when I’m tired, don’t want takeout, and still want something that tastes really good. My kids are happy, my husband’s happy, and I’m happy because I’m not stressed about cooking.
Make it yours! Try different glazes, swap in your favorite spices, adjust the heat. The best recipes are the ones you adapt to your family’s tastes. If you make this, drop a comment and let me know what you think! I love hearing how recipes turn out in your kitchen. And if something doesn’t work, tell me that too—I’m here to help troubleshoot.
Happy cooking! And I hope your kitchen smells half as good as mine does right now.
Frequently Asked Questions
Q: Can I use a slow cooker instead of the oven?
A: Absolutely! This is actually one of my favorite ways to make it. Season the brisket, put it in the slow cooker, add 1 cup of beef broth, and cook on low for 8-10 hours. At the end, remove the meat, thicken the juices on the stove, and brush it on. It’s even easier than the oven method. If you like slow cooker recipes, you might also enjoy my slow cooker apple cider pulled pork—it’s similar in technique and just as cozy.
Q: Why is my brisket dry?
A: Usually, this means you didn’t cook it long enough or you didn’t rest it. Brisket needs to reach at least 195°F internally to break down the collagen. If you pull it early, it’ll be tough and dry. Also, make sure you have a fat layer on top to protect the meat.
Q: Can I freeze leftover brisket?
A: Yes! Brisket freezes beautifully. Slice or shred it, store it in freezer bags with some of the pan juices, and freeze for up to 3 months. Thaw in the fridge overnight and reheat gently with a splash of water or broth.
Q: What’s the best BBQ sauce to use?
A: It depends on your taste. I like sweet and smoky sauces. Avoid thin, watery sauces—they won’t glaze well. Thick, rich sauces work best. If your sauce is too sweet, add vinegar or hot sauce to balance it.
Q: Can I make this ahead for a party?
A: Yes! Cook the brisket a day ahead. Let it cool, store it in the fridge, and reheat it gently before serving. The flavors actually improve overnight. Just add the glaze fresh before serving so it doesn’t get soggy.
Q: How do I slice brisket?
A: Always slice against the grain. Look at the direction the muscle fibers run, and cut perpendicular to them. This shortens the fibers and makes each bite tender. It’s the most important step for texture.
Q: Can I use a different cut of meat?
A: You can use chuck roast or pork shoulder, but the cooking time and texture will be different. Brisket is unique because of its connective tissue. Other cuts are leaner and don’t need as long a cook. For a similar slow-roasted experience, try my creamy pumpkin alfredo pasta for a cozy fall dinner alternative.
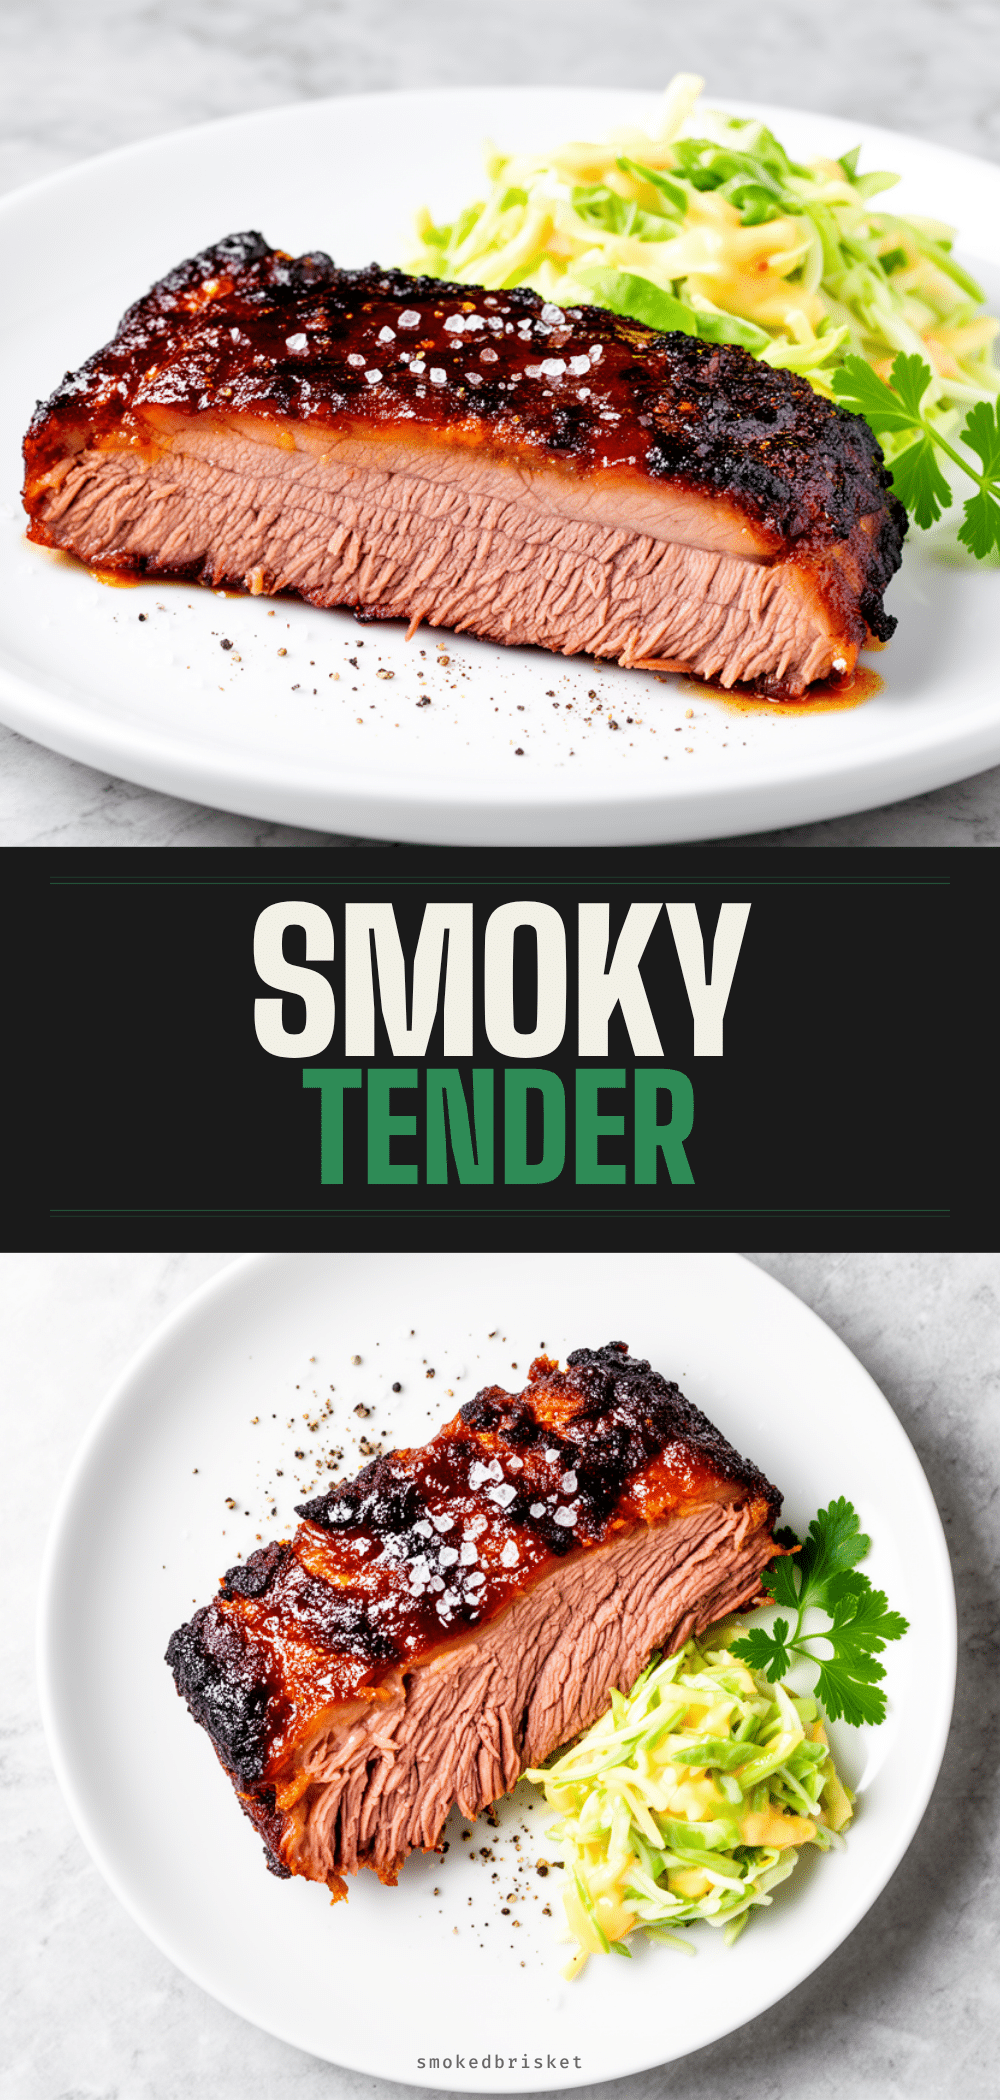
Pin This Recipe!
Slow Roasted Beef Brisket with BBQ Glaze
- Total Time: 7 hours 25 minutes
- Yield: 8 servings 1x
Description
A tender, slow-roasted beef brisket with a sticky, caramelized BBQ glaze. This hands-off recipe breaks down tough connective tissue for fork-tender meat, perfect for busy weeknights or feeding a crowd.
Ingredients
- 3–4 pounds beef brisket (flat cut preferred)
- 2 tablespoons coarse black pepper
- 1 tablespoon smoked paprika
- 1 tablespoon garlic powder
- 1 tablespoon onion powder
- 2 tablespoons brown sugar
- 1 tablespoon kosher salt
- 2 tablespoons vegetable oil
- 1 cup BBQ sauce
- 2 tablespoons apple cider vinegar
- 1 tablespoon Worcestershire sauce
- 1 teaspoon hot sauce (optional)
- 1 teaspoon mustard (yellow or Dijon)
- 1 cup water or beef broth (for roasting pan)
Instructions
- Preheat oven to 300°F (150°C).
- Pat the brisket dry with paper towels and trim large chunks of hard fat, leaving a 1/4 inch layer.
- In a small bowl, mix coarse black pepper, smoked paprika, garlic powder, onion powder, brown sugar, and salt to create the dry rub.
- Drizzle vegetable oil over the brisket and rub it all over. Apply the dry rub generously to all sides, pressing it in.
- In a separate bowl, whisk together BBQ sauce, apple cider vinegar, Worcestershire sauce, hot sauce, and mustard to make the glaze.
- Place the seasoned brisket in a large roasting pan or Dutch oven. Pour 1 cup of water or beef broth into the bottom of the pan.
- Cover tightly with heavy-duty aluminum foil.
- Roast for 6-7 hours without opening the oven.
- Check internal temperature; it should reach 195-205°F (90-96°C). If not tender, cook for another hour.
- Remove foil and brush half of the BBQ glaze over the brisket.
- Increase oven temperature to 400°F (200°C) or switch to broil for 10-15 minutes to caramelize the glaze. Brush with remaining glaze halfway through.
- Remove from oven and let rest, loosely covered with foil, for at least 30 minutes.
- Slice against the grain and serve with extra glaze on the side.
Notes
Slice against the grain to ensure tenderness. Do not rush the resting period, as it allows juices to redistribute. Check internal temperature rather than relying solely on time. Save the pan juices to make gravy.
- Prep Time: 25 minutes
- Cook Time: 6-7 hours
- Category: Main Course
- Cuisine: American
Nutrition
- Serving Size: 1 slice per serving
- Calories: 380
- Sugar: 9
- Sodium: 650
- Fat: 22
- Saturated Fat: 8
- Carbohydrates: 12
- Fiber: 1
- Protein: 35
Keywords: beef brisket, BBQ glaze, slow roasted brisket, tender brisket, easy dinner, comfort food, fall recipes, meal prep


