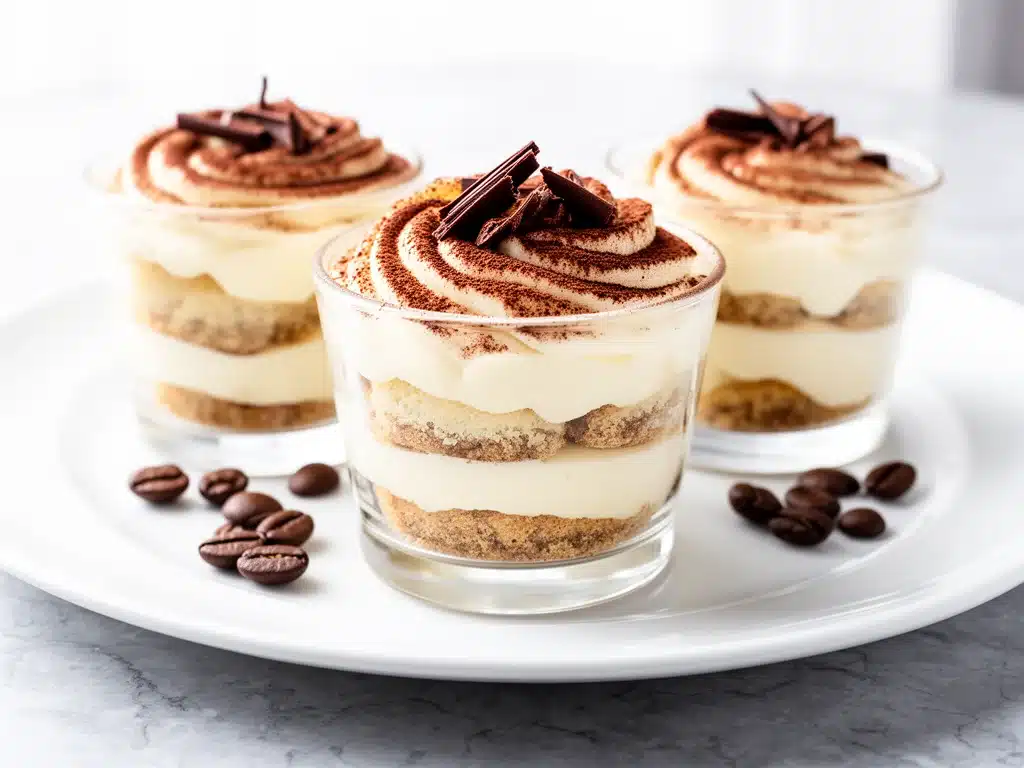
One rainy Saturday afternoon, I found myself craving something sweet but didn’t want to turn on the oven—or spend hours in the kitchen. I rummaged through the pantry and fridge, pulling out ladyfingers, cream cheese, and instant espresso powder, and decided to experiment. What came out of that spontaneous kitchen session was these no bake tiramisu cheesecake cups with simple ingredients. They were creamy, rich, and had just the right coffee kick, all without heating up the house or using complicated techniques.
I’ve made these cheesecake cups more times than I can count since then—perfect for when friends drop by unexpectedly or when I want a quick dessert that feels fancy but isn’t a hassle. The best part? You only need a handful of pantry staples and a few fresh ingredients. No mixer, no baking, just layering and chilling. It’s become my secret weapon for dessert that looks impressive but comes together in under 20 minutes.
Here’s the thing about this no bake tiramisu cheesecake cups easy recipe with simple ingredients: it’s forgiving, adaptable, and downright addictive. Whether you’re a tiramisu fan or a cheesecake lover, it hits the spot every time.
Why You’ll Love This Recipe
This recipe has completely changed the way I approach dessert when I’m short on time but still want to impress.
- Simple Ingredients — No fancy mascarpone or hard-to-find items. Cream cheese, ladyfingers, espresso powder, and a few pantry staples are all you need.
- No Baking Required — Seriously, zero oven time. Just mix, layer, and chill. Perfect for hot summer days or when you want to keep things easy.
- Make-Ahead Friendly — These cups taste even better after a few hours in the fridge, making them ideal for meal prep or entertaining.
- Individual Portions — No slicing or messy serving. Everyone gets their own cup, which is great for portion control and presentation.
- Crowd-Pleaser — I’ve served these at family dinners and casual get-togethers, and they always disappear fast. Bonus: they appeal to both tiramisu purists and cheesecake fans.
- Customizable — Want to add a splash of liqueur? Or swap ladyfingers for graham crackers? Totally doable and delicious.
This easy dessert has saved me on more than one occasion when I wanted something impressive but didn’t have hours to spend in the kitchen. Plus, it’s a great way to sneak in a little coffee break without the caffeine crash.
Ingredients You’ll Need
Here’s the best part: most of these are pantry staples or items you probably already have. I’m picky about a couple ingredients here, and I’ll tell you why.
- Cream Cheese (8 oz / 225g, softened) — Provides that creamy, tangy base. Bring it to room temperature so it blends smoothly. No shortcuts here.
- Heavy Whipping Cream (1 cup / 240ml) — Full-fat only. This whips into fluffy peaks that give the cheesecake its light texture.
- Powdered Sugar (½ cup / 60g) — Dissolves easily for a silky, sweet finish. Regular granulated sugar won’t work as well here.
- Instant Espresso Powder (1 tablespoon) — Gives the tiramisu that unmistakable coffee flavor. Instant works best for quick dissolving.
- Vanilla Extract (1 teaspoon) — Adds warmth and depth. I always use pure vanilla, but imitation works in a pinch.
- Ladyfingers (about 20 pieces) — These delicate cookies soak up the coffee flavor without getting soggy. You can find them at most grocery stores or online.
- Brewed Coffee or Espresso (1 cup / 240ml, cooled) — Use strong brewed coffee or espresso for dipping the ladyfingers. I like mine just slightly sweetened.
- Cocoa Powder (for dusting) — Unsweetened, to finish with that classic tiramisu look and a hint of bitterness that balances the sweetness.
Optional Add-Ins:
- Kahlúa or Coffee Liqueur (1-2 tablespoons) — Adds a boozy kick if you’re feeling fancy.
- Chocolate Shavings — For garnish and an extra touch of indulgence.
Quick note: If you want to try a twist on this, I’ve found swapping ladyfingers with no bake chocolate peanut butter bars crumbs can add a fun chocolate crunch.
Equipment Needed
You don’t need anything fancy to make these tiramisu cheesecake cups. Here’s what I use:
- Mixing Bowls — One large for whipping cream, one medium for the cream cheese mixture. Glass or metal works best.
- Electric Hand Mixer or Stand Mixer — Whipping cream by hand is possible but takes forever. I’m all about saving time.
- Measuring Cups and Spoons — Accuracy matters with powdered sugar and espresso powder.
- Spoons or Small Whisks — For folding ingredients gently.
- Serving Cups or Jars — I use clear glass cups so you can see the beautiful layers. Mason jars or small dessert bowls work too.
- Fine Mesh Sieve — For dusting cocoa powder evenly on top.
If you don’t have a mixer, a whisk and some patience will get you there. Also, I often make this while multitasking—like when I’m prepping creamy pumpkin alfredo pasta for dinner. It’s a great way to streamline dessert and dinner prep.
How to Make It: Step-by-Step
Alright, let’s make this! I’m walking you through exactly how I do it, including the little tricks I’ve picked up.
Step 1: Brew the Coffee and Prep Ingredients (5 minutes)
Brew a strong cup of coffee or espresso and let it cool completely. While that’s cooling, soften your cream cheese by leaving it out for 30 minutes or microwaving for 15 seconds if you’re in a rush. Measure out your powdered sugar and espresso powder.
Step 2: Whip the Cream (5 minutes)
In a large bowl, use an electric mixer to whip the heavy cream until soft peaks form. This means when you lift the whisk, the cream holds its shape softly without collapsing immediately. Set aside.
Step 3: Make the Cream Cheese Mixture (5 minutes)
In a medium bowl, beat the softened cream cheese with powdered sugar, vanilla extract, and espresso powder until smooth and fluffy. This can take about 2-3 minutes. It should be creamy and free of lumps.
Step 4: Fold Whipped Cream into Cream Cheese (2 minutes)
Gently fold the whipped cream into the cream cheese mixture using a spatula. Be careful not to deflate the whipped cream—you want that airy texture to shine through.
Step 5: Assemble the Cups (5 minutes)
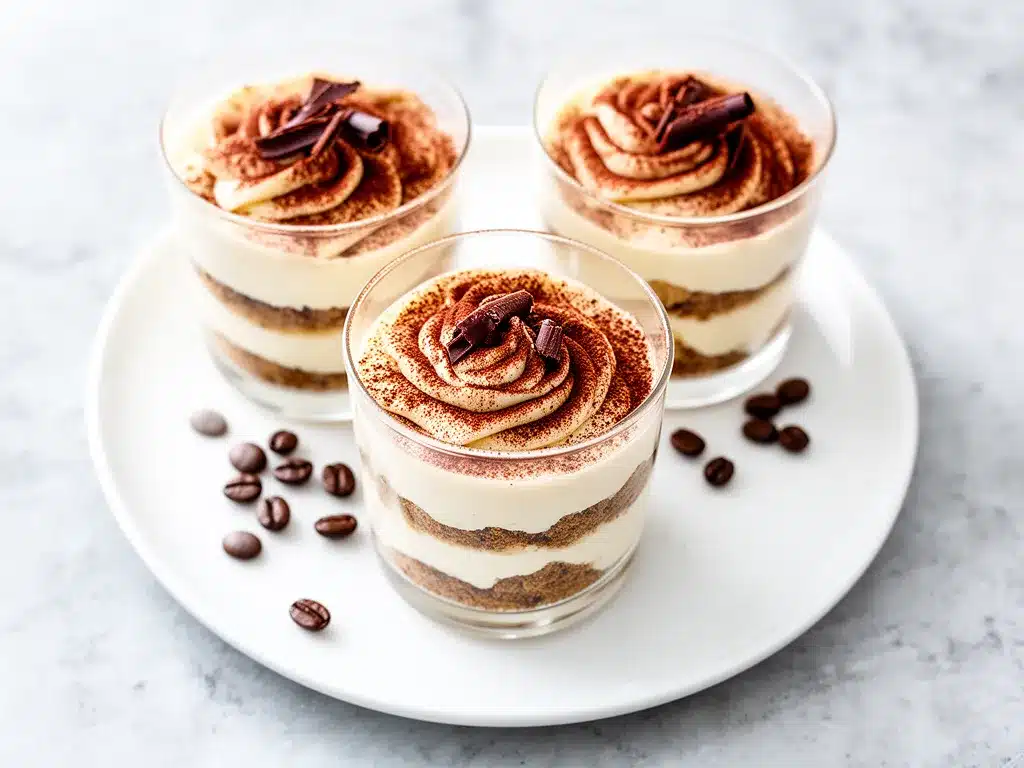
Dunk each ladyfinger into the cooled coffee quickly—don’t soak them or they’ll get soggy. Place one layer of dipped ladyfingers at the bottom of each serving cup. Spoon or pipe a layer of the cream cheese mixture on top. Repeat once or twice depending on your cup size, finishing with the cream layer.
Step 6: Chill and Dust (At least 4 hours)
Cover the cups with plastic wrap and refrigerate for at least 4 hours, preferably overnight. Before serving, dust the tops generously with cocoa powder using a fine mesh sieve.
Step 7: Serve
Serve chilled straight from the fridge. Optional: add chocolate shavings or a drizzle of coffee liqueur on top for extra flair.
Pro Tip: Don’t over-soak the ladyfingers. A quick 1-2 second dip is enough to get flavor without sogginess. I learned this the hard way when my first batch turned into a mushy mess!
Expert Tips & Tricks
- Use Room Temperature Cream Cheese: Cold cream cheese lumps up and makes mixing a headache. I always plan ahead and let it sit out.
- Fold Don’t Stir: When combining whipped cream with the cream cheese mixture, folding keeps it light and fluffy.
- Instant Espresso Powder Works Best: It dissolves completely and gives a clean coffee flavor without bitterness.
- Chill Long Enough: The longer it sits, the better the flavors meld and the texture firms up. Overnight is ideal.
- Try a Splash of Liqueur: Kahlúa or coffee liqueur adds a grown-up twist if you want to jazz it up.
- Don’t Skip the Cocoa Dusting: It adds that classic tiramisu bitterness and makes the cups look restaurant-worthy.
- Use Clear Cups for Presentation: It’s such a simple trick, but seeing the layered coffee-soaked ladyfingers and creamy filling makes a big impression.
Variations & Substitutions
Once you’ve nailed the basic version, here’s how you can mix it up. I’ve tried all of these—some accidentally, some intentionally.
- Chocolate Tiramisu Cups: Add a layer of chocolate ganache or sprinkle mini chocolate chips between layers. Perfect if you love a little extra indulgence.
- Berry Twist: Add fresh raspberries or strawberries between layers for a fruity pop that cuts the richness.
- Vegan Version: Use vegan cream cheese, coconut cream whipped to peaks, and dairy-free ladyfingers. Use cocoa powder and espresso as usual. Texture will differ but it’s still tasty.
- Use Graham Crackers: If you can’t find ladyfingers, graham crackers can be a good substitute. They soak differently, so dip quickly.
- Make It Boozy: Add a tablespoon of rum or coffee liqueur to the coffee mixture for dipping ladyfingers.
- Individual Mini Cheesecakes: Pour the cream mixture into mini muffin tins lined with ladyfingers for a fun twist.
Serving & Storage
I usually serve these tiramisu cheesecake cups straight from the fridge, but you can let them sit at room temperature for 10 minutes to soften slightly before eating. The cocoa powder dusting adds a nice touch and a hint of bitterness that balances the sweetness.
Side Suggestions: These cups are rich and creamy, so pair them with something light like a simple fruit salad or a cup of black coffee. They also work well after cozy dinners like slow cooker apple cider pulled pork when you want a dessert that feels special but not heavy.
Storage: Store leftovers covered in the fridge for up to 3 days. The ladyfingers will continue to absorb moisture, making the texture softer. Re-chill before serving.
Freezing: I don’t recommend freezing these cups because the texture changes and the cream can separate upon thawing.
Meal Prep: Make them the night before you need them. They’re even better after a good chill.
Nutrition Information
I’m not a nutritionist, but here’s the rough breakdown for one serving (based on 6 servings):
| Nutrient | Amount |
|---|---|
| Calories | 320 |
| Protein | 6g |
| Carbohydrates | 25g |
| Fiber | 1g |
| Sugar | 18g |
| Fat | 22g |
| Saturated Fat | 13g |
| Cholesterol | 70mg |
| Sodium | 210mg |
| Calcium | 120mg |
This dessert is rich and creamy, so it’s definitely a treat. The coffee flavor adds a little boost, and if you add fresh fruit, you’ll get some extra vitamins. For a lighter option, try reducing powdered sugar or swapping heavy cream with half-and-half (though it won’t whip as well).
Final Thoughts
So that’s my go-to no bake tiramisu cheesecake cups with simple ingredients! I’ve probably talked your ear off at this point, but when you make a recipe this often, you have a lot to say about it.
This dessert has saved many lazy afternoons and last-minute dinner parties. It’s my answer to “I want something sweet but no fuss.” My family loves it, friends ask for the recipe, and I love how quick it is to pull together.
Make it yours! Add cinnamon, swap ladyfingers for graham crackers, or sneak in some fresh berries. The best recipes are the ones you adapt to your tastes.
If you give this recipe a try, drop a comment below and tell me how it went. I’m always here if you want help troubleshooting or swapping ingredients.
Happy no-bake dessert making! I hope your kitchen smells as amazing as mine does right now.
Frequently Asked Questions
Q: Can I use regular brewed coffee instead of espresso powder?
A: Absolutely! Use brewed coffee for dipping ladyfingers, but for the cream mixture, instant espresso powder is best because it dissolves completely and gives a clean, concentrated coffee flavor. If you don’t have espresso powder, you can add a tablespoon of strong brewed coffee to the cream cheese mixture, but it may affect the texture slightly.
Q: My whipped cream won’t hold peaks—what’s wrong?
A: Whipping cream needs to be cold to whip well. Chill your bowl and beaters in the freezer for 10-15 minutes before whipping. Also, make sure you’re using heavy whipping cream (not light or half-and-half). If it still won’t hold, try whipping a little longer but watch closely so it doesn’t turn into butter.
Q: Can I make these cups ahead of time?
A: Yes! In fact, they taste better after chilling for several hours or overnight. Just assemble, cover tightly, and refrigerate. This also makes it perfect for entertaining or meal prep.
Q: Can I substitute the ladyfingers?
A: You can, but it changes the texture and flavor. Graham crackers, sponge cake slices, or even crushed cookies work in a pinch. Just be careful with soaking time—they absorb liquids differently.
Q: How do I prevent the ladyfingers from getting too soggy?
A: The key is a quick dip in the coffee—about 1-2 seconds. If you leave them soaking, they’ll fall apart and turn mushy. Also, work quickly when assembling so the ladyfingers don’t sit in liquid too long before chilling.
Q: Can I use mascarpone instead of cream cheese?
A: Mascarpone is the traditional cheese for tiramisu and will give a silkier texture, but it’s more expensive and less tangy. Cream cheese is a great, affordable alternative that holds up well in this no bake cheesecake version.
Q: Can I freeze the tiramisu cheesecake cups?
A: I don’t recommend freezing because the whipped cream and cream cheese can separate and the texture changes upon thawing. Best to make fresh or store in the fridge for a few days.
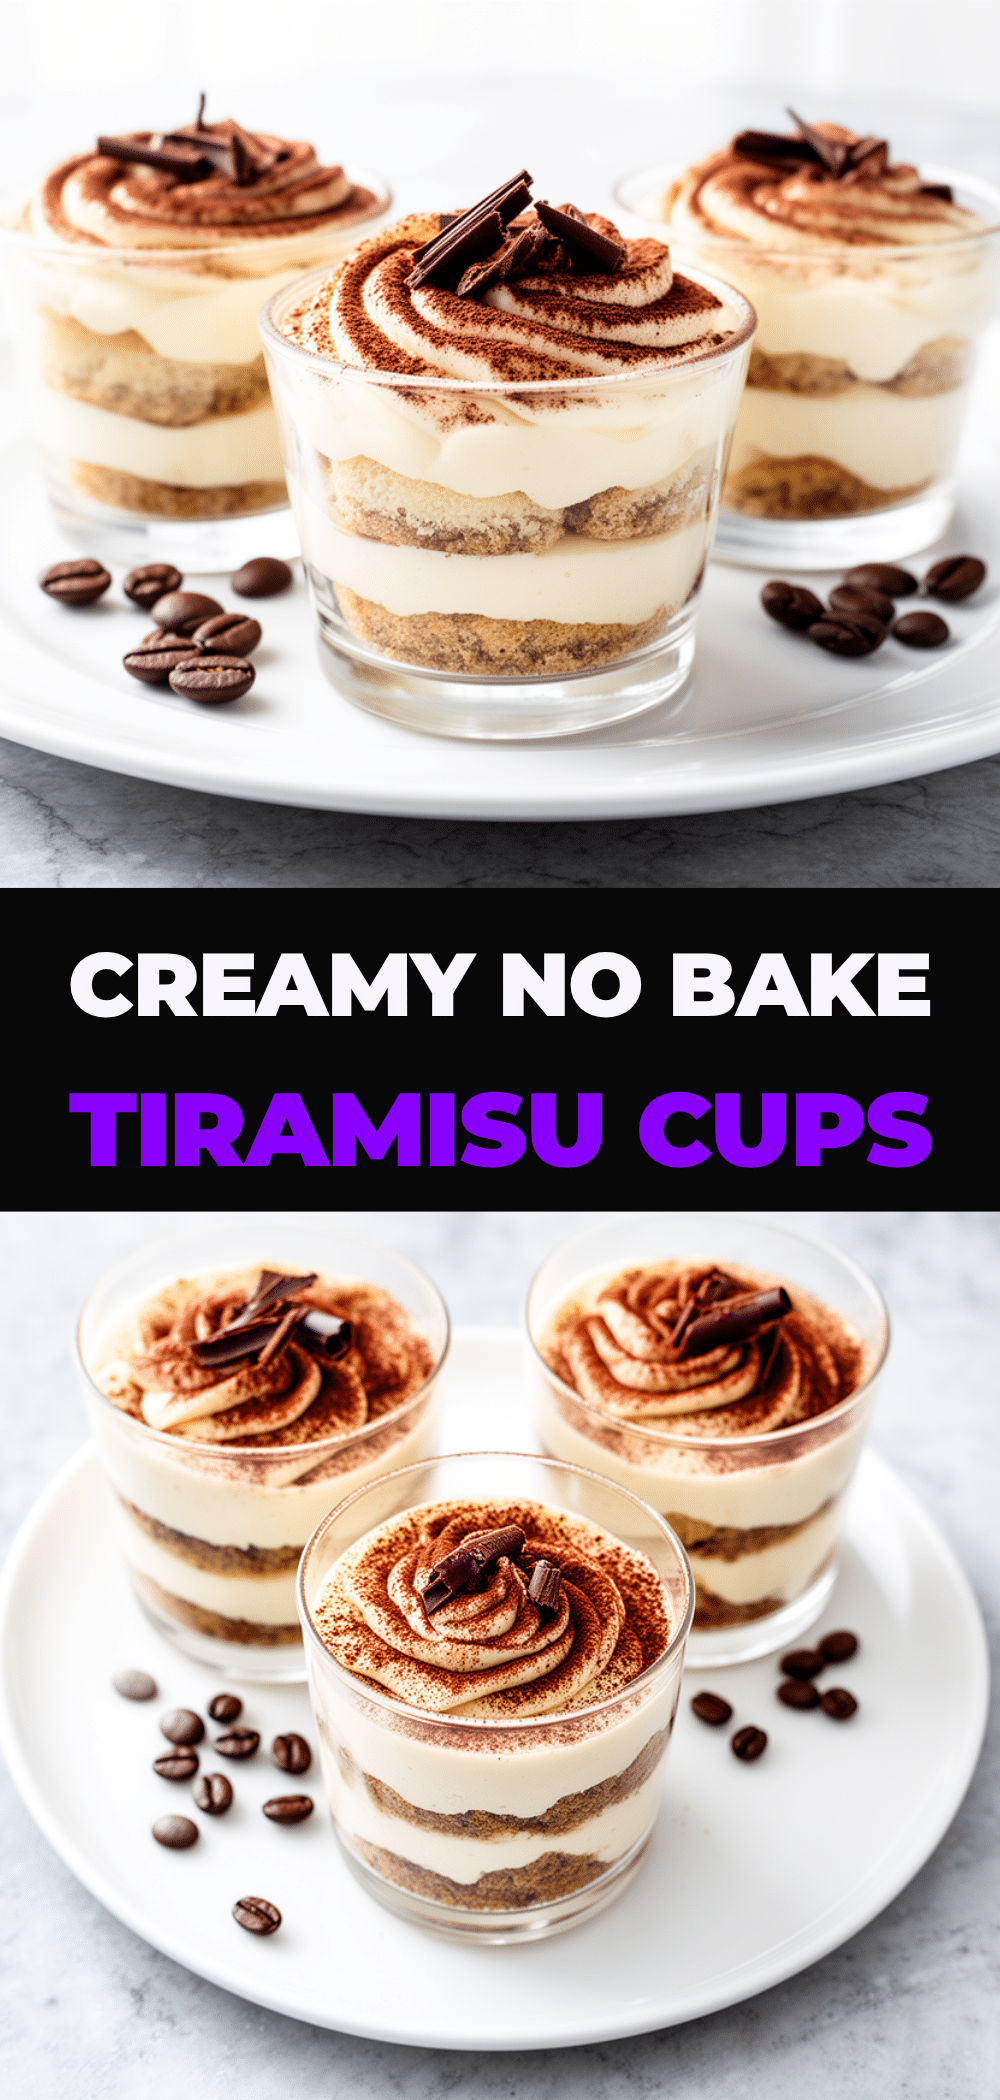
Pin This Recipe!
No Bake Tiramisu Cheesecake Cups Easy Recipe with Simple Ingredients
- Total Time: 4 hours 15 minutes
- Yield: 6 servings 1x
Description
A creamy, rich no-bake tiramisu cheesecake cup dessert with a coffee kick, made with simple pantry staples and no oven required. Perfect for quick, impressive individual portions.
Ingredients
- 8 oz (225g) cream cheese, softened
- 1 cup (240ml) heavy whipping cream, full-fat
- ½ cup (60g) powdered sugar
- 1 tablespoon instant espresso powder
- 1 teaspoon vanilla extract
- About 20 ladyfingers
- 1 cup (240ml) brewed coffee or espresso, cooled
- Unsweetened cocoa powder for dusting
- Optional: 1-2 tablespoons Kahlúa or coffee liqueur
- Optional: chocolate shavings for garnish
Instructions
- Brew a strong cup of coffee or espresso and let it cool completely. Soften cream cheese by leaving it out for 30 minutes or microwaving for 15 seconds if in a rush. Measure powdered sugar and espresso powder.
- In a large bowl, whip the heavy cream with an electric mixer until soft peaks form. Set aside.
- In a medium bowl, beat the softened cream cheese with powdered sugar, vanilla extract, and espresso powder until smooth and fluffy, about 2-3 minutes.
- Gently fold the whipped cream into the cream cheese mixture using a spatula, being careful not to deflate the whipped cream.
- Quickly dip each ladyfinger into the cooled coffee for 1-2 seconds to avoid sogginess. Place a layer of dipped ladyfingers at the bottom of each serving cup.
- Spoon or pipe a layer of the cream cheese mixture on top of the ladyfingers. Repeat layering once or twice depending on cup size, finishing with the cream layer.
- Cover the cups with plastic wrap and refrigerate for at least 4 hours, preferably overnight.
- Before serving, dust the tops generously with cocoa powder using a fine mesh sieve. Optionally, add chocolate shavings or a drizzle of coffee liqueur on top.
- Serve chilled straight from the fridge.
Notes
Do not over-soak ladyfingers; a quick 1-2 second dip is enough to avoid sogginess. Use room temperature cream cheese for smooth mixing. Fold whipped cream gently to keep it airy. Instant espresso powder dissolves best for the cream mixture. Chill at least 4 hours or overnight for best flavor and texture. Optional add-ins include coffee liqueur or chocolate shavings. Store leftovers covered in the fridge up to 3 days; freezing is not recommended.
- Prep Time: 15 minutes
- Cook Time: 0 minutes
- Category: Dessert
- Cuisine: Italian-inspired
Nutrition
- Serving Size: 1 cup
- Calories: 320
- Sugar: 18
- Sodium: 210
- Fat: 22
- Saturated Fat: 13
- Carbohydrates: 25
- Fiber: 1
- Protein: 6
Keywords: no bake, tiramisu, cheesecake cups, easy dessert, coffee dessert, no oven, individual portions, quick dessert


