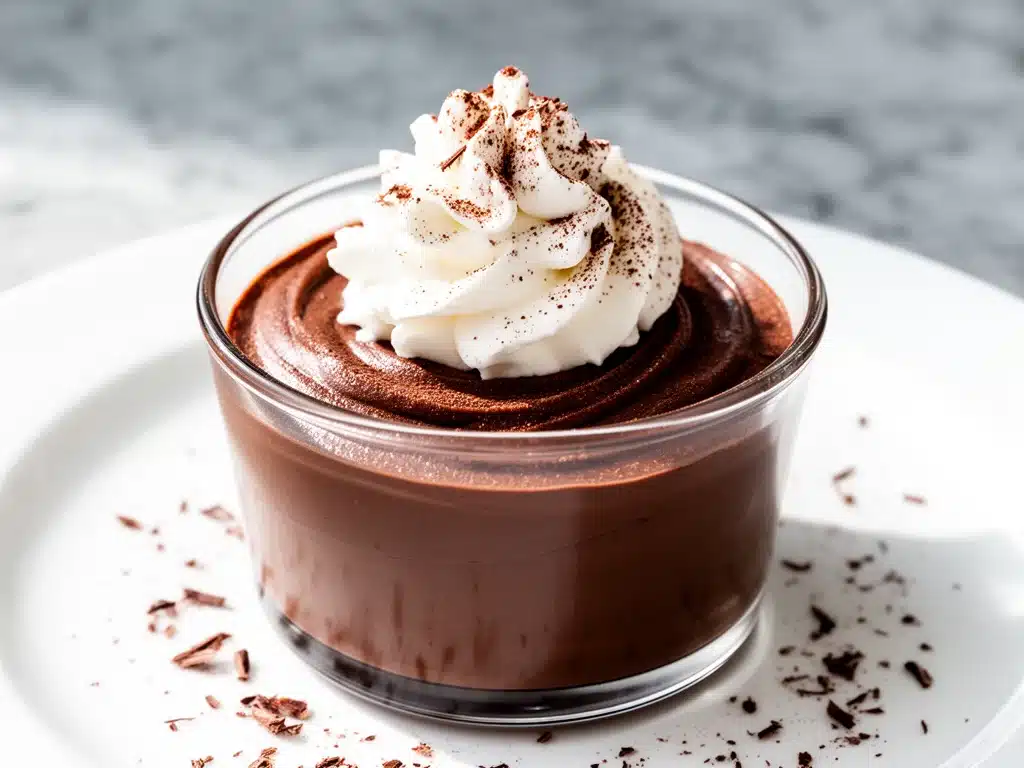
One chilly Sunday afternoon, my sister called me in a panic. She’d promised to bring dessert to a last-minute dinner party but had nothing ready—just a few random pantry staples. I rummaged through my kitchen and threw together what I hoped would be a decent chocolate mousse. Spoiler alert: it turned out so good that night’s host begged for the recipe, and my sister’s friends insisted it be the dessert “everyone always asks for” at gatherings from then on.
Since that day, this silky chocolate mousse with fresh whipped cream has become my secret weapon for impressing guests without spending hours in the kitchen. I’ve made it in a rush, for celebrations, and even just to treat myself after a long week. The texture is so smooth it practically melts on your tongue, and pairing it with freshly whipped cream? Game changer. I’ve tested this recipe over and over—sometimes tweaking the chocolate percentage or the whipping time—and each time it comes out just right.
Here’s the thing: most chocolate mousse recipes seem intimidating with complicated techniques or weird ingredients. But this one? It’s straightforward, uses pantry basics, and you don’t even need a mixer (although it helps). If you love rich, creamy chocolate desserts that feel fancy but are actually easy, this recipe is your new best friend.
Why You’ll Love This Silky Chocolate Mousse Recipe
This mousse has completely changed my dessert game. There are quite a few reasons I keep making it, but here are the big ones:
- Ridiculously Smooth Texture — The mousse is so airy and silky, it feels like eating a cloud made of chocolate. I’ve had professional chefs compliment this version, which feels pretty great.
- Simple Ingredients — You probably already have everything in your kitchen. Good quality chocolate and heavy cream are the stars here—no fancy add-ins needed.
- Quick to Make — Under 20 minutes active prep, then chill. Perfect for last-minute desserts or weeknight treats.
- Fresh Whipped Cream Topper — It’s not optional. The homemade whipped cream adds lightness and balances the rich chocolate, making every bite irresistible.
- Impresses Every Time — From casual family dinners to holiday feasts, I’ve never had a single complaint. In fact, I get texts asking when I’ll bring it again.
- Make-Ahead Friendly — You can prepare it a day ahead, freeing up your evening for other things. The flavor actually deepens overnight.
This mousse isn’t just dessert; it’s a little moment of joy in a bowl. Whether you’re celebrating or just craving chocolate, it hits the spot every time.
Ingredients You’ll Need
Here’s the best part about this recipe: it calls for just a handful of ingredients, and I’m super picky about a few of them—let me explain why.
- Bittersweet Chocolate (6 oz / 170g) — Use good quality chocolate with at least 60% cocoa. I prefer Ghirardelli or Valrhona. It melts smoothly and gives rich flavor without being too bitter.
- Heavy Cream (1 ½ cups / 360ml) — Full-fat only. This is what gives the mousse that dreamy, creamy texture. I always use fresh, never ultra-pasteurized if I can help it.
- Eggs (3 large, separated) — Fresh, room temperature eggs are key. The whites get whipped into stiff peaks to create that airy lift, while the yolks add richness.
- Granulated Sugar (¼ cup / 50g) — Just enough to balance the chocolate’s intensity without making it too sweet.
- Vanilla Extract (1 teaspoon) — A splash of vanilla rounds out the flavor and adds warmth.
- Salt (a pinch) — Enhances all the chocolatey goodness.
- Optional: A tablespoon of coffee or espresso powder — This boosts the chocolate flavor without tasting like coffee. I add this when I want a deeper, more complex mousse.
For the fresh whipped cream topping:
- Heavy Cream (1 cup / 240ml)
- Powdered Sugar (2 tablespoons)
- Vanilla Extract (½ teaspoon)
Quick tip: Always chill your mixing bowl and whisk for the whipped cream. It whips faster and holds better.
Equipment Needed
You don’t need fancy tools to make this mousse, just the basics that I’m sure you have:
- Heatproof Bowl — For melting the chocolate over a pot of simmering water. Glass or metal works great.
- Mixing Bowls — One for whipping the cream, one for the egg whites. I use medium-sized stainless steel bowls.
- Whisk or Hand Mixer — A hand mixer makes whipping egg whites and cream easier, but a balloon whisk works if you’re patient (I’ve done it both ways).
- Rubber Spatula — For folding the chocolate and egg whites gently.
- Measuring Cups and Spoons — For accuracy, especially with sugar and vanilla.
- Chilling Containers — Individual ramekins or one large bowl for setting the mousse.
Honestly, I’ve made this in everything from fancy glass dishes to plain mason jars. Presentation is fun but not required for a killer mousse.
How to Make Silky Chocolate Mousse: Step-by-Step
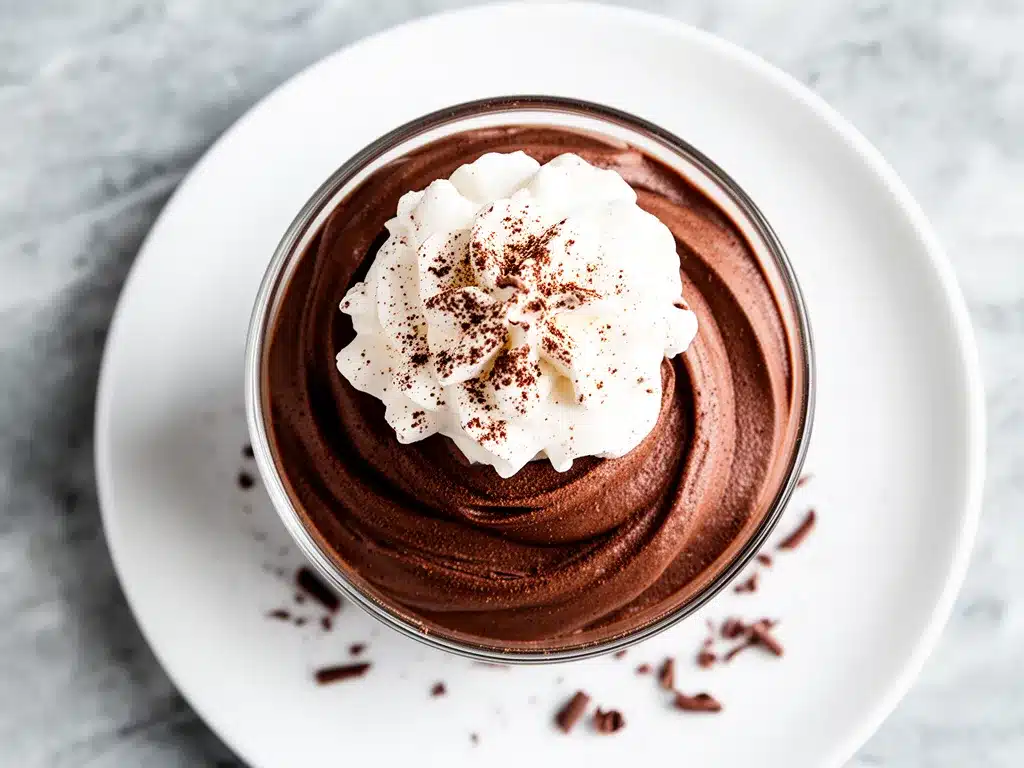
Alright, let’s get to the good stuff. I’m walking you through exactly how I make this mousse, including the little tips that make it turn out perfectly every time.
Step 1: Melt the Chocolate (5 minutes)
Fill a pot with about an inch of water and bring it to a gentle simmer. Place your heatproof bowl on top—make sure it doesn’t touch the water. Chop the chocolate into small pieces and add it to the bowl. Stir frequently until the chocolate is fully melted and smooth. Remove from heat and let it cool slightly (but not harden!).
Step 2: Whip the Egg Whites (5 minutes)
In a clean bowl, add the egg whites with a pinch of salt. Whisk (or beat with a hand mixer) until soft peaks form. Gradually add half the sugar and continue whipping until glossy, stiff peaks form. You’ll know it’s ready when the peaks stand up straight and don’t collapse.
Step 3: Whip the Cream (3-4 minutes)
In another bowl, whip the heavy cream with the vanilla extract and remaining sugar until soft peaks form. Be careful not to overwhip or you’ll get butter.
Step 4: Mix Egg Yolks and Chocolate (2 minutes)
In a small bowl, whisk the egg yolks until smooth. Slowly add a few tablespoons of the melted chocolate to the yolks to temper them, then fold the yolk mixture back into the rest of the chocolate. This prevents the yolks from scrambling.
Step 5: Fold in Whipped Cream (2 minutes)
Gently fold the whipped cream into the chocolate mixture using a spatula. Use gentle, sweeping motions to keep the mousse light and airy.
Step 6: Fold in Egg Whites (2-3 minutes)
Finally, fold in the whipped egg whites in three additions. This is the key to that airy, silky texture. Don’t overmix; stop when you no longer see white streaks.
Step 7: Chill and Serve (At least 2 hours)
Divide the mousse into serving dishes or one large bowl. Cover and refrigerate for at least 2 hours, preferably longer. Before serving, whip the cream topping until soft peaks form and dollop generously on top.
Pro tip: For a fancy touch, grate a little extra chocolate or sprinkle cocoa powder over the whipped cream.
Expert Tips & Tricks
I’ve made this mousse dozens of times, and here’s what I’ve learned:
- Use Room Temperature Eggs — Cold eggs don’t whip as well, and your mousse might not be as light.
- Don’t Overheat the Chocolate — If it’s too hot when you add the yolks, you’ll end up with scrambled bits. Let it cool for a few minutes first.
- Fold, Don’t Stir — Vigorous stirring deflates your mousse. Think gentle folding like you’re tucking in a baby.
- Chill Enough — I once tried to serve it after just 30 minutes and it was too soft. Give it the time it needs to set properly.
- Whip the Cream Just Right — Underwhipped cream won’t hold its shape, overwhipped turns grainy. Stop at soft peaks and you’re good.
- Adding Coffee Powder — A teaspoon of espresso powder intensifies the chocolate flavor without tasting like coffee. Try it once!
Common mistake? Overmixing the egg whites. If your mousse feels dense, that’s probably why. To rescue a broken mousse, sometimes folding in a little extra whipped cream can lighten it up.
Variations & Substitutions
Once you’ve nailed the classic, here are some ways to mix it up:
- Raspberry Swirl — Fold in ¼ cup fresh raspberry puree before chilling. Adds tartness and color.
- Spiced Chocolate — Add a pinch of cinnamon and cayenne for a Mexican chocolate vibe.
- White Chocolate Mousse — Swap bittersweet for white chocolate, but reduce sugar slightly.
- Vegan Version — Use aquafaba (chickpea water) whipped to stiff peaks instead of egg whites, and coconut cream instead of heavy cream. I’ve tried it and it’s surprisingly good!
- Alcohol Infusion — A tablespoon of bourbon, rum, or coffee liqueur adds adult sophistication.
- Nutty Crunch — Top with toasted hazelnuts or almonds for texture contrast.
Serving & Storage
I usually serve this mousse chilled straight from the fridge, topped with a generous dollop of fresh whipped cream. Sometimes I add a few fresh berries or a sprig of mint to brighten it up.
For gatherings, I like to prepare individual mousse cups—it feels special and makes serving easy. When I want to dress it up, I add a sprinkling of shaved chocolate or a dusting of cocoa powder.
Storage is pretty straightforward:
- Refrigerator: Keep covered for up to 3 days. The mousse stays silky but firms up nicely.
- Freezing: I don’t recommend freezing because the texture can get grainy when thawed.
- Leftovers: Eat within a couple of days for best texture and flavor.
Reheat? Nope. This is a cold dessert all the way.
Nutrition Information
I’m not a nutritionist, but here’s a rough breakdown per serving (based on 6 servings):
| Calories | 350 |
|---|---|
| Protein | 5g |
| Carbohydrates | 20g |
| Fat | 28g |
| Saturated Fat | 17g |
| Sugar | 18g |
| Cholesterol | 120mg |
| Sodium | 40mg |
This dessert is rich and indulgent, thanks to the heavy cream and chocolate. It’s definitely a treat, but the portion size keeps it reasonable. You can lighten it up slightly by using less sugar or swapping some cream for milk in the whipped topping.
Final Thoughts
So that’s the silky chocolate mousse with fresh whipped cream everyone always asks for. I’ve probably told you more than you bargained for, but that’s because this recipe means a lot to me. It’s saved last-minute dinners, wowed guests, and made me look like a dessert pro without the stress.
Seriously, if you want a dessert that’s impressive but doesn’t require hours or weird ingredients, this is it. Play around with it, add your favorite twists, or keep it classic. Either way, it’s bound to become a favorite in your kitchen too.
If you give it a try, drop a comment and tell me how it went! I’m always here to help if you run into any hiccups or want to share your own tips.
Happy indulgent cooking! And may your kitchen smell as heavenly as mine does right now.
Frequently Asked Questions
Q: Can I use milk instead of heavy cream?
A: I wouldn’t recommend it. Milk is too thin and won’t give you that rich, silky texture. If you want a lighter mousse, try half-and-half, but expect a less stable mousse. Heavy cream is key for that luxurious mouthfeel.
Q: Is it safe to eat mousse with raw eggs?
A: This recipe uses raw eggs, which is traditional for mousse. Use the freshest eggs possible, and if you’re worried, look for pasteurized eggs at the store. Some people whisk egg yolks over gentle heat to make a custard base—that’s an option if you want to play it extra safe.
Q: How long does the mousse need to chill?
A: At least 2 hours, but overnight is best. The mousse firms up and flavors deepen with more time in the fridge.
Q: My mousse isn’t light and airy—what went wrong?
A: Most likely, the egg whites were overmixed or folded in too vigorously. Be gentle folding to keep those air bubbles intact. Also, make sure your egg whites were whipped to stiff peaks.
Q: Can I make the mousse ahead of time?
A: Absolutely. Make it up to 2 days in advance and keep it covered in the fridge. It actually tastes better the next day!
Q: Can I substitute the sugar with a sugar alternative?
A: You can try, but it might affect the texture and sweetness balance. Powdered sugar works better in the whipped cream topping if you want a smoother finish, but granulated is best for whipping egg whites.
Q: What chocolate should I use if I don’t have bittersweet?
A: Semisweet chocolate works fine, though the mousse will be sweeter and less intense. Dark chocolate (70% cocoa or higher) will make it more bitter. I personally find 60-65% bittersweet hits the perfect balance.
For a dessert that’s as easy as it is delicious, this silky chocolate mousse recipe remains my go-to. If you want to explore more chocolatey delights, my chocolate ganache tart is another crowd-pleaser that pairs beautifully with fresh whipped cream, too.
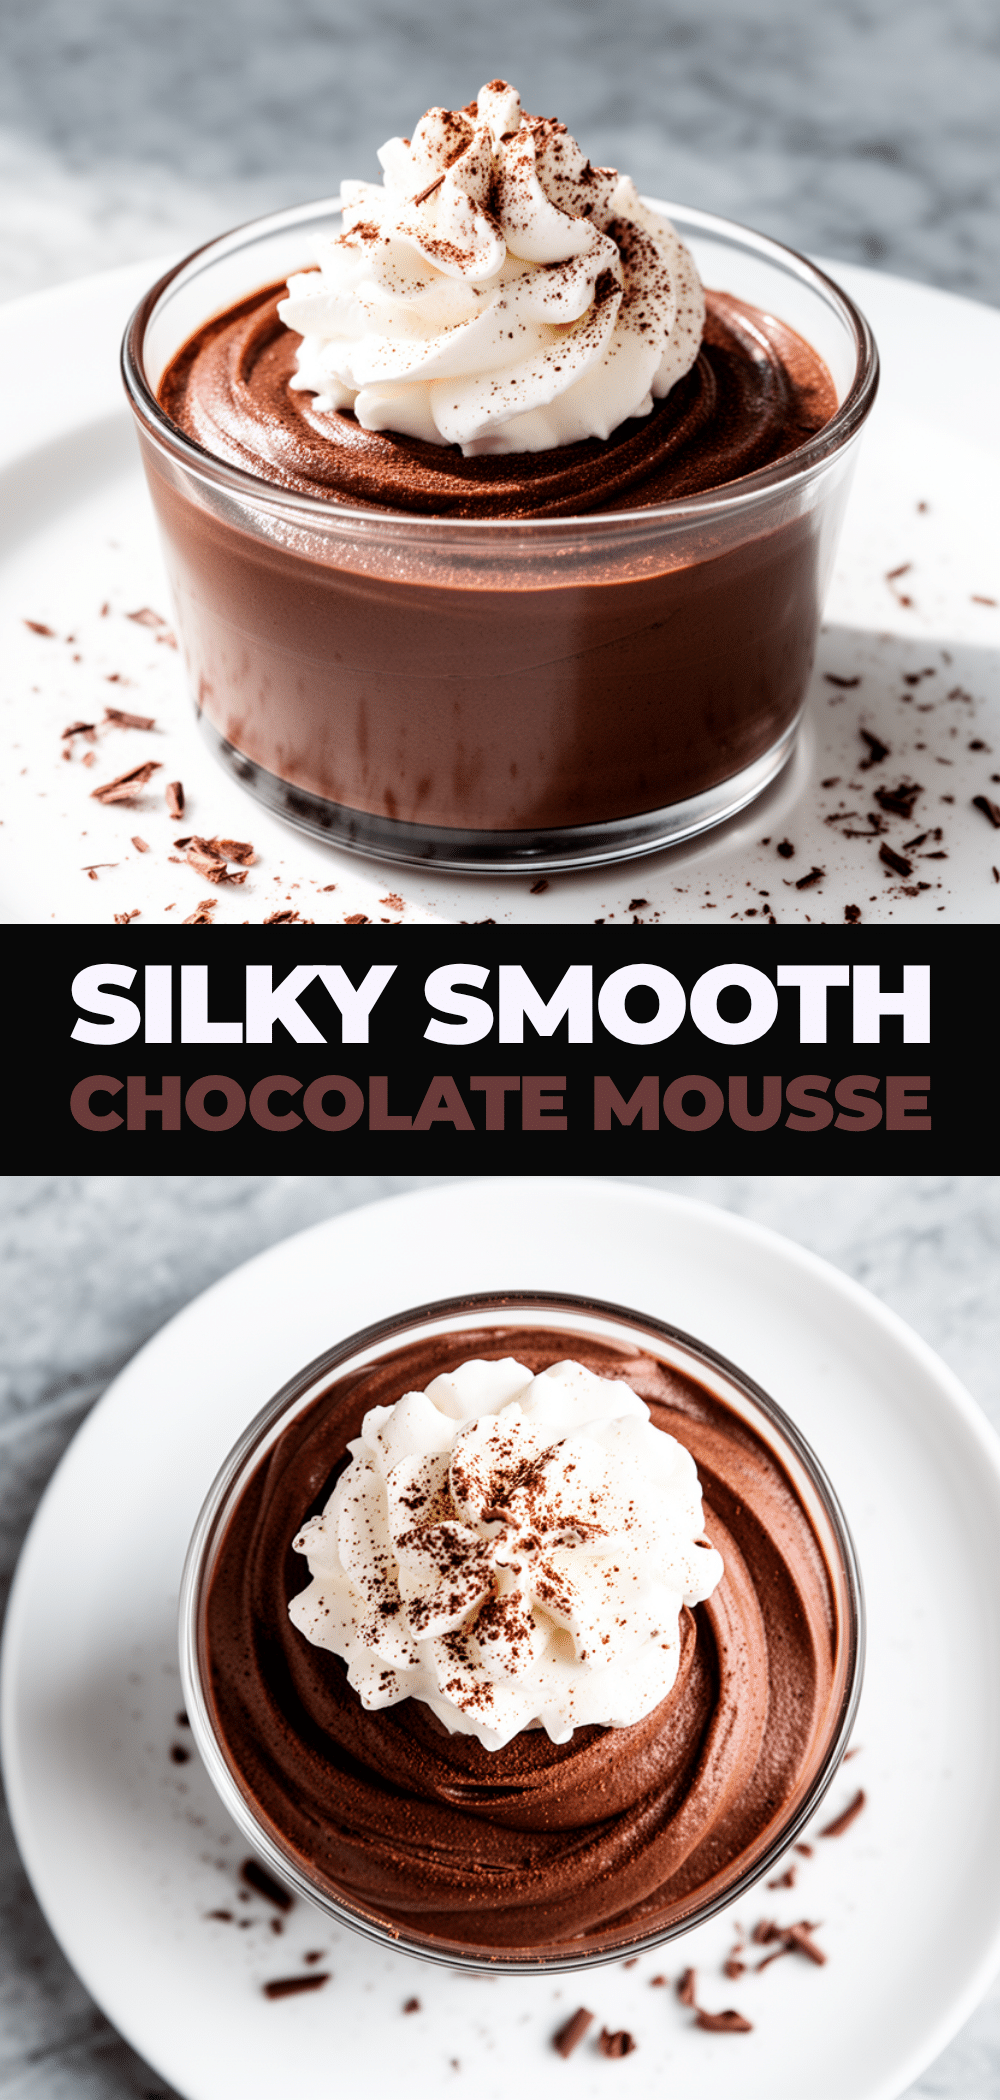
Pin This Recipe!
Silky Chocolate Mousse Recipe with Fresh Whipped Cream
- Total Time: 2 hours 20 minutes
- Yield: 6 servings 1x
Description
A rich and airy chocolate mousse topped with fresh whipped cream, perfect for impressing guests with minimal effort. This recipe uses simple pantry ingredients and takes under 20 minutes of active prep time.
Ingredients
- 6 oz bittersweet chocolate (at least 60% cocoa)
- 1 1/2 cups heavy cream (full-fat)
- 3 large eggs, separated, room temperature
- 1/4 cup granulated sugar
- 1 teaspoon vanilla extract
- Pinch of salt
- Optional: 1 tablespoon coffee or espresso powder
- For whipped cream topping:
- 1 cup heavy cream
- 2 tablespoons powdered sugar
- 1/2 teaspoon vanilla extract
Instructions
- Fill a pot with about an inch of water and bring to a gentle simmer. Place a heatproof bowl on top without touching the water. Chop chocolate into small pieces and melt in the bowl, stirring frequently until smooth. Remove from heat and let cool slightly.
- In a clean bowl, add egg whites with a pinch of salt. Whisk or beat with a hand mixer until soft peaks form. Gradually add half the sugar and continue whipping until stiff, glossy peaks form.
- In another bowl, whip the heavy cream with vanilla extract and remaining sugar until soft peaks form. Avoid overwhipping.
- Whisk egg yolks until smooth. Slowly add a few tablespoons of melted chocolate to temper the yolks, then fold yolk mixture back into the rest of the chocolate.
- Gently fold whipped cream into the chocolate mixture using a spatula with gentle sweeping motions.
- Fold in whipped egg whites in three additions, stopping when no white streaks remain. Be careful not to overmix.
- Divide mousse into serving dishes or one large bowl. Cover and refrigerate for at least 2 hours or overnight.
- Before serving, whip the cream topping until soft peaks form and dollop generously on top. Optionally, garnish with grated chocolate or cocoa powder.
Notes
Use room temperature eggs for best whipping results. Do not overheat chocolate to avoid scrambling yolks. Fold gently to keep mousse airy. Chill at least 2 hours or overnight for best texture and flavor. Whip cream topping just to soft peaks to avoid graininess. Optional coffee powder enhances chocolate flavor without coffee taste.
- Prep Time: 15 minutes
- Cook Time: 5 minutes
- Category: Dessert
- Cuisine: French
Nutrition
- Serving Size: 1 serving (approx. 1
- Calories: 350
- Sugar: 18
- Sodium: 40
- Fat: 28
- Saturated Fat: 17
- Carbohydrates: 20
- Protein: 5
Keywords: chocolate mousse, silky chocolate mousse, easy chocolate dessert, whipped cream topping, chocolate dessert recipe, quick mousse, rich chocolate mousse


