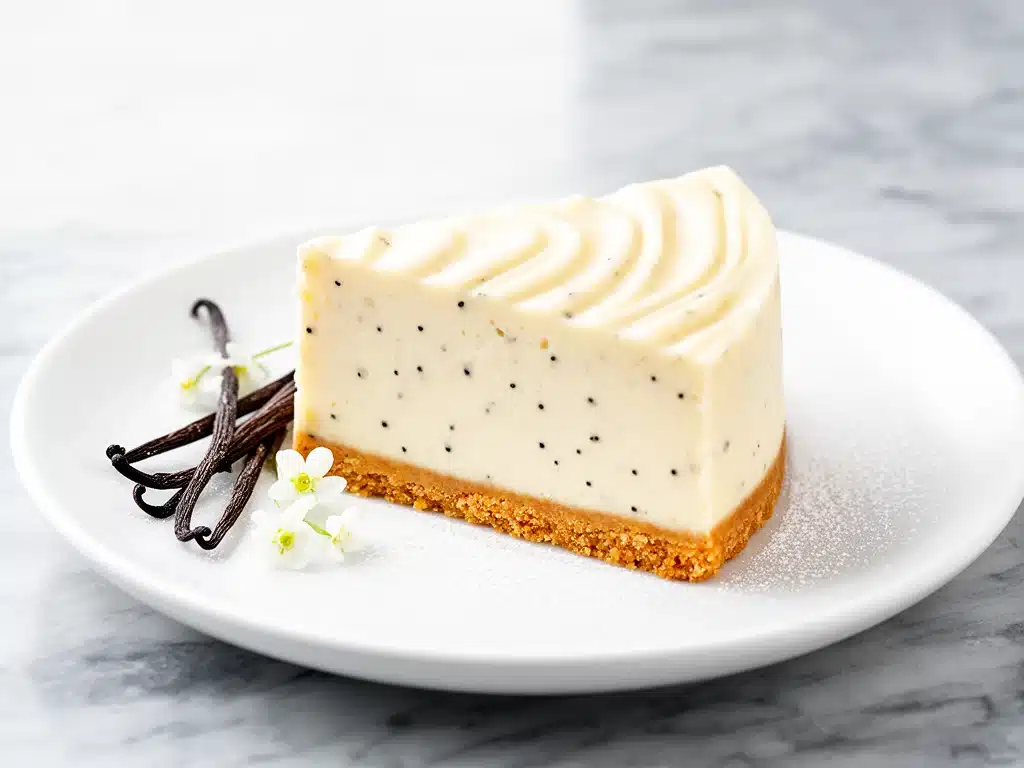
One rainy Saturday afternoon, I found myself craving cheesecake but totally unmotivated to fire up the oven. I’d tried a few no-bake versions before, but they either tasted like whipped cream with a crumbly crust or felt like eating sweetened air. Then, after a few experiments (and a tiny mess in my kitchen), I landed on this no-bake creamy vanilla bean cheesecake that uses just simple ingredients you likely already have.
What makes this cheesecake special? It’s the way the real vanilla bean seeds swirl through the fluffy, velvety cream cheese filling, making it taste rich without being heavy. Plus, it sets perfectly in the fridge overnight, so you can prep it a day ahead and have dessert ready to impress without stress. I’ve made this recipe 10+ times now, and it’s become my go-to for easy homemade desserts that feel just a little fancy.
If you’ve ever thought no-bake cheesecakes were either complicated or disappointing, this one might just change your mind.
Why You’ll Love This Recipe
This no-bake creamy vanilla bean cheesecake has seriously changed how I think about dessert for busy nights or last-minute guests. Here’s why I keep coming back to it:
- Crazy Simple Ingredients — No weird powders or gelatin sheets here. Just cream cheese, heavy cream, sugar, and a vanilla bean (or extract if you’re in a pinch). I always have these on hand.
- No Oven Required — Seriously, you just mix, chill, and serve. Perfect for hot summer days or when your oven is already busy.
- Velvety Texture — The vanilla bean seeds give it that little speckled look and a flavor punch that makes it taste homemade instead of store-bought.
- Make-Ahead Friendly — Prep it the night before, and it’s ready for dinner parties, birthdays, or those times when you want dessert without the fuss.
- Kid-Approved — My niece literally licked the bowl clean before I even got it into the pan. That’s my kind of vote.
This cheesecake truly feels like a special treat without needing special skills or ingredients. It’s my secret weapon when I want dessert that looks impressive but doesn’t stress me out.
Ingredients You’ll Need
Here’s the cool part: this recipe looks fancy but you probably have 90% of what you need right now. I’m picky about just a couple of things, so I’ll explain those along the way.
- Graham cracker crumbs (1 ½ cups / 150g) — This is the crust base. I like to crush whole crackers myself for extra freshness, but pre-crushed works too.
- Unsalted butter (6 tablespoons / 85g, melted) — Binds the crust together. Use unsalted so you can control the saltiness.
- Cream cheese (16 ounces / 450g, softened) — Full-fat only. Softened to room temp for that smooth, creamy filling. I learned the hard way that cold cream cheese makes the filling lumpy.
- Granulated sugar (¾ cup / 150g) — Sweetens but doesn’t overpower. You can reduce this if you like it less sweet.
- Heavy cream (1 cup / 240ml) — Whipped to soft peaks for airy texture. No substitutes here—half-and-half just won’t hold.
- Vanilla bean (1 whole bean, seeds scraped) — Here’s the magic! The tiny black seeds make the flavor shine. If you don’t have a vanilla bean, use 2 teaspoons high-quality vanilla extract.
- Lemon juice (1 tablespoon / 15ml) — Adds a subtle tang that balances the sweetness and makes the filling taste fresher.
Optional: For a twist, you can add fresh berries on top or swirl in some fruit preserves. I sometimes toss in a teaspoon of espresso powder for a mocha vibe.
Equipment Needed
You don’t need any fancy gadgets for this. Here’s what I actually use:
- 8 or 9-inch springform pan — Makes it easy to unmold the cheesecake without mess. If you don’t have one, a regular pie dish works, but it’s trickier to get slices out.
- Mixing bowls — One for the crust, one for the filling. Medium size is perfect.
- Electric mixer or stand mixer — You want to whip the cream and beat the cream cheese smooth. I’ve done it by hand but trust me, it’s a workout.
- Rubber spatula — For folding the whipped cream into the cream cheese mixture gently.
- Measuring cups and spoons — Standard stuff.
- Small saucepan or microwave-safe bowl — To melt the butter.
How to Make It: Step-by-Step
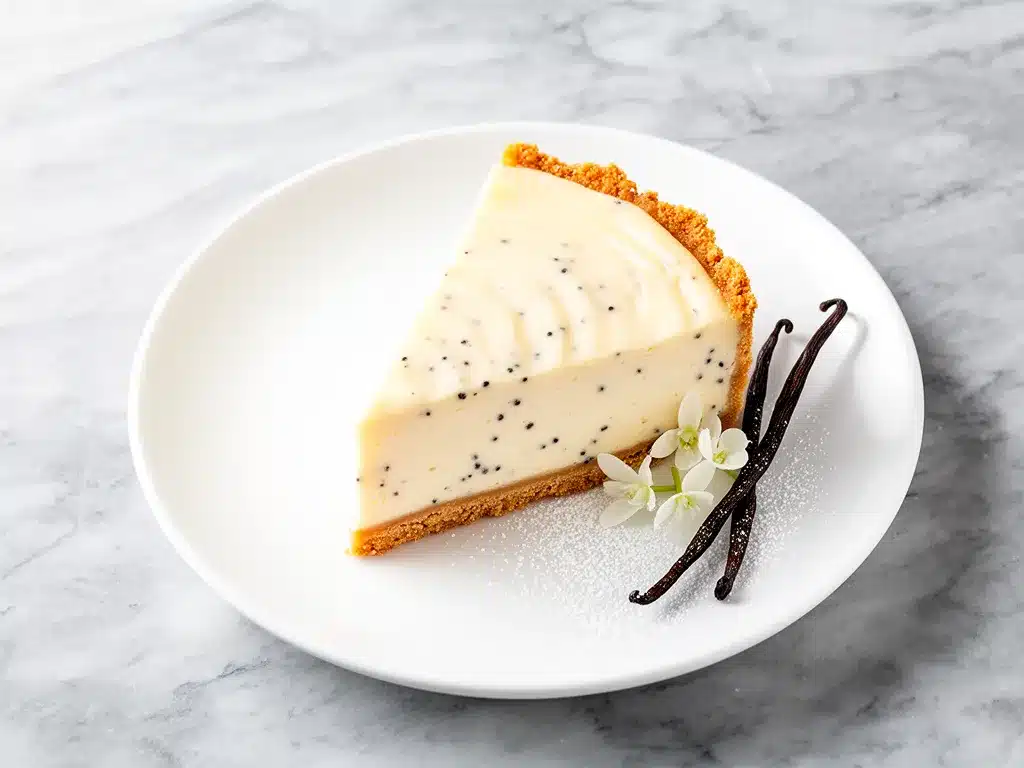
Alright, let’s make this no-bake creamy vanilla bean cheesecake! I’m walking you through every part, including my little tricks to avoid lumps and get that perfect silky texture.
Step 1: Make the Crust (10 minutes)
Start by combining the graham cracker crumbs and melted unsalted butter in a bowl. Stir until the crumbs are evenly coated and feel like wet sand (not soggy, just slightly clumpy). Press this mixture firmly into the bottom of your springform pan using the back of a spoon or a flat-bottomed glass. Get it as even as possible—this will be your crunchy base. Pop it in the fridge to chill while you make the filling.
Step 2: Prepare the Cream Cheese Base (5 minutes)
In a large bowl, beat the softened cream cheese on medium speed until smooth and creamy, about 2-3 minutes. Scrape down the sides so there are no lumps hiding. Add the sugar and lemon juice, then continue beating for another 2 minutes. The mixture should be velvety and slightly glossy.
Step 3: Scrape and Add the Vanilla Bean (2 minutes)
Slice your vanilla bean lengthwise and use the back of a knife to scrape out the tiny black seeds. Add those seeds to the cream cheese mixture (or vanilla extract if you’re using). Give it a quick beat to distribute the vanilla evenly. You’ll start smelling that beautiful vanilla right away.
Step 4: Whip the Heavy Cream (5 minutes)
In a separate bowl, use your electric mixer to whip the heavy cream until soft peaks form—when you lift the beaters, the cream should hold a gentle peak but still be soft and billowy. Don’t overwhip or it’ll turn grainy.
Step 5: Fold the Cream Into the Cheese (3 minutes)
Using a rubber spatula, gently fold about a third of the whipped cream into the cream cheese mixture to lighten it. Then fold in the rest carefully, so you keep that airy texture. This step is key for a fluffy, creamy cheesecake without deflating your cream.
Step 6: Assemble and Chill (5 minutes + overnight)
Pour the filling over your chilled crust and smooth the top with a spatula. Cover the pan tightly with plastic wrap and refrigerate it for at least 6 hours, but overnight is best. This gives the cheesecake time to firm up and develop that melt-in-your-mouth texture.
Step 7: Serve and Enjoy
When you’re ready, run a thin knife around the edge of the pan before unlocking the springform. Slice carefully with a sharp knife dipped in hot water for clean edges. Serve plain or topped with fresh berries, a drizzle of honey, or a dusting of powdered sugar. The specks of vanilla bean make every slice look as good as it tastes.
Expert Tips & Tricks
- Softened Cream Cheese is Non-Negotiable: Cold cream cheese makes lumps that are tough to smooth out. Take it out of the fridge 30 minutes before starting.
- Use a Fresh Vanilla Bean if You Can: The seeds add depth you just can’t get with extract. If you only have extract, double the amount for best flavor.
- Don’t Skip the Lemon Juice: It cuts the richness and makes the flavor pop. You won’t taste lemon, just a fresher cheesecake.
- Whip the Cream to Soft Peaks: Overwhipping makes the cream grainy; underwhipping makes the filling too dense.
- Patience with Chilling: This isn’t a fast dessert. The overnight chill is what gives it that perfect creamy firmness.
- Crust Pressing: Pack the crust firmly so it holds together when you slice. I press with a flat glass and it works every time.
Variations & Substitutions
Once you’ve nailed the basic no-bake creamy vanilla bean cheesecake, feel free to get creative. I’ve tried all these and they worked well:
- Chocolate Swirl: Melt ½ cup of good-quality chocolate and swirl it into the filling before chilling.
- Berry Topping: Mix fresh strawberries, blueberries, or raspberries with a teaspoon of sugar and let macerate for 30 minutes. Spoon on top before serving.
- Coconut Crust: Swap graham crackers for toasted shredded coconut mixed with crushed nuts for a tropical twist.
- Lemon Vanilla: Add extra zest from one lemon to the filling for a bright, citrusy flavor.
- Dairy-Free: Use vegan cream cheese and coconut cream whipped to soft peaks. The texture is a little different but still delicious.
- Gluten-Free: Use gluten-free graham cracker crumbs or crushed gluten-free cookies for the crust.
Serving & Storage
I usually serve this cheesecake chilled from the fridge, sliced into neat wedges. It pairs beautifully with a simple cup of coffee or tea, or even a glass of sparkling wine if you’re feeling fancy.
Storage: Store leftovers in an airtight container in the fridge for up to 4 days. The cheesecake keeps its creamy texture well, but the crust may soften slightly over time.
Reheating: No reheating needed here—serve chilled. If it’s been in the fridge for a while and seems too firm, just take it out 15 minutes before serving to soften slightly.
Freezing: I don’t recommend freezing this cheesecake because the texture can get grainy after thawing.
Nutrition Information
| Per Serving (based on 8 servings) | Amount |
|---|---|
| Calories | 390 |
| Protein | 6g |
| Carbohydrates | 30g |
| Fiber | 1g |
| Sugar | 22g |
| Fat | 28g |
| Saturated Fat | 17g |
| Cholesterol | 95mg |
| Sodium | 215mg |
| Calcium | 150mg |
Look, this is a rich dessert with cream cheese and heavy cream, so it’s not exactly diet food. But the ingredients are simple and real, and you’re getting a decent amount of protein and calcium. I like that I can customize it with fresh fruit to add some natural sweetness and nutrients.
Final Thoughts
So that’s my favorite no-bake creamy vanilla bean cheesecake recipe! I’ve probably gone on way too much about it, but when you find a dessert this easy and tasty, you can’t help yourself.
It’s saved me so many times when I wanted a homemade dessert without the hassle—whether it’s a last-minute guest or a weekend treat. My family loves it, and I love that it makes me look like a baking rockstar without breaking a sweat.
Make it yours: add your favorite toppings, swap in different crusts, experiment with flavors. The best recipes are the ones you personalize.
If you give this cheesecake a try, leave a comment and tell me how it went! Did it turn out creamy and dreamy? Did you add your own twist? I’m here for all of it. Happy no-bake cheesecake making—and I hope your kitchen smells as divine as mine does right now.
Frequently Asked Questions
Q: Can I use milk instead of heavy cream?
A: You can, but the texture won’t be the same. Heavy cream whips into soft peaks and gives the filling its fluffy, rich texture. Milk is too thin and won’t hold air, so the cheesecake will be denser and less creamy. If you want to try, use whole milk and add a thickener like gelatin, but honestly, heavy cream is the way to go.
Q: My filling is lumpy—what did I do wrong?
A: This usually happens if your cream cheese isn’t fully softened or if you beat it too fast right out of the fridge. Make sure to let it sit at room temperature for at least 30 minutes before mixing. If lumps appear, keep beating on medium speed until smooth. Also, fold whipped cream gently to keep it light.
Q: Can I make this cheesecake without a springform pan?
A: Yes! You can use a regular pie dish or even small jars for individual servings. Just keep in mind that slicing might be trickier without the springform’s removable sides.
Q: How long should I chill the cheesecake?
A: At least 6 hours to let it set properly, but overnight is best for the creamiest texture. If you’re in a rush, 4 hours might work but it won’t be quite as firm.
Q: Can I freeze this no-bake cheesecake?
A: I don’t recommend freezing because the texture can get grainy after thawing. It’s best enjoyed fresh from the fridge within 4 days.
Q: What if I don’t have a vanilla bean?
A: Use 2 teaspoons of good-quality vanilla extract instead. The flavor won’t be quite as intense or speckled, but it’ll still be delicious.
Q: How do I keep the crust from getting soggy?
A: Press the crust firmly and chill it before adding the filling. You can also toast the graham cracker crumbs lightly before mixing with the butter to add extra crunch and prevent sogginess.
Pin This Recipe!
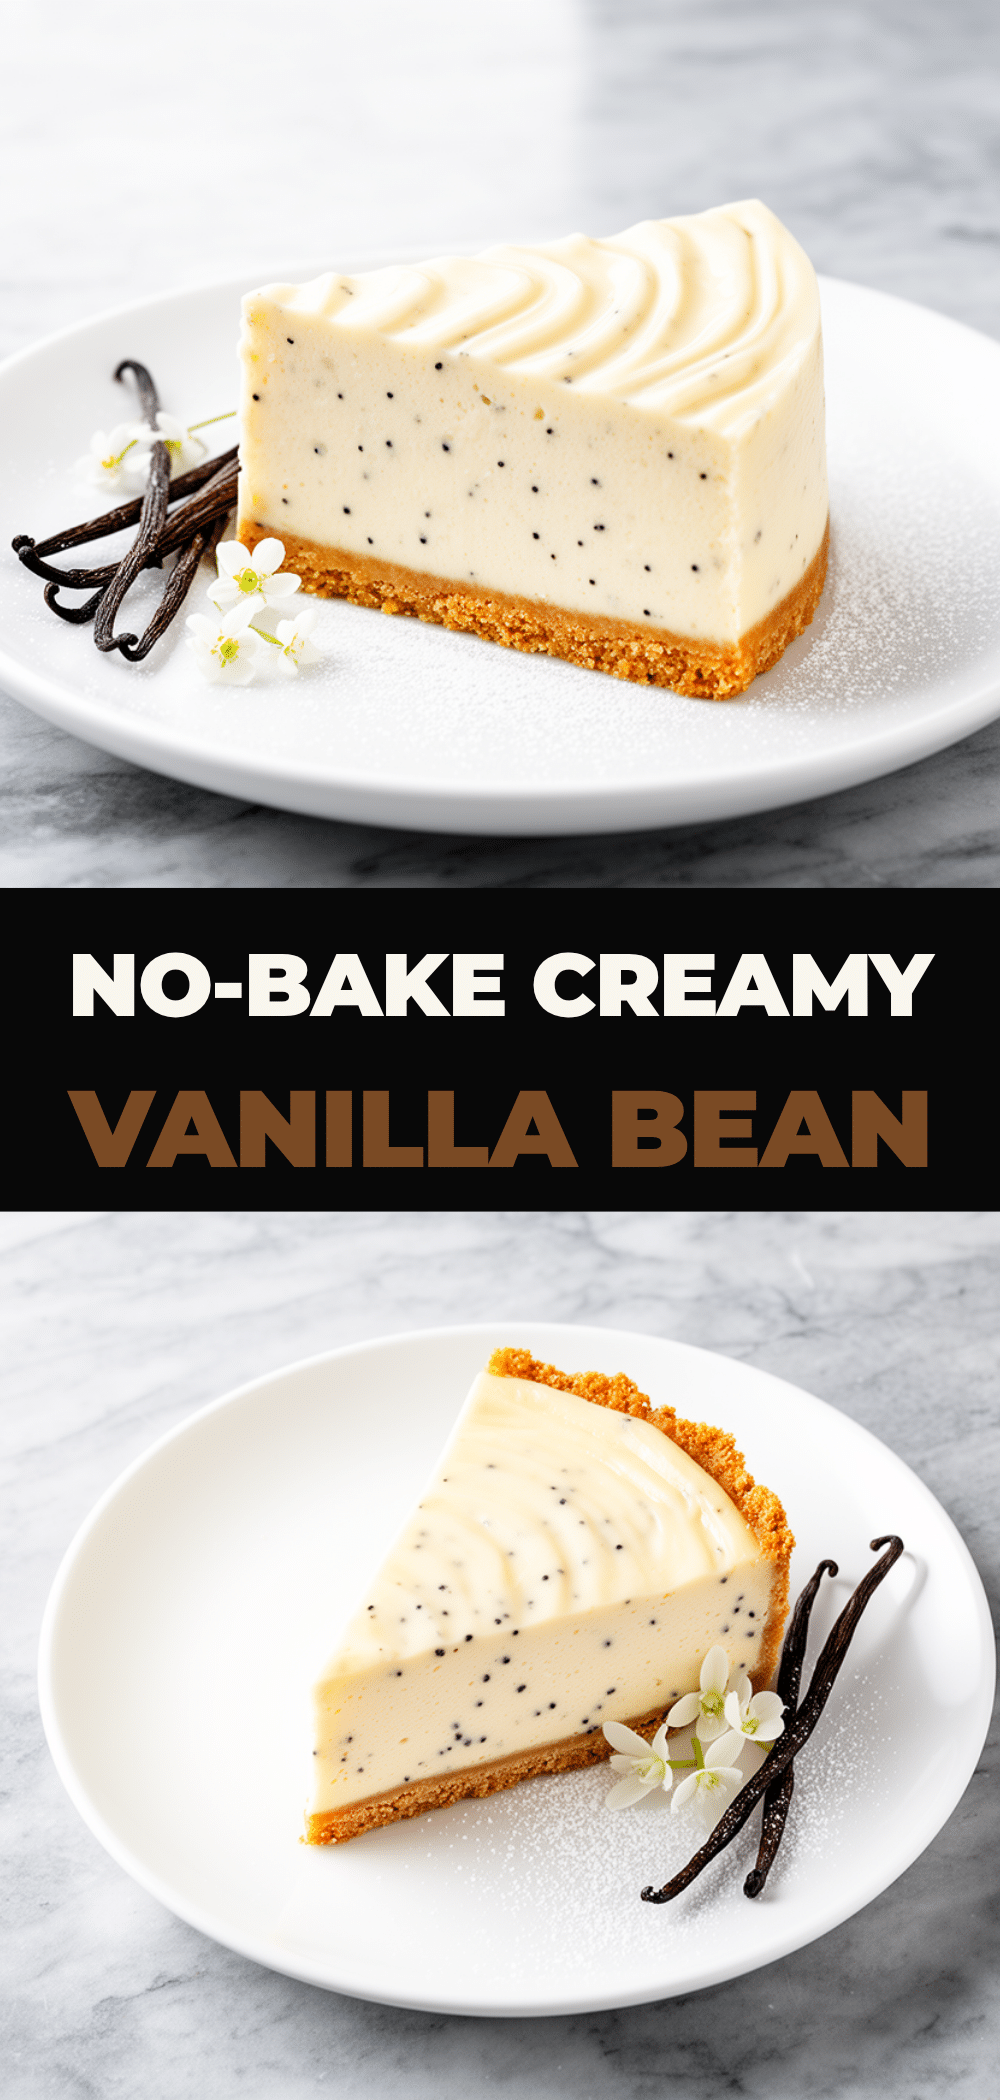
No-Bake Creamy Vanilla Bean Cheesecake
- Total Time: 6 hours 15 minutes (including chilling time)
- Yield: 8 servings 1x
Description
A rich and velvety no-bake cheesecake featuring real vanilla bean seeds for a homemade flavor, perfect for make-ahead desserts without using an oven.
Ingredients
- 1 ½ cups graham cracker crumbs (150g)
- 6 tablespoons unsalted butter, melted (85g)
- 16 ounces cream cheese, softened (450g)
- ¾ cup granulated sugar (150g)
- 1 cup heavy cream (240ml)
- 1 whole vanilla bean, seeds scraped (or 2 teaspoons vanilla extract)
- 1 tablespoon lemon juice (15ml)
- Optional: fresh berries, fruit preserves, or 1 teaspoon espresso powder
Instructions
- Combine graham cracker crumbs and melted butter in a bowl until crumbs are evenly coated and feel like wet sand. Press firmly into the bottom of an 8 or 9-inch springform pan. Chill in the fridge.
- Beat softened cream cheese on medium speed until smooth, about 2-3 minutes. Scrape sides to remove lumps.
- Add sugar and lemon juice to the cream cheese and beat for another 2 minutes until velvety and glossy.
- Slice vanilla bean lengthwise and scrape seeds into the cream cheese mixture (or add vanilla extract). Beat briefly to combine.
- Whip heavy cream in a separate bowl with an electric mixer until soft peaks form.
- Gently fold one-third of the whipped cream into the cream cheese mixture to lighten it, then fold in the remaining whipped cream carefully to keep it airy.
- Pour filling over chilled crust and smooth the top. Cover tightly with plastic wrap and refrigerate for at least 6 hours, preferably overnight.
- Before serving, run a thin knife around the pan edge, unlock the springform, and slice with a sharp knife dipped in hot water for clean edges. Serve plain or topped with fresh berries, honey, or powdered sugar.
Notes
Use softened cream cheese to avoid lumps. Whip heavy cream to soft peaks only to maintain a fluffy texture. Press crust firmly to prevent sogginess. Chill overnight for best texture. Vanilla bean seeds add superior flavor, but vanilla extract can be used as a substitute.
- Prep Time: 15 minutes
- Cook Time: 0 minutes
- Category: Dessert
- Cuisine: American
Nutrition
- Serving Size: 1 slice (1/8 of chee
- Calories: 390
- Sugar: 22
- Sodium: 215
- Fat: 28
- Saturated Fat: 17
- Carbohydrates: 30
- Fiber: 1
- Protein: 6
Keywords: no-bake cheesecake, vanilla bean cheesecake, easy dessert, creamy cheesecake, homemade cheesecake, no oven dessert


