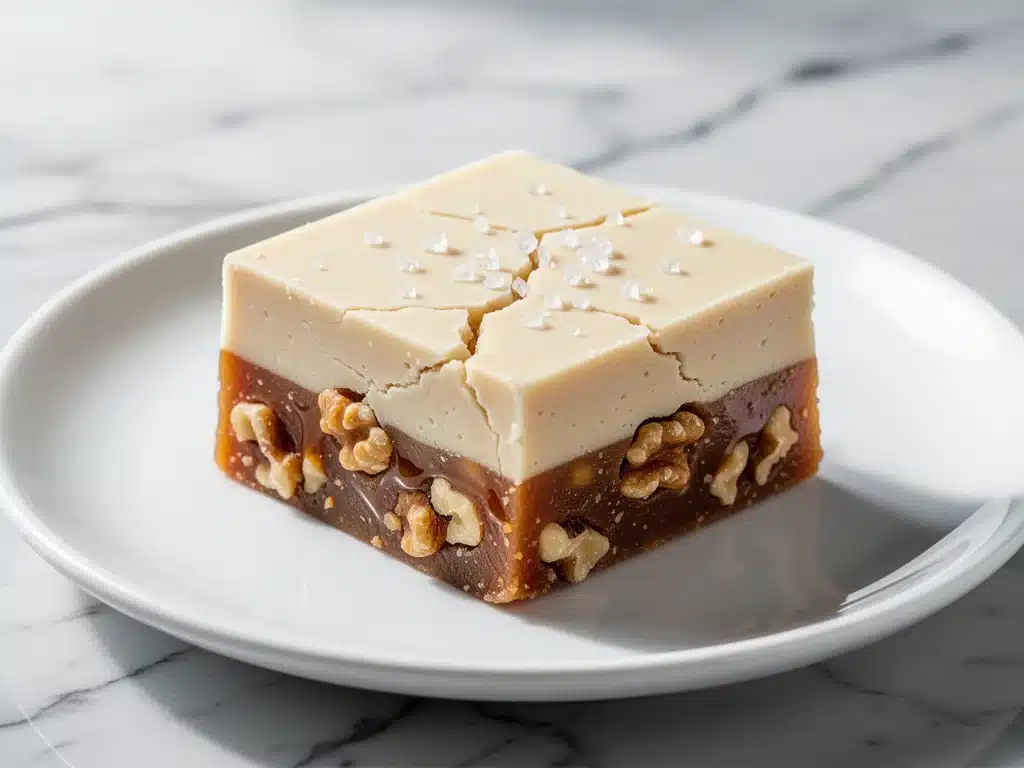
I have a confession to make. Last year, I tried to make fudge for my holiday office party, and it turned into a sticky, grainy disaster. I spent twenty minutes scraping hardened sugar off the bottom of my saucepan, feeling like a complete failure. My husband walked in, saw the mess, and said, “Just order donuts.” I was too proud to take the hint. That night, I sat at my kitchen table with a notebook, determined to figure out why candy making was so much harder than it looked.
Turns out, most fudge recipes skip the one thing that actually makes it creamy: patience. And they ignore the power of a good salt-to-sweet balance. After testing over a dozen batches (and eating enough sugar to power a small city), I finally cracked the code. This salted maple walnut fudge isn’t just sweet; it’s complex. The creamy vanilla base melts on your tongue, the toasted walnuts add a crucial crunch, and that hint of sea salt stops it from being cloying. It’s the kind of treat that disappears from the cookie tin within hours.
I’ve made this salted maple walnut fudge for every holiday gathering since that disastrous attempt two years ago. From family dinners to office potlucks, it’s always the first thing gone. People ask for the recipe, but more importantly, they ask for seconds. And thirds. If you’re looking for a dessert that looks fancy but is actually foolproof, you’re in the right place. This is the only fudge recipe you’ll ever need this holiday season.
Why You’ll Love This Salted Maple Walnut Fudge
There are a million dessert options out there, but this salted maple walnut fudge has earned its permanent spot in my holiday rotation. Here’s why it beats store-bought candy and other homemade treats every single time.
- Actually Creamy, Not Grainy — Most fudge fails because the sugar crystals get too big. I use a simple temperature trick (no thermometer needed if you know what to look for) to keep it silky smooth. I’ve tested this method until I could make it in my sleep. The result is a melt-in-your-mouth texture that feels like it came from a high-end chocolatier.
- Flavor That Isn’t Just “Sweet” — Pure sugar gets boring fast. The real maple syrup (not the pancake syrup kind!) adds an earthy depth that pairs perfectly with the vanilla. The walnuts bring a nutty, toasted flavor that makes every bite interesting. It’s sweet, but it’s sophisticated sweet.
- Stupid Simple Technique — You don’t need fancy equipment. A saucepan, a wooden spoon, and a baking pan are all you need. I’ve made this while juggling three other holiday dishes, and it didn’t stress me out. It’s forgiving, too. If you miss the temperature by a few degrees, it still works.
- Perfect Gift Food — This fudge sets firm enough to pack in tins but soft enough to eat with your hands. I wrap it in parchment paper and tie it with ribbon, and it looks like a professional bakery gift. It travels well, too, which is great for taking to holiday parties.
- Makes Amazing Leftovers — Unlike some candies that get hard in the fridge, this fudge stays tender. In fact, I think it tastes even better after sitting for a day or two, as the flavors meld together. I deliberately make extra for myself to have as a late-night snack with coffee.
So basically, this is the dessert that saves your holiday hosting reputation. It’s impressive, delicious, and easier than you think. Once you taste it, you’ll wonder why you ever bought fudge at the grocery store again.
Ingredients You’ll Need for Creamy Vanilla Maple Fudge
Here’s the best part: you probably have most of these ingredients already, or they’re easy to find at any grocery store. I’m particular about a few things here, so pay attention to the details.
For the Base
Unsalted Butter (½ cup / 113g) — Use good quality butter. Since there’s no cream cheese or condensed milk in this version, the butter flavor shines. I use European-style butter if I have it, but regular unsalted works fine. Cut it into cubes so it melts evenly.
Real Maple Syrup (1 cup / 240ml) — This is non-negotiable. Do not use “pancake syrup” or “table syrup” with corn syrup. Look for the bottle that says “100% Pure Maple Syrup” and has Grade A or Grade B on it. The darker the grade, the stronger the maple flavor. I usually use Grade B for a richer taste.
Heavy Cream (½ cup / 120ml) — Full-fat only. This adds the richness and helps create that smooth texture. Half-and-half will make it too thin, and milk will make it grainy. Trust me on this one.
Vanilla Extract (2 teaspoons) — Use pure vanilla extract, not imitation. The vanilla flavor needs to be strong enough to complement the maple. I keep a bottle of Nielsen-Massey or similar brand specifically for desserts.
For the Sweetness and Structure
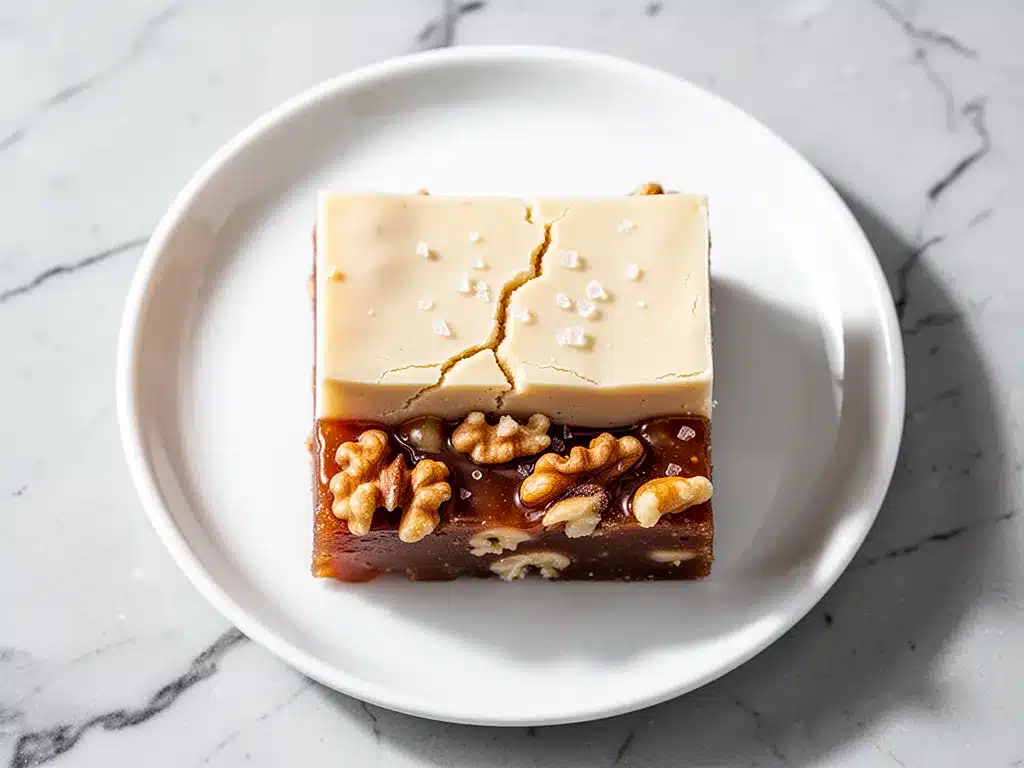
Granulated Sugar (2 cups / 400g) — This is the main body of the fudge. Don’t try to substitute with brown sugar here; it will make the fudge too chewy and dark. You want that classic fudge snap and creaminess.
Cocoa Powder (2 tablespoons / 10g) — Wait, isn’t this vanilla fudge? Yes! A tiny bit of unsweetened cocoa powder adds depth and richness without making it taste like chocolate. It enhances the vanilla flavor. If you want pure vanilla, you can skip it, but I highly recommend it.
Salt (½ teaspoon fine sea salt) — Essential for balancing the sweetness. I use fine sea salt so it dissolves completely into the syrup. If you only have kosher salt, use a bit less because the grains are bigger.
For the Topping
Walnuts (1 cup / 100g, chopped) — Toasting these first is the secret weapon. Raw walnuts can be bitter. Toasting them brings out their natural oils and makes them crunchy. I chop them roughly—some big pieces, some small bits—for texture variety.
Flaky Sea Salt (for sprinkling) — Maldon salt is my favorite for this. The large flakes add a pretty finish and a burst of salty crunch on top. It makes the fudge look professional.
White Chocolate Chips (½ cup / 85g, optional) — I like to drizzle melted white chocolate over the top for extra richness and to help the walnuts stick. It’s not strictly necessary, but it adds that “bakery finish” look.
Shopping Tips
I always buy my walnuts from the bulk section if my store has it—it’s cheaper and fresher. For the maple syrup, check the back of the store where they keep the baking supplies, not just the breakfast aisle. And for the white chocolate, look for bars you can chop yourself rather than chips if you want a smoother melt, though chips work in a pinch.
Equipment Needed
You don’t need fancy gadgets for this. Here’s what I actually use, and what works best.
Heavy-Bottomed Saucepan (3-quart or larger) — This is crucial. A heavy bottom prevents the sugar from scorching in hot spots. I use my 3-quart stainless steel saucepan. Avoid thin aluminum pans; they heat too unevenly and you’ll get burnt sugar bits.
Candy Thermometer — While I say it’s foolproof, a thermometer helps you hit the soft-ball stage (235°F-240°F) accurately. If you don’t have one, I’ll show you the “cold water test” in the instructions. It works, but the thermometer is less stressful.
Wooden Spoon or Heat-Resistant Spatula — You’ll be stirring a lot. A wooden spoon is great for scraping the sides. Silicone spatulas work too, but make sure they can handle high heat (up to 400°F).
8×8 Inch Baking Pan — Line this with parchment paper or foil. I prefer foil because it’s easier to lift the fudge out later to cut it. Grease the pan lightly with butter or non-stick spray.
Small Saucepan or Microwave-Safe Bowl — For melting the white chocolate drizzle. A small microwave-safe bowl works perfectly if you heat it in 15-second bursts.
Parchment Paper or Aluminum Foil — For lining the pan. This makes cleanup a breeze. You’ll just lift the fudge out and cut it on the counter.
Knife — A sharp chef’s knife for chopping walnuts and cutting the finished fudge. I wipe the blade clean between cuts for neat squares.
How to Make It: Step-by-Step
Alright, let’s make this! I’m walking you through exactly how I do it, including the little tricks I’ve picked up so you don’t end up with a sticky mess like I did years ago.
Step 1: Prep Your Pan and Walnuts (5 minutes)
Line your 8×8 inch baking pan with parchment paper or foil, leaving an overhang on the sides. This is your “handle” for lifting the fudge out later. Grease the lining lightly with butter. Then, toast your walnuts. Spread them on a dry skillet over medium heat and toast for 3-5 minutes, shaking the pan often, until they smell nutty and look slightly darker. Let them cool, then chop them coarsely. Set aside.
Step 2: Combine the Wet Ingredients (2 minutes)
In your heavy-bottomed saucepan, combine the butter, maple syrup, and heavy cream. Place the pan over medium heat. Stir gently with your wooden spoon until the butter is melted and everything is combined. This should take about 2-3 minutes. Don’t let it boil yet.
Step 3: Add Sugar and Salt (1 minute)
Stir in the granulated sugar, cocoa powder, and fine sea salt. Whisk until there are no lumps of sugar left. The mixture will look thick and gritty. That’s normal. Bring the mixture to a gentle boil, stirring constantly.
Step 4: The Boil (5-7 minutes)
Once it reaches a boil, stop stirring and clip your candy thermometer to the side of the pan. Let it boil steadily until it reaches 235°F (soft-ball stage). This usually takes 5-7 minutes. If you don’t have a thermometer, do the cold water test: drop a small spoonful of the syrup into a bowl of cold water. If it forms a soft ball that flattens when you pick it up, it’s ready.
Pro Tip: Don’t walk away! Sugar burns fast. If it starts to smell like burnt sugar, take it off the heat immediately.
Step 5: Cool and Beat (5 minutes)
Remove the pan from the heat. Stir in the vanilla extract. Now, here’s the tricky part: you need to let the mixture cool to 110°F before beating it. This takes about 15-20 minutes. If you beat it while it’s too hot, it will be grainy. If you wait too long, it will set in the pan and you can’t beat it. I usually stir it occasionally to help it cool, and check the temperature with my thermometer.
No thermometer? Trust your hand: Once the pan feels cool to the touch but still warm (like a baby’s bottle), it’s ready. This usually takes about 15 minutes.
Step 6: Beat the Fudge (2 minutes)
Once the mixture is at 110°F, use your wooden spoon to beat it vigorously. Stir in a consistent, fast motion. You’ll notice the fudge starting to thicken and lose its glossy shine. This means it’s crystallizing correctly. Keep beating until it’s thick, matte, and holds its shape on the spoon. This shouldn’t take more than 2 minutes.
Step 7: Add Walnuts and Pour (2 minutes)
Stir in the toasted walnuts. Pour the thickened fudge into your prepared pan. Spread it out evenly with a spatula. If you’re using white chocolate, melt it now and drizzle it over the top. Sprinkle with flaky sea salt immediately while the fudge is still sticky, so the salt sticks.
Step 8: Set and Cut (2 hours)
Let the fudge sit at room temperature for at least 2 hours, or until completely firm. Once set, lift it out of the pan using the parchment overhang. Place it on a cutting board and slice into squares. Enjoy!
Expert Tips & Tricks for Perfect Fudge
Here’s everything I’ve learned from making this dozens of times. These tips will save you from my early mistakes.
Don’t Stir While Boiling
Once the sugar mixture reaches a boil, stop stirring. Stirring can cause sugar crystals to form on the sides of the pan, which can seed crystallization and make the fudge grainy. Just let it bubble gently.
The Cooling Stage is Key
I know it’s tempting to beat it right off the heat, but you must wait for it to cool to 110°F. If you beat it hot, the fudge will be soft and sticky. If you wait until it’s completely cold, it will set too hard to beat. Patience pays off here.
Toast Your Walnuts
I cannot stress this enough. Raw walnuts in fudge taste bland and can even be bitter. Toasting them enhances their flavor and adds a crucial crunch that contrasts with the creamy base. It’s a small step that makes a huge difference.
Use a Heavy Pan
Thin pans create hot spots. Sugar is sensitive to heat, and a hot spot can burn a portion of your fudge, ruining the whole batch. A heavy-bottomed stainless steel or enamel pan distributes heat evenly.
Humidity is the Enemy
If it’s a humid day, fudge can become sticky and not set properly. Try to make it on a dry day. If you must make it in humidity, make sure your sugar is completely dissolved before boiling, and beat it thoroughly.
Cutting Tips
For clean cuts, use a sharp knife and wipe it clean between each cut. If the fudge is too soft to cut cleanly, pop the pan in the fridge for 15 minutes to firm it up. A warm knife also helps cut through the fudge smoothly.
Variations & Substitutions
Once you’ve nailed the basic version, here’s how you can mix it up. I’ve tried all of these variations.
Peanut Butter Swirl
Swirl in ½ cup of creamy peanut butter along with the walnuts. It adds a salty, nutty depth that pairs beautifully with maple. This is my husband’s favorite variation.
Pecan Praline Style
Swap walnuts for pecans. Toast the pecans and chop them finely. For a praline twist, caramelize ½ cup of brown sugar with 2 tablespoons of butter before adding the maple syrup. It’s richer and chewier.
Maple Bourbon Fudge
Add 1 tablespoon of bourbon to the cooled fudge mixture before beating. The alcohol cooks off slightly, leaving a warm, spicy note. Great for adult holiday parties.
White Chocolate Maple
Increase the white chocolate drizzle to 1 cup. Melt it with 1 teaspoon of coconut oil for a smoother drizzle. This makes the fudge sweeter and more visually striking with white swirls.
Dairy-Free Option
Use coconut cream instead of heavy cream and dairy-free butter. The flavor will be slightly coconutty, but it still works. Use maple syrup as usual. It’s not quite the same texture, but it’s still delicious.
Nut-Free
Simply omit the walnuts. You can add toasted coconut flakes or mini chocolate chips instead. The base remains creamy and delicious.
Serving & Storage
How to Serve
I serve this fudge at room temperature. Cold fudge can be hard to chew, and warm fudge is too soft. Room temp is the sweet spot. I cut it into 1-inch squares and arrange them on a platter with a small sign. It looks elegant and is easy to grab.
Side Dishes
This fudge is rich, so it pairs well with light, acidic drinks. I serve it with hot coffee, black tea, or a crisp apple cider. It also goes great with a glass of cold milk or a light dessert wine.
Storage Instructions
Store fudge in an airtight container at room temperature for up to 2 weeks. Place parchment paper between layers to prevent sticking. If it’s very hot, store it in the fridge, but let it come to room temperature before eating for the best texture.
Freezing
Yes, you can freeze fudge! Wrap individual pieces in plastic wrap, then place them in a freezer-safe bag or container. They’ll last for 3 months. Thaw at room temperature for 30 minutes before eating. The texture remains creamy.
Pro Tip
If your fudge gets sticky, it might be due to humidity. Next time, add 1 extra tablespoon of sugar to the recipe to help it set harder.
Nutrition Information
I’m not a nutritionist, but here’s the breakdown if you’re tracking. Keep in mind, this is a rich, sweet treat, so portion control is key.
| Per Serving (1 square) | Amount |
|---|---|
| Calories | 180 |
| Fat | 8g |
| Saturated Fat | 4g |
| Carbs | 26g |
| Fiber | 1g |
| Sugar | 24g |
| Protein | 2g |
| Sodium | 45mg |
What’s Good:
Walnuts provide healthy fats and protein. Maple syrup has some antioxidants. It’s a homemade treat, so you know exactly what’s in it.
What to Know:
High in sugar and calories. It’s a dessert, so enjoy it in moderation. If you’re watching sugar, consider making smaller squares.
Dietary Notes:
Contains: dairy, nuts. Can be made: nut-free, dairy-free (with substitutions). Not suitable for: vegans (without substitutions).
Final Thoughts
So that’s my go-to salted maple walnut fudge! I’ve probably talked your ear off at this point, but when you make a recipe this often, you have a lot to say about it. This fudge has saved my holiday gifting game more times than I can count. It’s my answer to “what dessert should I bring?” when I want to impress without spending hours in the kitchen.
Make it yours! Try different nuts, add a swirl of peanut butter, or skip the chocolate drizzle. The best recipes are the ones you adapt to your family’s tastes. And remember, the key is patience. Let it cool, beat it right, and don’t rush the process.
If you make this, drop a comment and let me know what you think! I love hearing how recipes turn out in your kitchen. And if something doesn’t work, tell me that too—I’m here to help troubleshoot. Happy cooking!
Frequently Asked Questions
Can I use light maple syrup?
You can, but the flavor will be milder. Light maple syrup is less intense than Grade B or dark syrup. For the best flavor, use dark maple syrup. If you only have light, it will still work, just don’t expect that deep maple punch.
Why did my fudge turn out grainy?
Grainy fudge usually happens for two reasons: either the sugar didn’t dissolve completely before boiling, or you stirred the mixture while it was boiling. Make sure to stir until the sugar is fully dissolved before bringing it to a boil, and then stop stirring until it cools.
Can I make this fudge ahead of time?
Yes! This fudge actually tastes better after sitting for a day or two, as the flavors meld. You can make it up to 2 weeks ahead and store it in an airtight container at room temperature. It freezes well too, for up to 3 months.
What if I don’t have a candy thermometer?
You can use the cold water test. Drop a small spoonful of the boiling syrup into a bowl of ice water. Wait 30 seconds, then take it out and try to form a ball with your fingers. If it forms a soft, pliable ball that flattens when you remove it from the water, it’s ready (soft-ball stage).
Can I use salted butter?
You can, but you’ll need to reduce the added salt in the recipe. Since butter varies in salt content, I recommend using unsalted butter so you can control the saltiness. If you use salted butter, omit the ½ teaspoon of salt in the recipe.
How do I cut the fudge cleanly?
Use a sharp knife and wipe the blade clean between each cut. If the fudge is too soft, chill it in the fridge for 15 minutes. A warm knife (dip it in hot water and dry it) also helps cut through the fudge smoothly without squishing it.
Can I add other mix-ins?
Absolutely! Dried cranberries, chopped pretzels, or white chocolate chips all work well. Just add them along with the walnuts in Step 7. Be mindful of moisture content; wet ingredients can make the fudge soft.
Pin This Recipe!
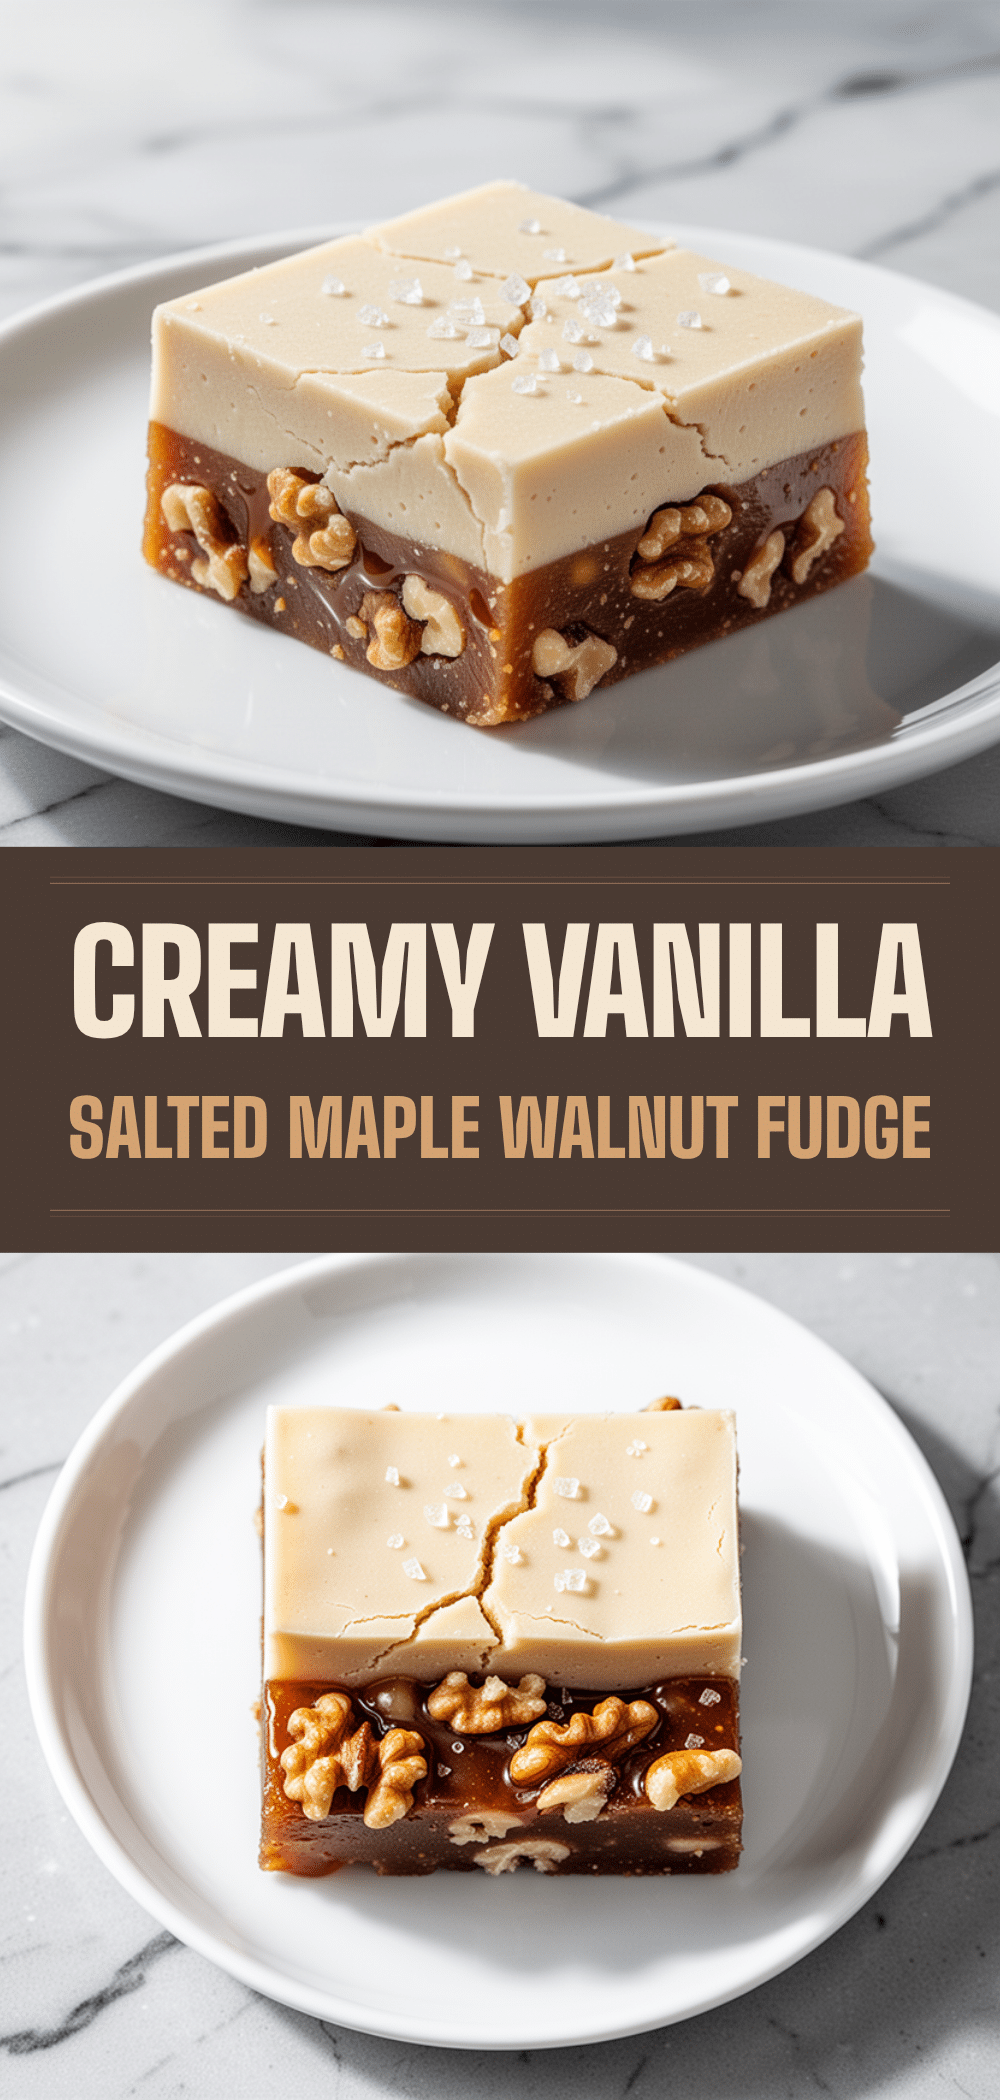
Salted Maple Walnut Fudge: 15-Min Holiday Treat
- Total Time: 45 minutes
- Yield: 16 servings 1x
Description
A creamy, foolproof salted maple walnut fudge that balances sweet maple syrup with toasted walnuts and flaky sea salt. This holiday favorite is easier to make than it looks and results in a sophisticated, melt-in-your-mouth dessert.
Ingredients
- 1/2 cup (113g) unsalted butter, cut into cubes
- 1 cup (240ml) 100% pure maple syrup (Grade A or B)
- 1/2 cup (120ml) heavy cream
- 2 teaspoons pure vanilla extract
- 2 cups (400g) granulated sugar
- 2 tablespoons (10g) unsweetened cocoa powder
- 1/2 teaspoon fine sea salt
- 1 cup (100g) walnuts, toasted and chopped
- Flaky sea salt (for sprinkling)
- 1/2 cup (85g) white chocolate chips (optional, for drizzle)
Instructions
- Line an 8×8 inch baking pan with parchment paper or foil, leaving an overhang on the sides, and grease lightly with butter.
- Toast walnuts in a dry skillet over medium heat for 3-5 minutes until fragrant and slightly darker. Let cool, then chop coarsely.
- In a heavy-bottomed saucepan, combine butter, maple syrup, and heavy cream. Heat over medium heat, stirring gently until butter is melted and ingredients are combined.
- Stir in granulated sugar, cocoa powder, and fine sea salt. Whisk until no sugar lumps remain.
- Bring the mixture to a gentle boil, stirring constantly. Once boiling, stop stirring and attach a candy thermometer to the side of the pan.
- Boil steadily until the mixture reaches 235°F (soft-ball stage), which takes about 5-7 minutes. Alternatively, perform the cold water test: a drop of syrup should form a soft ball in cold water.
- Remove the pan from heat and stir in vanilla extract.
- Allow the mixture to cool to 110°F, stirring occasionally. This takes about 15-20 minutes. The pan should feel warm but not hot to the touch.
- Vigorously beat the mixture with a wooden spoon until it thickens, loses its glossy shine, and becomes matte. This should take about 2 minutes.
- Stir in the toasted walnuts.
- Pour the fudge into the prepared pan and spread evenly.
- If using, melt white chocolate and drizzle over the top. Immediately sprinkle with flaky sea salt.
- Let the fudge set at room temperature for at least 2 hours until firm. Lift out using the parchment overhang and cut into squares.
Notes
Do not stir the mixture once it reaches a boil to prevent graininess. Ensure the mixture cools to 110°F before beating; beating it too hot will result in a sticky texture, while waiting too long will make it set in the pan. Toasting walnuts enhances their flavor and crunch. For clean cuts, use a sharp knife and wipe the blade between cuts.
- Prep Time: 15 minutes
- Cook Time: 30 minutes
- Category: Dessert
- Cuisine: American
Nutrition
- Serving Size: 1 square
- Calories: 180
- Sugar: 24
- Sodium: 45
- Fat: 8
- Saturated Fat: 4
- Carbohydrates: 26
- Fiber: 1
- Protein: 2
Keywords: fudge, maple fudge, walnut fudge, holiday dessert, salted caramel, homemade candy, easy fudge recipe, Christmas treats


